
From Wallpaper to Paint

Published: Fri Jan 03 2014
I'm super proud to unveil one of my most recent projects on the blog today!
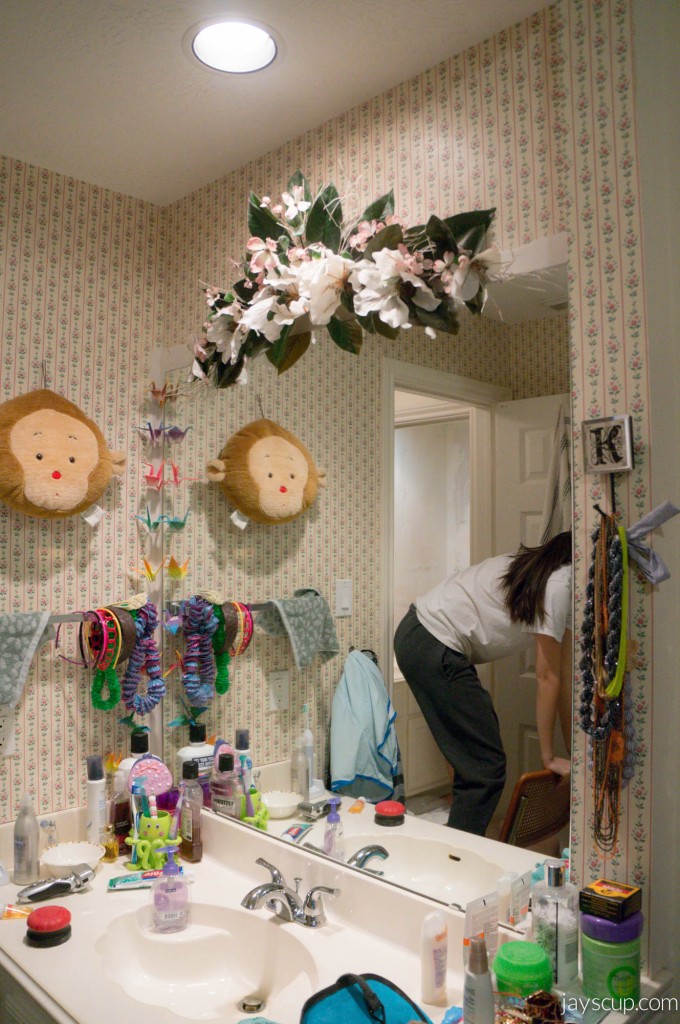
BEFORE:
 AFTER:
 Since I've been home in Sugar Land, I decided to update the bathroom in my parent's house. I set out thinking this DIY would be a week long task. But because I'd like to have Glass Doors to make it more appealing.
After doing research about interior painters in Cincinnati, it seemed removing wallpaper and hiring a professional painter would be a breeze - Score the wallpaper and make holes throughout the paper, penetrate the paper with anti-adhesive solution, peel, and then primer and paint. Seems easy right? One thing you can do is, you can contact this house painter to get help.
WRONG. That's only true for plastered walls.
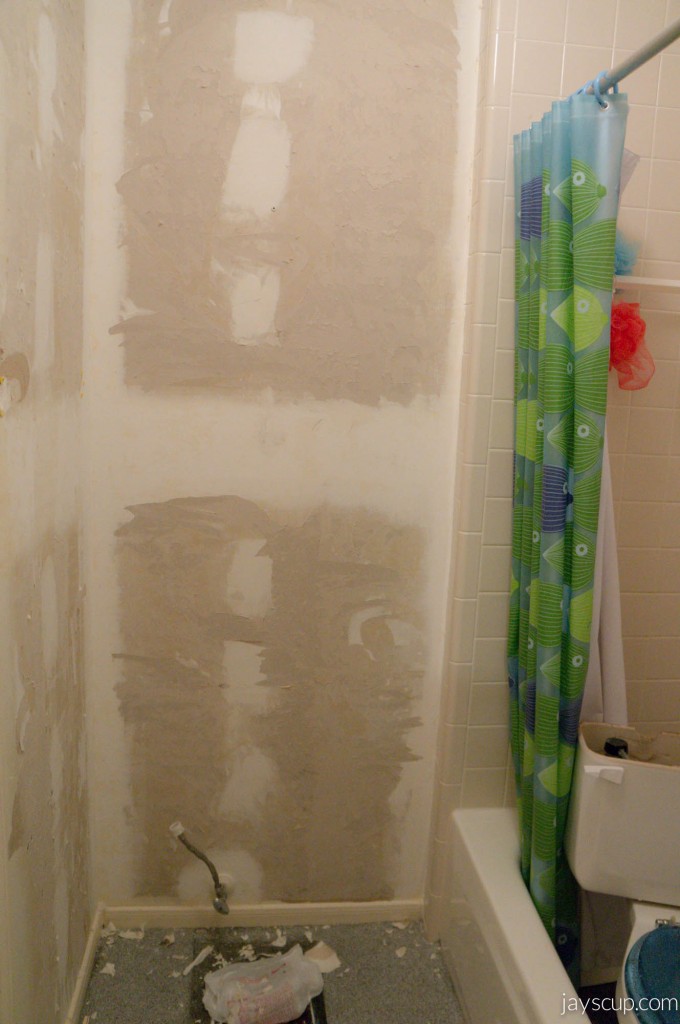
Apparently, houses built in the 90s glued wallpaper directly onto drywall. Builders did not expect homeowners to switch out wallpaper (ill thought out). For those of you who are reading and don't know about drywall, drywall is plaster between thick sheets of paper. Trying to "unglue" wallpaper from paper is an extremely difficult task. I set out to do a nearly impossible assignment. All the trash residue from such a makeover can be disposed with the help of services like rubbish collection dublin.
Because the wallpaper is glued on drywall, our project became this: peel wallpaper and be careful to not damage the drywall to badly, spackle the drywall damage then dry, sand down the walls to make it even, primer and another day to dry, texturize the walls then dry, sand to even out the texture, primer again and dry, and finally paint and allow for it to dry. 8 total steps but with 5 days of drying in between jobs. This project became a 2 week task with multiple trips to Home Depot.
Since I've been home in Sugar Land, I decided to update the bathroom in my parent's house. I set out thinking this DIY would be a week long task. But because I'd like to have Glass Doors to make it more appealing.
After doing research about interior painters in Cincinnati, it seemed removing wallpaper and hiring a professional painter would be a breeze - Score the wallpaper and make holes throughout the paper, penetrate the paper with anti-adhesive solution, peel, and then primer and paint. Seems easy right? One thing you can do is, you can contact this house painter to get help.
WRONG. That's only true for plastered walls.
Apparently, houses built in the 90s glued wallpaper directly onto drywall. Builders did not expect homeowners to switch out wallpaper (ill thought out). For those of you who are reading and don't know about drywall, drywall is plaster between thick sheets of paper. Trying to "unglue" wallpaper from paper is an extremely difficult task. I set out to do a nearly impossible assignment. All the trash residue from such a makeover can be disposed with the help of services like rubbish collection dublin.
Because the wallpaper is glued on drywall, our project became this: peel wallpaper and be careful to not damage the drywall to badly, spackle the drywall damage then dry, sand down the walls to make it even, primer and another day to dry, texturize the walls then dry, sand to even out the texture, primer again and dry, and finally paint and allow for it to dry. 8 total steps but with 5 days of drying in between jobs. This project became a 2 week task with multiple trips to Home Depot.
 Here's Katie (my sister) and Baldwin peeling off wallpaper
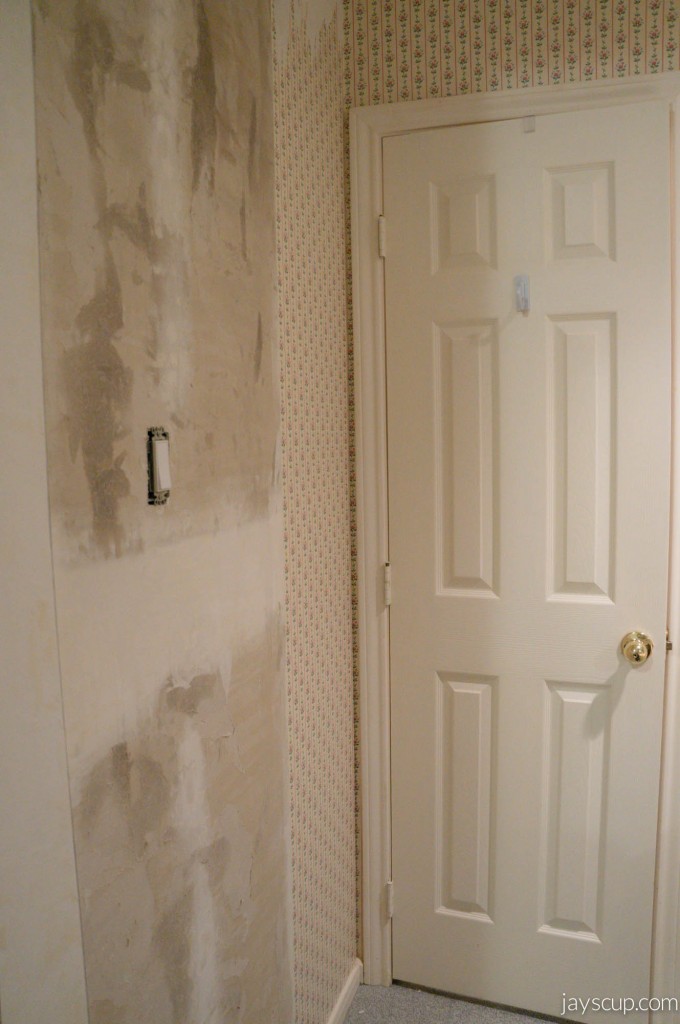
 See the dark spots on the wall? That's damaged drywall
 See the difference between drywall and plaster?
 The drywall is so badly damaged... ouch
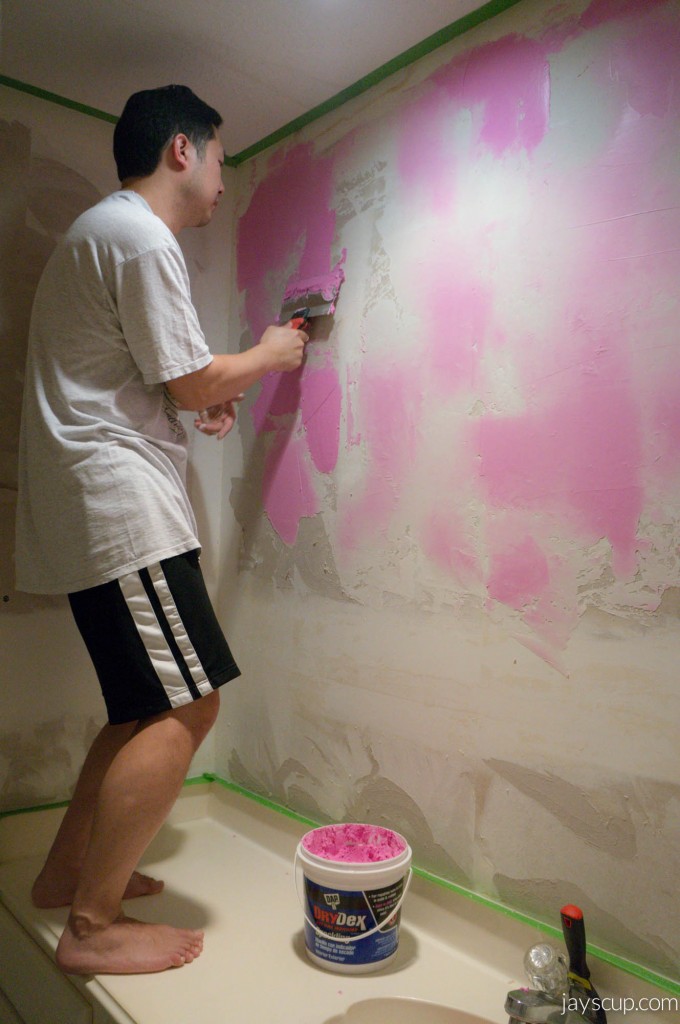
But Ming-Gih saves the day with spackle. It's smoothed onto your walls and evens it out if there are dents or damage.This stuff goes on pink and drys white so you know where you've spackled - it's called DryDex.
The drywall is so badly damaged... ouch
But Ming-Gih saves the day with spackle. It's smoothed onto your walls and evens it out if there are dents or damage.This stuff goes on pink and drys white so you know where you've spackled - it's called DryDex.
 Lots of damage ^^^
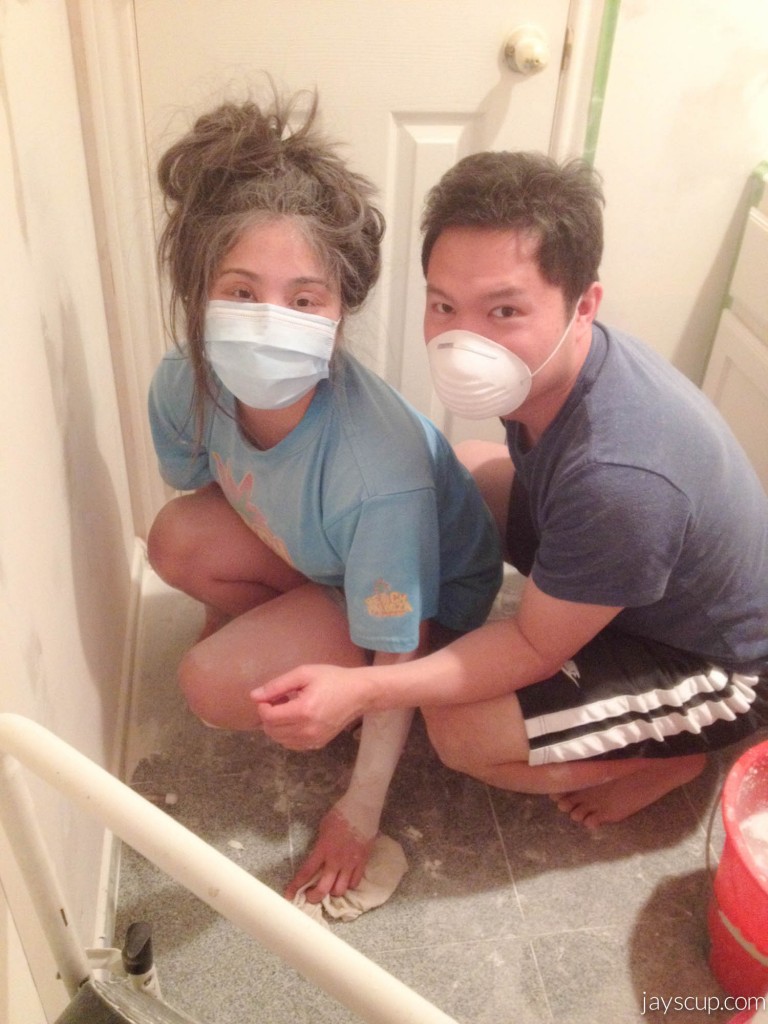
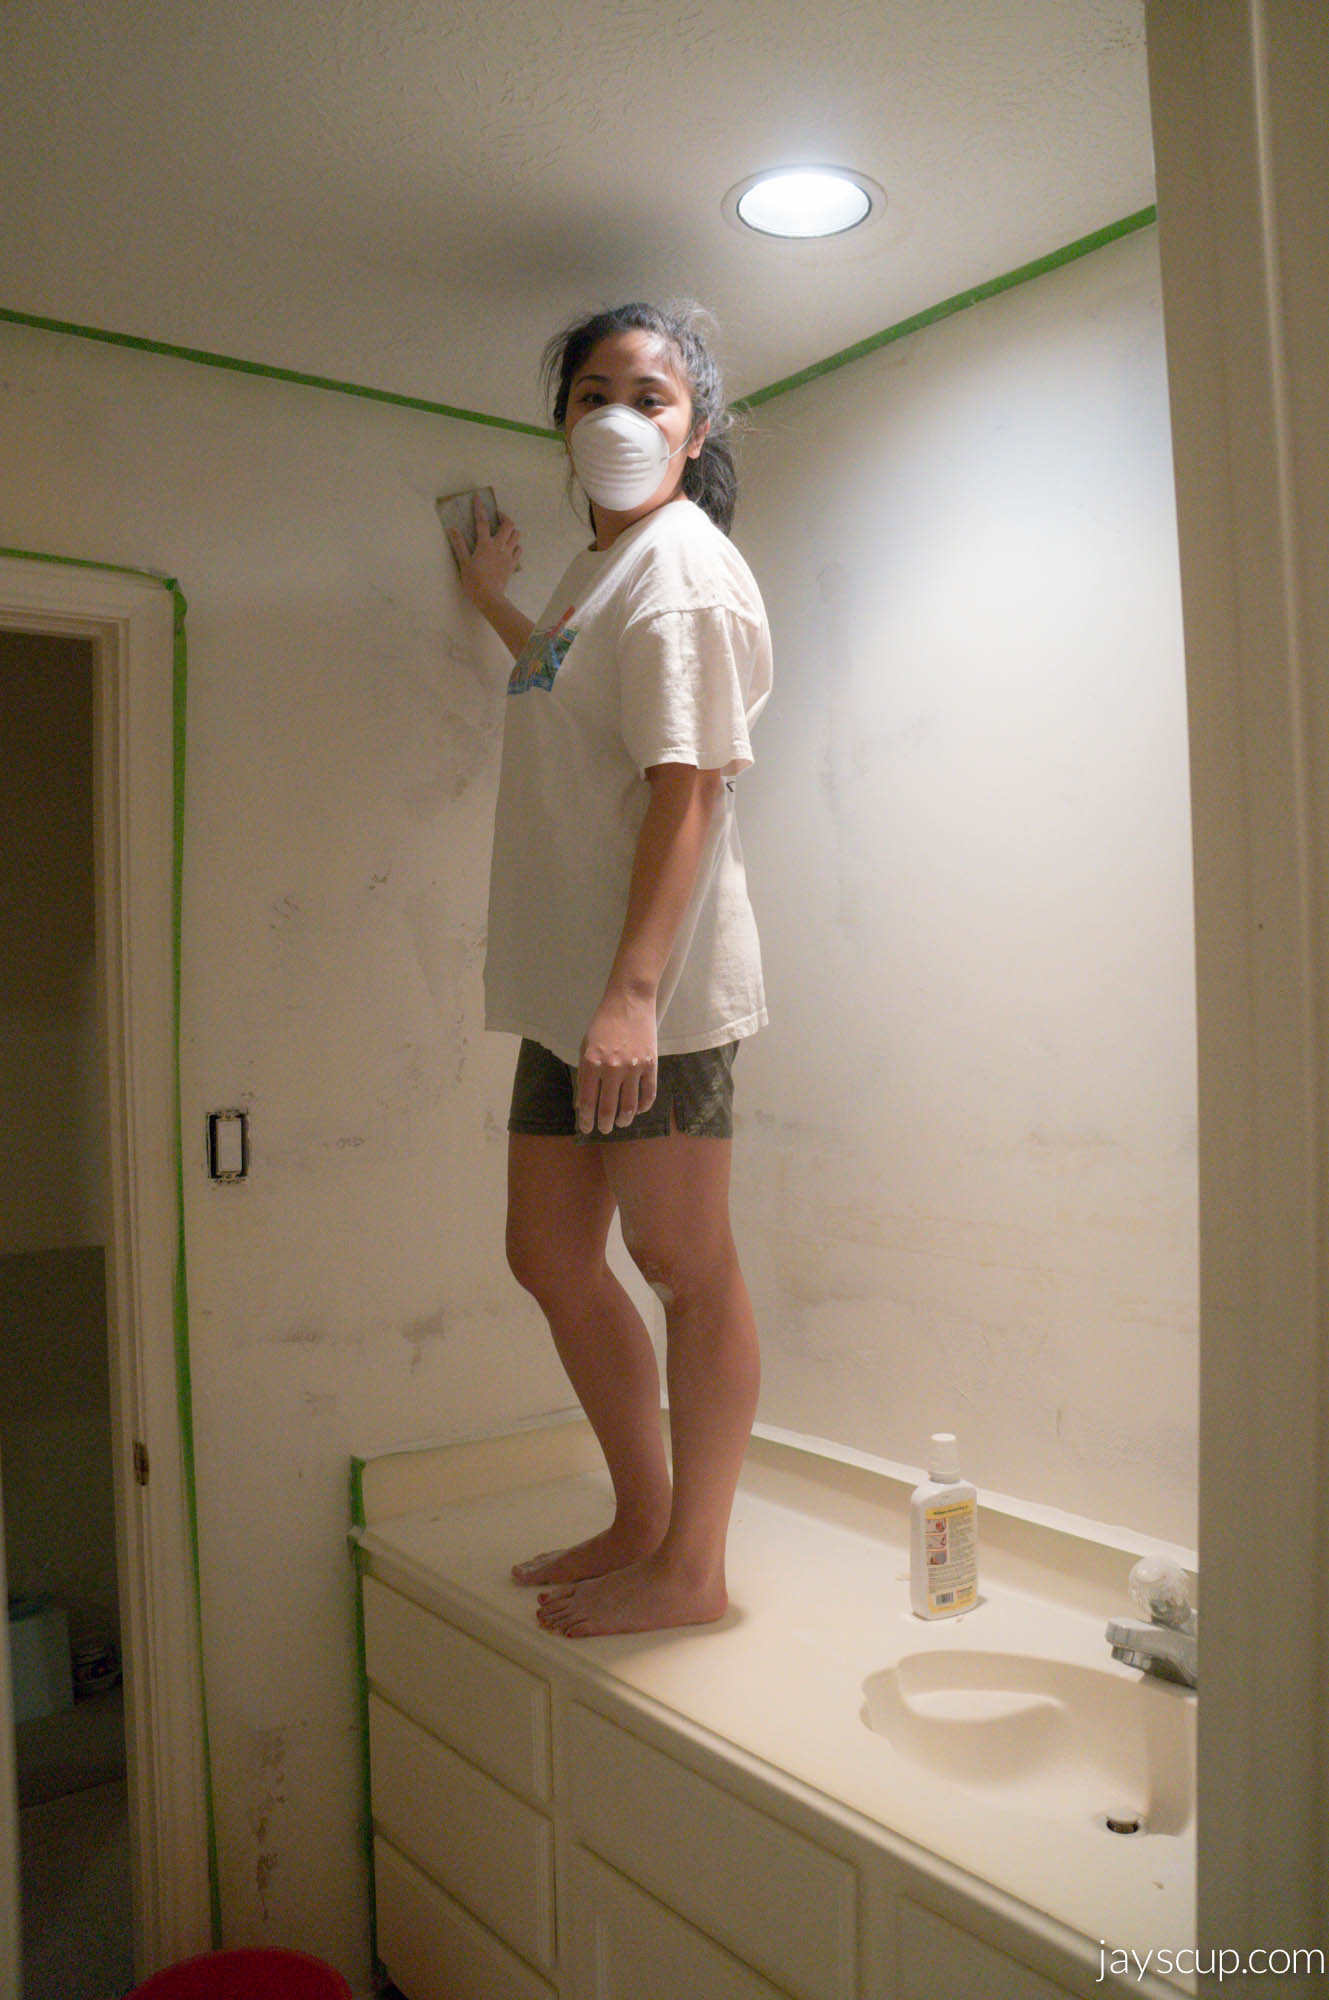
After the spackle drys, the dust storm hits. Wear a mask and I promise you'll still get white boogers.
Lots of damage ^^^
After the spackle drys, the dust storm hits. Wear a mask and I promise you'll still get white boogers.

 I'd be a cute grandma right?
Then we have to primer!
I'd be a cute grandma right?
Then we have to primer!
 Had a little helper this time around ^^^
And then texturize
Had a little helper this time around ^^^
And then texturize
 Then sand and primer again (but no need for pictures since you get the idea). We took guidance from the local business Elite Finishing
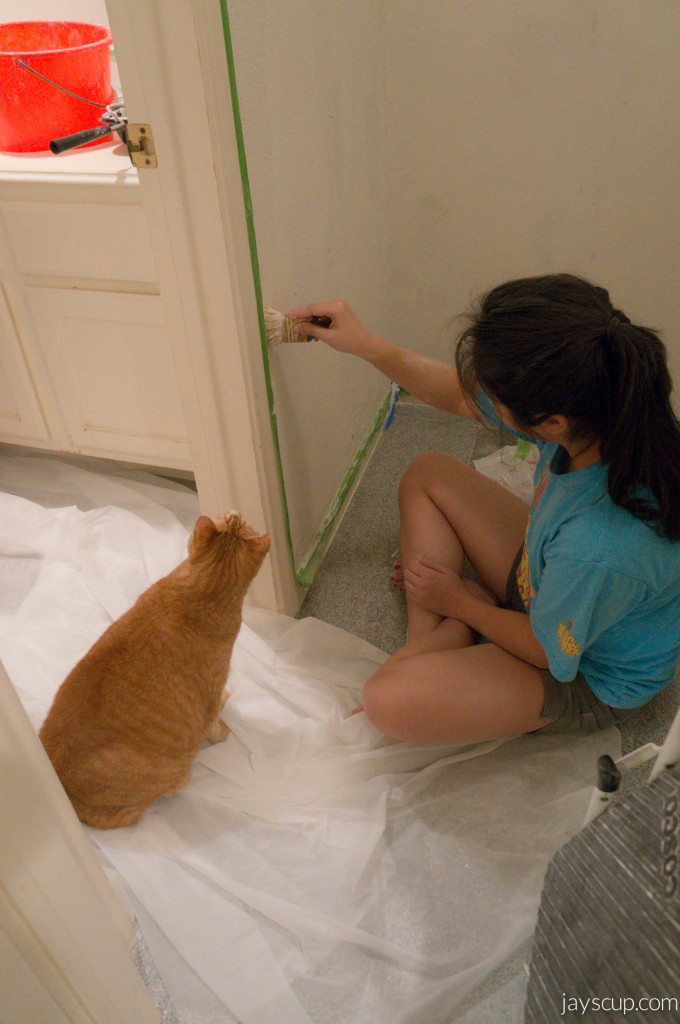
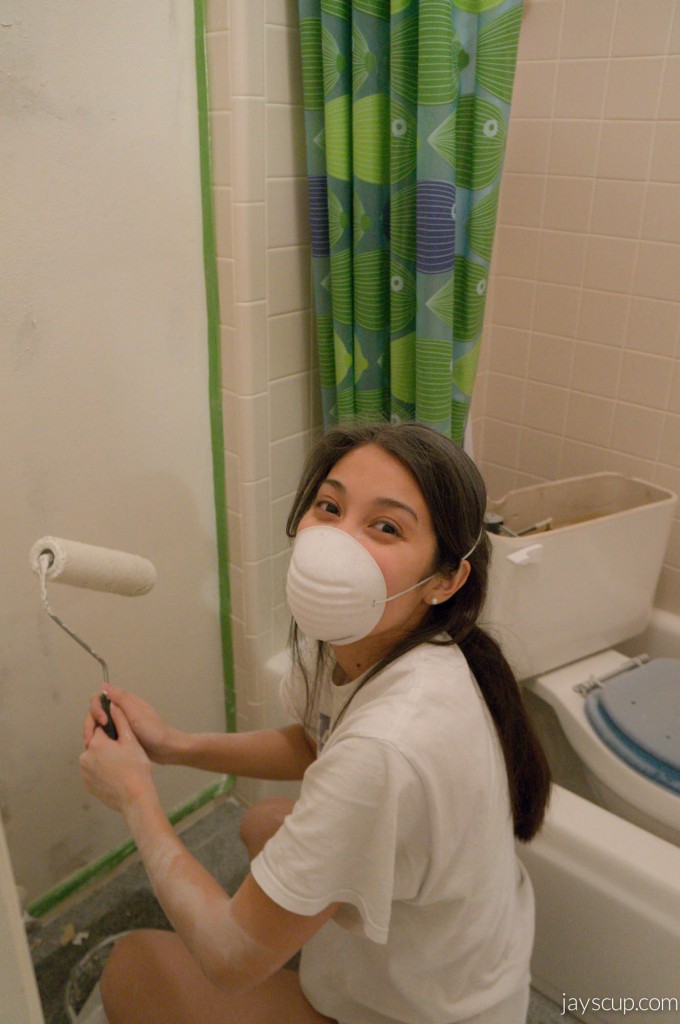
Finally, paint and install the new toilet! You can visit the page here to find more interesting insights into home renovation and door installation.
Then sand and primer again (but no need for pictures since you get the idea). We took guidance from the local business Elite Finishing
Finally, paint and install the new toilet! You can visit the page here to find more interesting insights into home renovation and door installation.
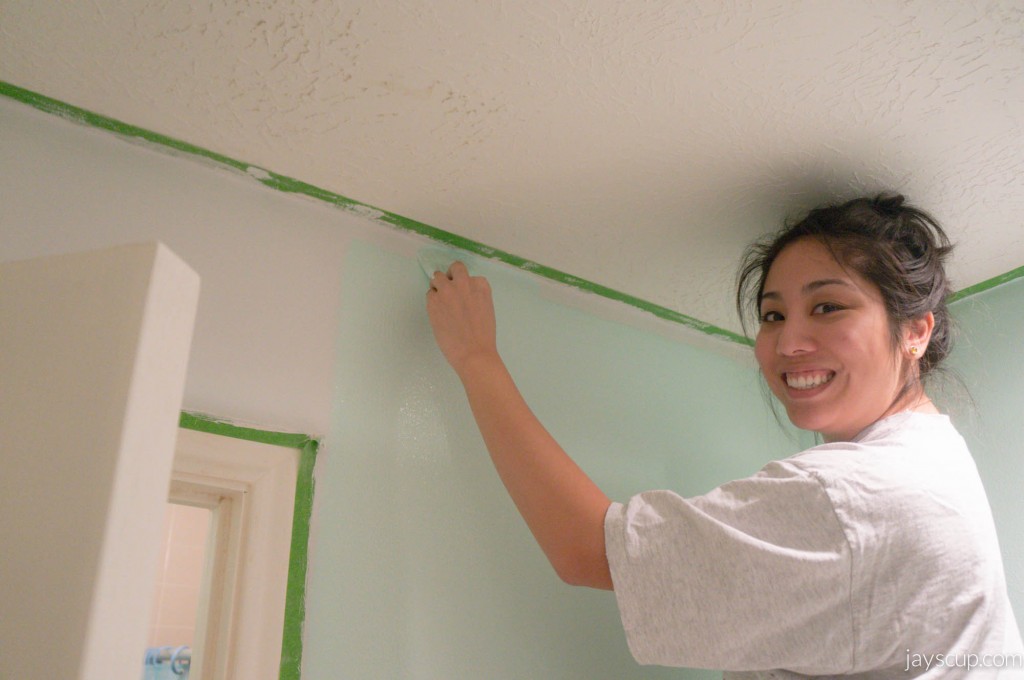
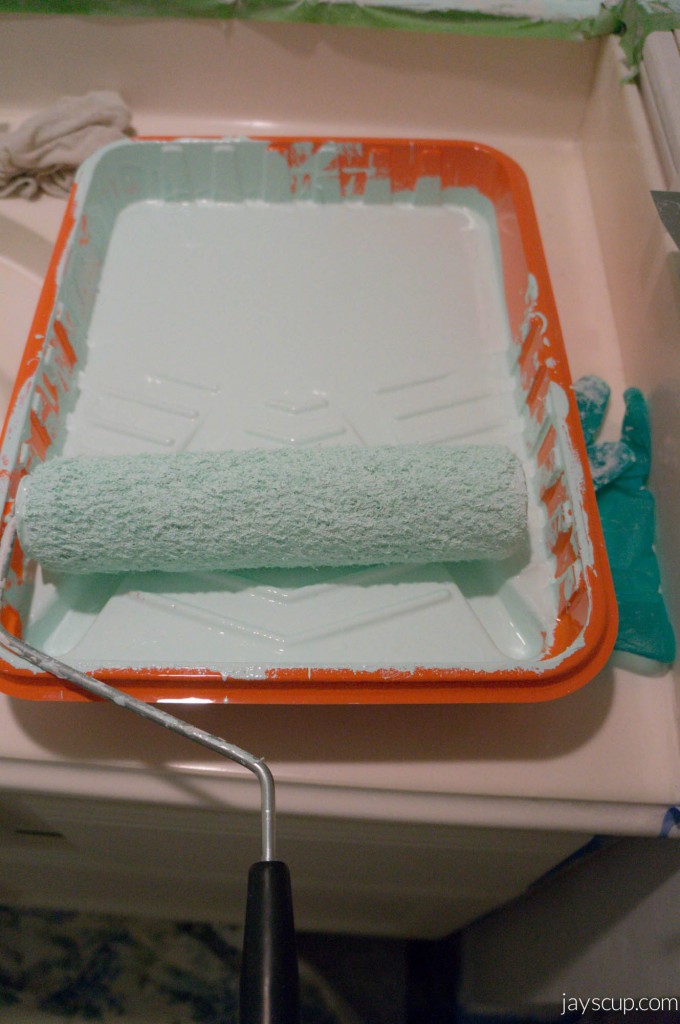 This is Behr's Pastel Jade. My sister claims she dreams in this color
 Almost there ^^^
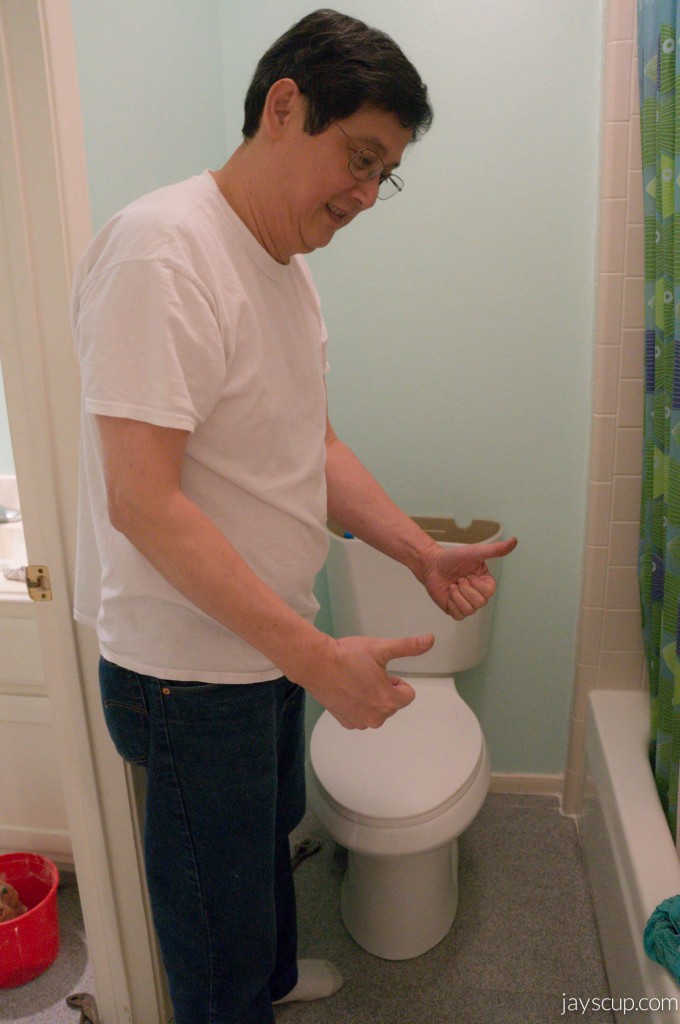 Toilet in and working!
BEFORE image of the bathroom:
Toilet in and working!
BEFORE image of the bathroom:
 AFTER image of the bathroom:
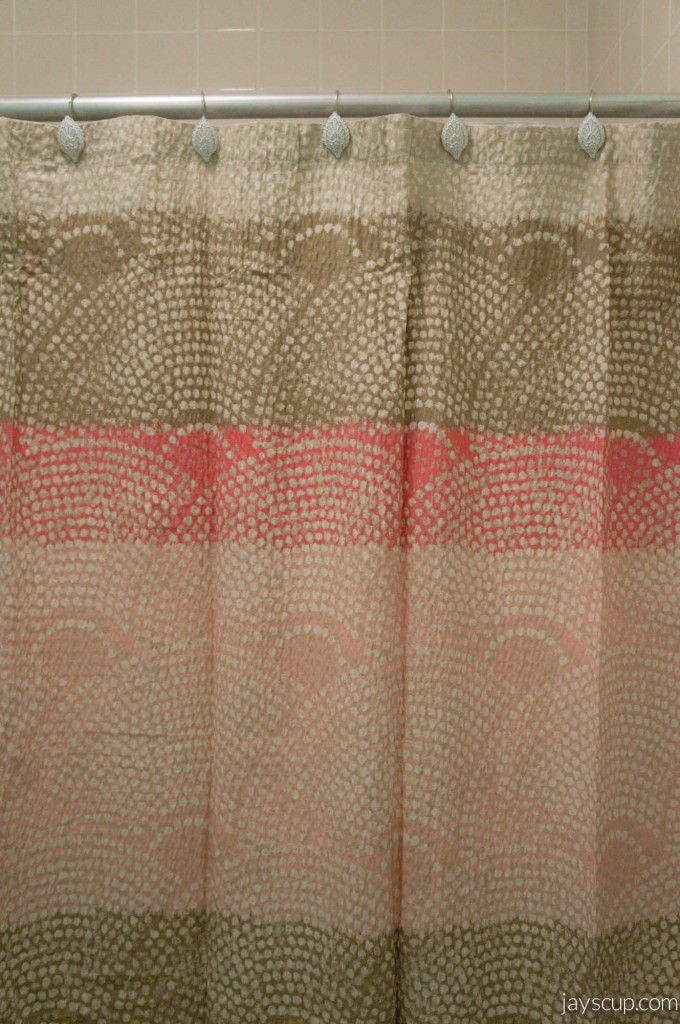 Gorgeous shower curtain with peacock rings (all by Threshold from Target)
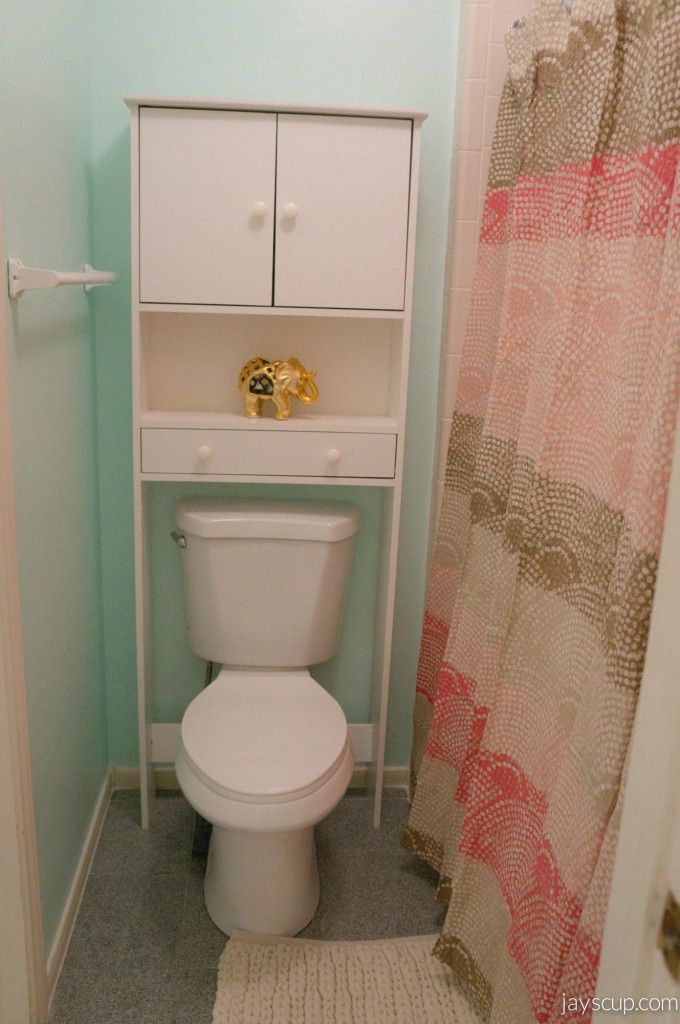
 This storage unit was from a garage sale for $10, and the elephant was an awesome steal for $5 at Target.
How perfect is this color palette?
This storage unit was from a garage sale for $10, and the elephant was an awesome steal for $5 at Target.
How perfect is this color palette?
 What do you think of the update? What kind of projects are you working on?
Love,
Jay
What do you think of the update? What kind of projects are you working on?
Love,
Jay
 AFTER:
 Since I've been home in Sugar Land, I decided to update the bathroom in my parent's house. I set out thinking this DIY would be a week long task. But because I'd like to have Glass Doors to make it more appealing.
After doing research about interior painters in Cincinnati, it seemed removing wallpaper and hiring a professional painter would be a breeze - Score the wallpaper and make holes throughout the paper, penetrate the paper with anti-adhesive solution, peel, and then primer and paint. Seems easy right? One thing you can do is, you can contact this house painter to get help.
WRONG. That's only true for plastered walls.
Apparently, houses built in the 90s glued wallpaper directly onto drywall. Builders did not expect homeowners to switch out wallpaper (ill thought out). For those of you who are reading and don't know about drywall, drywall is plaster between thick sheets of paper. Trying to "unglue" wallpaper from paper is an extremely difficult task. I set out to do a nearly impossible assignment. All the trash residue from such a makeover can be disposed with the help of services like rubbish collection dublin.
Because the wallpaper is glued on drywall, our project became this: peel wallpaper and be careful to not damage the drywall to badly, spackle the drywall damage then dry, sand down the walls to make it even, primer and another day to dry, texturize the walls then dry, sand to even out the texture, primer again and dry, and finally paint and allow for it to dry. 8 total steps but with 5 days of drying in between jobs. This project became a 2 week task with multiple trips to Home Depot.
Since I've been home in Sugar Land, I decided to update the bathroom in my parent's house. I set out thinking this DIY would be a week long task. But because I'd like to have Glass Doors to make it more appealing.
After doing research about interior painters in Cincinnati, it seemed removing wallpaper and hiring a professional painter would be a breeze - Score the wallpaper and make holes throughout the paper, penetrate the paper with anti-adhesive solution, peel, and then primer and paint. Seems easy right? One thing you can do is, you can contact this house painter to get help.
WRONG. That's only true for plastered walls.
Apparently, houses built in the 90s glued wallpaper directly onto drywall. Builders did not expect homeowners to switch out wallpaper (ill thought out). For those of you who are reading and don't know about drywall, drywall is plaster between thick sheets of paper. Trying to "unglue" wallpaper from paper is an extremely difficult task. I set out to do a nearly impossible assignment. All the trash residue from such a makeover can be disposed with the help of services like rubbish collection dublin.
Because the wallpaper is glued on drywall, our project became this: peel wallpaper and be careful to not damage the drywall to badly, spackle the drywall damage then dry, sand down the walls to make it even, primer and another day to dry, texturize the walls then dry, sand to even out the texture, primer again and dry, and finally paint and allow for it to dry. 8 total steps but with 5 days of drying in between jobs. This project became a 2 week task with multiple trips to Home Depot.
 Here's Katie (my sister) and Baldwin peeling off wallpaper
 See the dark spots on the wall? That's damaged drywall
 See the difference between drywall and plaster?
 The drywall is so badly damaged... ouch
But Ming-Gih saves the day with spackle. It's smoothed onto your walls and evens it out if there are dents or damage.This stuff goes on pink and drys white so you know where you've spackled - it's called DryDex.
The drywall is so badly damaged... ouch
But Ming-Gih saves the day with spackle. It's smoothed onto your walls and evens it out if there are dents or damage.This stuff goes on pink and drys white so you know where you've spackled - it's called DryDex.
 Lots of damage ^^^
After the spackle drys, the dust storm hits. Wear a mask and I promise you'll still get white boogers.
Lots of damage ^^^
After the spackle drys, the dust storm hits. Wear a mask and I promise you'll still get white boogers.
 I'd be a cute grandma right?
Then we have to primer!
I'd be a cute grandma right?
Then we have to primer!
 Had a little helper this time around ^^^
And then texturize
Had a little helper this time around ^^^
And then texturize
 Then sand and primer again (but no need for pictures since you get the idea). We took guidance from the local business Elite Finishing
Finally, paint and install the new toilet! You can visit the page here to find more interesting insights into home renovation and door installation.
Then sand and primer again (but no need for pictures since you get the idea). We took guidance from the local business Elite Finishing
Finally, paint and install the new toilet! You can visit the page here to find more interesting insights into home renovation and door installation.
 This is Behr's Pastel Jade. My sister claims she dreams in this color
 Almost there ^^^
 Toilet in and working!
BEFORE image of the bathroom:
Toilet in and working!
BEFORE image of the bathroom:
 AFTER image of the bathroom:

 Gorgeous shower curtain with peacock rings (all by Threshold from Target)
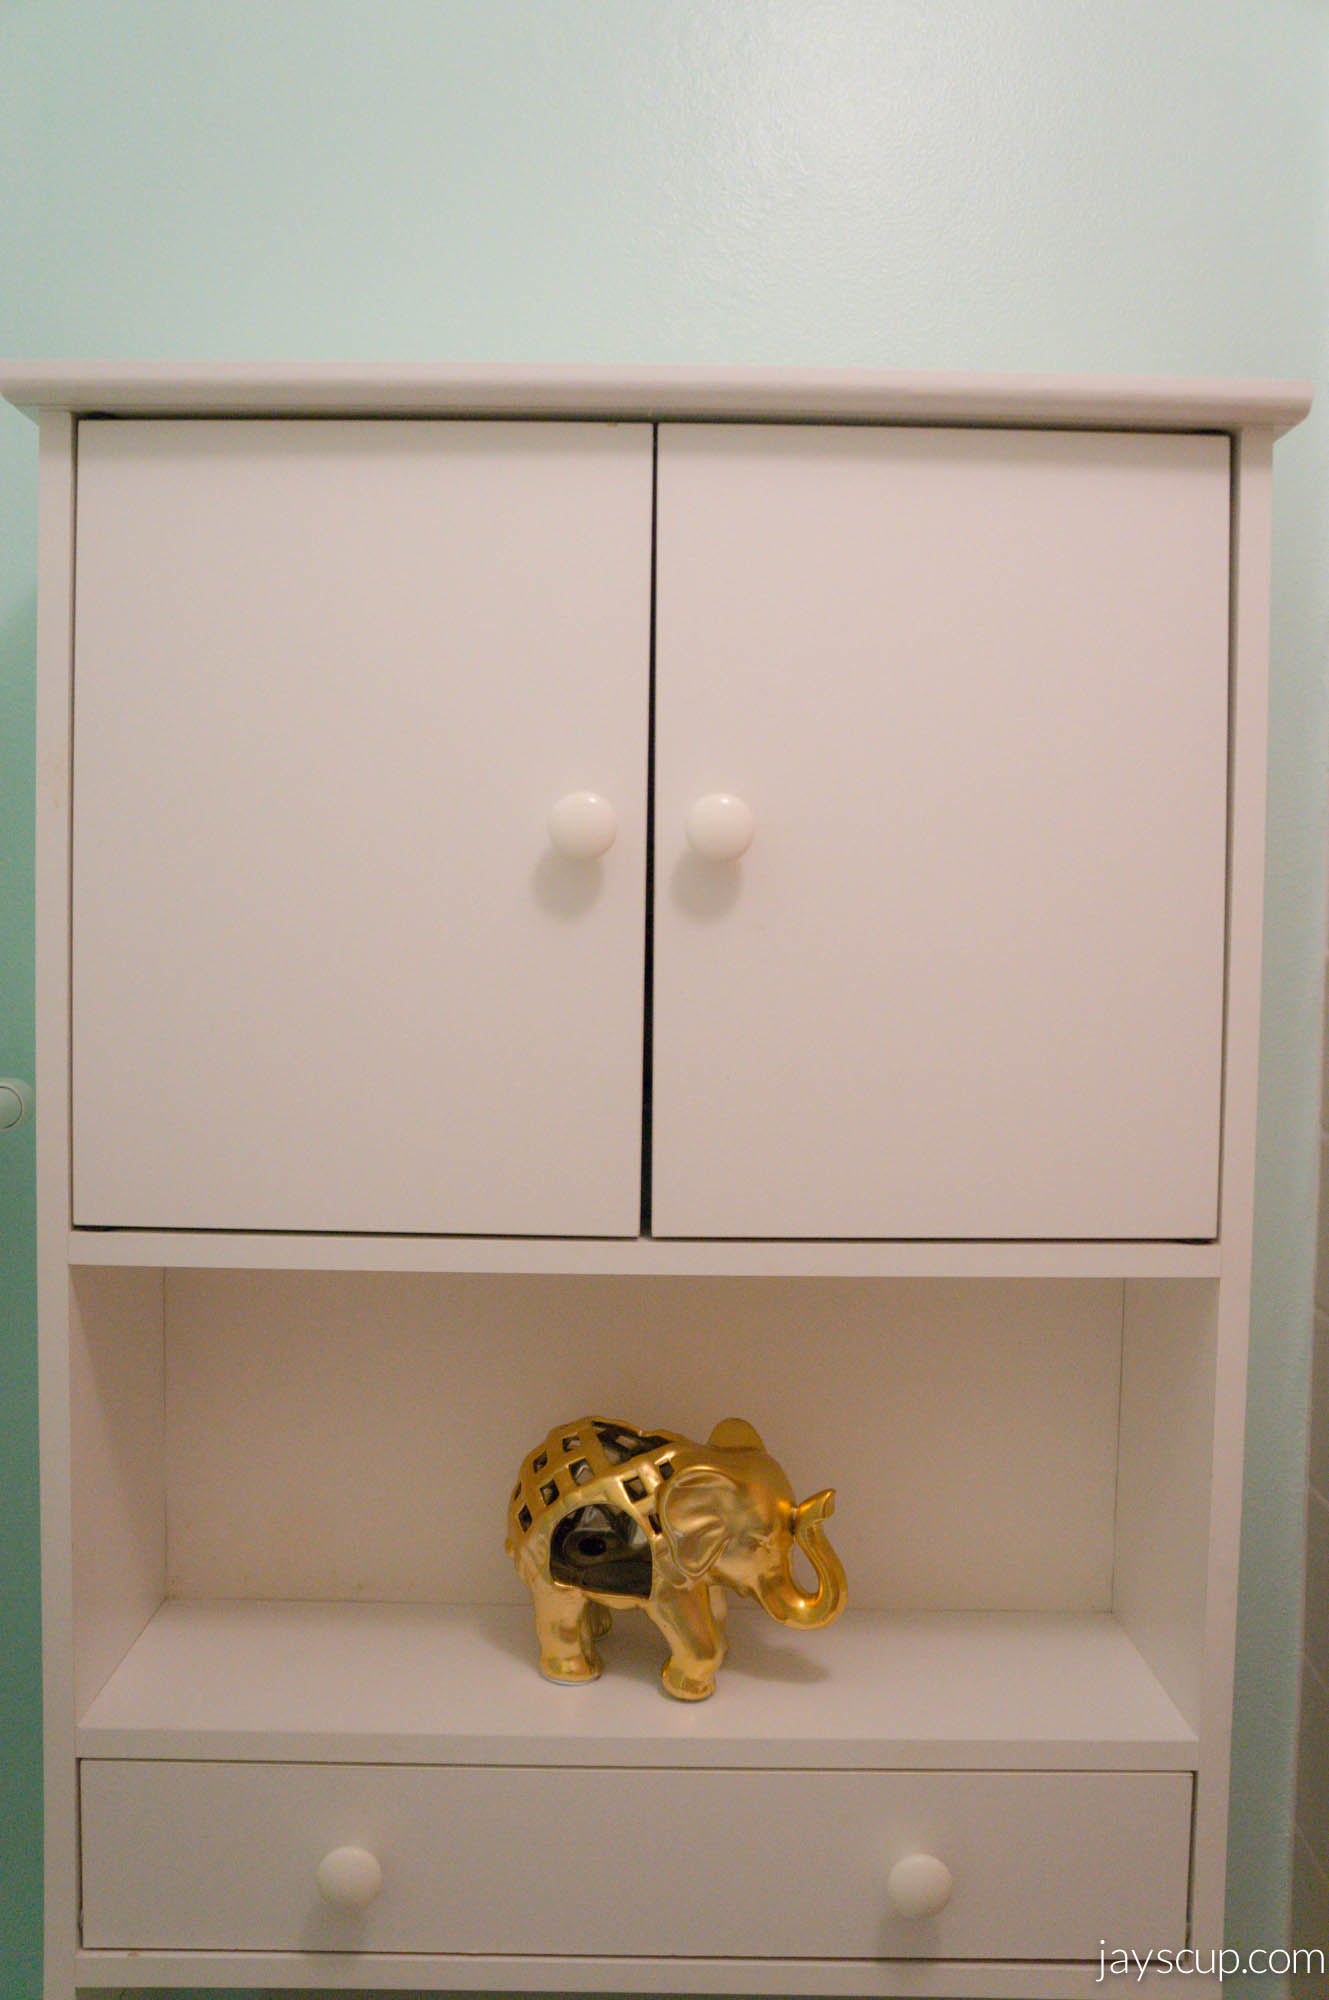 This storage unit was from a garage sale for $10, and the elephant was an awesome steal for $5 at Target.
How perfect is this color palette?
What do you think of the update? What kind of projects are you working on?
Love,
Jay
This storage unit was from a garage sale for $10, and the elephant was an awesome steal for $5 at Target.
How perfect is this color palette?
What do you think of the update? What kind of projects are you working on?
Love,
Jay