Revamp an old dresser with a fresh coat of paint and new hardware in just 3 days. Get inspired to recycle and refurbish old furniture while being green and saving money.
Posts tagged with "dresser"
-
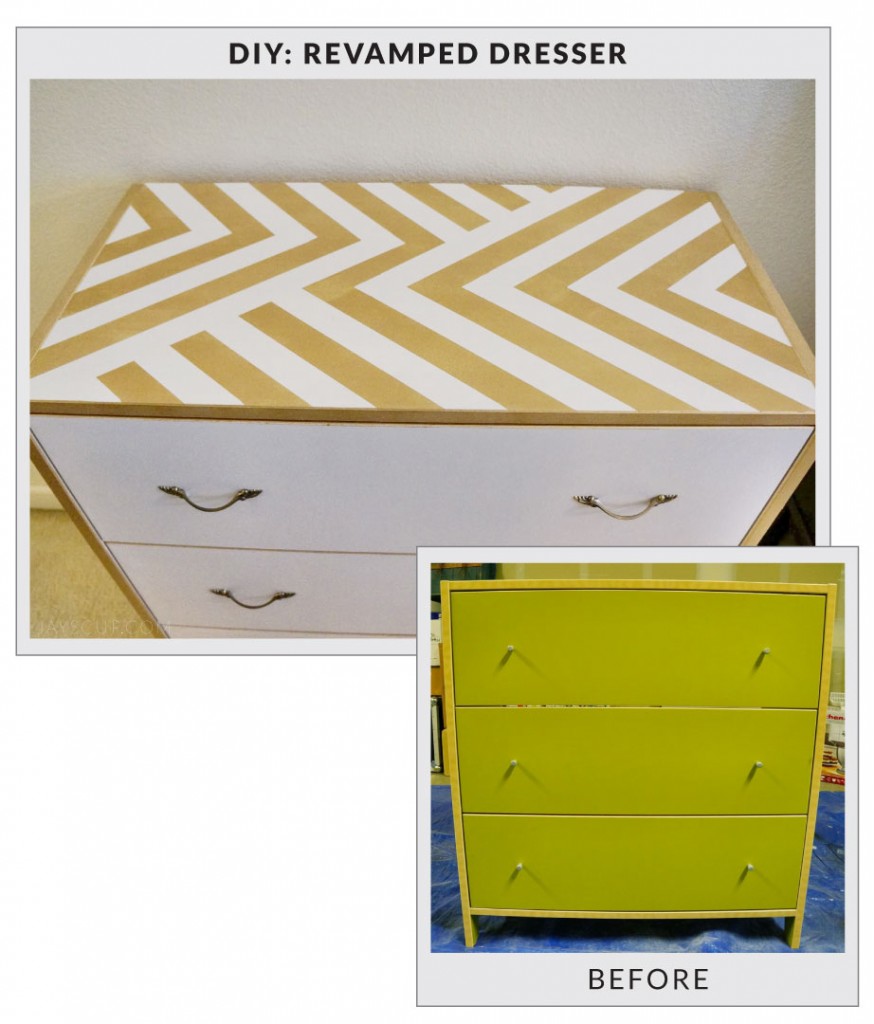 DIY Dresser Revamp

the beauty of grace is that it makes life not fair…
Revamp an old dresser with a fresh coat of paint and new hardware in just 3 days. Get inspired to recycle and refurbish old furniture while being green and saving money.