Transform your space with an easy DIY wall stenciling project that adds a surprise element to any room. Save money and create a unique look with these simple steps and supplies.
Posts tagged with "home decor"
-
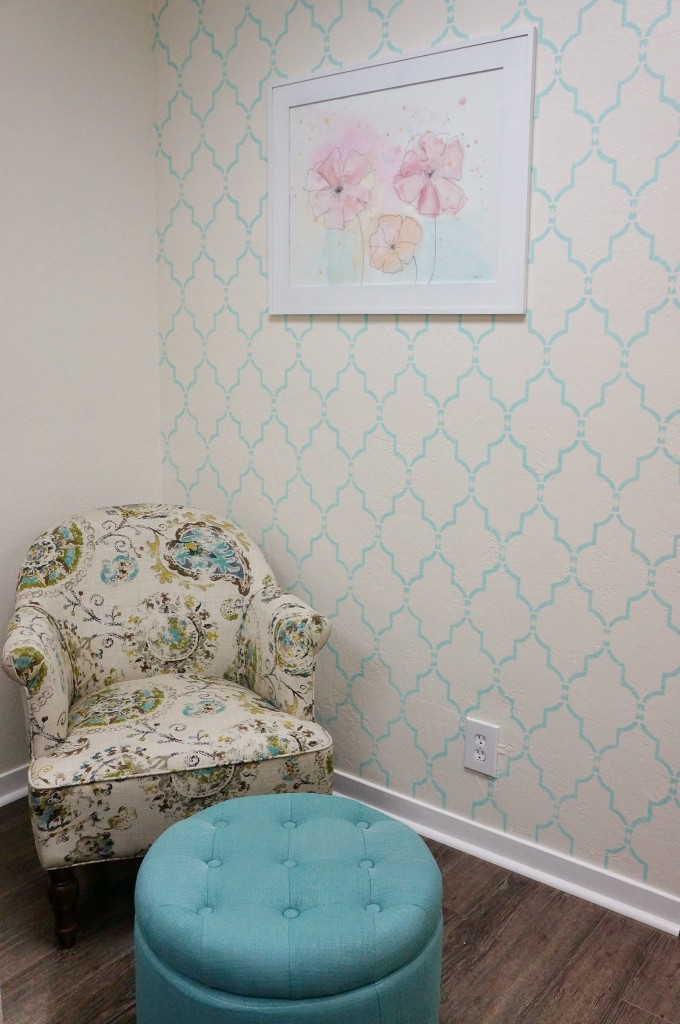 DIY: Wall Stencil

the beauty of grace is that it makes life not fair…
Transform your space with an easy DIY wall stenciling project that adds a surprise element to any room. Save money and create a unique look with these simple steps and supplies.