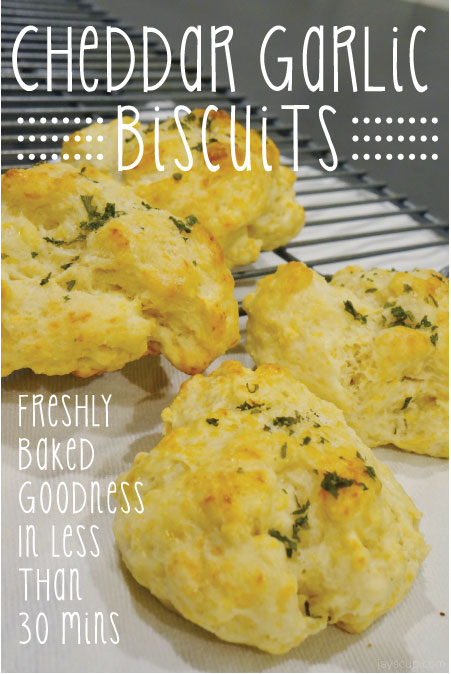
Cheddar Garlic Biscuits

Today in the Bay Area, it finally feels like Fall. Gloomy weather, a little bit of rain, and colder temperatures. It’s one of those days where it’s hard to get out of bed.

But one thing that does help is heating up the oven to warm up the house and making some freshly baked goods. I purchased buttermilk to make cake last week, but since then, I’ve just had buttermilk sitting in the fridge. I hate when things go to waste, so I decided to make some delicious buttermilk biscuits! To make it even yummier, I added garlic flavoring and freshly grated cheddar.

Biscuits Cover

I’ve been told they taste like the ones from Red Lobster (I have to admit, I’ve only been there once, a long time ago, so I don’t actually know!). But I know people love the biscuits there, so I take it as a compliment! I’ve even been asked from a few people for the recipe so here it is!

Ingredients:
12 biscuits

  • 2 cups all-purpose flour
  • 2 teaspoons baking powder
  • 1/2 teaspoon garlic salt
  • 6 tablespoons of cold, unsalted butter, cubed
  • 6 ounces of freshly grated sharp cheddar cheese
  • 3/4 cup of buttermilk, cold (can be substituted with whole milk)
  • 3 tablespoons of melted butter (for brushing on)
  • Dried parsley (for sprinkling)

Directions:

  1. Preheat the oven to 450°F. Line the baking sheet with parchment paper.
  2. In a bowl, mix together flour, baking powder, garlic salt. Using your hands, mix the cubed butter the flour mixture until flour is able to form crumbs. Mix in the cheese. Add the buttermilk. Combine thoroughly.
  3. Drop the dough into 1/4 cup portions and bake for 16-18 minutes, until golden brown.
  4. Take the biscuits out of the oven, brush on the melted butter, and sprinkle the parsley. Serve these little delights warm.

Final

These treats take less than 30 minutes to whip up. Your home will smell deliciously of biscuits! Your belly will be filled with warm garlicky goodness! Promise you won’t be able to eat just one. Flakey. Crisp on the outside. Fluffy in on the inside.

If you’re lucky enough to have leftovers, put them in the fridge and heat them up for 10 seconds in the microwave. It’s just as tasty!

What do you think? Is this something you can make?

Noms away!
Jay
—–
Recipe adapted from Handle the Heat

Roasted Chicken Recipe

Did you know that Costco sells two Whole Organic Chickens for around $20? Such a great deal!

Usually I make one for dinner, and I’ll freeze the second one until I need it.

Roasting

MG and I make a whole chicken on Sunday night, eat leftover chicken breast with pasta on Monday for dinner, and finish the leftover meat on a Tuesday with a chicken salad during lunch. One $10 chicken for three meals – can’t get any better than that right?

I also love to make a roasted chicken for a dinner party of 4 with some roasted veggies. Spending $15 for a dinner party – can’t complain about that!

Ingredients (only 4):

  • Whole chicken
  • Kosher salt
  • Freshly ground pepper
  • Thyme

Directions:

1. Preheat the oven to 450° F.
2. Using paper towels, dry the chicken really well inside and out. As dry as you can get.
3. Salt and pepper the outside and inside – be generous and coat evenly.
4. Now truss the chicken (Trussing is important. It keeps the tips from burning and the thighs keep the chicken from drying out).
5. Put the bird in a roasting pan. If you have extra bread, you can line the bottom of the pan with bread. This helps dry the heat even more for an extra crispy chicken. However, bread is totally optional.
6. Roast the chicken for 60 minutes, then broil for 5-10 for a crispy skin.
7. Remove the chicken from the oven and sprinkle thyme.
8. Let the chicken rest for 15 minutes on a cutting board.
9. Remove the twine and cut the chicken. Cutting the chicken is such an art form that I’m still learning. First you break off the middle wing pieces. Then you remove the legs and thighs, and the next cut I make is the middle of the breast captivity. I haven’t mastered cutting the oysters out from the backbone. One day I will…
10. Serve and eat!

This chicken is so juicy. The skin is crispy. And it’s such a cheap meal. Yum!

Salting and pepperTrussed and salted 

ReadyReady for the oven

In the Oven
Done roasting!

RestingRemember to let it sit and rest for 15 minutes before cutting into it

DoneThe end product doesn’t look beautiful, but it tastes heavenly! 

Chicken is such a universal meat – you can make casseroles, pair it with salads, cook it in pasta, add it to stir frys, or simply eat it plain. What are some of your favorite chicken dishes? Also what are some ways you make chicken? Please share your recipe!

Who’s hungry?
Jay