
Get into the Halloween spirit with DIY costumes, decor, and themed foods! Start creating traditions now that can be passed down to future generations.
Posts tagged with "roasted"
-
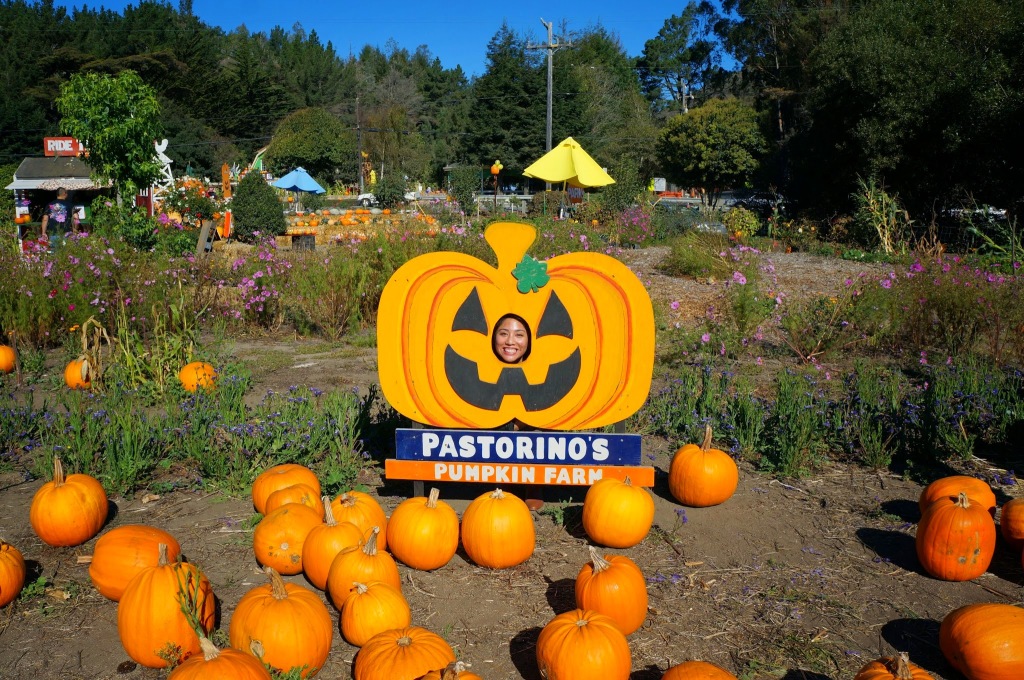 Pumpkin Patch and Carve Party
 -
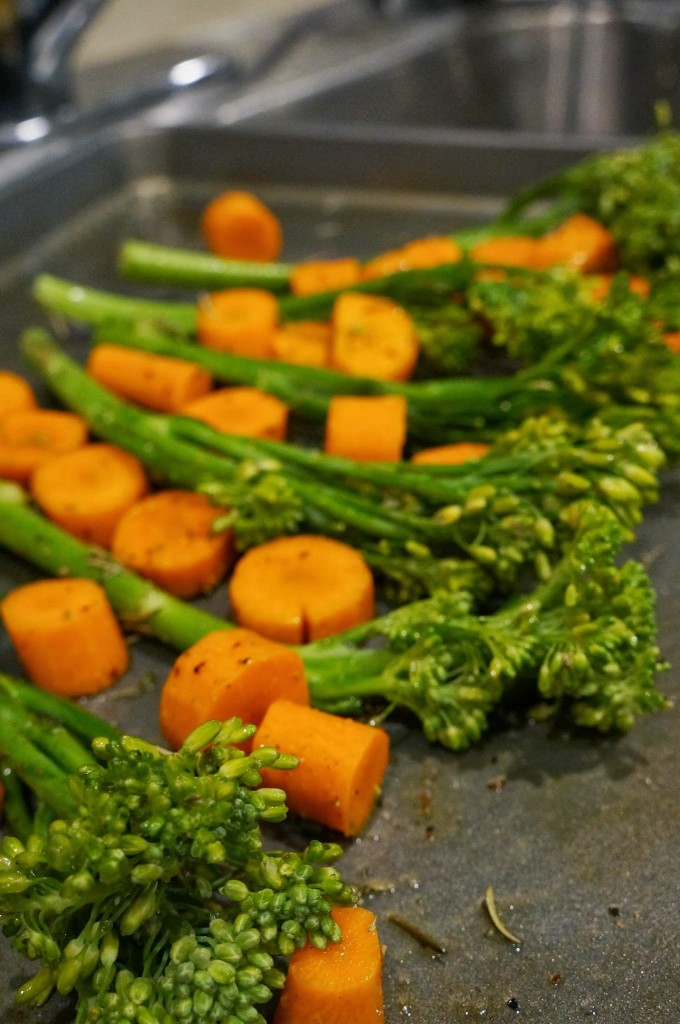 Tried & True Roasted Veggies
Looking for a simple and delicious vegetable recipe? Check out this tried and true roasted veggies recipe that is perfect for snacking or serving to guests. Just drizzle with olive oil, season, and bake for a tasty treat!
-
 Roasted Chicken Recipe
Costco sells two Whole Organic Chickens for around $20 - a great deal! Roast one for dinner and freeze the other for later, creating multiple meals from one $10 chicken.