It’s almost time for the weekend!
This week has been dragging along… The week started with a 5 mile run and 2 hot yoga classes, so I was proud of what I accomplished. Then MG and I got into a huge fight, he flew to Chicago for work, and I just ate a lot of carbs to make me feel better. And then surprise! MG sent a delivery of flowers while he was on his work trip. I’m spoiled by him, I really am. I’ll make him a scrumptious dinner tomorrow night, and we’re probably going somewhere fun this weekend.

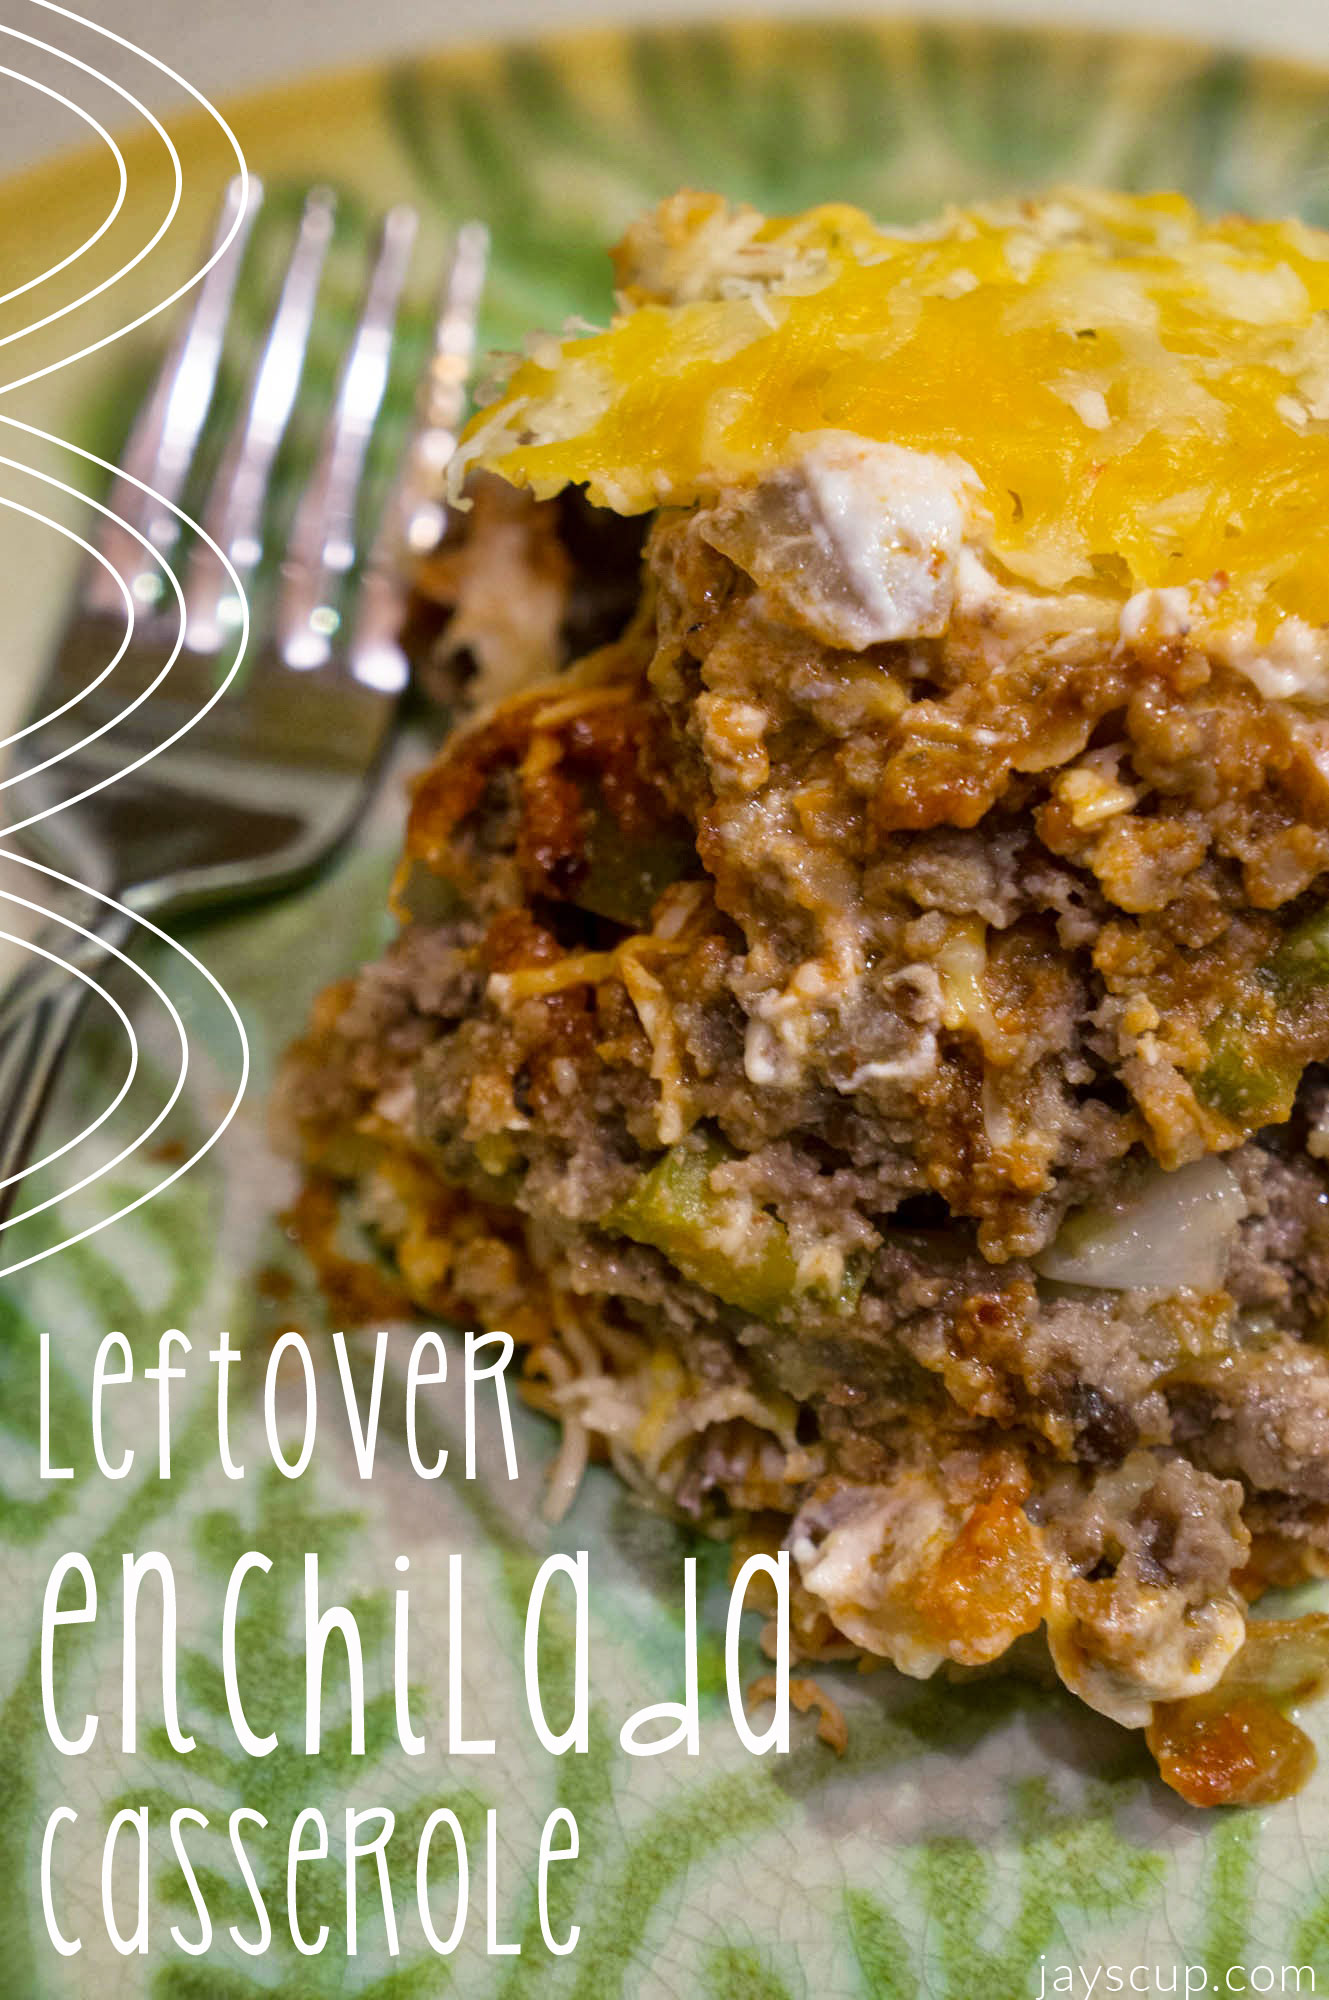
I have another delicious recipe for you today! It’s one of those recipes that are my clean-out-the-fridge dinners. I’ll whip up this enchilada casserole after we have “taco night” and an abundance of leftovers. During make your own taco night, there’s usually no more meat left, but lots of beans, tortillas, and a package of shredded cheese. Is that the same with you?
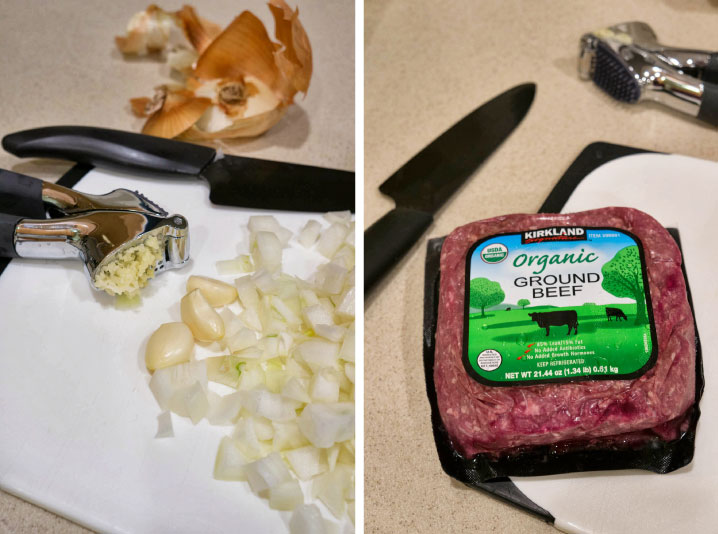
When my friend wouldn’t take the leftovers, I challenged myself to use the ingredients so it wouldn’t go to waste. With some enchilada sauce, ground beef, garlic, and onions, I created my leftover enchilada casserole.
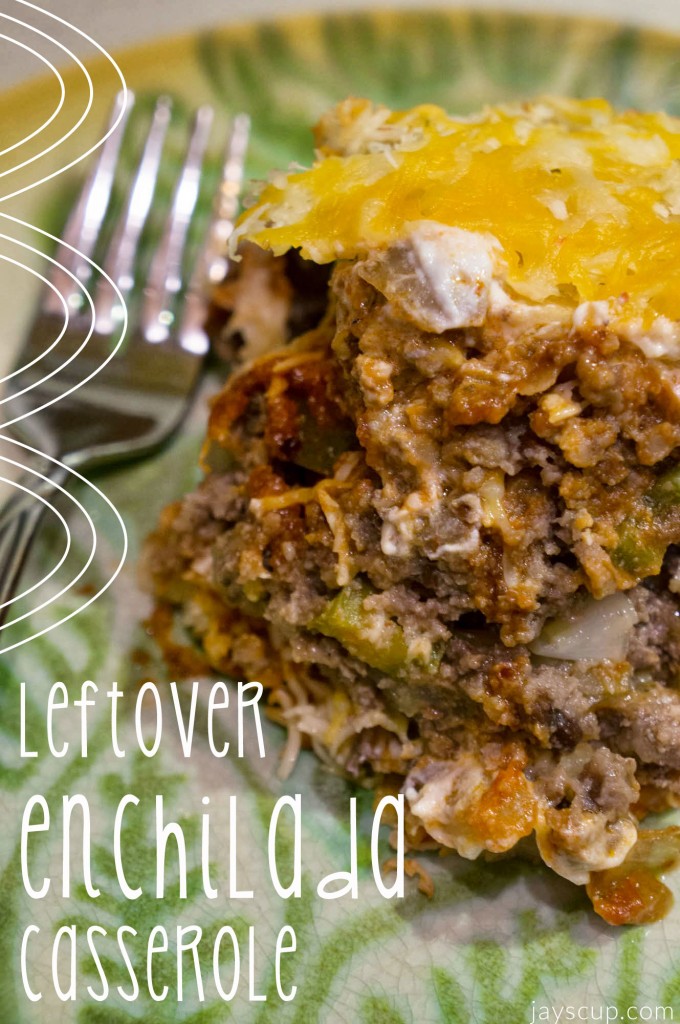
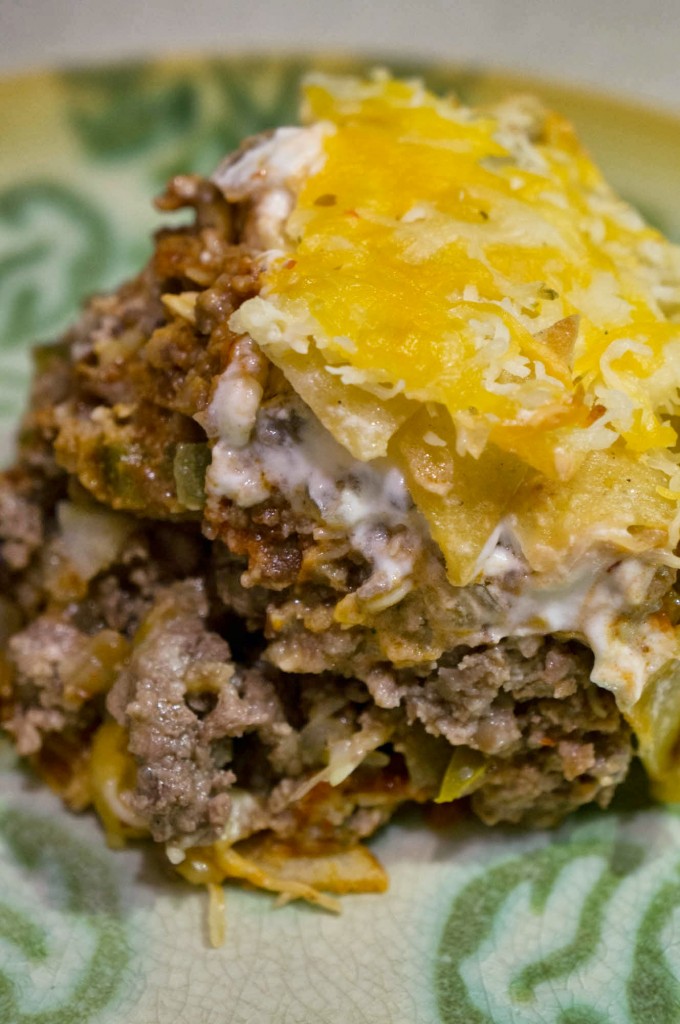
Leftover Enchilada Casserole
servings: 8
Ingredients:
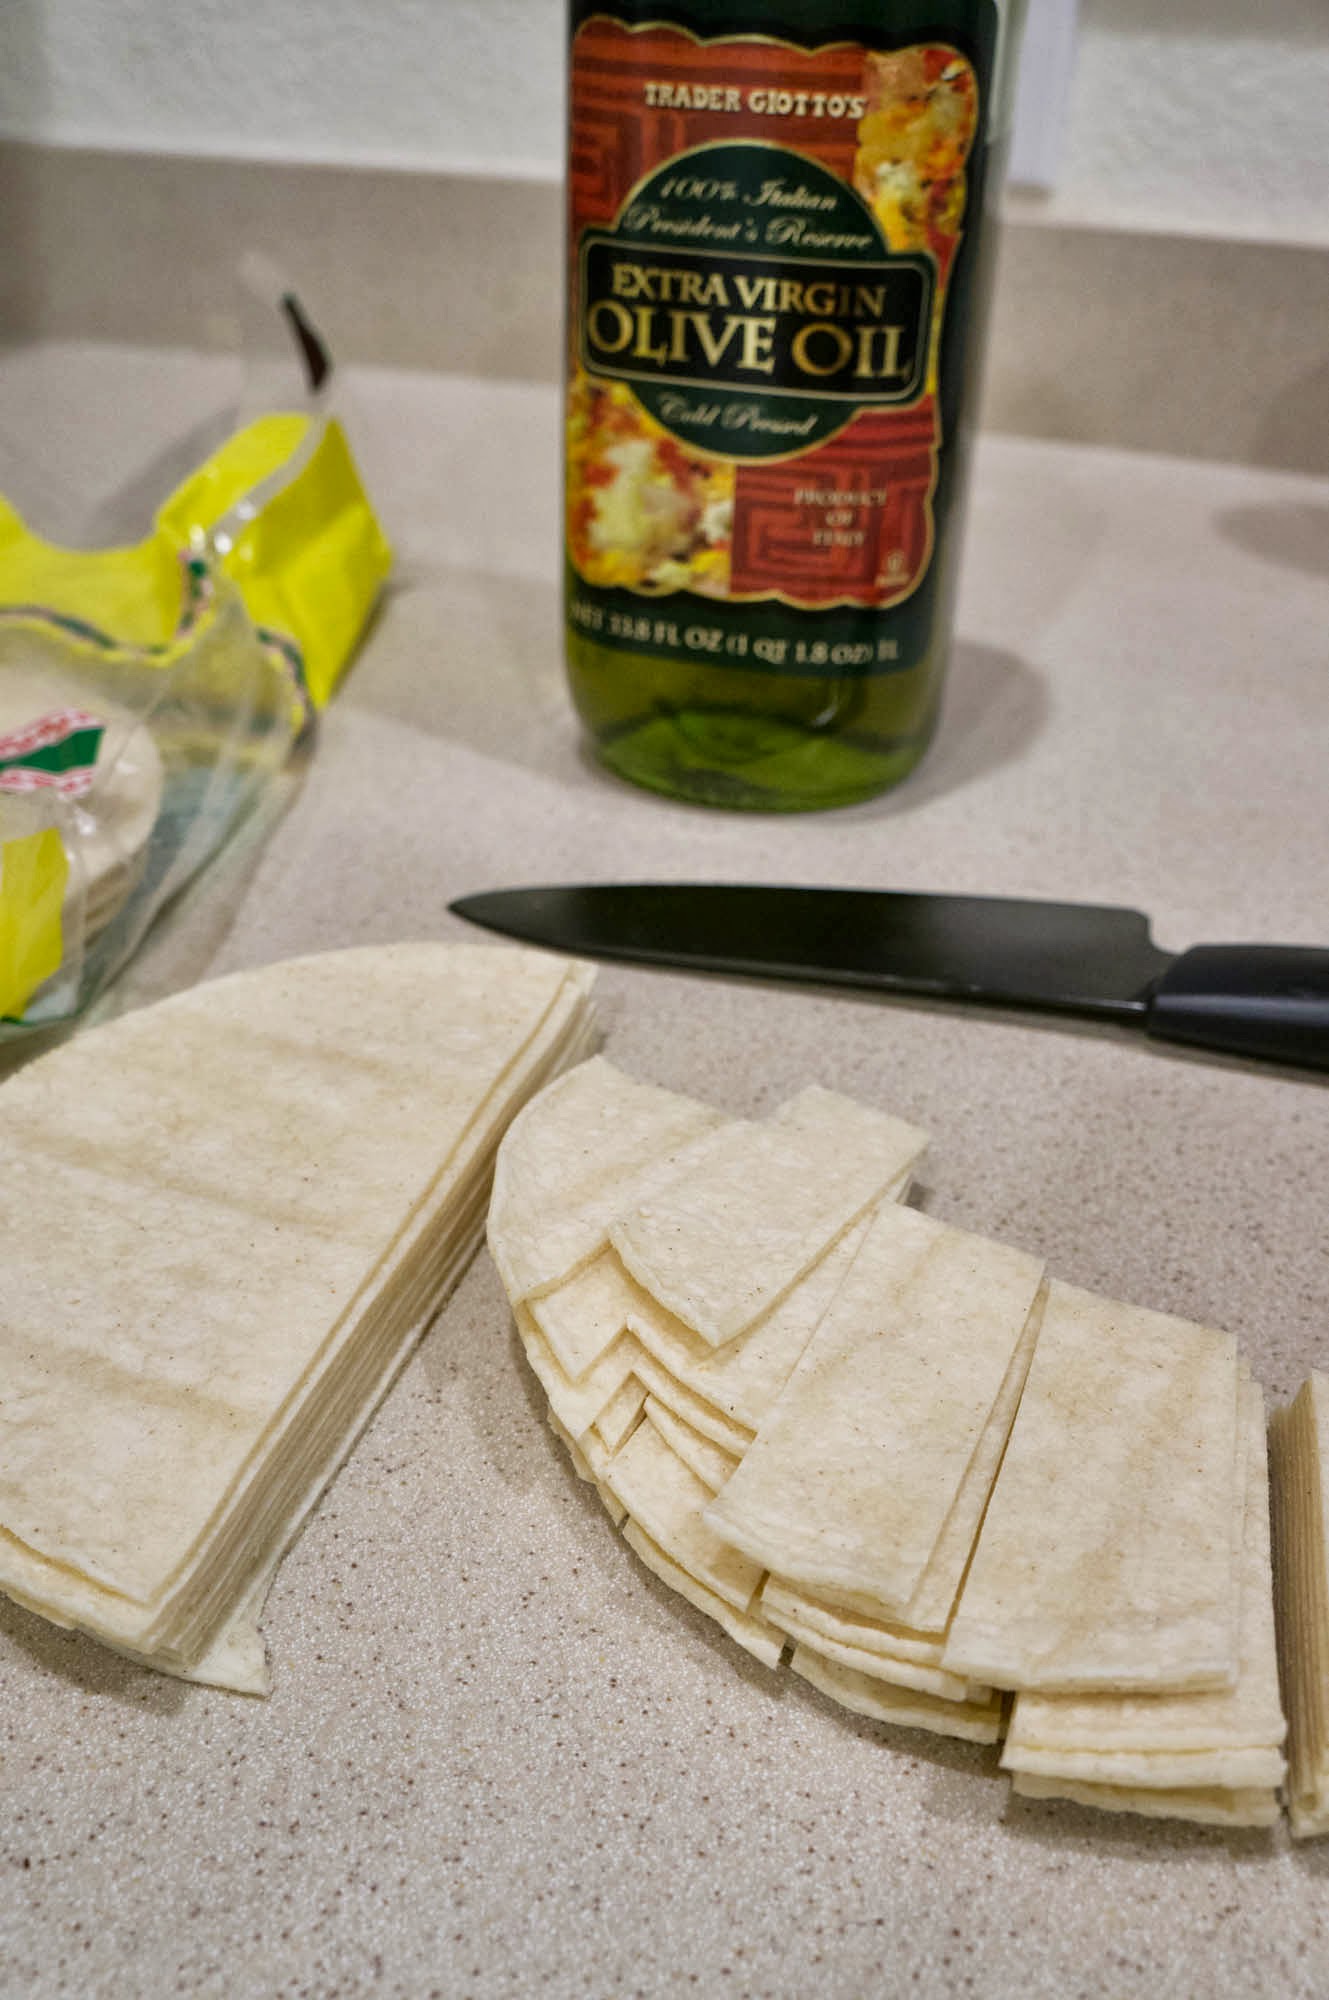
- Olive oil
- 6-8 medium tortillas, cut into stripes
- 1.5 pounds of ground beef
- 1 medium onion, diced
- 2 cloves of garlic, minced
- 2 cups of enchilada sauce
- 1 cup of black beans
- 1-2 cups of sour cream
- 2 cups of grated cheese (I used cheddar and Monterrey Jack)
- Salt for tasting
Directions:
1. Preheat oven to 350°F.
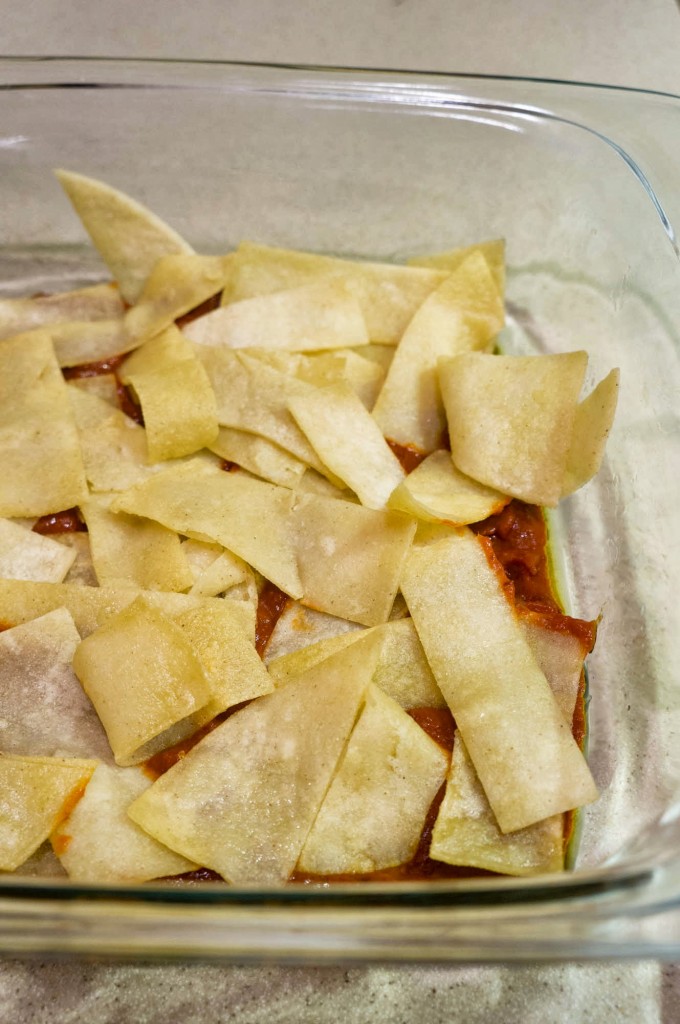
2. Cut the tortillas in a half and into strips. Drizzle olive oil on a skillet over medium heat, and cook a few of the tortilla strips until crisp on each side and set aside on a plate lined with a paper towel. You may need to do cook the tortilla strips in batches until all remaining tortillas are cooked.
3. In a large pan, add olive oil and fry the onion and garlic for 2 minutes. Then add the ground beef and stir fry for 8-10 minutes. Drain the stir fry to remove drippings.
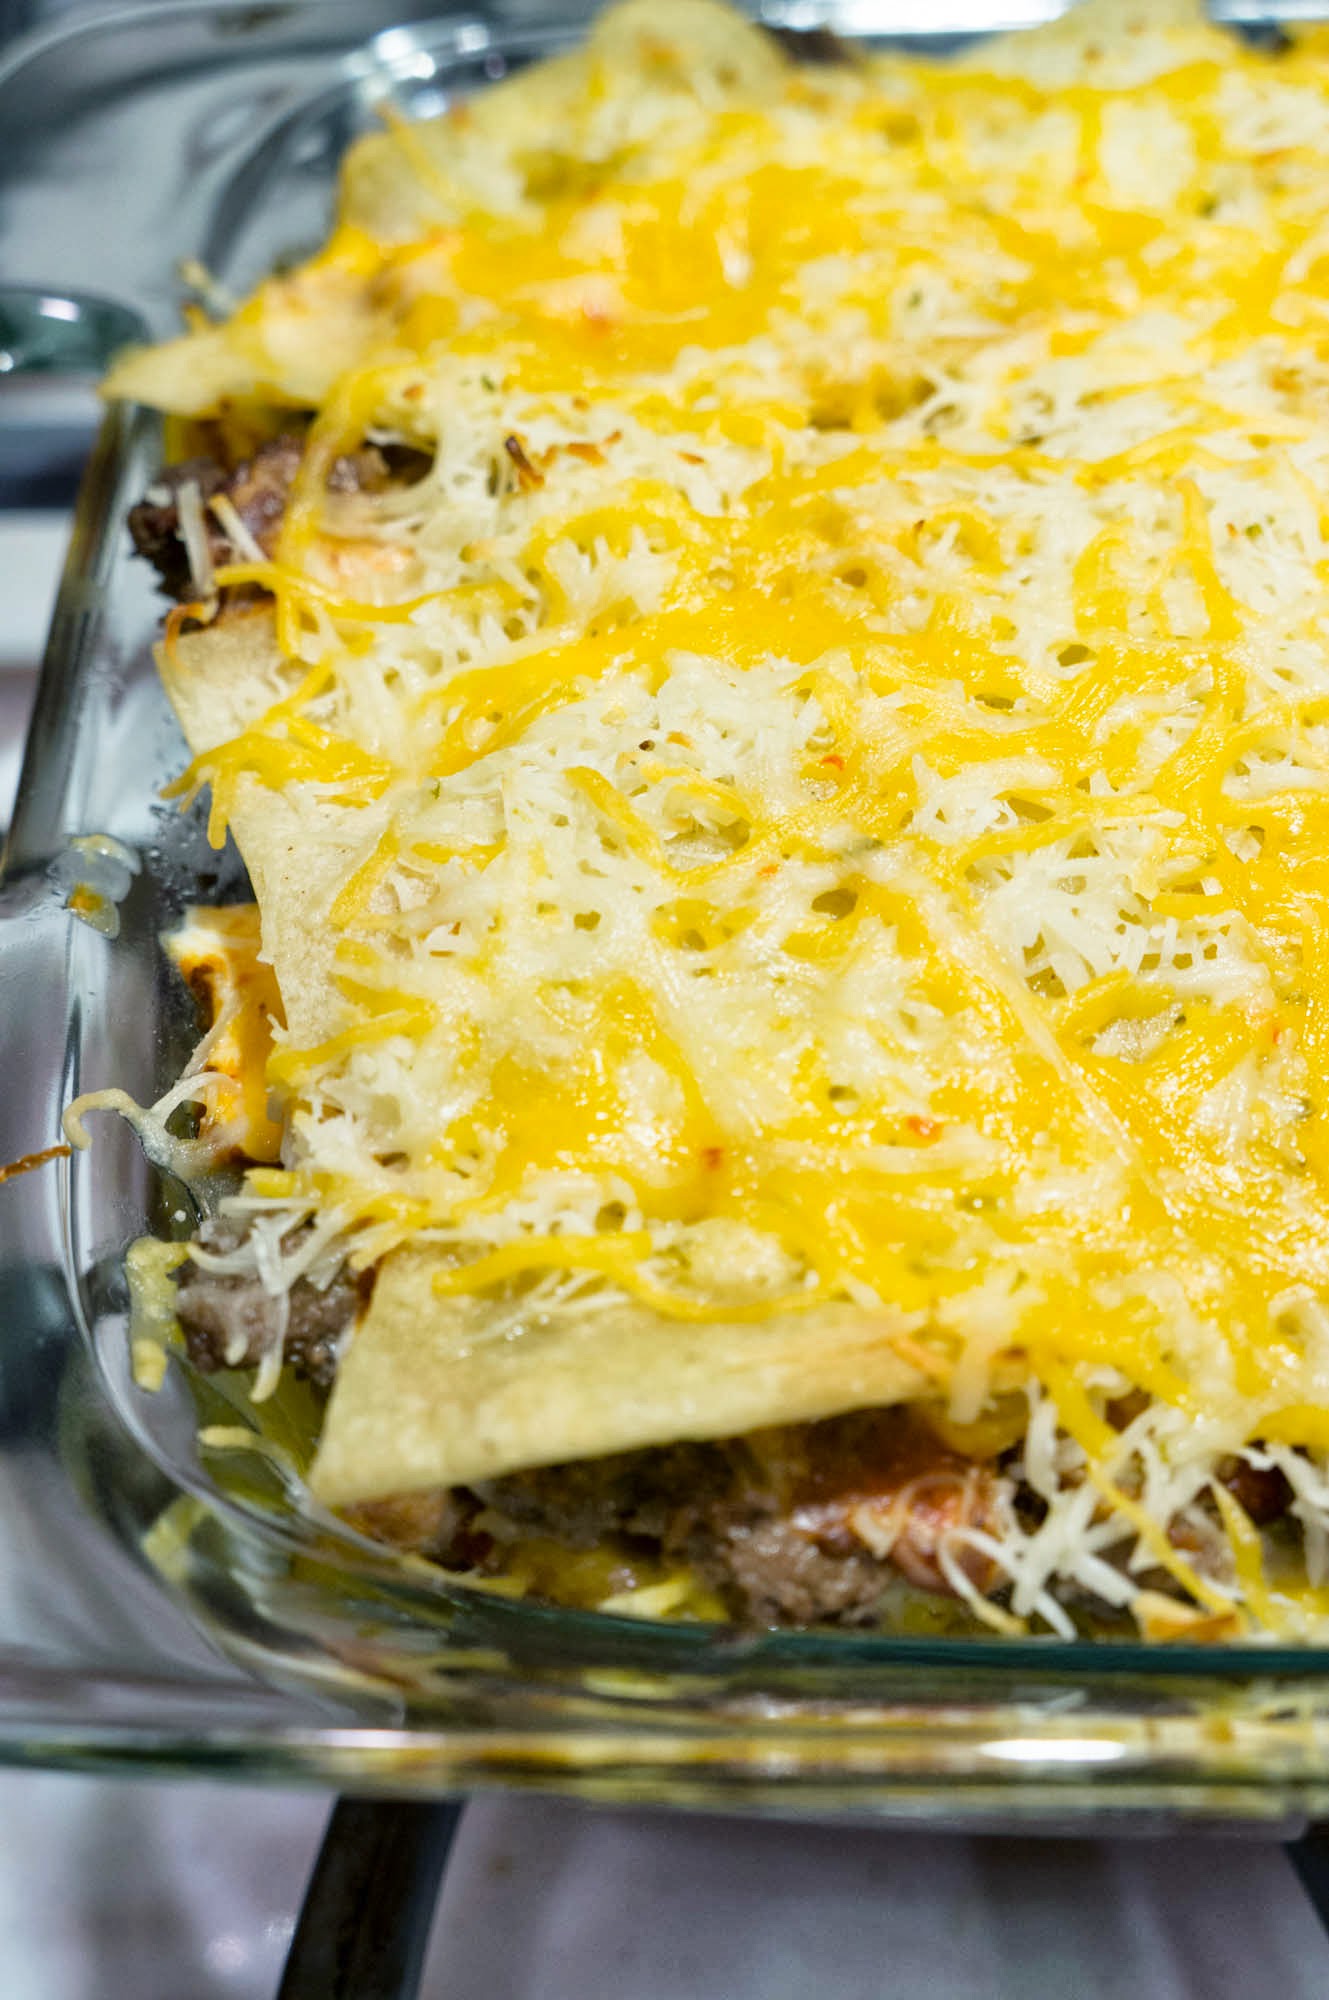
4. Now take a 9×13 casserole dish, and spread 1/2 cup of enchilada sauce to coat the bottom of the dish. Then add slices of crispy tortilla as the second layer, slightly overlapping. Layer on ground beef/garlic/onion mixture evenly, then another layer of enchilada sauce. Spread on sour cream and sprinkle cheese.
5. Repeat layers! Layer on the rest of the ingredients to your desire but end with cheese. Mine goes something like this: enchilada sauce, tortillas, beef, sauce, cheese & cream, tortillas, beef, beans, sauce, cheese & cream, sauce, beef, tortillas, cheese.
6. Bake in the oven until cheese has melted (about 20 minutes).


One great thing about this casserole is that you can make this recipe and freeze it so that the leftovers do not go bad. Once prepared, wrap it up in aluminum foil and stick it into the freezer. The night before you want to make the casserole, put it in the fridge to defrost, and simply bake before you eat it. Baking time may be a bit longer so that all layers are thoroughly heated (approximately 30-40 minutes).
Another awesome thing, use whatever ingredients you like – beans, lettuce, tomatoes, whatever you’ve got! Like I said, use your leftovers and clean out your fridge.
Such a great way to finish up leftovers, and also a great dinner idea if you have friends/neighbors/family members come over on a whim. Who says you can’t serve a guest leftovers!
What are some of your favorite clean-out-the-fridge/leftover meals?
Have a great weekend!
Jay
—–
Pro-tip: I always keep ground beef and chicken breast in the freezer. These are very versatile ingredients with lots of dinner options. Just throw them into the freezer, defrost day-of, and use it for dinner!


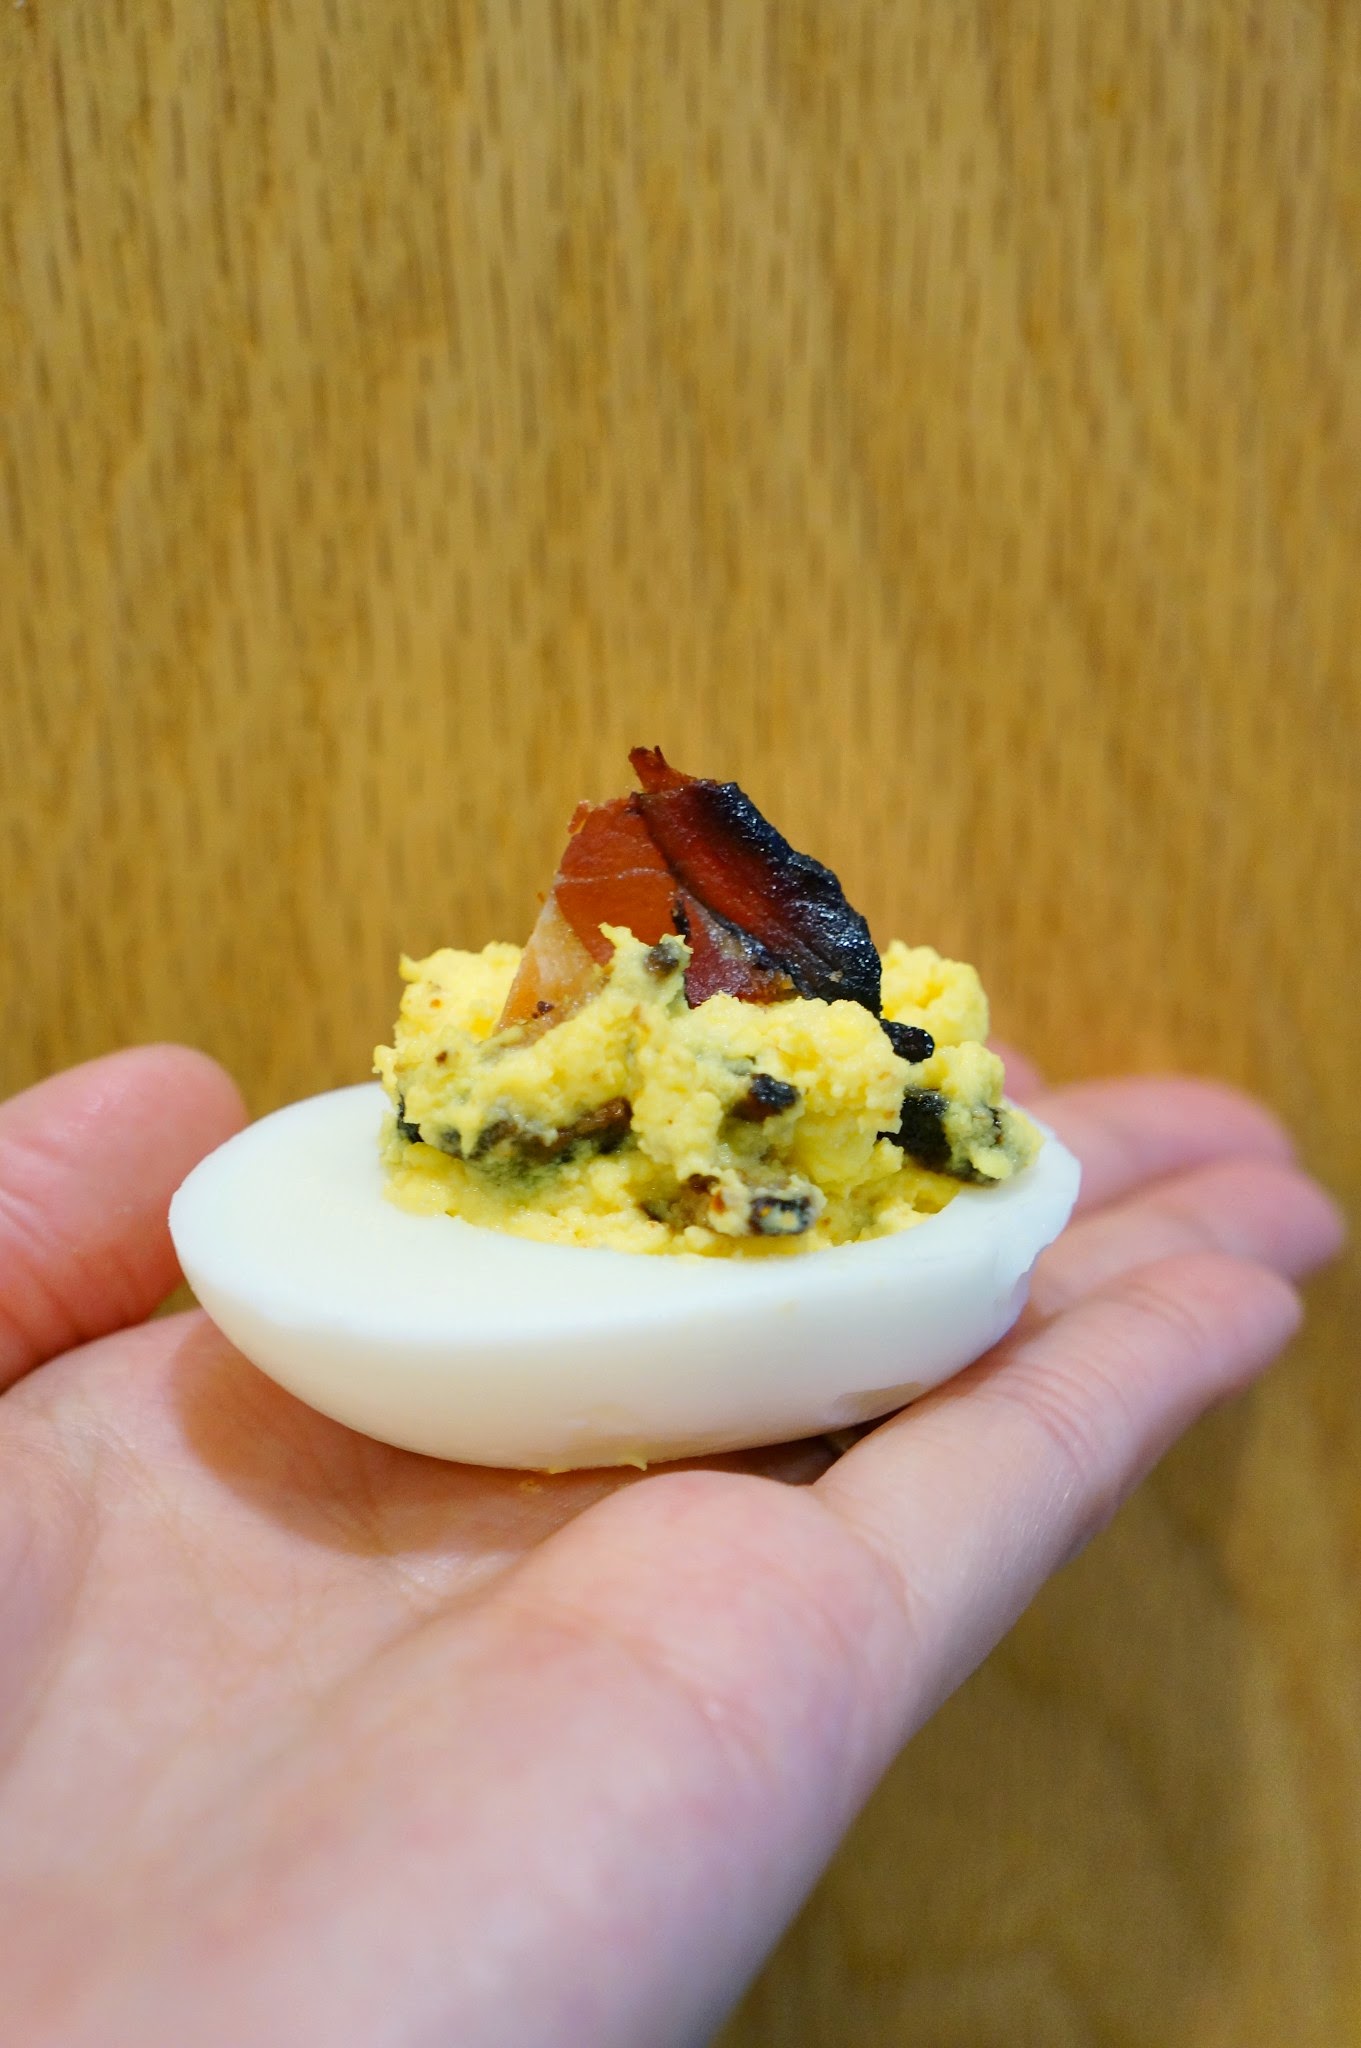
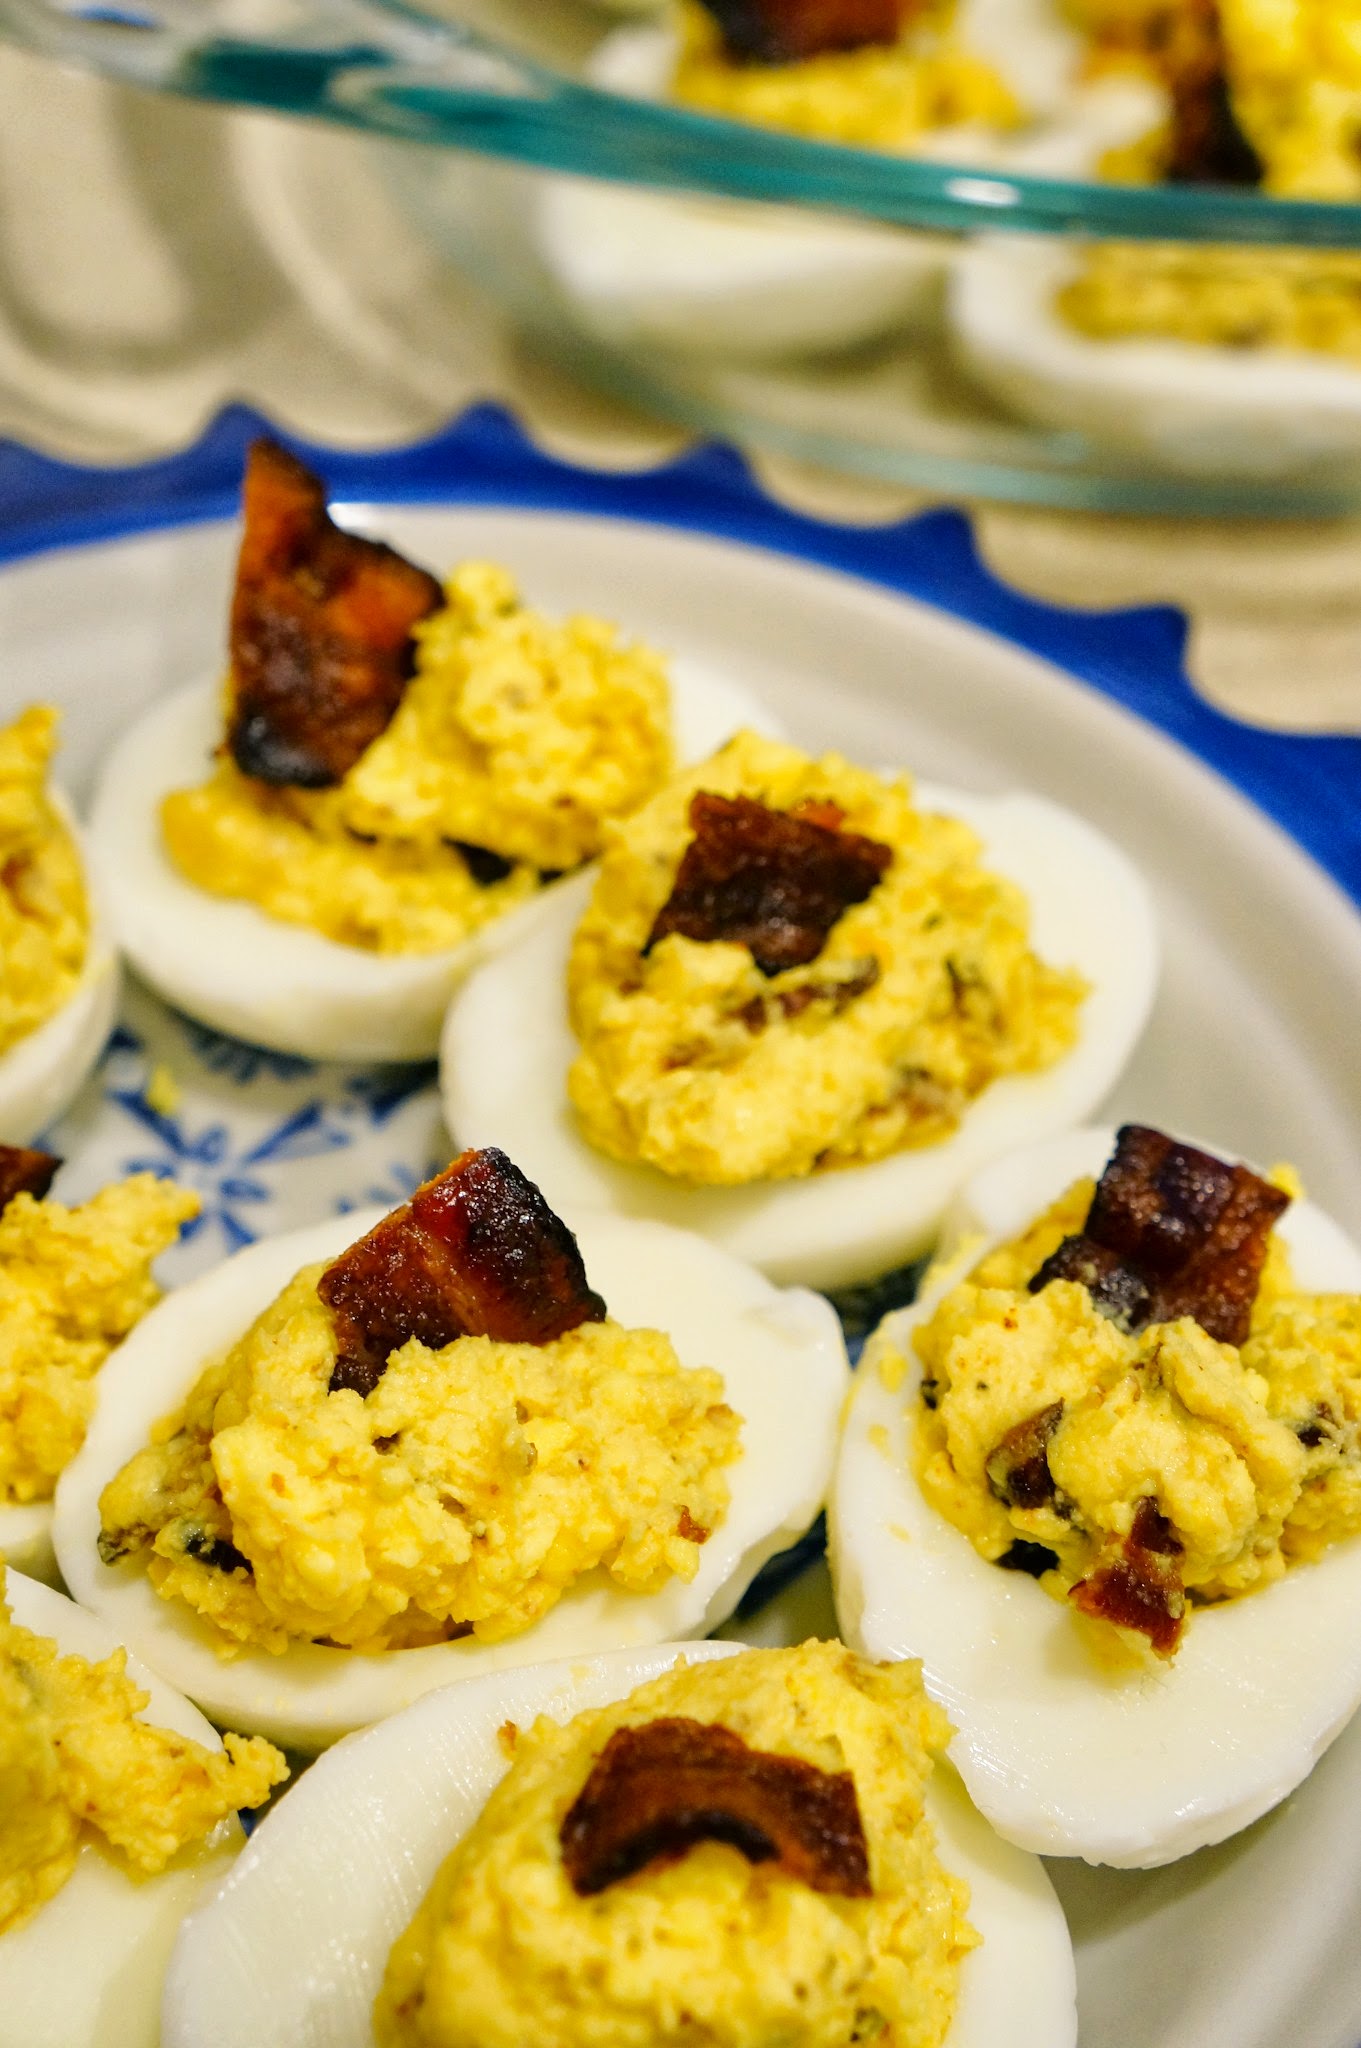


 ^^^ The perfect bite