Yummy Fruit Tart Recipe

Fruit tarts are like little delicate bites of goodness – flakey, sweet, creamy. Yum! No only are they tasty, but also eye candy, so pretty!

Delicious

My sister shared with me this amazing recipe and now it’s your turn to try it out. Typically I make one large fruit tart, but it can’t be easily served. If you have an amateur server, you sometimes get cheated of custard or fruit. I’m sure you know what I mean. You saw that strawberry fall off your piece but then it was served to the next person or worse, your server ate it! And you could have sworn that part of that custard was yours because you can see straight to the pie crust on your plate… The frustration. I get it!

Big tart
A big one is so pretty though!

For this recipe, I made mini fruit tarts because its easier for large parties (especially with Thanksgiving coming up). More importantly, you feel like you had your fair share, all the custard and all the fruits!

By the way, remember that homemade vanilla extract post? It’s time to use it!

Ingredients for vanilla custard:

  • 2 cups whole milk
  • 1/2 cup and 2 tablespoons of granulated sugar, divided
  • 4 tablespoons of cornstarch
  • 2 egg yolks
  • 1.5 teaspoons of vanilla
  • 3 tablespoons of unsalted butter, cut into pieces

Directions:

1. Combine milk and 1/2 cup sugar in a saucepan over medium heat and stir until it’s simmering.
2. Whisk egg yolks and the remaining 2 tablespoons of sugar in a separate bowl. Then add cornstarch and mix until pale yellow and thick.
3. Slowly add milk into the yolk mixture, whisking constantly. Return to medium heat until mix is thickened.
4. Remove from heat and whisk in the butter and vanilla extract.
5. Place custard into a bowl and cover the custard with plastic wrap, making sure that the wrap touches the top of the cream so skin does not form. Refrigerate until cold throughout (can last up to 2 days).

As the custard is cooling, work on the crust!

Directions for the pie crust: Preheat the oven to 350°F. Combine 1/2 cup of confectioners sugar (aka powdered sugar), 1.5 cups of flour, 3/4 cup of unsalted butter (softened and sliced). Knead until the dough feels tacky. Refrigerate for 15 minutes. Spray the muffin pan with nonstick cooking spray. Roll out dough, and flatten it  across each cup of the muffin pan (keep in mind that this recipe is for mini tarts). Bake for 10-12 minutes until light brown. Pop each pie crust out and cool on a rack.

mini piesI flattened each cup with my finger tips

crustTake a butter knife and pop each of these tarts out, one by one

Now put everything together! Scoop custard into the little pie crusts. Decorate with fruits. I also glaze the tops of the tarts with apricot jam (simply microwave the jam until it’s spreadable, let it cool, then brush it onto the tops of the tarts). Glazing is totally optional.

Fruit
Don’t use fruits that brown (fresh apples, fresh pears, fresh peaches, and bananas)

Glazed
Glazed. Told you, eye candy.

YumEnjoy!

What’s your favorite dessert? Are fruit tarts on the top of the list? If you’re making this, who will you be making it for?

I love little delicate bites of goodness,
Jay

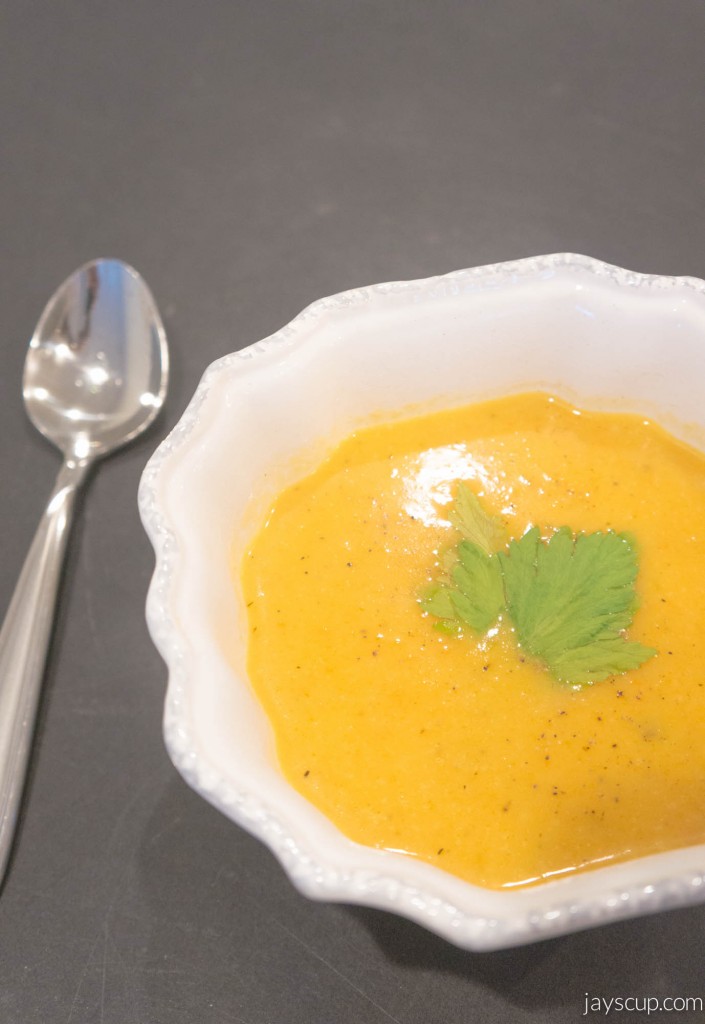
Roasted Butternut Squash Soup Recipe

Next week is Thanksgiving! What will be on your dinner menu?

I’ve been going to Costco very frequently since I started juicing. MG and I buy all our organic veggies in bulk. Now that it’s the Fall season, I came across a big box of organic butternut squash, already cut up into bite sized chunks! Yes, an exclamation mark because there’s that much excitement!

I then ventured to make butternut squash soup, and I’m so glad I did! I revised a Whole Foods recipe, and now I’m definitely making roasted butternut squash soup as an appetizer for Thanksgiving dinner. It’s an easy soup to make, and you can make a big pot of it so it’s perfect for guests.

Soup

Ingredients:

  • 2 tablespoons olive oil
  • 1 cup of diced carrots
  • 1 celery stalk, diced
  • 1 onion, diced
  • 2 teaspoons of chopped ginger
  • 4 cups cubed butternut squash
  • 1/4 teaspoon dried thyme
  • 4 cups low-sodium chicken broth
  • 1/2 cup of coconut milk
  • 1.5 tablespoons of Thai red curry paste
  • Salt and pepper

Directions:

1. First things first. Preheat your oven to 350°F. As the oven is heating up, lay out the butternut squash chunks onto a baking sheet, drizzle olive oil and salt and pepper generously. Once the oven is heated, roast the squash for 40 minutes or until chunks are soft. When time is up, let the squash cool. Practice self-control and don’t snack on all the squash!
2. In a large pot, heat up the oil. Throw in the carrots, celery, onion, and ginger and cook until the onions are translucent (about 5 minutes). Then add the roasted butternut squash and thyme and cook for about 2 minutes.
3. Stir in chicken broth, coconut milk, and red curry paste. Bring to boil and then simmer for 30 minutes.
4. This is the tricky part. Use an immersion blender to purée the soup. I don’t have an immersion blender, so I scooped out all the veggies, and puréed the ingredients in a blender then added everything back to the soup base.
5. Ladle soup into bowls and enjoy!

Roast
Roasted butternut squash is such a yummy snack! Simply drizzle olive oil, sprinkle salt & pepper, and roast in the oven for 40 minutes at 350°F.

Yum
So creamy and delicious!

DrinkDon’t burn your tongue!

DoneAll clean! 

I love the spicy kick from the curry. I love the thickness of the soup. I love the warmth in my belly after I drink a bowl. So tasty!

What are you making for a Thanksgiving appetizer? Do you have your own butternut squash recipe you can share with us? Is this something you can try?

Are you hungry now?
Jay
—–
Original Whole Foods Recipe