
Get into the Halloween spirit with creative food ideas and themed costumes showcased in this post, complete with DIY floating candles and mummy potatoes!
Posts tagged with "halloween"
-
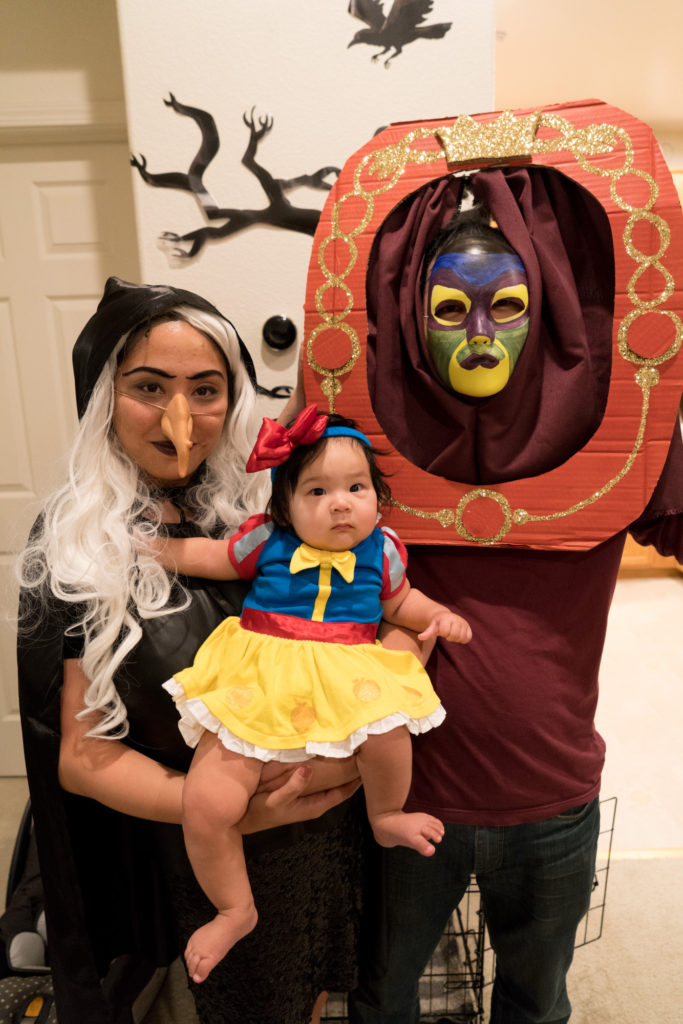 Halloween 2016
 -
 Halloween Potluck
A Halloween Potluck filled with creative and spooky dishes - from pumpkin fried in salty egg yolk to red bean paste desserts, this blog post has all the festive food ideas you need for next year's celebration!
-
 DIY Monster's Inc Costumes
Get inspired for Halloween with these DIY Mike Wazowski and Sulley costumes from Monsters Inc! Learn how to create these fun and easy looks for the holiday season.
-
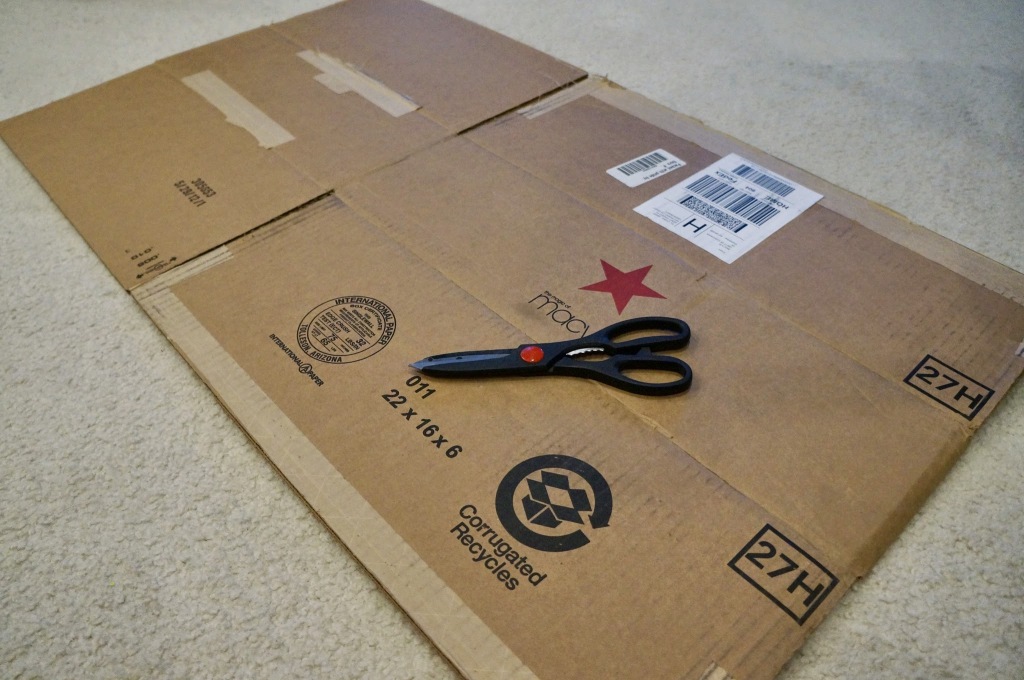 DIY Cardboard Halloween Decor
Get creative with Halloween decor by using cardboard and poster board to make spooky cutlery and zombie barricades. Save money by waiting until after Halloween for discounted decor items. Happy Halloweek!
-
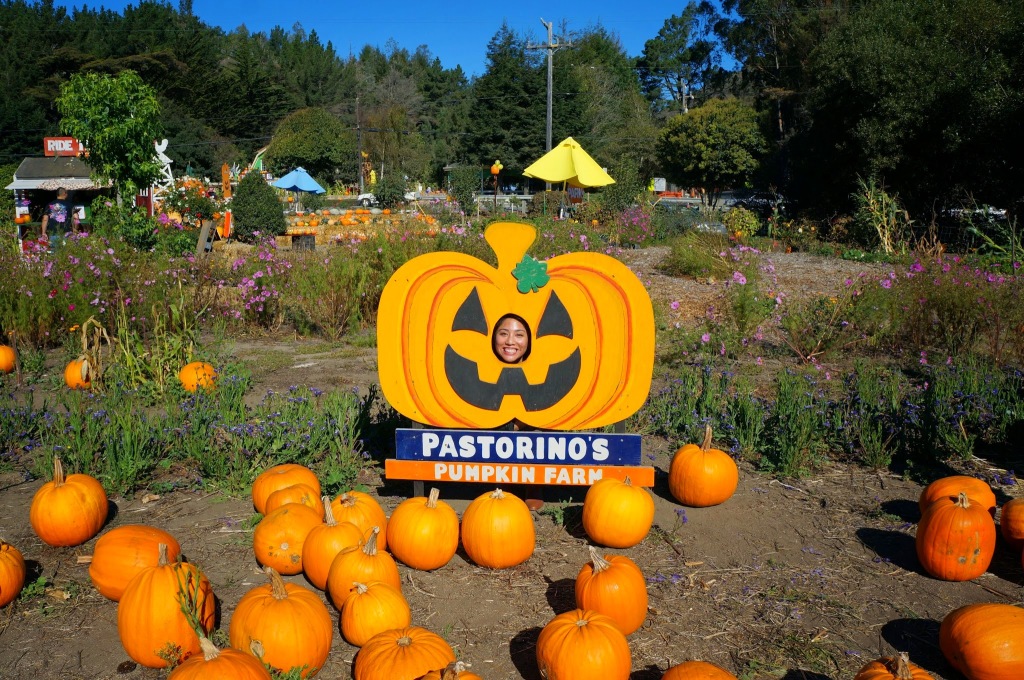 Pumpkin Patch and Carve Party
Get into the Halloween spirit with DIY costumes, decor, and themed foods! Start creating traditions now that can be passed down to future generations.
-
 Halloween Potluck 2013
Get a taste of the Halloween Potluck hosted by the Lams with Ectoplasm Pasta, Monster Balls, and Cheesecake Brownies - all served with a side of spooky fun!
-
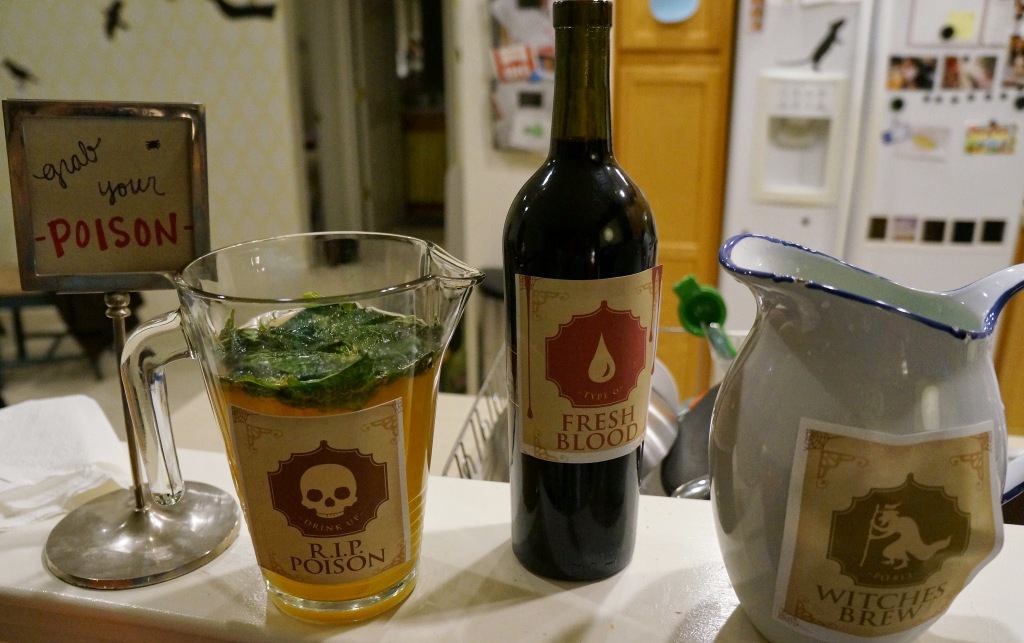
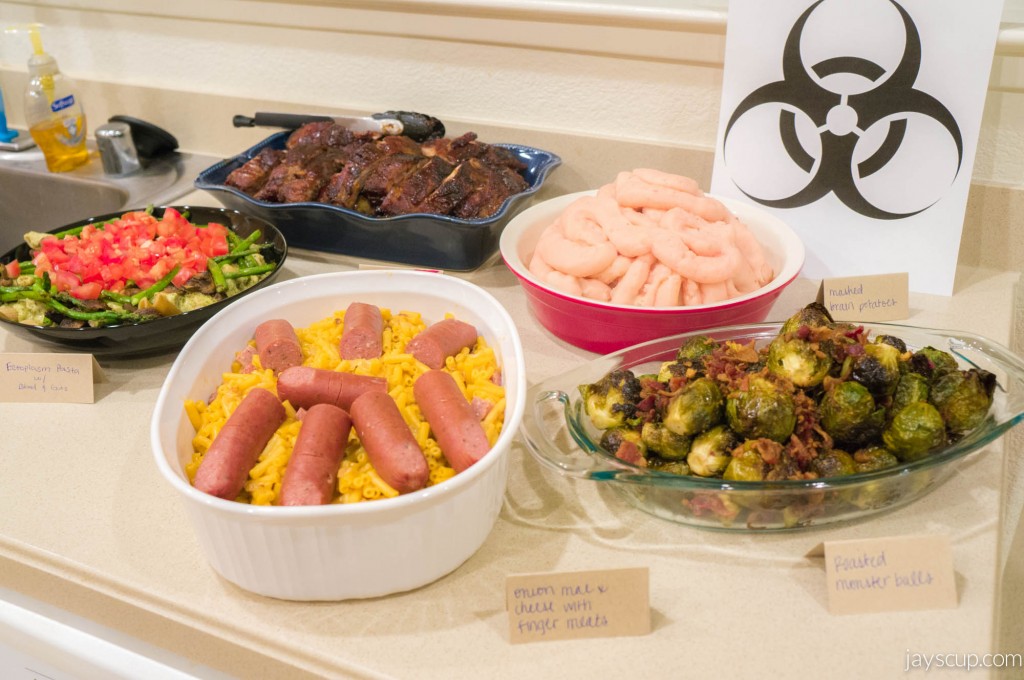
 Happy Halloween!
Get inspired for your Halloween celebration with this creative themed food and drink ideas, including ribs, guts jam, sausage fingers, and brain-shaped mashed potatoes. Love, Jay & Chubs.
-
 Annual Pumpkin Carving Party
Embracing the Fall/Winter season with pumpkin carving parties and roasted pumpkin seeds - a great way to kick off the holidays and start new traditions with loved ones.
-
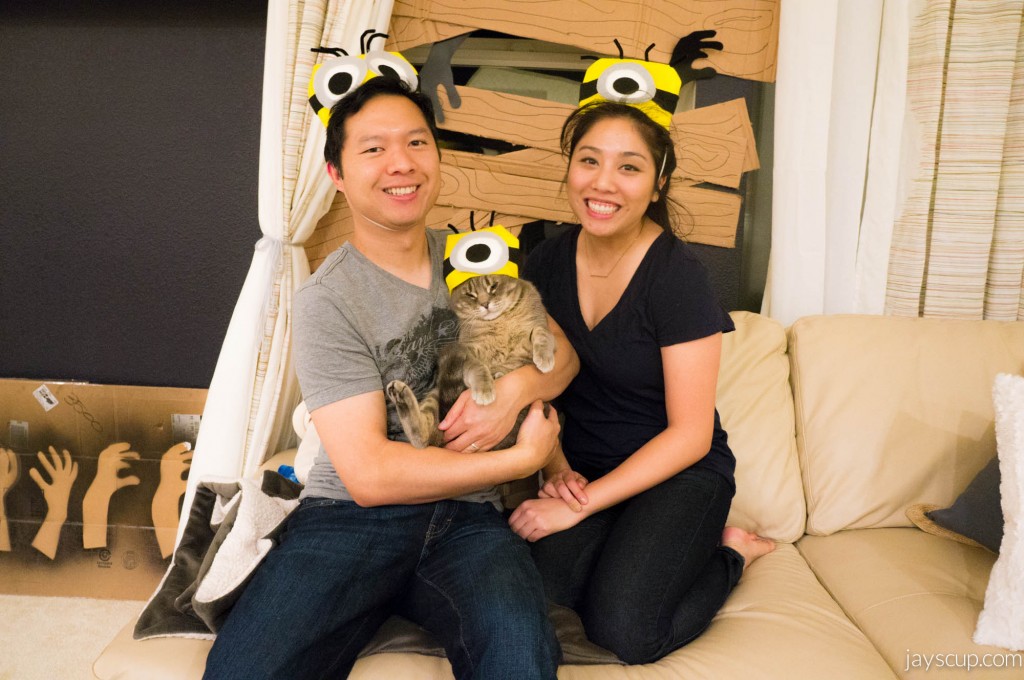
 DIY: My Little Minion
Get ready for Halloween with this easy DIY Minion costume for your pet! Simply sew, cut, and glue felt to create an adorable outfit that will surely get lots of "OMG, SO CUTE" reactions. Enter a comment below for a chance to win a costume for your furry friend!