
Exciting news - I'm starting a freelancing job at an ad agency! But don't worry, I'll still be posting on Mondays, Wednesdays, and Fridays. Today's post features my quick and delicious chorizo mussels recipe - perfect for a flavorful and easy dinner option.
Posts tagged with "homecooked"
-
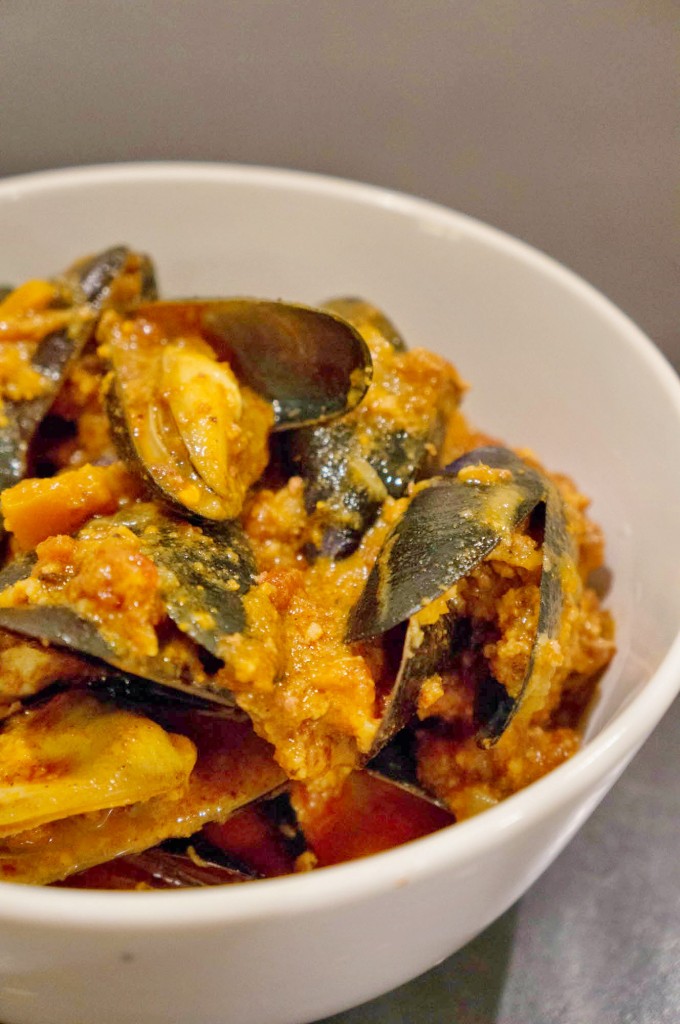 Chorizo Mussels Recipe
 -
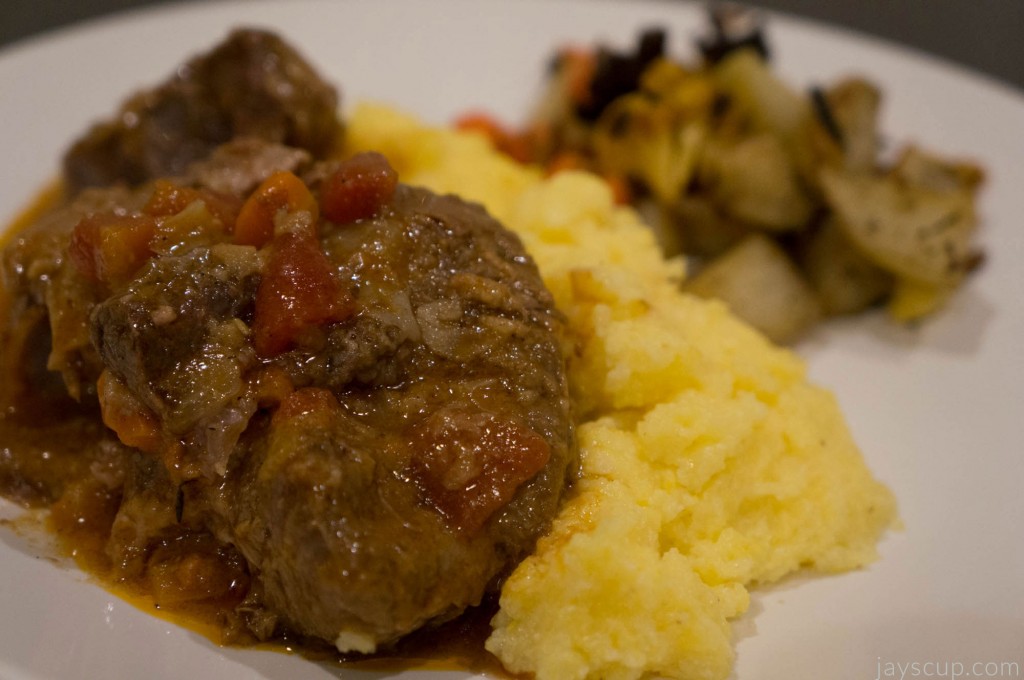 Beef Osso Buco (Jay's Way)
Indulge in the delicious flavors of osso buco with this easy recipe using a pressure cooker. Perfect for a dinner party or a cozy night in, this Italian dish will leave you wanting more.
-
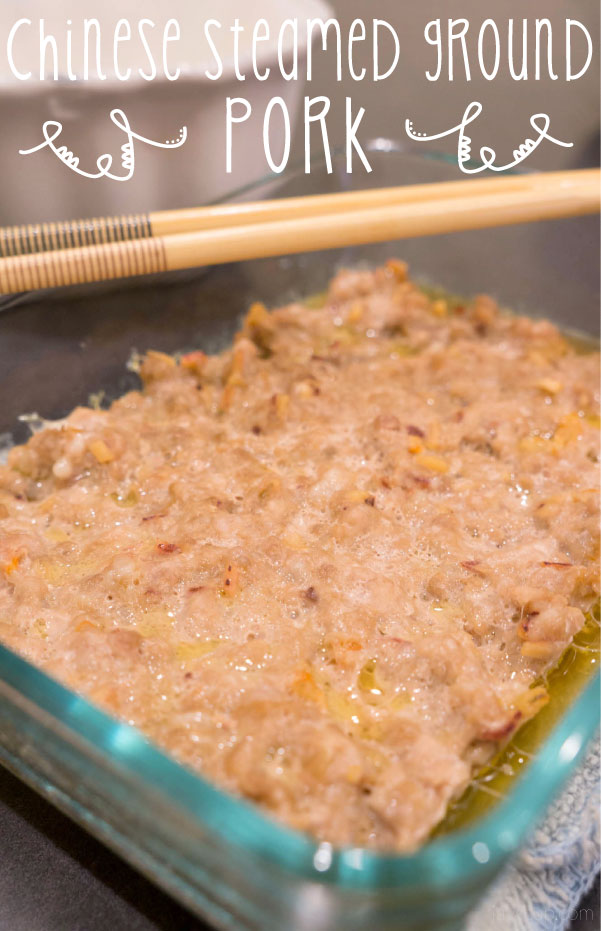 Chinese Steamed Ground Pork
Embrace your Chinese heritage with this easy and delicious Chinese steamed pork recipe, full of flavor and perfect with rice. Just be careful not to overeat and end up "miserably angry"!
-
 Chinese Steamed Egg
Indulge in the comfort of Cantonese-style Chinese dishes with this easy and delicious recipe for steamed egg. Perfect for a cozy meal at home!
-
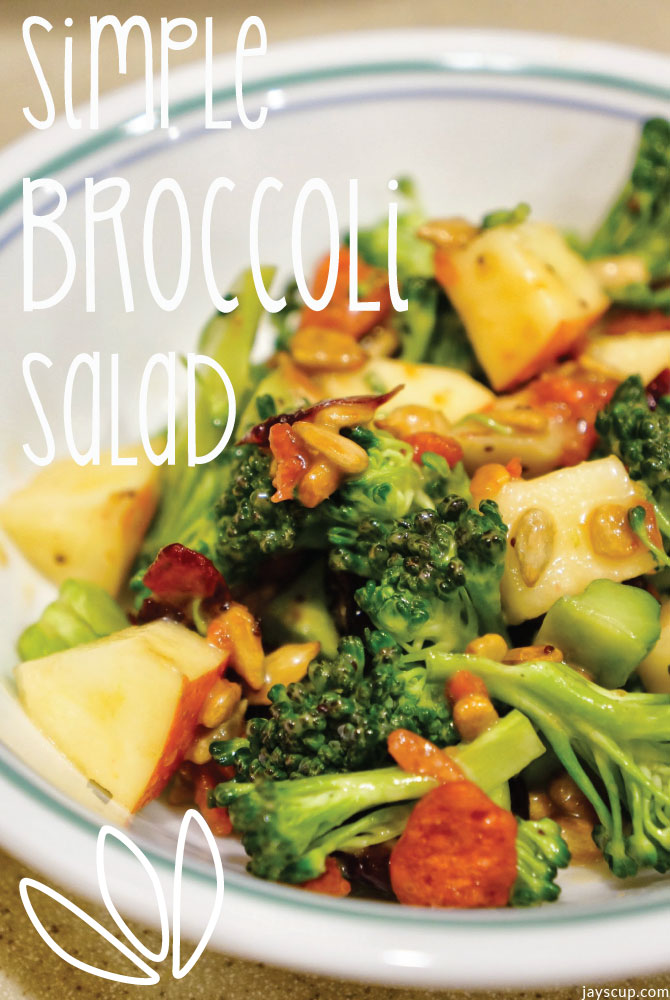 Simple Broccoli Salad
Enjoy the warm weather with evening runs and a delicious broccoli salad recipe that's easy to make and perfect for summer nights!
-
 Leftover Enchilada Casserole
Leftover Enchilada Casserole is the perfect recipe for using up taco night leftovers. With ground beef, beans, and cheese, this dish is a delicious way to minimize food waste and enjoy a flavorful meal.
-
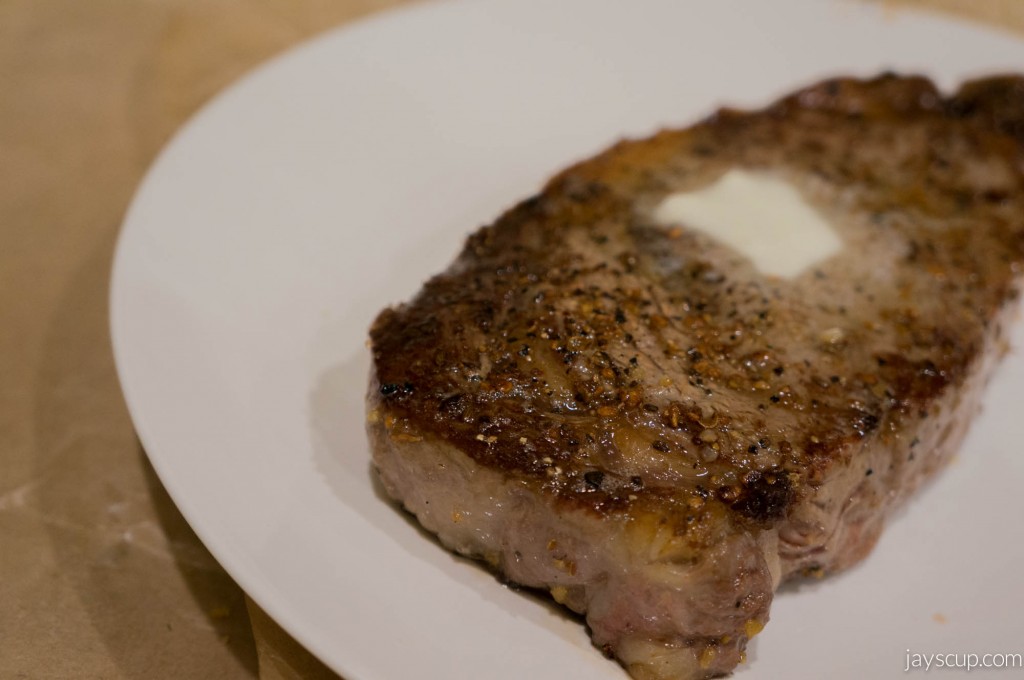 The Legendary Steak
Indulge in the perfect steak at home with this easy recipe that guarantees a juicy and flavorful result every time. From choosing the right cut of meat to the final searing and baking process, your homemade steak will rival any restaurant's.
-
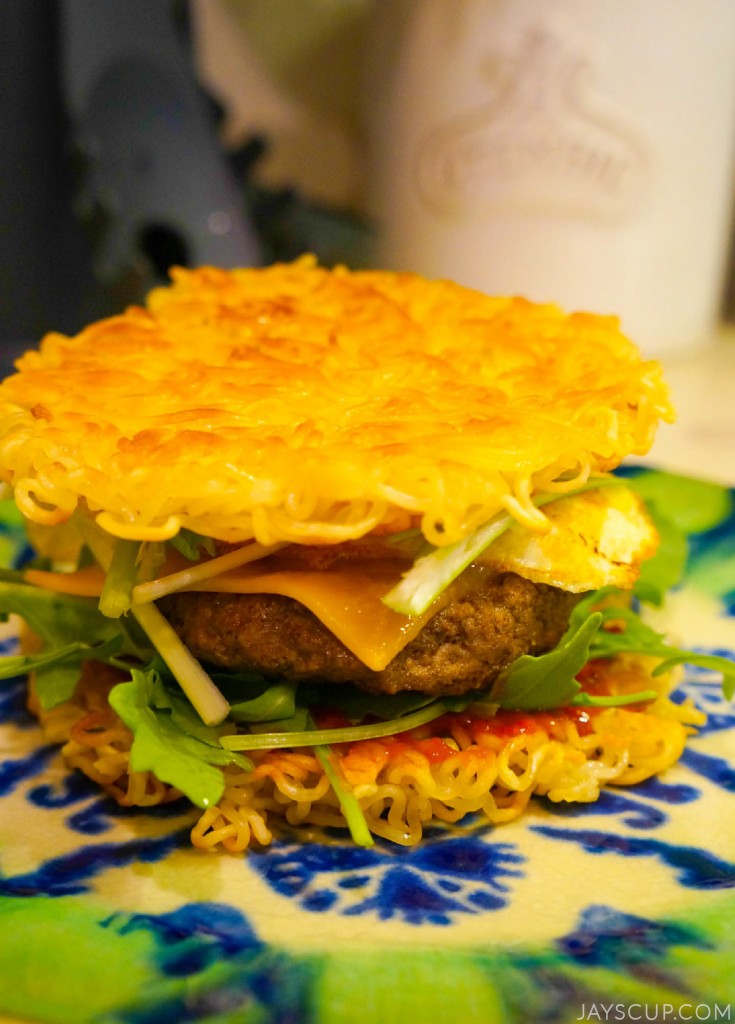 Make Your Own Ramen Burger
Indulge in the latest food craze - the Ramen Burger! Learn how to make your own with a juicy patty, crunchy noodles, and a runny yolk flowing onto your tastebuds.