DIY: Wall Stencil

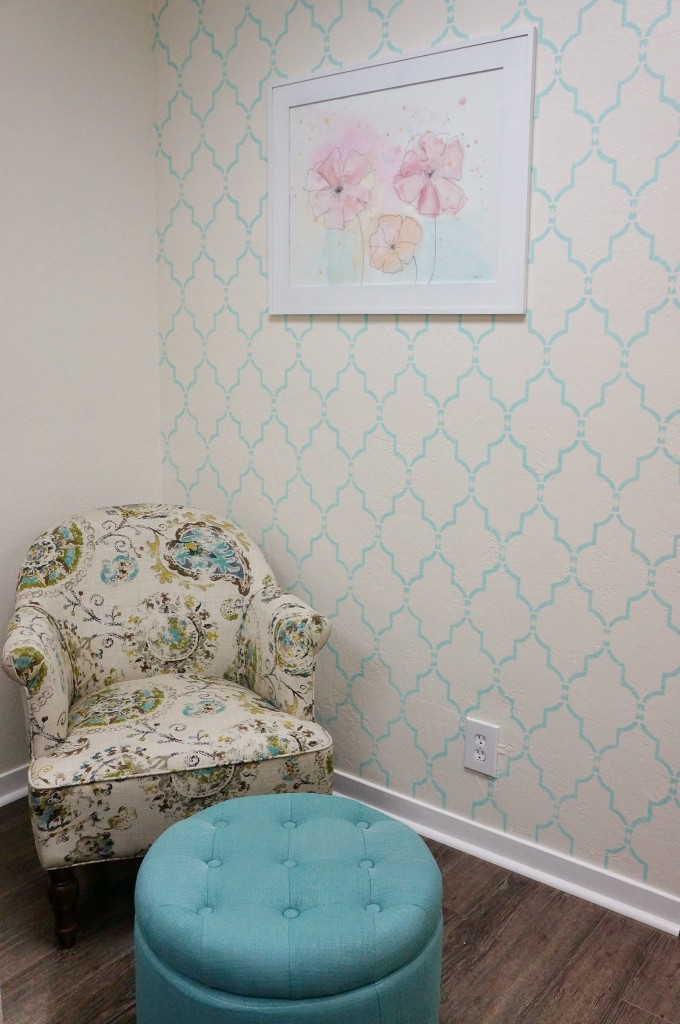
I’m so happy with the turnout of the dental office! I’m especially pleased with the stenciled wall to give it that extra somethin’ somethin’.

Dentist office

Just a fun fact, I actually stenciled my wall at home the exact same trellis pattern but in yellow. The wall took me half a week to complete at home because it’s a 10 ft x 20 ft. The office only took me 1 day to finish since it’s a smaller surface area.

For the dental office, I wanted a surprise element when patients walked through the front door. This stencil was perfect. Plus, I got to reuse it from my house so I saved money there!

If you’re interested in stenciling, here’s an easy DIY step-by-step. Honestly, it’s super easy, but be warned, it does take patience!

DIY: Wall Stenciling

Paint supplies

Supplies:

Directions:

  1. First off, prep your station. If you’re a messy one, lay out some tarp to protect your floors. Use painter’s tape to mask surfaces that will not be painted. Pour some paint into your tray.
  2. Now spray the back of your wall stencil with spray adhesive. This acts like the sticky part of a sticky note. It will help keep your stencil in place while painting. The stencil should be sticky to the touch but not wet.
  3. Okay, now really think about where you want your stencil to be on the wall. Perhaps you want to start in the middle of your wall. Maybe you want to the stencil centered above your doorway. Eyeball the perfect position and then stick your stencil onto the wall (this is where that adhesive spray comes in handy). If your stencil is a bit heavy (or like mine was used before), use painter’s tape to keep it from falling off the wall.
  4. Let’s get to painting! Dip your foam roller into the paint evenly. Roll it out on the tray as much as possible. Then roll the foam roller on a paper towel to get out all the excess paint. When I say less is more here, I mean it 100%. If the roller is too thick with paint, there will be seepage on your stencil. If paint does seep, here’s where that cup of water comes in handy. Dip a paper towel into the cup of water and simply clean the paint up. Since the paint is wet, it’s quite easy to wipe away the extra paint. Here is the weblink to find top quality paint that you require.
  5. Now that all the excess paint is out, roll your paint onto the stencil. It should be a light layer.
  6. Then take your stencil brush and fill in edges and gaps of the stencil where the roller couldn’t reach. Use circular motions.
  7. Once you’re done painting the first set, let it dry a little before moving on. My specific stencil overlays the next set of patterns. You simply have to line up the pattern. Depending on your stencil, you may need to do this too.
  8. Keep at those steps and remember roll out the excess paint!
  9. For the edge of the wall, the stencil company should have sent little pieces of the pattern. These are useful for those hard to reach nooks and crannies.
  10. When you’re done, stand in awe because you’ve completed a huge project!

It’s also important to note that the paint can warp the pattern as it becomes so thick and caked on. If the pattern starts to warp, it’s time to peel the paint off your stencil and clean it. Keep that in mind while painting.

Supplies
Supplies

Stencil^^^ Stick it onto the wall! There’s yellow from my previous project but the stencil still works fine

PaintRoll

Paper towel^^^ I can’t emphasize enough how important this step is! Roll… Roll… Roll…

RollingFinally onto the wall! 

Stencil brushGet the edges of the stencil…

Painting^^^ I know you see them!

Feet
Whoaaaa! So glad we got rid of that green carpet! 

Done
Project complete!

In my element

I’m honestly in my element when there’s paint on my hands and I have dirty feet!

What’s great is that this stencil can be used over and over again. When you’re done painting, the paint can be easily peeled off the stencil. Afterwards, I typically soak it in my tub for a bit to clean the rest of the paint off.

Have you ever used a wall stencil? How was your experience? Do you think this is something you can try? Have I inspired you?

With love,
Jay
—–
Balmy Seas paint by Behr

Housewife to Two Jobs

I’m working again!

I’m currently freelancing at Chemistry Club, doing what I do best, media. Yup, at it again. It’s advertising, and it’s what I know! I’m working part-time, Monday through Wednesday. I’m also working on a side project, interior decorating a dental office. Two part-times equal one full-time job right?

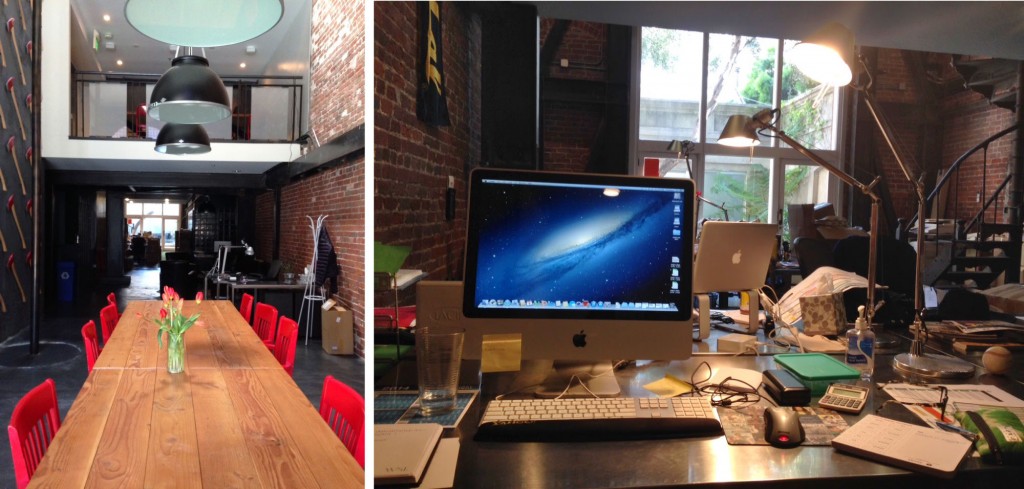
officeHere’s the front of the office and my workspace. This space used to be a firehouse so it has a really cool warehouse feel. There’s a fire pole to the left of the first picture!

job2Here’s my second job. I went into the office on Saturday to paint. It’s sneak peak to what I will one day share on the blog! When I’m painting, I’m in my true element!

And since now I have places to be and people to see, in other words, I’m actually leaving the house and not wearing PJs all day… gotta go shopping and get me some bling! I got two new beautiful gold rings and a statement necklace. Eepppp I love them!

jewelry

And if all this isn’t new enough for you, I’m cat-sitting my cousin’s fluff ball! Chubs and Toby have become playmates now!

cats

Have an awesome week! I’m leaving for Austin on Friday to attend my sister’s graduation. Then I’m going to Europe for three weeks! I’ll be on hiatus while on vacation. I’ll still be posting the rest of this week so come back to see what I’m up to!

What did you do this weekend?
Jay