
After completing a month and a half interior design project for a dental office, the clients loved the new look incorporating seafoam, peach, and champagne colors. The waiting room features a wooden frame notice board for a polished finish.
Posts tagged with "project"
-
 The Office Reveal
 -
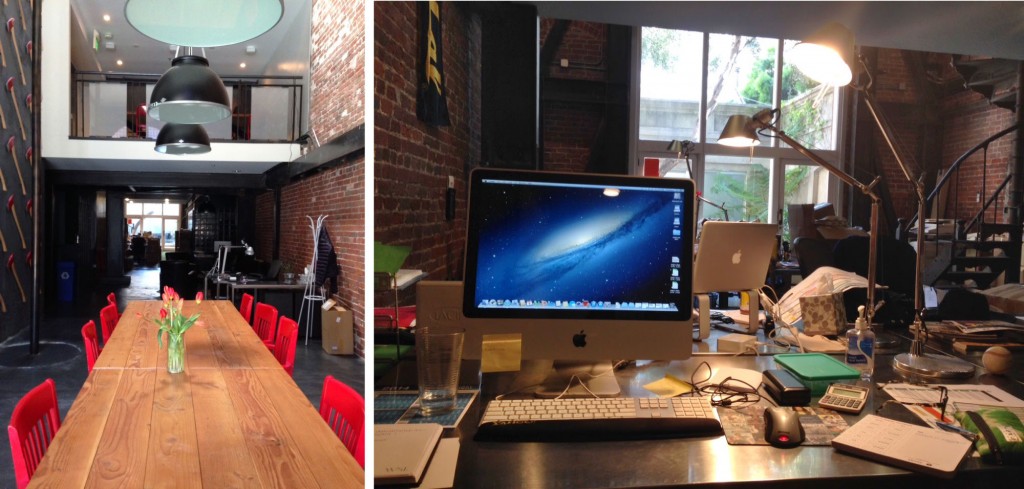 Housewife to Two Jobs
Working part-time at Chemistry Club and interior decorating a dental office, this blogger is back in the game and loving every minute of it! Plus, new bling, cat-sitting adventures, and upcoming travel plans make for an exciting week ahead.
-
 DIY: The Ultimate Wire Holder
Looking to organize your wires and cables? Check out this DIY project for the ultimate wire holder using poster tubes and a crate. Perfect Valentine's Day gift for the wire hoarder in your life!
-
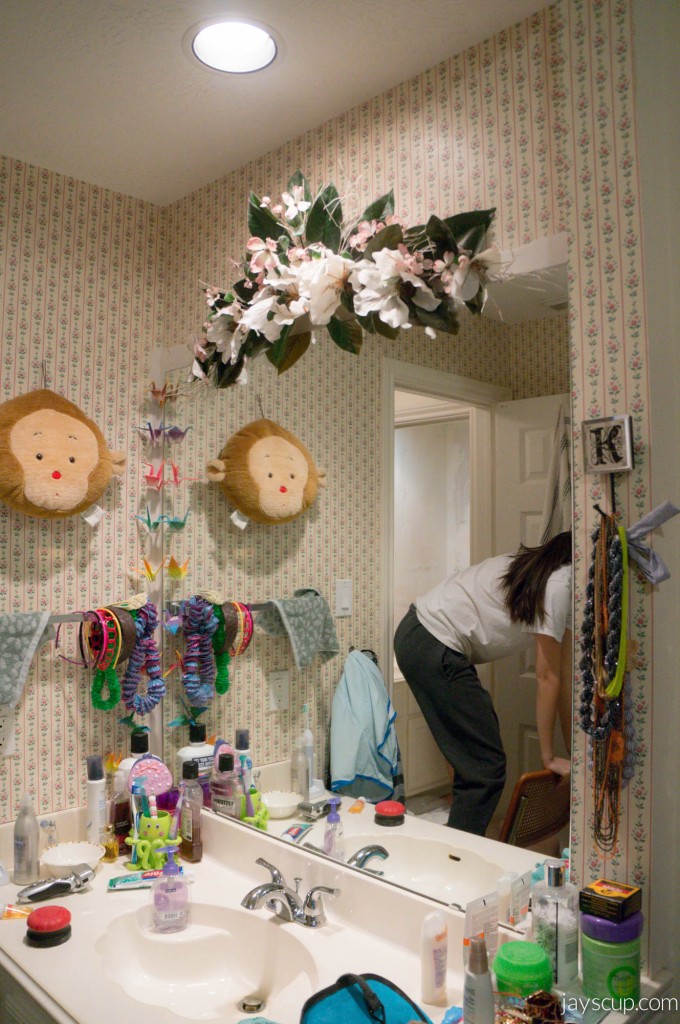 From Wallpaper to Paint
Transforming a bathroom with new glass doors turned into a challenging DIY project due to wallpaper glued directly onto drywall, requiring multiple steps and days of drying in between.
-
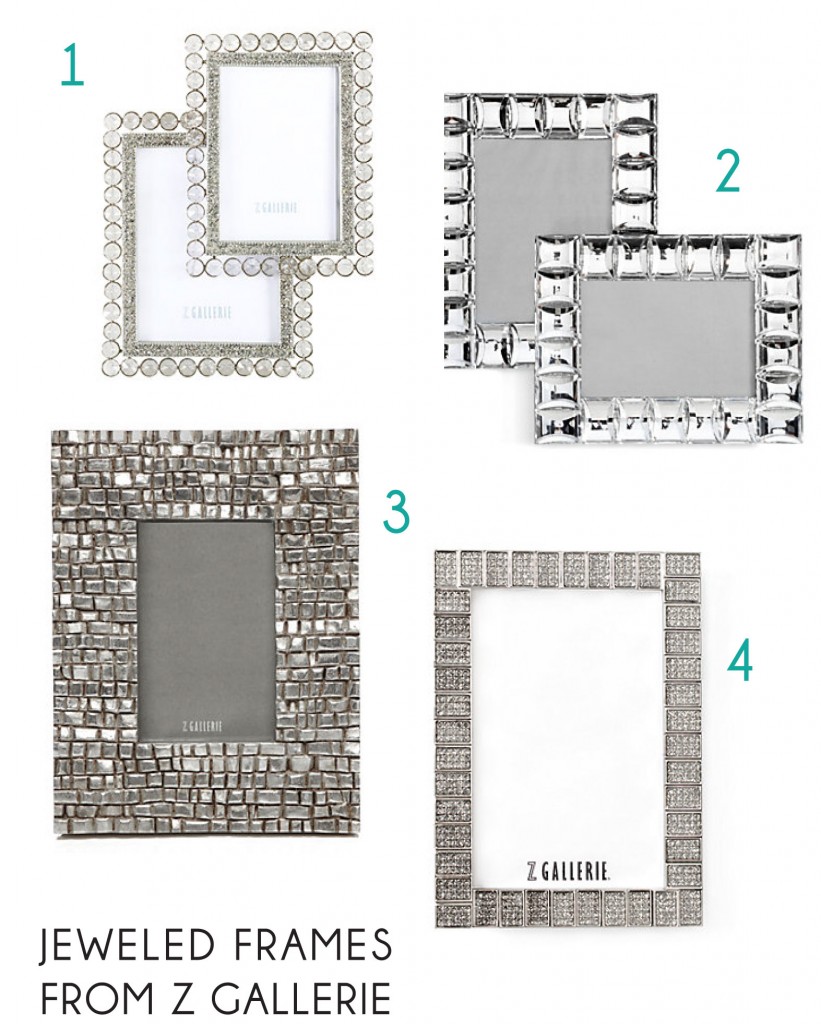 DIY: Jeweled Frames
Create your own jeweled frames for under $5 with this easy DIY tutorial using mosaic tiles, beads, and craft glue. Perfect for displaying photos or giving as gifts!
-
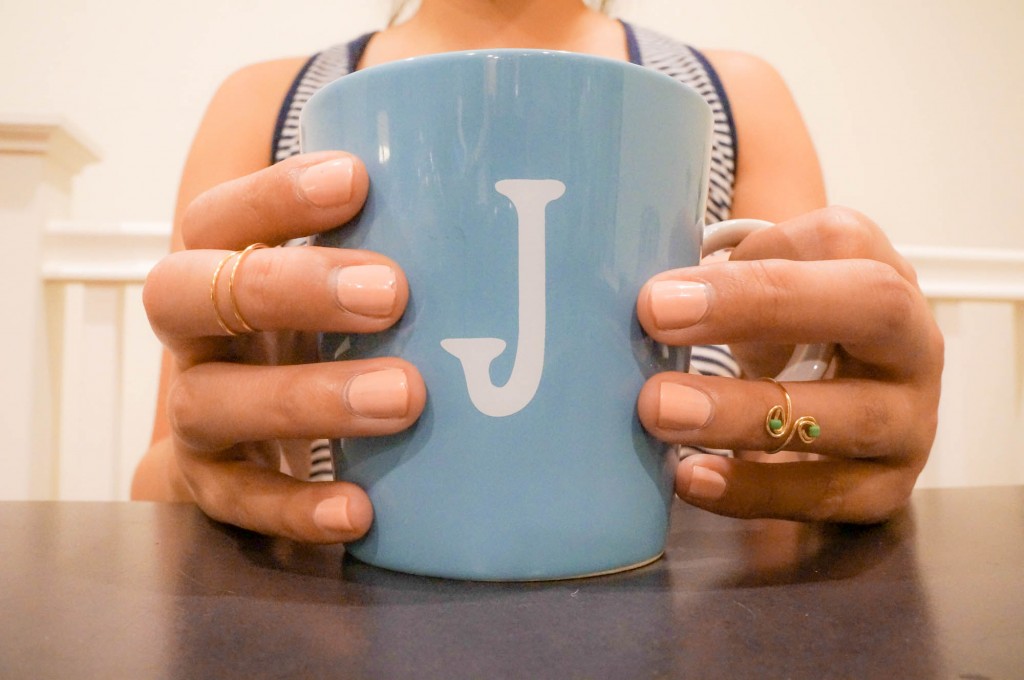 DIY Midi Rings
Make your own dainty midi rings in less than 5 minutes with this easy DIY tutorial using jewelry wire and a mascara tube. Add beads for extra flair or keep it simple with a swirly design - the possibilities are endless!
-
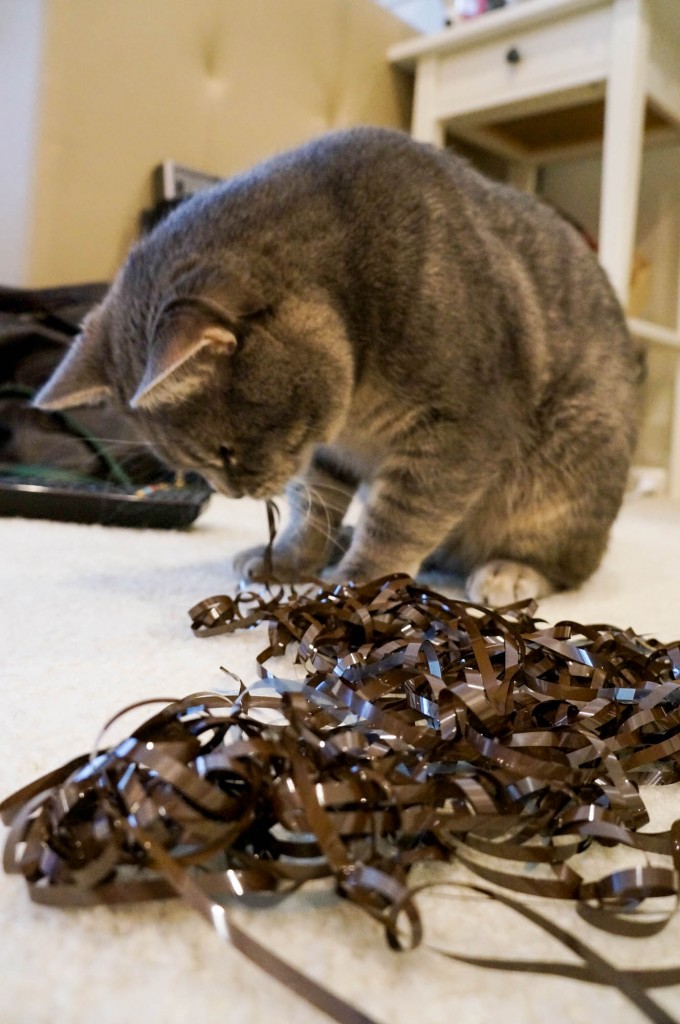 DIY: Cassette Tape Poms
Turn your old cassette tapes into adorable pom poms with this fun and colorful tutorial. Perfect for gift wrapping or creating a festive garland, these pom poms are a cute way to upcycle your old tapes and add some retro flair to your decor.
-
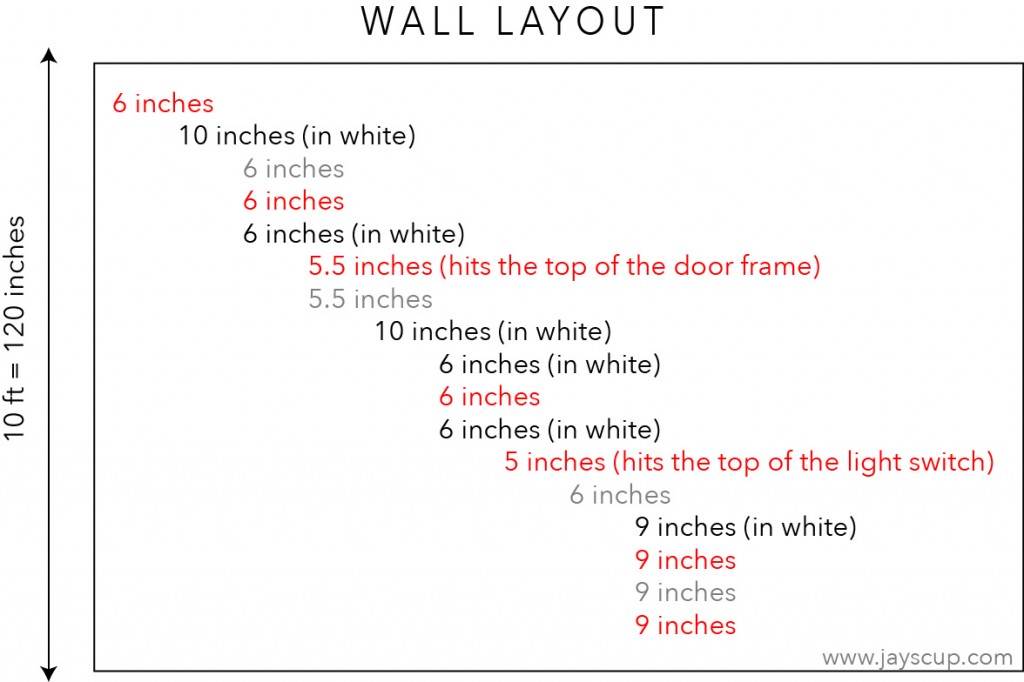 Wall Stripes Tutorial
Transforming a blank townhome into a cozy haven with stylish navy walls and modern striped accents. Learn how to easily create this trendy look with some simple tools and tips.