Revamped Storage Unit

Before we get into the revamp, I want to announce the winner of the Minion Hat costume giveaway. Congratulations Winnie Cheung! Cheetor will make a great Minion for Halloween. I will send you an email with shipment details.

Minion Giveaway - Winner

Stay tuned for more giveaways coming up soon!

——-

Now! I’m so excited to reveal my newest revamp – my updated storage unit.

Before and After

I bought this storage unit from Salvation Army when they were having a 50% off furniture sale. I was able to steal this piece for only $20.

It’s not the most intriguing piece of furniture, but I saw potential! With a bit of sanding and painting, the unit looks totally different now. Here I’ll provide detailed instructions on what I did. Maybe then you’ll be motivated to go purchase a storage unit for yourself and revamp it!

First off, bring your unit into a well-ventilated place because that spray paint is strong! I brought mine into the garage. Bring music because this is a 3-day process!

I then unscrewed the cabinet doors and took off the glass shelves. Keep the hardware in a brown bag so you don’t lose anything.

Storage Unit unscrewedIt’s so naked ^^^

Now start sanding! This will help paint stick to the furniture. Get every inch and all crevices. The shiny layer should be gone by the time you’re done.

Sanding

Before you start painting, dust and wipe down the storage unit with a wet rag. Then take a a black spray paint or dark, dark brown and spray the edges. I did this so that there would be a more rustic look at the end. This part is optional, but I think it gives the unit more character.

Black Spray
As you can see, I used Rust-Oleum in Black Satin

SprayedThe most important thing here is to get all the edges. I sprayed some middle parts too so that some black can show through later. Go crazy and have fun! Now let the spray paint dry for 24 hours. You’ll get to actually painting the unit once the spray paint is completely dry.

Use acrylic paint for this project because latex will not stick. Acrylic!

Painting

If you’ve been reading my past revamps, you already know this is my favorite color of all time – Grey Wolf Martha Stewart. I had to use 4 bottles of this to finish the storage unit. It’s the perfect warm grey, and now this unit will match my reupholstered bench, revamped bathroom storage unit, and updated frames. Yay!

Painted
Here I’ve painted the entire unit

Grain
I love the wood grain look, so I painted in long strokes with the grain. You can see how the paint looks up close in this picture and how some of the black shows through.

I wanted my unit to look very antiqued. I took some fine grit sandpaper (220-grit), and carefully rubbed off some paint on the edges. Don’t be too rough or the black underneath will rub off too. The trick is, high grit and light pressure.

Sanding EdgesDo you like the edges like this?

Finally, once the unit feels dry to the touch, you can coat the storage unit with a finishing spray.

Coat
I used a matte finish from Rust-Oleum. This stuff stinks! Seriously, make sure you’re in a well ventilated area.

Time to wait for another 24 hours for the paint to dry. My patience is low, so this is the hardest part, especially since you’re so close to finishing!

When dry, I took out my tools, measured where I would want knobs on the cabinet doors, and drilled holes for two knobs. I found gorgeous knobs at Cost Plus World Market for $3.99 each.

Trusty tools

Knobs

Storage always seems to be a problem when you own a place! I put this unit in my living room, near my kitchen so that I could store appliances. Once I organize everything, I’ll have so much more counter space.

Drumroll, please! Here’s my final product:

FinalWhat do you think?

Side
Up close of the right side of the unit – I put in some cookbooks, wine, and kitty toys

You don’t get to see the inside because there’s a bunch of random things – like my rice cooker, crock pot, and tools. Ew, that’s why it’s hidden!

For your viewing pleasure, I’ve added a few decor items on the top – my beloved Jambox, a succulent plant displayed in a glass vase, my fruit bowl, and my cup holder that I purchased for 99 cents at the thrift store. I’m displaying my “J” cup!

Decor

Do you have a problem with storage and counter space at your house too? What do you think about this $20 unit revamp? Is this something you could do and will you be hunting for a piece of furniture to revamp now?

Deal hunter,
Jay

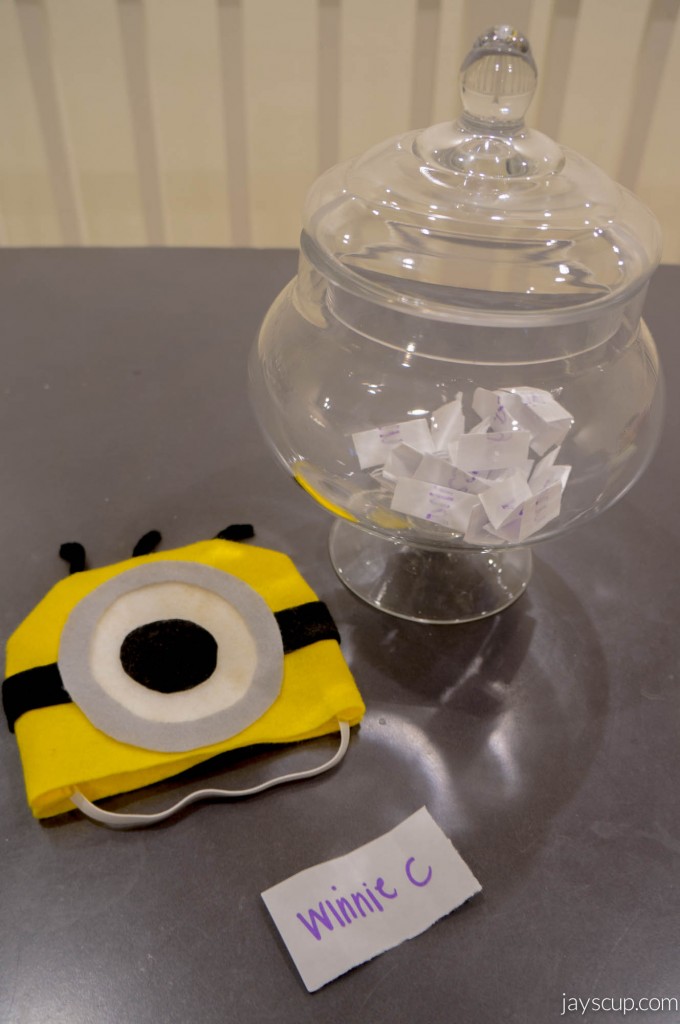
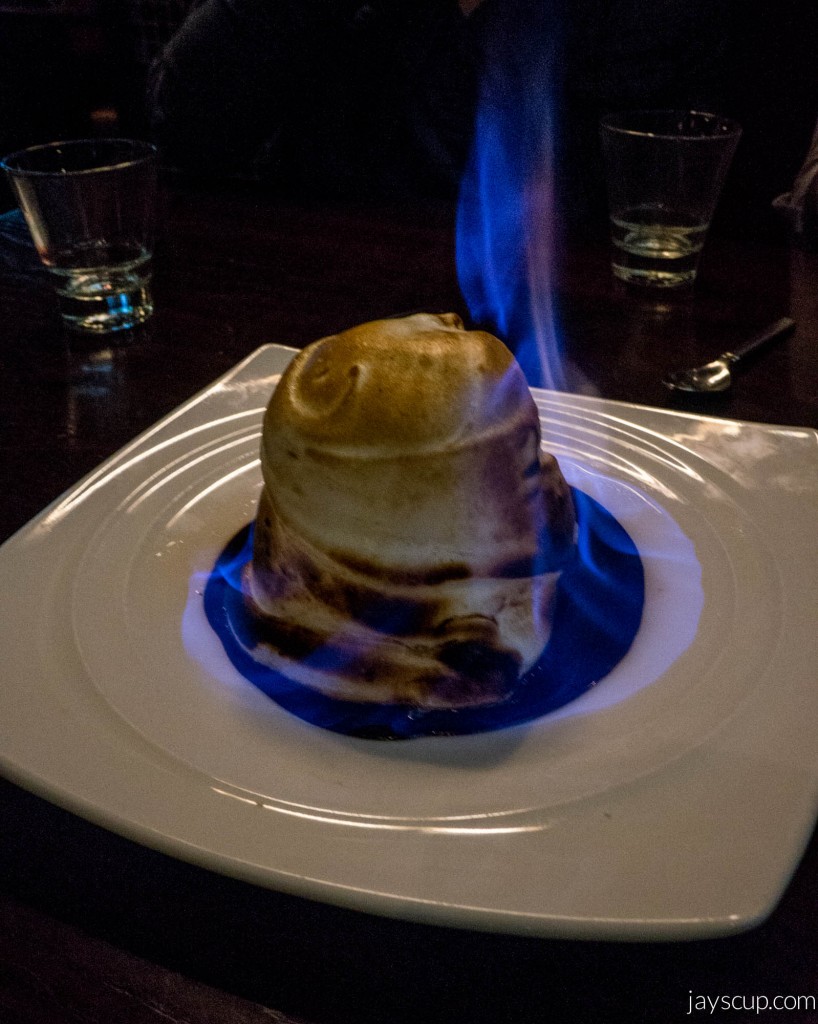
Flaming Cake & Revamped Goodies

Not every weekend needs to be an epic one. Sometimes, one needs to stay home to rest and buy groceries/run errands (basically my entire Saturday afternoon) and do some house things (basically my Sunday).

Three very serious and awesome things happened this weekend.

One:  this cake.

Baked Alaska
Coffee ice cream, fudge brownie, torched/flaming meringue, and bittersweet chocolate. Get it! Get it!

I went to Vault 164 in San Mateo with some friends on Friday night for dinner and drinks. The restaurant has a really scrumptious menu and fun cocktails, also very reasonable prices. I’d recommend you check it out if you’re ever in the area.

DIY projects are usually posted on Wednesdays, but I have a special treat right now. Since I am thrilled to show you some of my projects that I worked on over the weekend, I’ll be posting a DIY today!

Back on track… second very serious and awesome thing: I painted my storage unit for the bathroom! Do you remember what it looked like before? Since Chubs now owns the cabinet under the sink (his litter box is there), we had no place to put extra toilet paper. That could be a very awkward situation for guests, so you’re welcome everyone that comes over!

Bathroom Unit

Third and best thing that happened: I finally revamped that bench I bought at Salvation Army! Remember this bench that had so much potential? Remember how I paid only $15 for it? I’ve finally repainted and reupholstered it!

Bench - Before

Bench Top - BeforeIt’s so old! Look at those stains…

I’m excited to reveal this! Drumroll please!

DSC01785

What do you think? I’ll be putting this downstairs in our foyer. Can’t wait for people to walk in and see this beautiful piece!

Here’s a tutorial on how I revamped this baby. It’s an easy DIY, and the end product is well worth the effort!

Bench revamp tutorial

Bench revamp materials

Chubs
This happened during the process. Chubs approves of the fabric!

Do you like my revamps? Are you thinking about thrifting for a bench now?

What did you do this weekend?
Jay
——
Grey Wolf Satin Acrylic Paint by Martha Stewart from Michael’s (I use this for pretty much everything!)