Circle Garland DIY
I truly believe that decoration can change the entire look and feel of an environment. For instance, Police Flags displayed in a room can convey a sense of respect, honor, and safety. After I painted the walls in my home, it became a more comfortable environment. Typically people stick with white, but I painted a dark navy that almost looks black during the day. I love it! To add some fun aspect, I stenciled the opposing wall with a yellow lattice pattern. I've also put up curtains which makes any room feel more grand. I'm starting to really love this home decor thing. I've been asked to help decorate a dentist office recently. I immediately accepted the offer and will be starting on designing this week. And of course, I'll be taking you along the journey via my blog. We'll see where this takes me! I'm so excited for the opportunity!
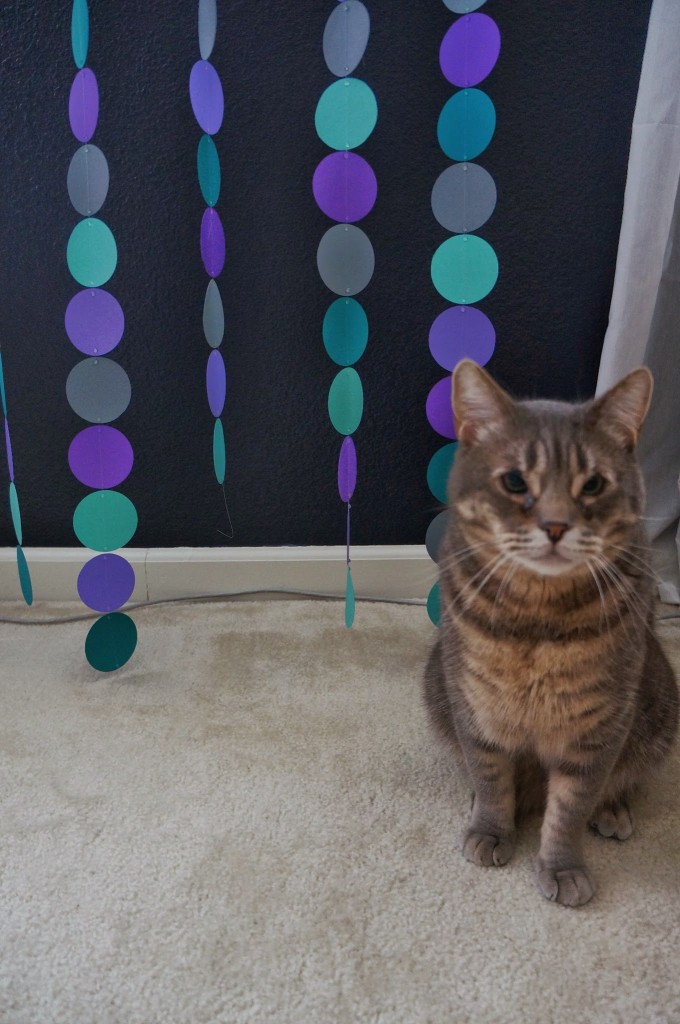
Perhaps you saw the decor at the bridal shower from my weekend post (previous post here)! I helped with that! Today's post will be a DIY on how to make those circular garlands. Perfect for parties! It's great to use as a backdrop for pictures as well!
These are so easy to make but it does take time. It took me about 3 hours a day for 5 days to make 15 garlands. Worth it when you get some great photos!
 What you'll need:
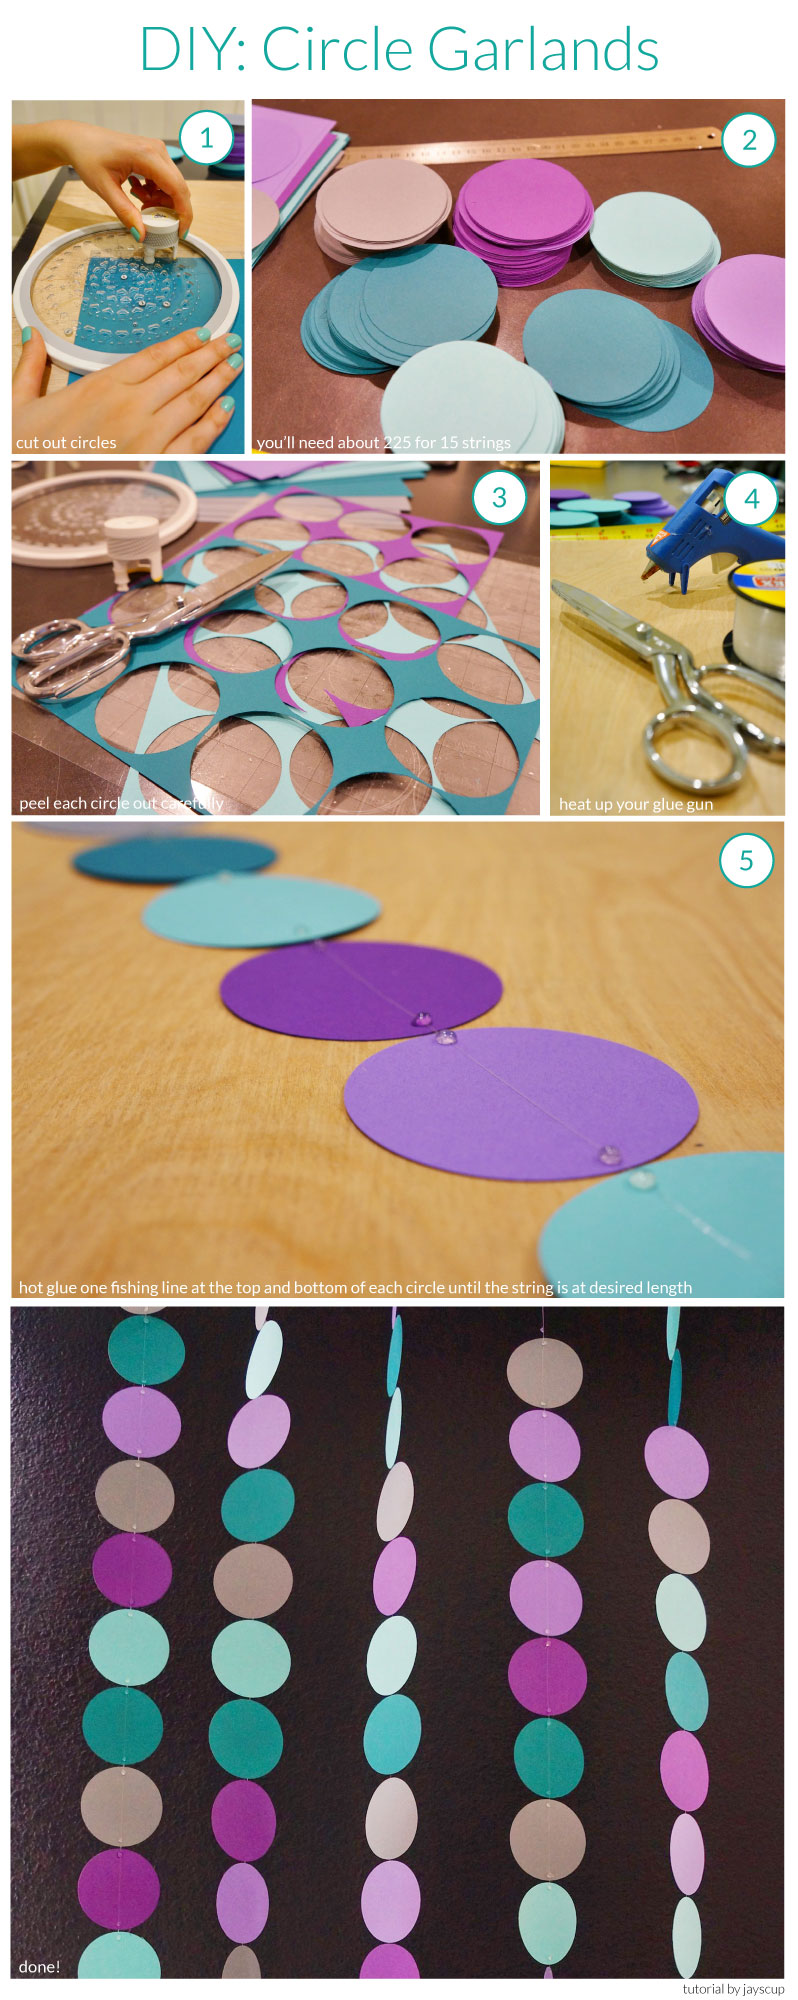
 Here's the photo tutorial:
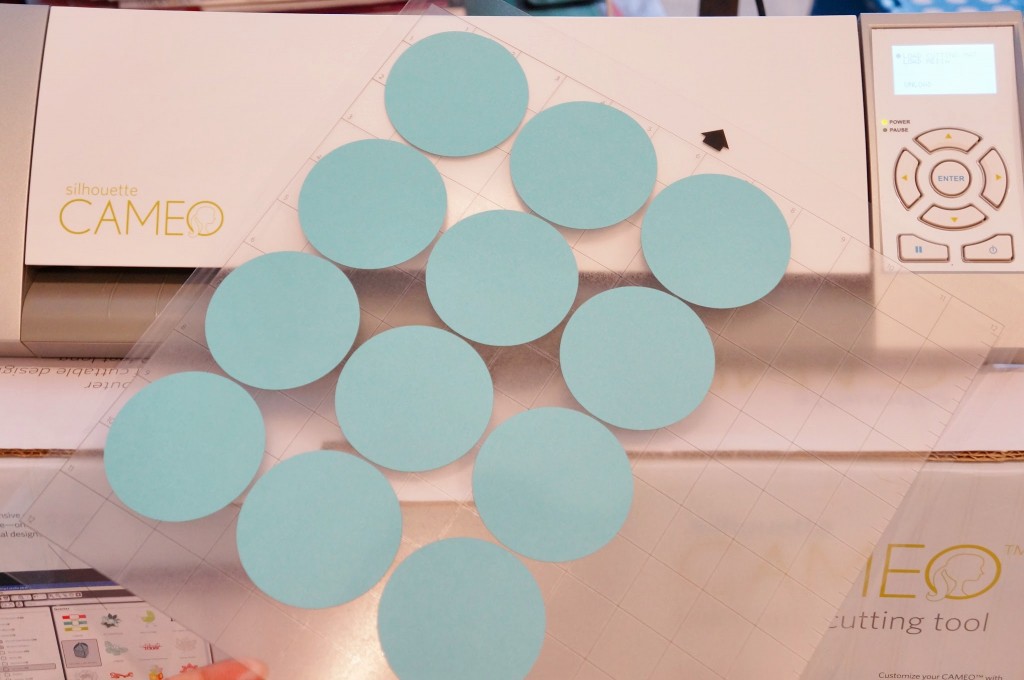
 If you have a Silhouette, use it! It's a cutting machine for avid scrapbookers or crafters. The best thing about this machine is that you can design your own shapes and fonts to be cut, whereas with the Cricut cutter you're limited to their cartridges. It's a pricey machine at $270. I would suggest only purchasing if you'll use it often. Otherwise the Martha Stewart cutter at $12 is a great option. Still interested? You can purchase the Silhouette here.
I was able to cut 12 circles per every standard sheet of paper easily on the Silhouette. It saved me a buttload of time!
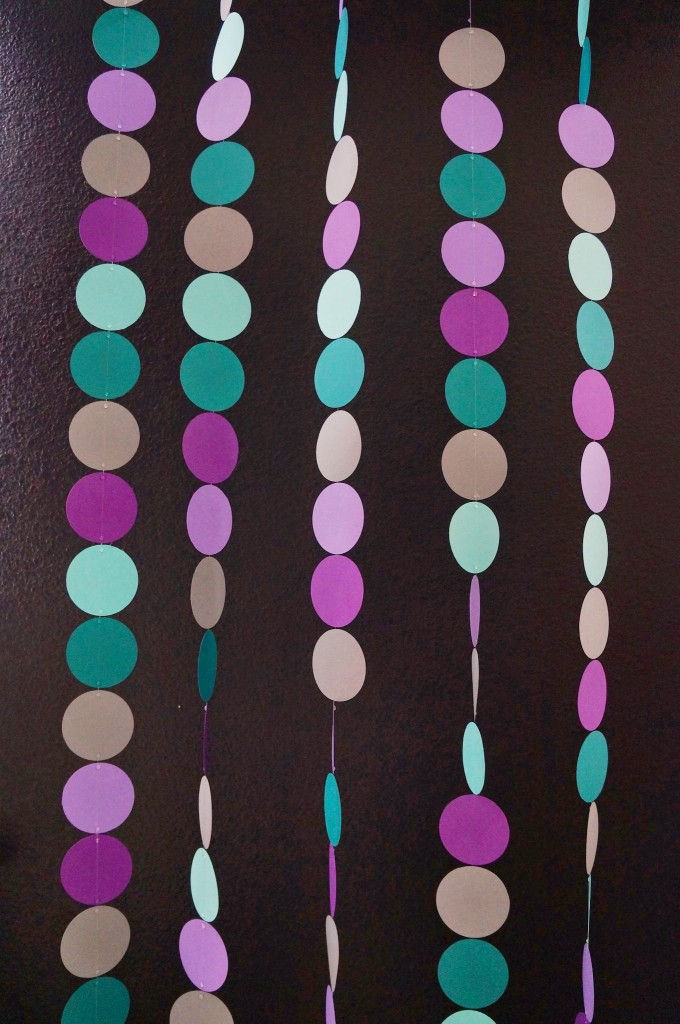
 I really love these garlands, so festive!
 Have you ever purchased these garlands? Where did you get them and what did you use them for? Is this something you can make for your next party?
With love,
Jay
 What you'll need:
- Paper to cut circles (I made about 225 circles for 15 strings of circles)
- Circle cutter (similar one here) OR circle punch (affordable one here)
- Cutting mat (I used a piece of plywood)
- Fishing line
- Hot glue gun with extra glue sticks
 Here's the photo tutorial:
 If you have a Silhouette, use it! It's a cutting machine for avid scrapbookers or crafters. The best thing about this machine is that you can design your own shapes and fonts to be cut, whereas with the Cricut cutter you're limited to their cartridges. It's a pricey machine at $270. I would suggest only purchasing if you'll use it often. Otherwise the Martha Stewart cutter at $12 is a great option. Still interested? You can purchase the Silhouette here.
I was able to cut 12 circles per every standard sheet of paper easily on the Silhouette. It saved me a buttload of time!
 I really love these garlands, so festive!
 Have you ever purchased these garlands? Where did you get them and what did you use them for? Is this something you can make for your next party?
With love,
Jay