
DIY Wine Bags & Giveaway!

Published: Wed Dec 04 2013
Congratulations to Connie for winning this giveaway! Please check your email for shipping information. Thanks to those who participated. It's an easy DIY, so you can still own these wine bags!
-----
I love making gifts for people. I enjoy spending time getting creative and thrifty! Since Christmas is coming up, I've been busy coming up with ideas for presents. Repurposing things for gifts is my hobby. That's a hobby right?
For instance, I love using paper grocery bags for gift wrap. I like using string or baking twine for bows. It's also time to bust out those cassette tape pom poms!
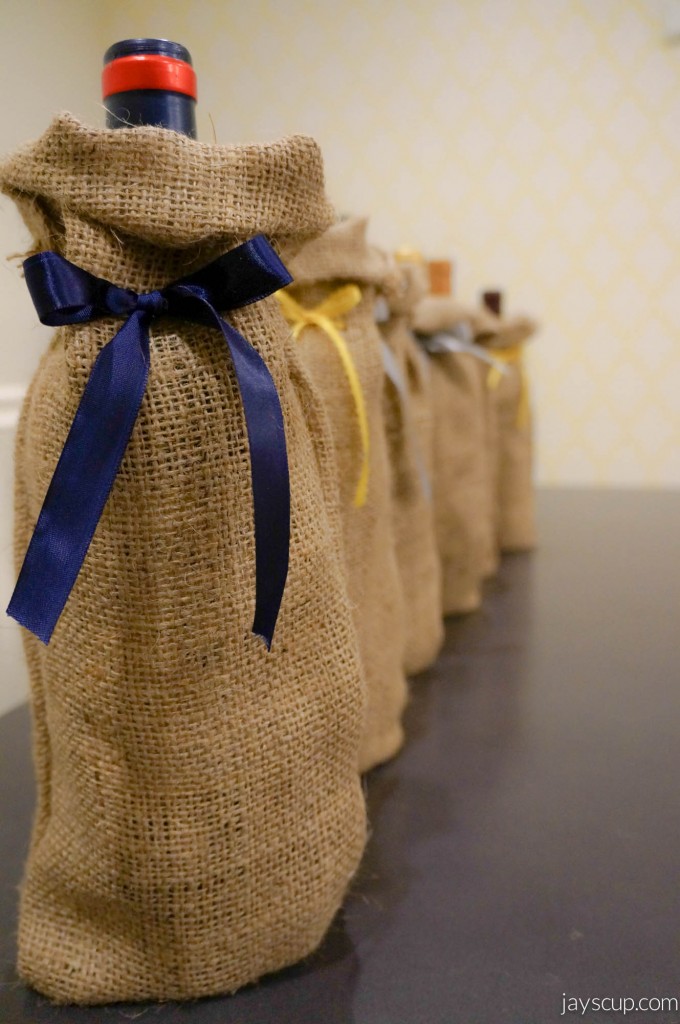
Since my wedding, I've had a bunch of burlap laying around. While I was drifting off to sleep, I came up with the idea of making wine bags with the burlap (I tend to come up with the best ideas while I'm about to fall asleep. I have a journal to jot down my thoughts since I'll wake up and totally forget). These make fantastic gift bags, and it's great if you're hosting a wine tasting party!
Tis the season of giving, so here's another giveaway! Just comment on this post for a chance to win.
 Materials:
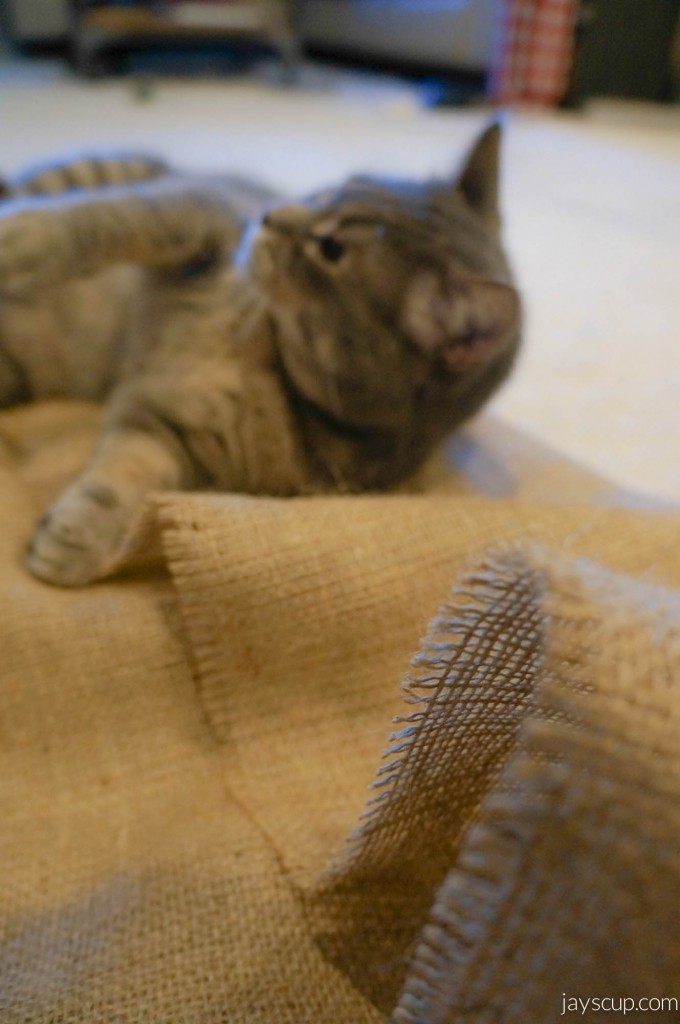 You need burlap, minus the cat! For some reason kitties love burlap
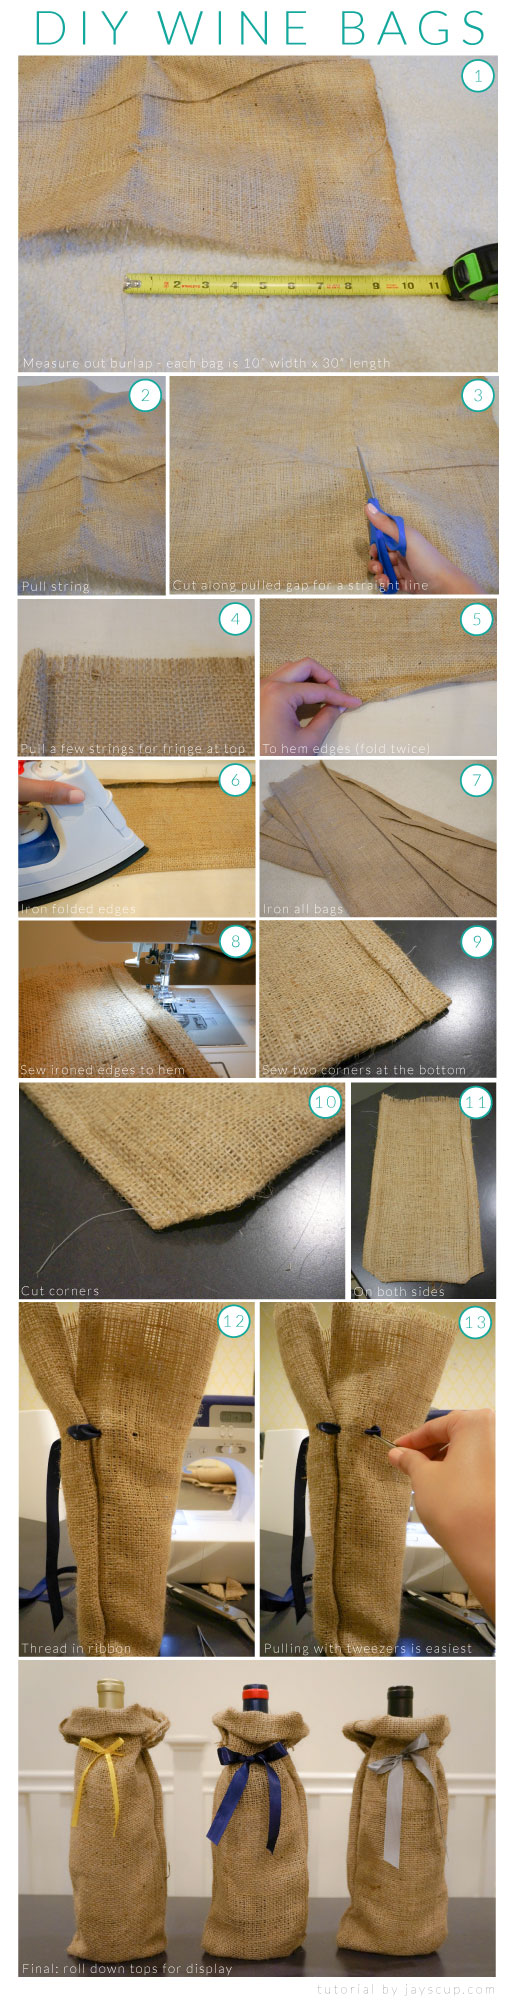
Here's the tutorial:
You need burlap, minus the cat! For some reason kitties love burlap
Here's the tutorial:
 CRAFTER'S TIP:
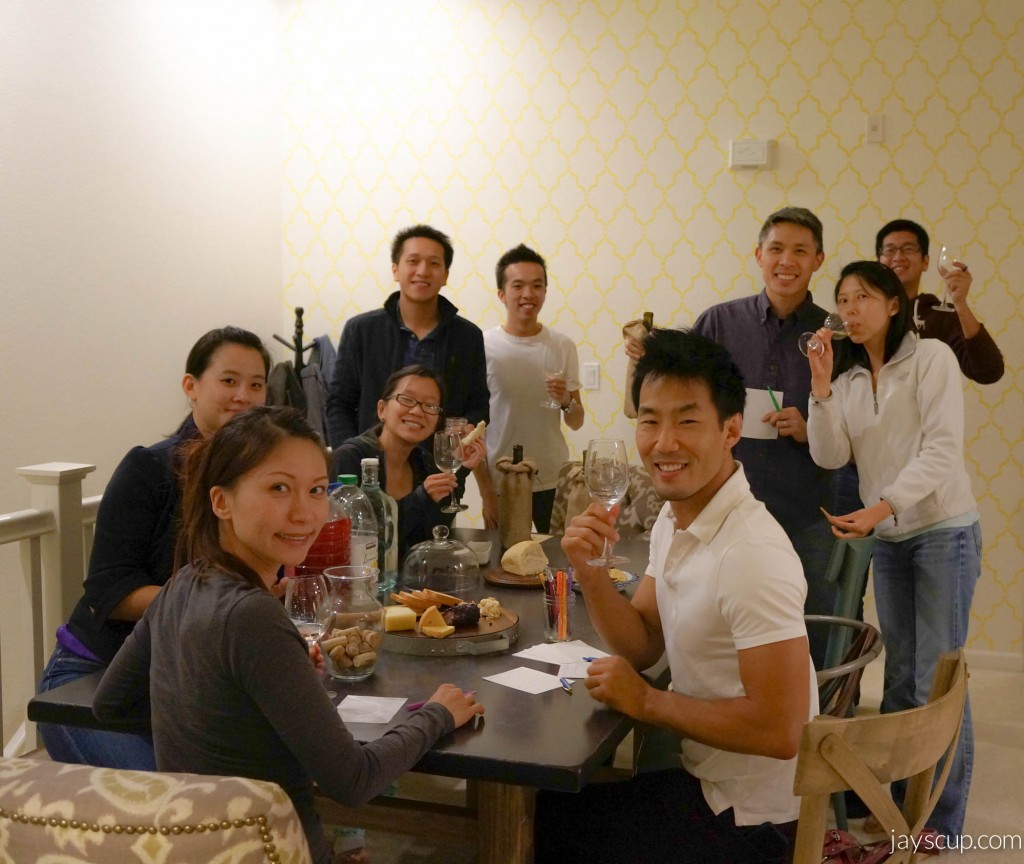
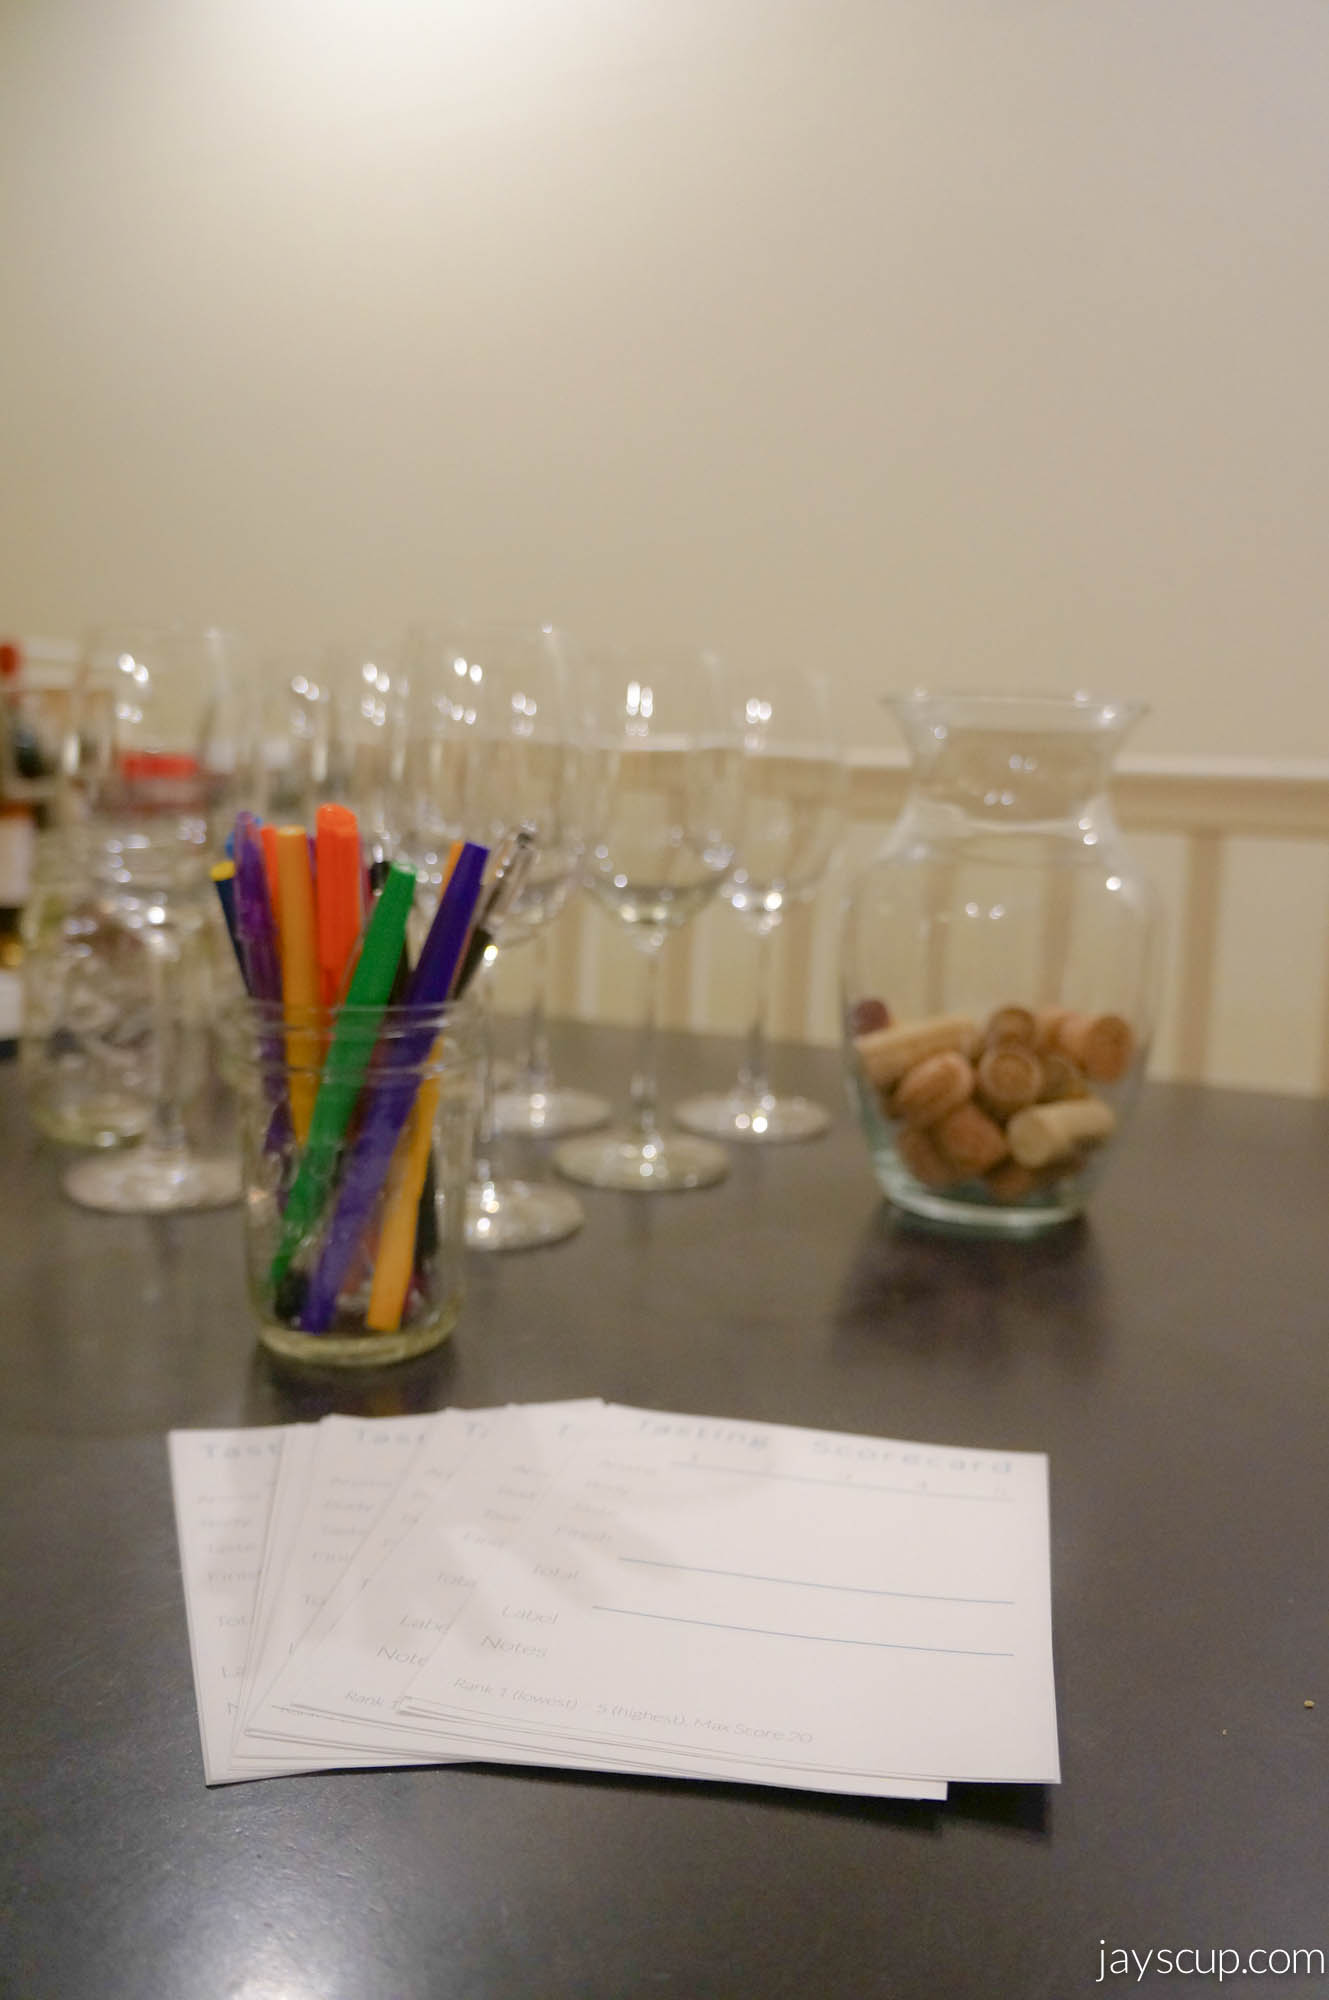 Scorecards and pens, with glasses ready to go
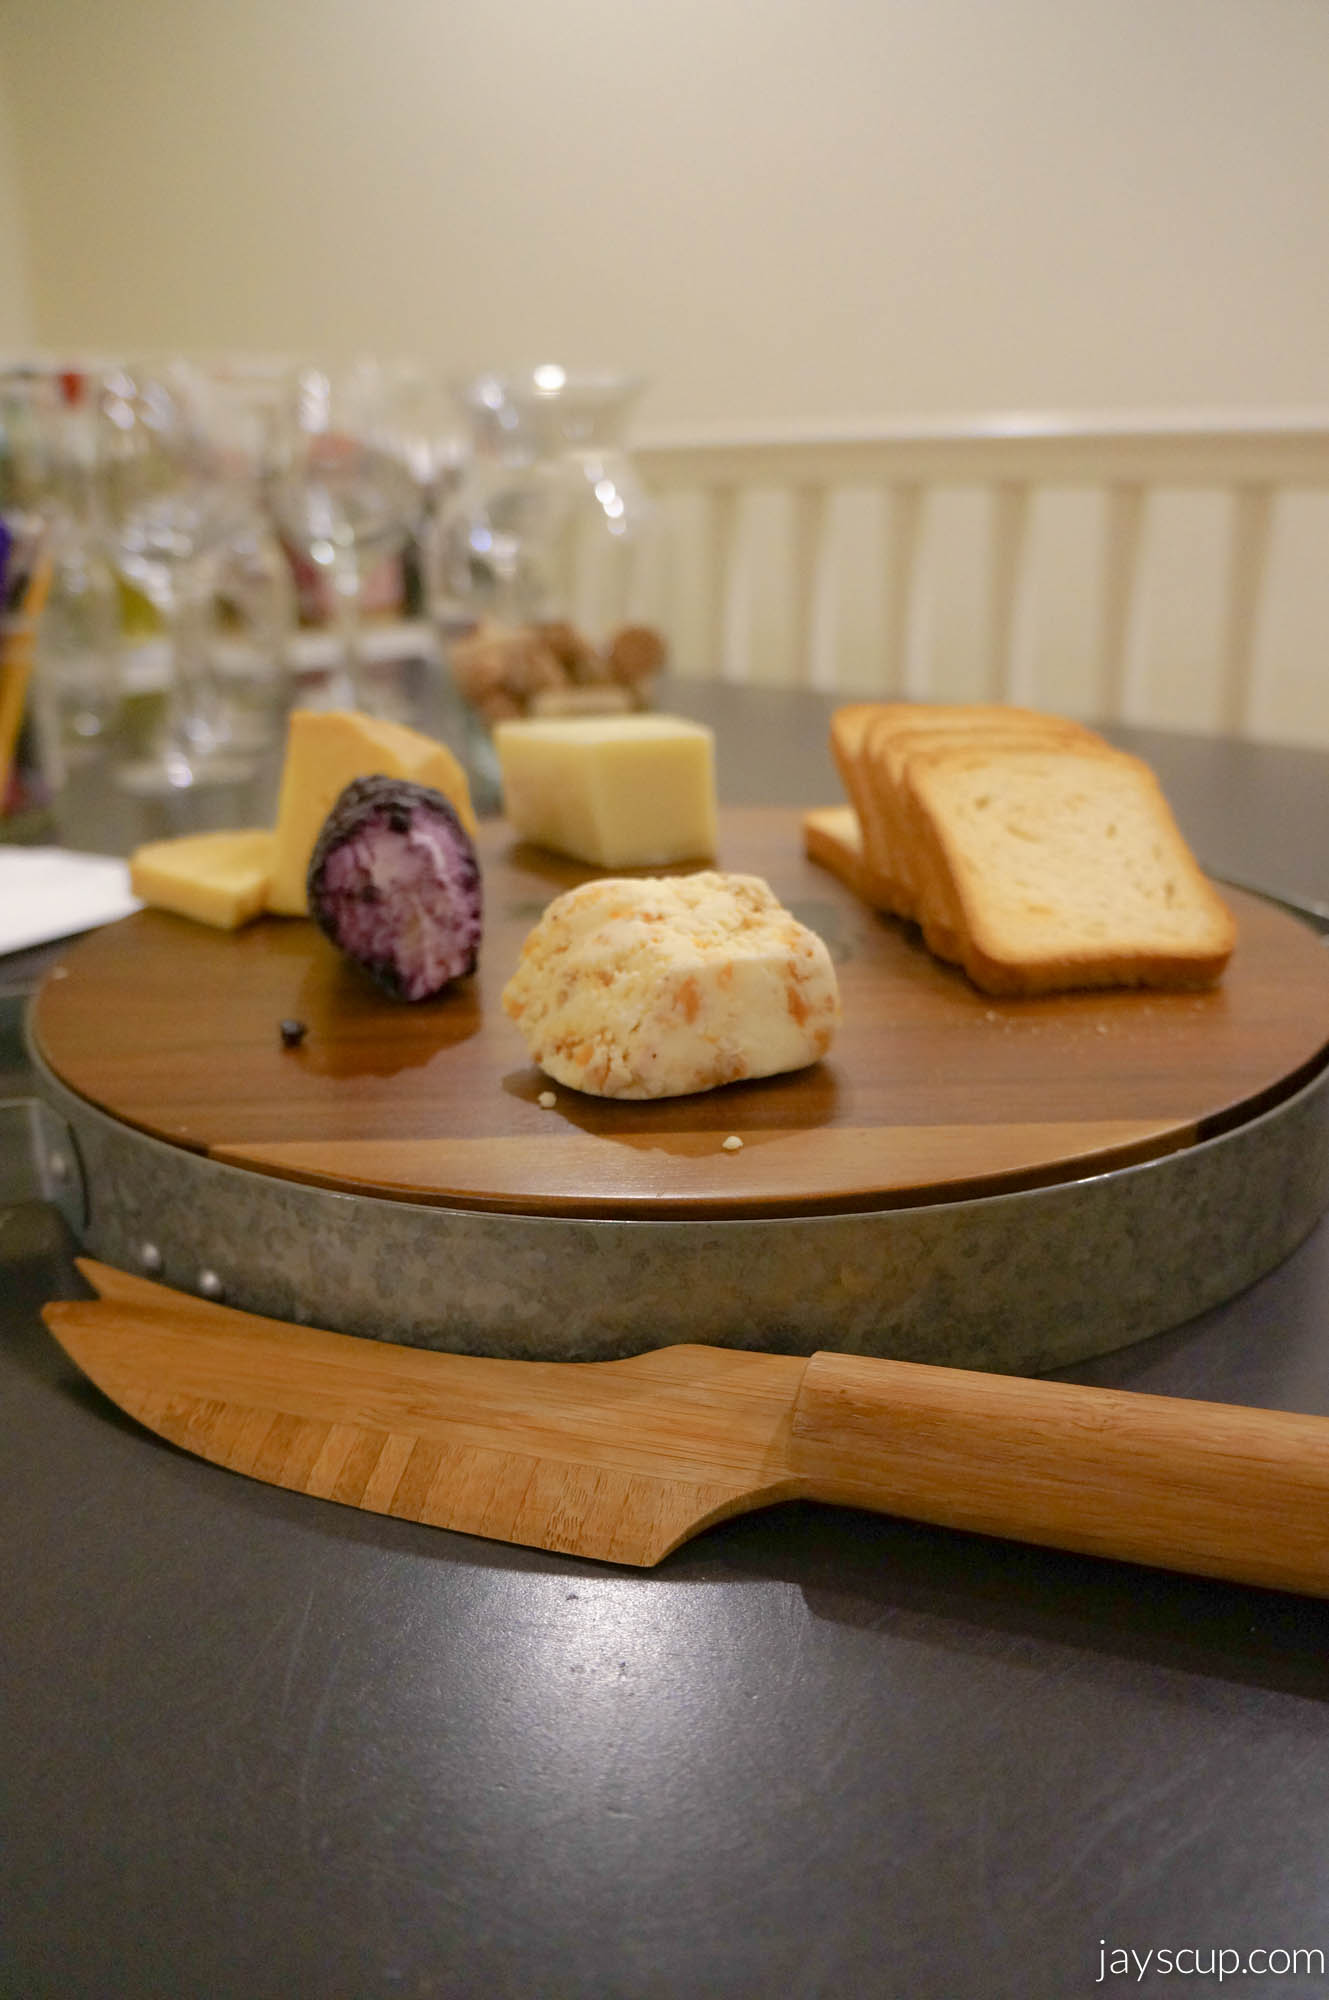 Cheese is necessary on any and every occasion
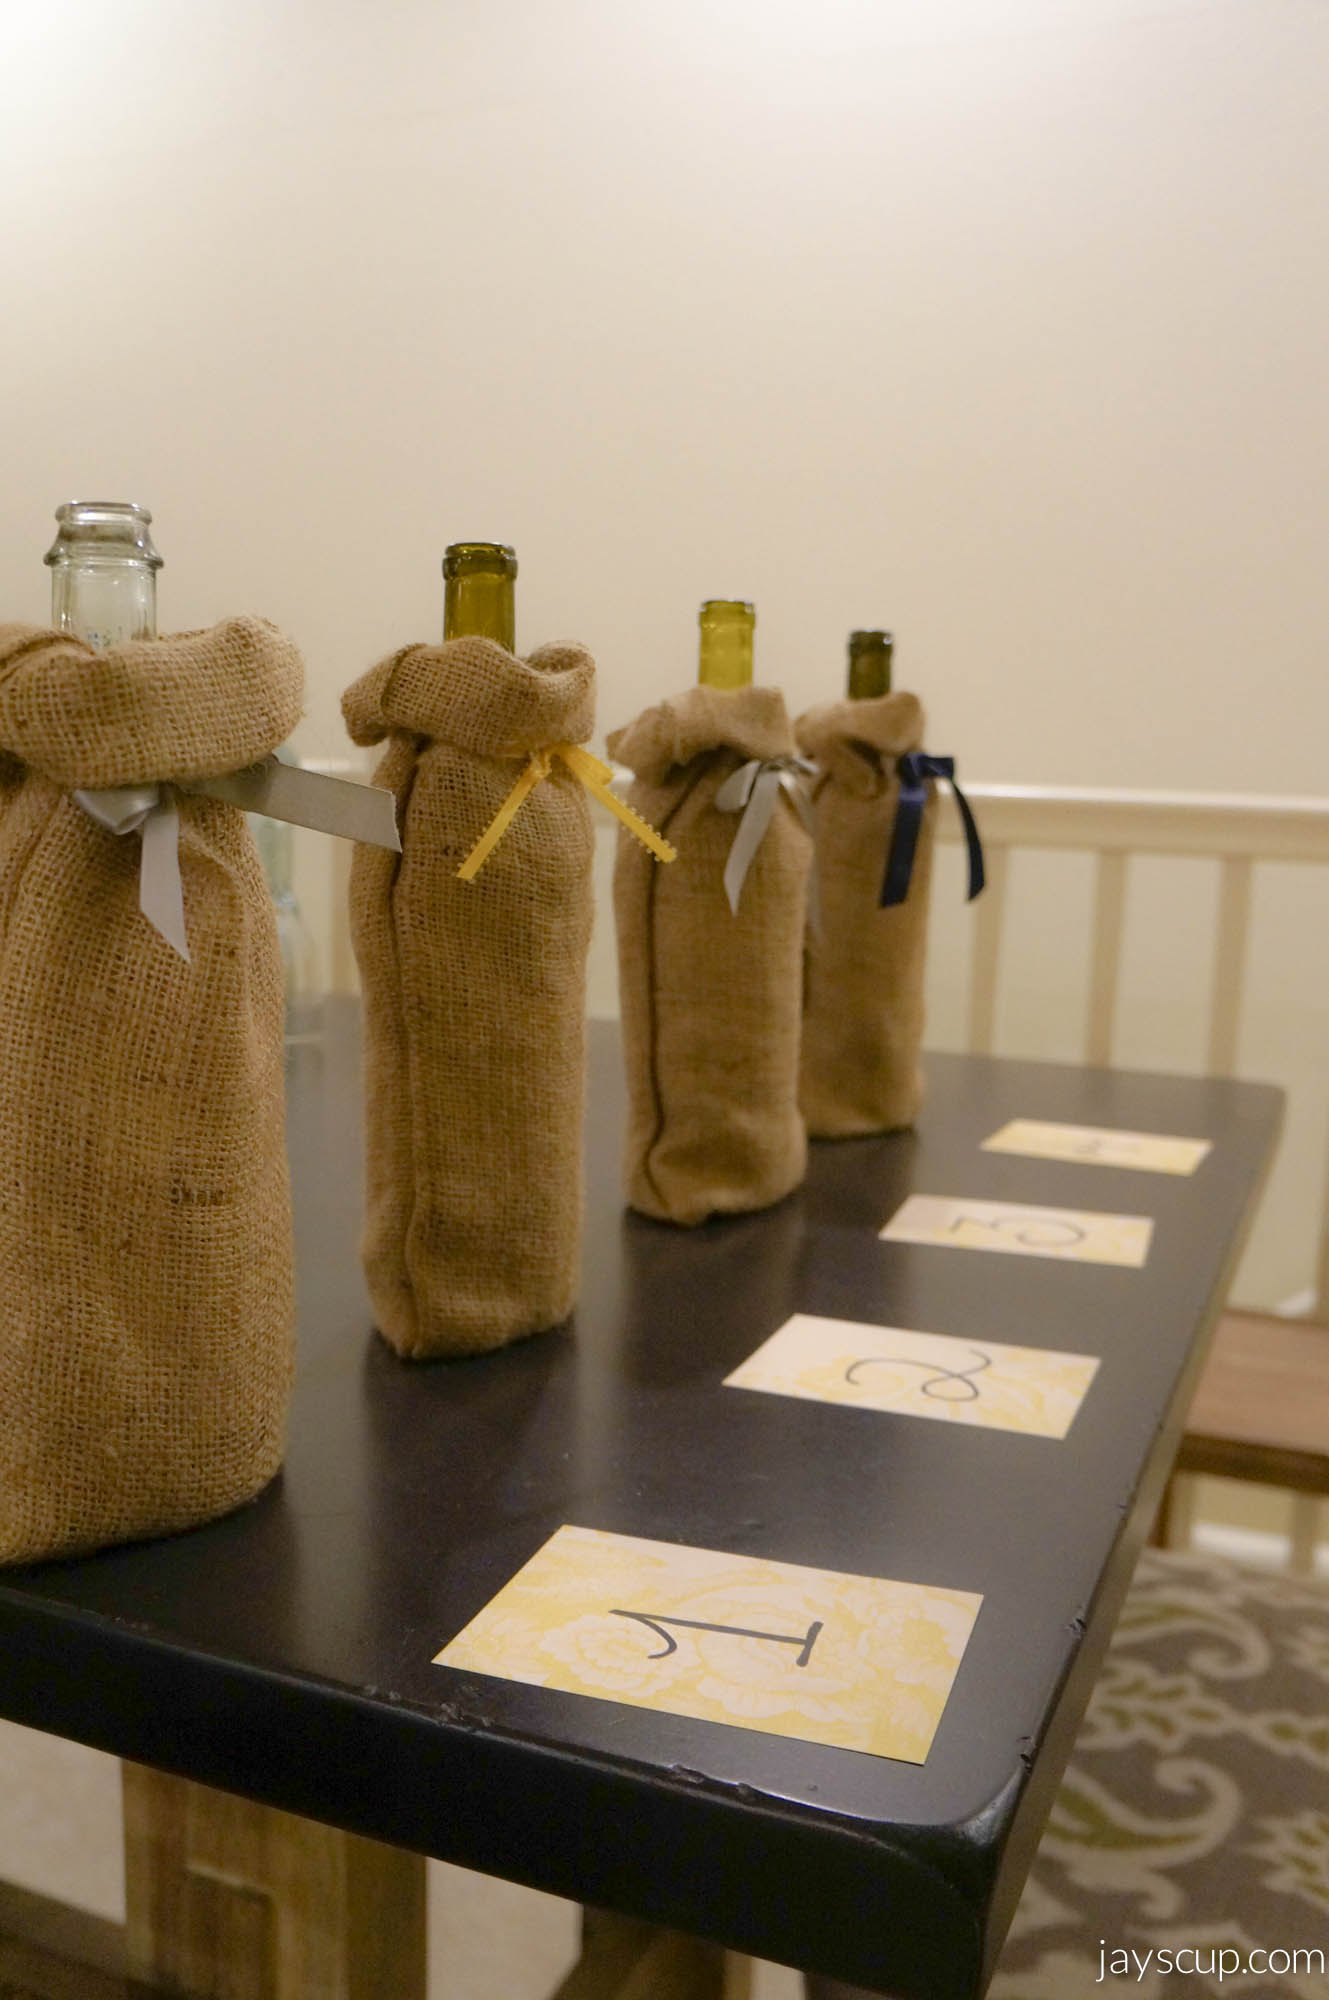 Wine bags are numbered and hidden
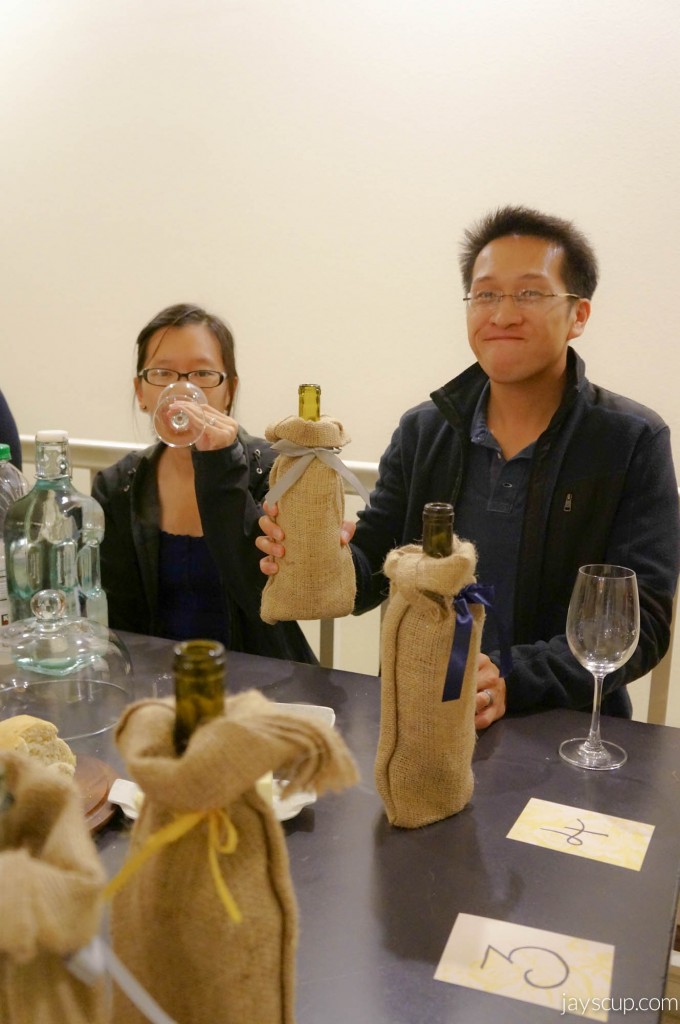
 Enjoying at this point!
 For a chance to win three wine bags, comment on this post!
Cheers!
Jay
-----
Only one entry per email. Email must be valid. Shipping address must be in the United States. This giveaway ends at 11:30pm PST on 12/10/13. Winner will drawn and announced on Wednesday, 12/11/13 at 12:00am PST via blog and email provided.
For a chance to win three wine bags, comment on this post!
Cheers!
Jay
-----
Only one entry per email. Email must be valid. Shipping address must be in the United States. This giveaway ends at 11:30pm PST on 12/10/13. Winner will drawn and announced on Wednesday, 12/11/13 at 12:00am PST via blog and email provided.
 Materials:
- 60 inch width by 30 inch length sheet of burlap
- As long as you have 10 inch width by 30 inch length for each bag, you're good to go
- Scissors
- Iron
- Sewing machine
- For the no sew approach, you'll need double sided tape
- Ribbon
 You need burlap, minus the cat! For some reason kitties love burlap
Here's the tutorial:
CRAFTER'S TIP:
You need burlap, minus the cat! For some reason kitties love burlap
Here's the tutorial:
CRAFTER'S TIP:
- Burlap can be hard to manage. What I typically do to ensure I'm cutting straight is take one strand of burlap and pull the entire string through. It will create a straight line to serve as a cutting guide (numbers 2 & 3 in the tutorial above).
- For the new sew approach, use double sided tape to tape down the edges after ironing.
Scorecards and pens, with glasses ready to go
Cheese is necessary on any and every occasion
Wine bags are numbered and hidden
 Enjoying at this point!
 For a chance to win three wine bags, comment on this post!
Cheers!
Jay
-----
Only one entry per email. Email must be valid. Shipping address must be in the United States. This giveaway ends at 11:30pm PST on 12/10/13. Winner will drawn and announced on Wednesday, 12/11/13 at 12:00am PST via blog and email provided.
For a chance to win three wine bags, comment on this post!
Cheers!
Jay
-----
Only one entry per email. Email must be valid. Shipping address must be in the United States. This giveaway ends at 11:30pm PST on 12/10/13. Winner will drawn and announced on Wednesday, 12/11/13 at 12:00am PST via blog and email provided.