
Get ready to drool over this Asian-American Thanksgiving feast featuring a juicy prime rib roast and a blend of traditional Chinese and American dishes. Who needs turkey when you can indulge in this delicious holiday meal with your loved ones?
Posts tagged with "dinner"
-
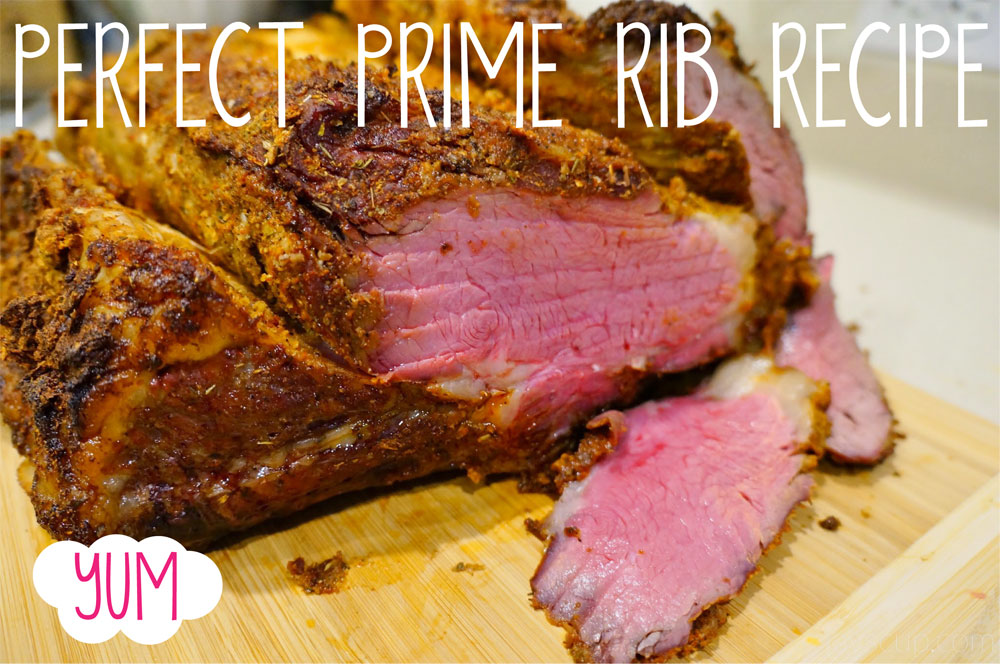 Oh Yeah, Perfect Prime Rib
 -
 Jay's Baked Ribs Recipe
Craving Texas BBQ in the Bay Area? Try this easy peasy rib recipe for a lip-smacking, fall-off-the-bone meal that will win over any meat lover at your next dinner party.
-
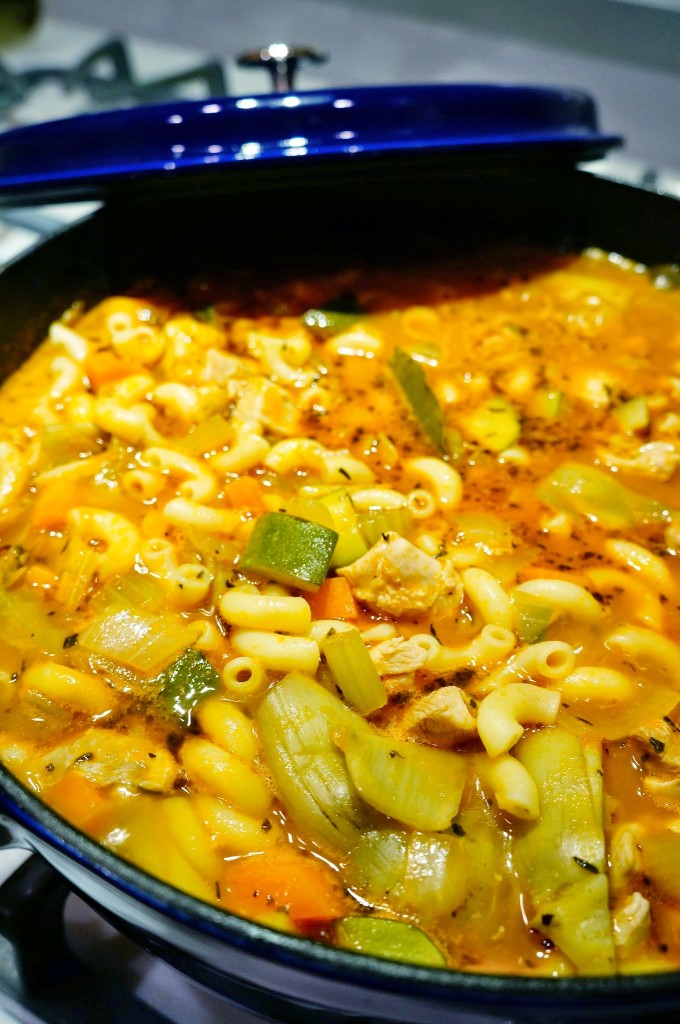 Hearty Spezzatino
Indulge in a hearty bowl of Hearty Spezzatino, a one-pot chicken and vegetable soup that is perfect for cleaning out the fridge and ready in under 30 minutes. This comforting dish will give you the motivation to get through the day and enjoy a delicious meal at home.
-
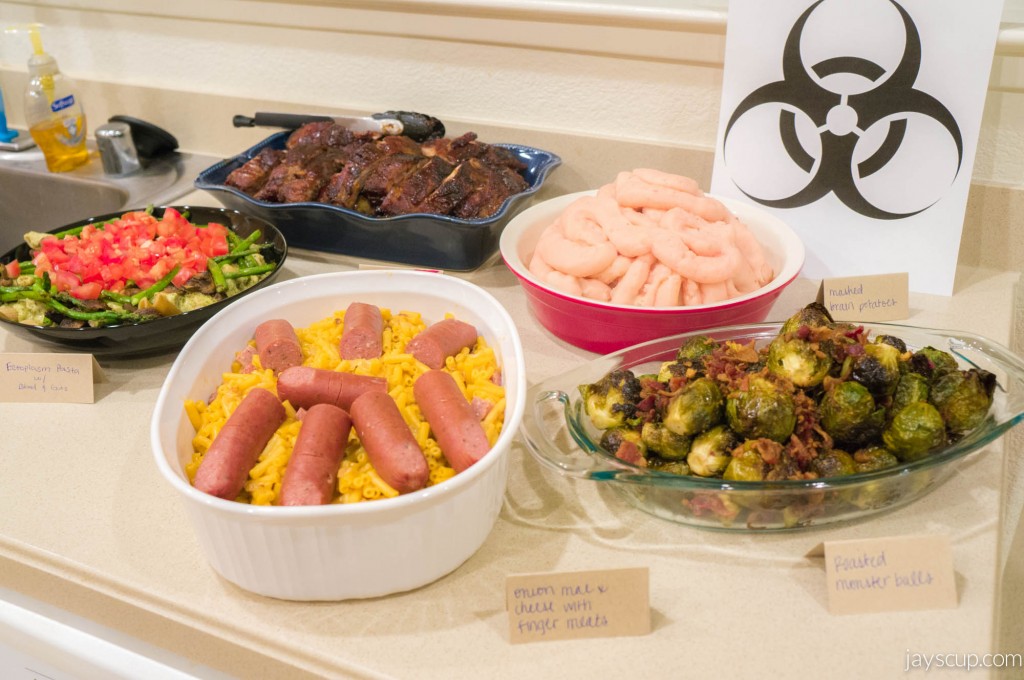 Halloween Potluck 2013
Get a taste of the Halloween Potluck hosted by the Lams with Ectoplasm Pasta, Monster Balls, and Cheesecake Brownies - all served with a side of spooky fun!
-
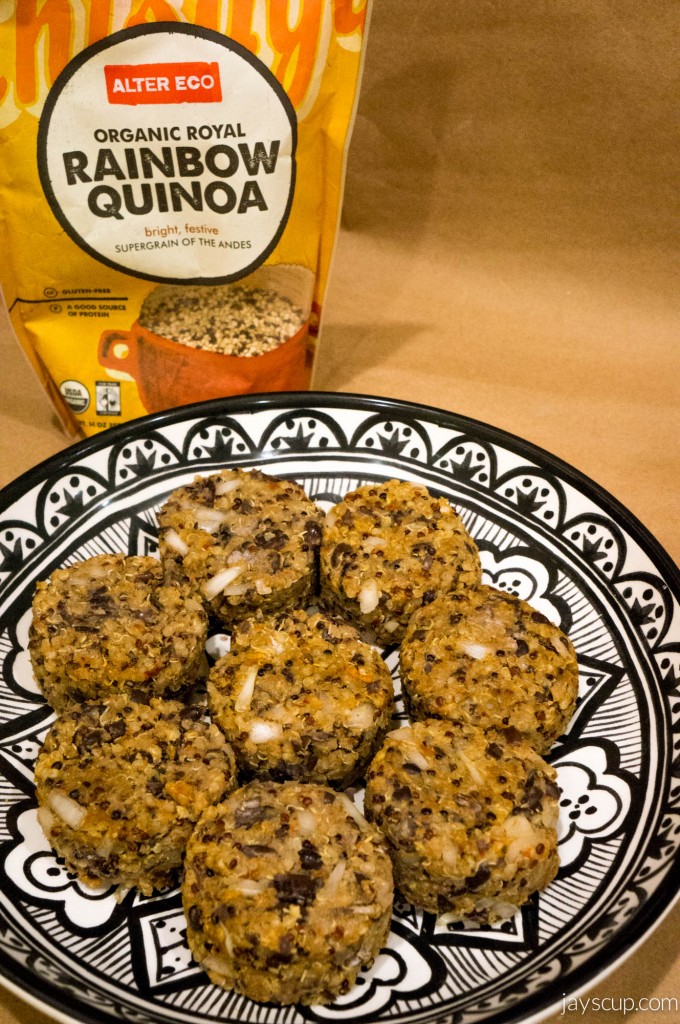 A Different Kind of Slider & Fries
Indulge in a delicious and healthy meal with Quinoa Sliders and Eggplant Fries with a Side of Garlic Aioli. This unique twist on classic comfort food will leave you satisfied and guilt-free.
-
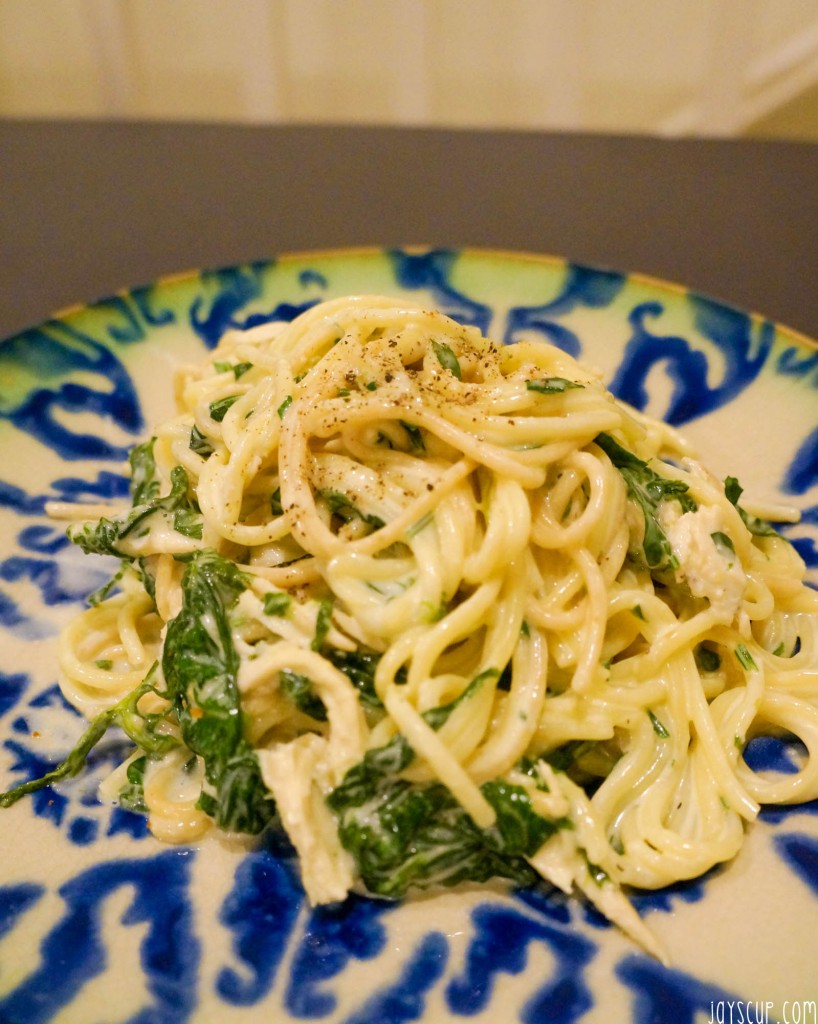 Light & Creamy Pasta Recipe
Enjoy a light and creamy pasta dish perfect for warm summer nights in the Bay Area. With spinach, lemon zest, and heavy cream, this easy recipe is sure to please.