
Exciting news - I'm starting a freelancing job at an ad agency! But don't worry, I'll still be posting on Mondays, Wednesdays, and Fridays. Today's post features my quick and delicious chorizo mussels recipe - perfect for a flavorful and easy dinner option.
Posts tagged with "homemade"
-
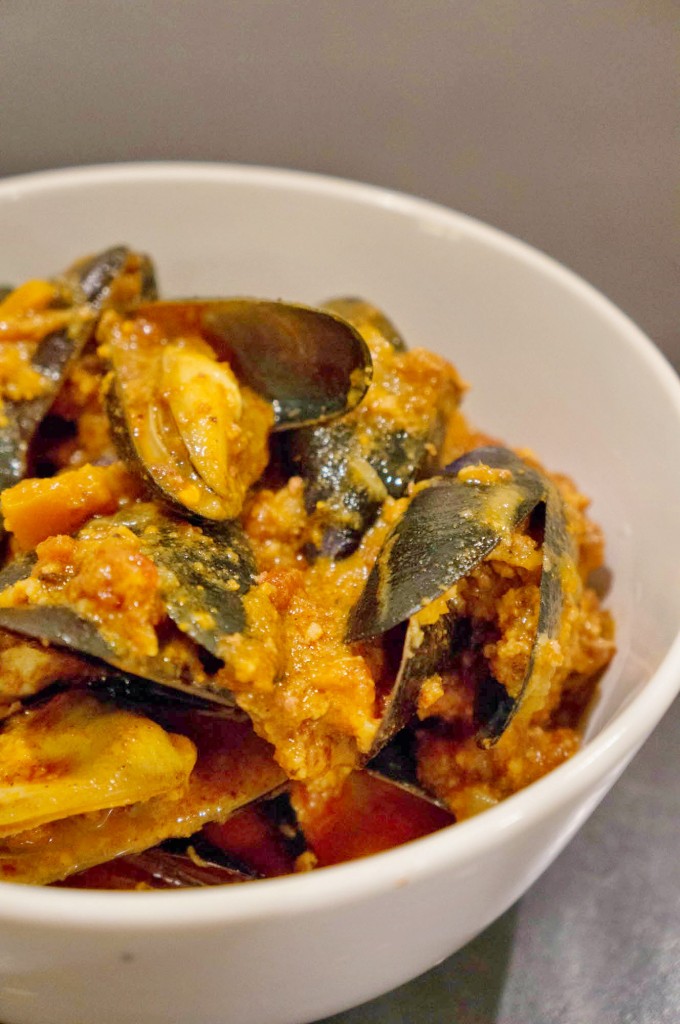 Chorizo Mussels Recipe
 -
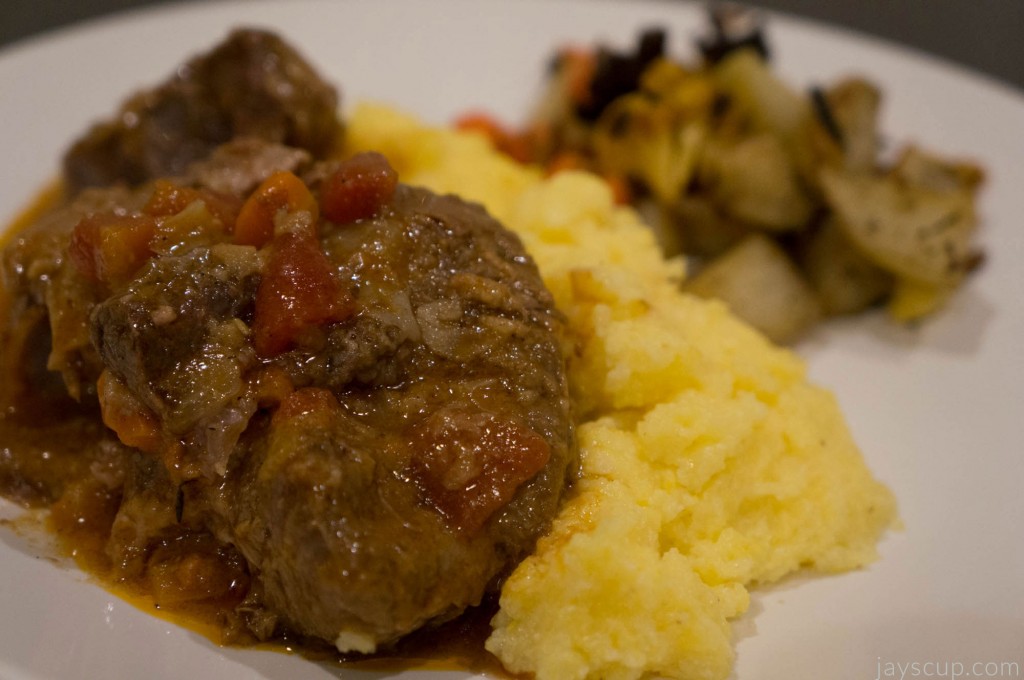 Beef Osso Buco (Jay's Way)
Indulge in the delicious flavors of osso buco with this easy recipe using a pressure cooker. Perfect for a dinner party or a cozy night in, this Italian dish will leave you wanting more.
-
 Chinese Steamed Egg
Indulge in the comfort of Cantonese-style Chinese dishes with this easy and delicious recipe for steamed egg. Perfect for a cozy meal at home!
-
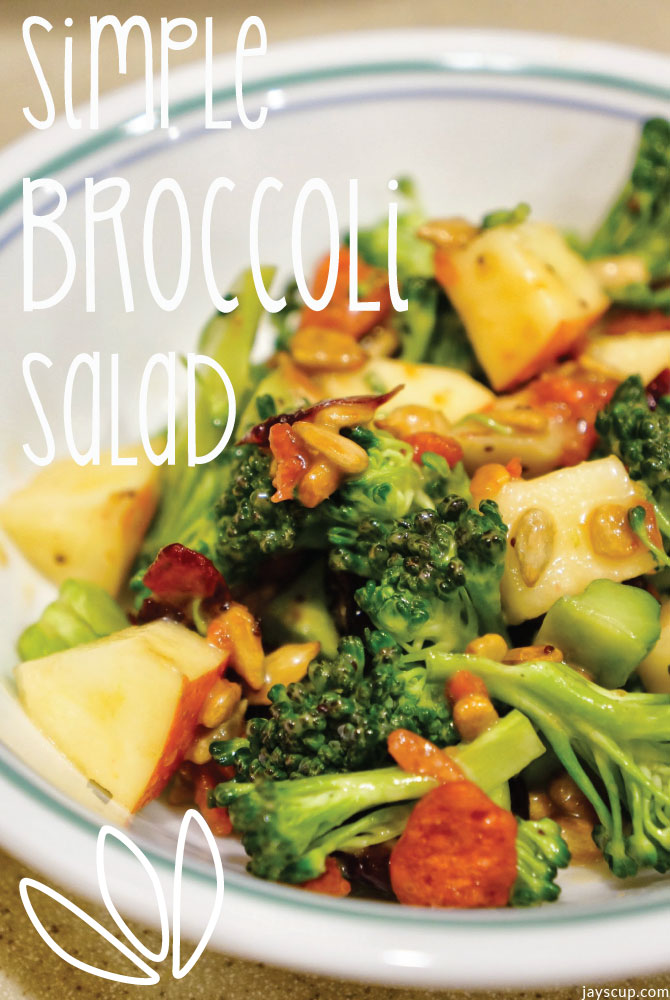 Simple Broccoli Salad
Enjoy the warm weather with evening runs and a delicious broccoli salad recipe that's easy to make and perfect for summer nights!
-
 Leftover Enchilada Casserole
Leftover Enchilada Casserole is the perfect recipe for using up taco night leftovers. With ground beef, beans, and cheese, this dish is a delicious way to minimize food waste and enjoy a flavorful meal.
-
 April Showers Bring Soup!
April Fool's Day jokes and rainy weather in the Bay Area aside, this Red Curry Noodle Soup recipe is simple and delicious, with recognizable ingredients and the option to make it vegetarian by omitting the chicken!
-
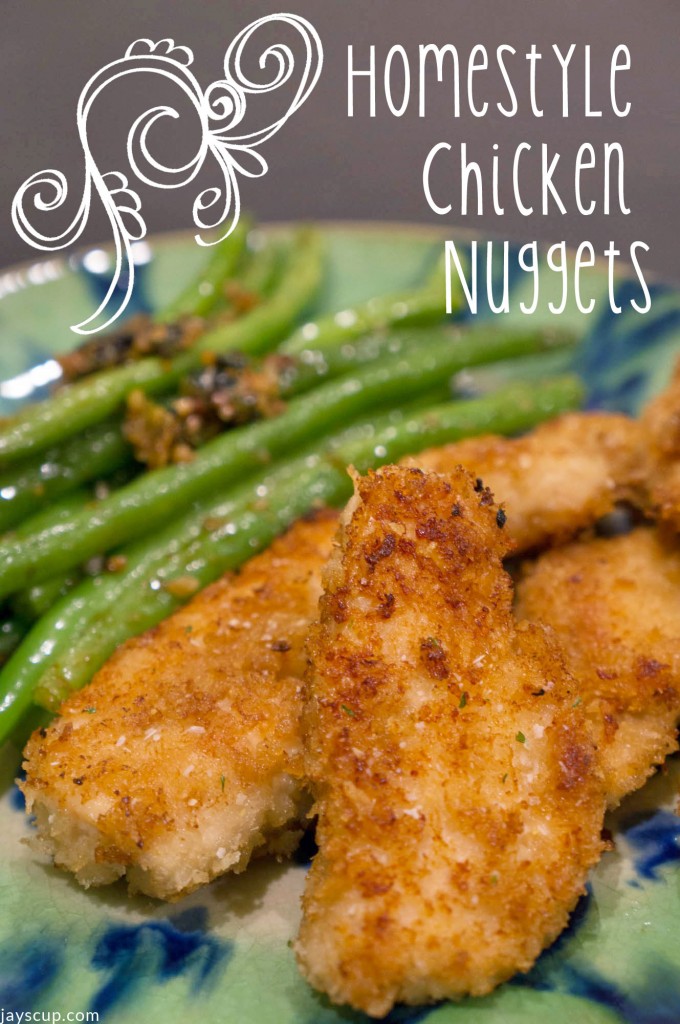 Homestyle Chicken Nuggets
Make delicious homestyle chicken nuggets as a perfect pairing for Asian green beans. Easy to make, crispy on the outside, and a healthy option for picky eaters or anyone craving a tasty meal.
-
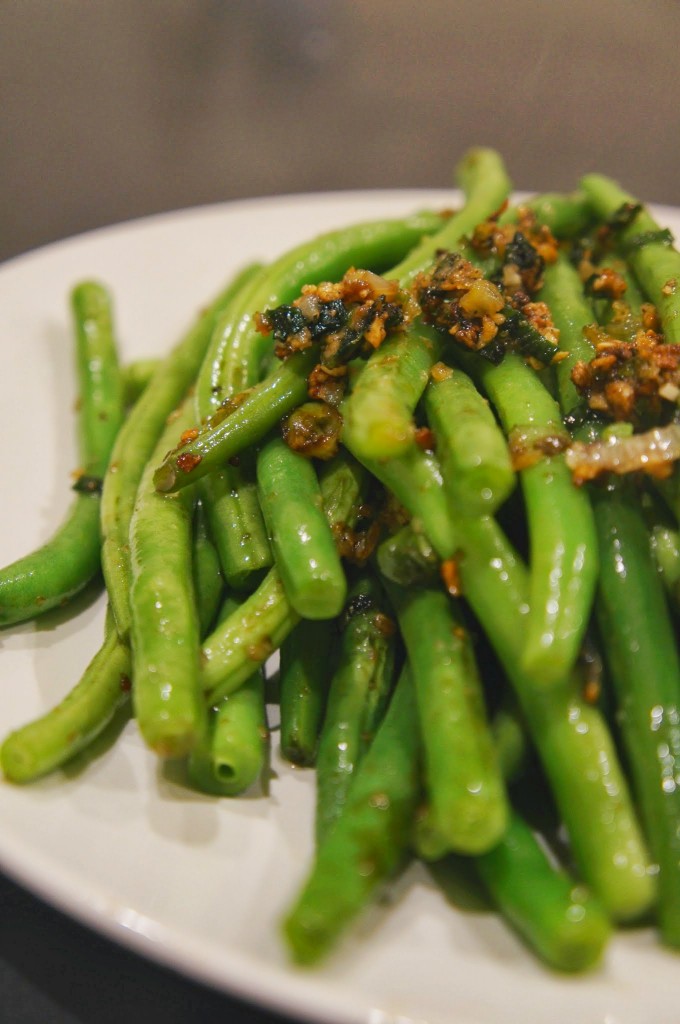 My Favorite Asian Green Beans
Indulge in a delicious and healthy Asian-inspired green bean recipe that is quick and easy to make in just 3 simple steps. Enjoy the crunch of the beans coated in soy sauce, oyster sauce, and sesame oil for a tasty side dish or main course!
-
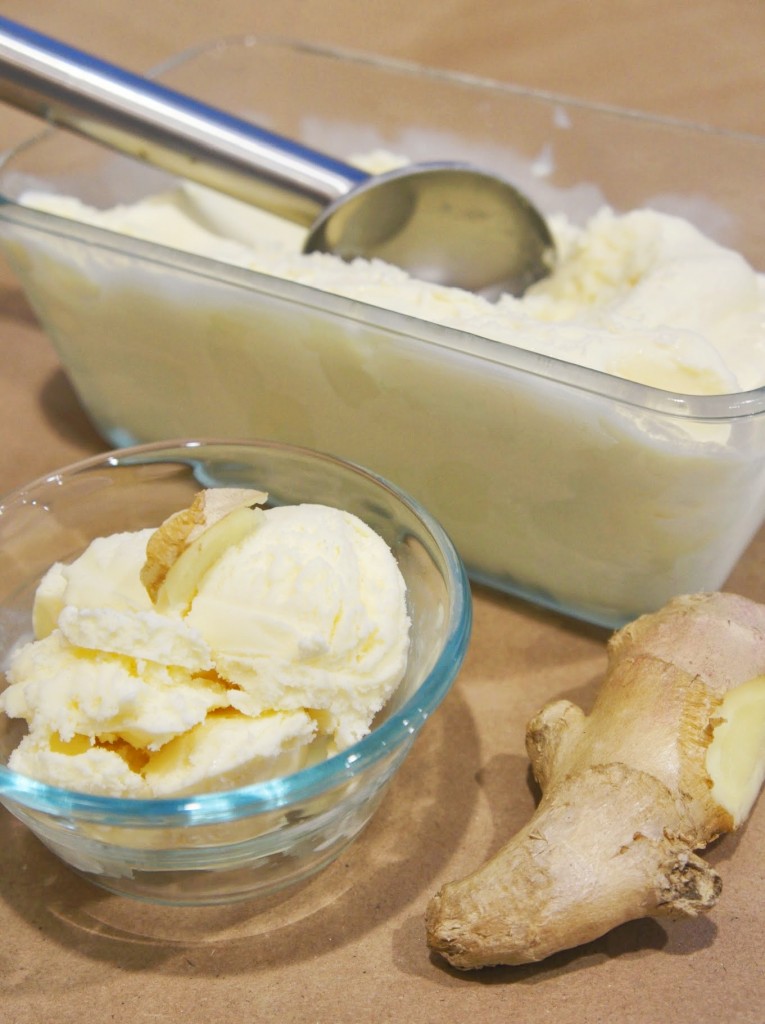 Ginger Ice Cream
Indulge in the nostalgia of childhood memories with this delicious ginger ice cream recipe that is not only tasty but also packed with health benefits.
-
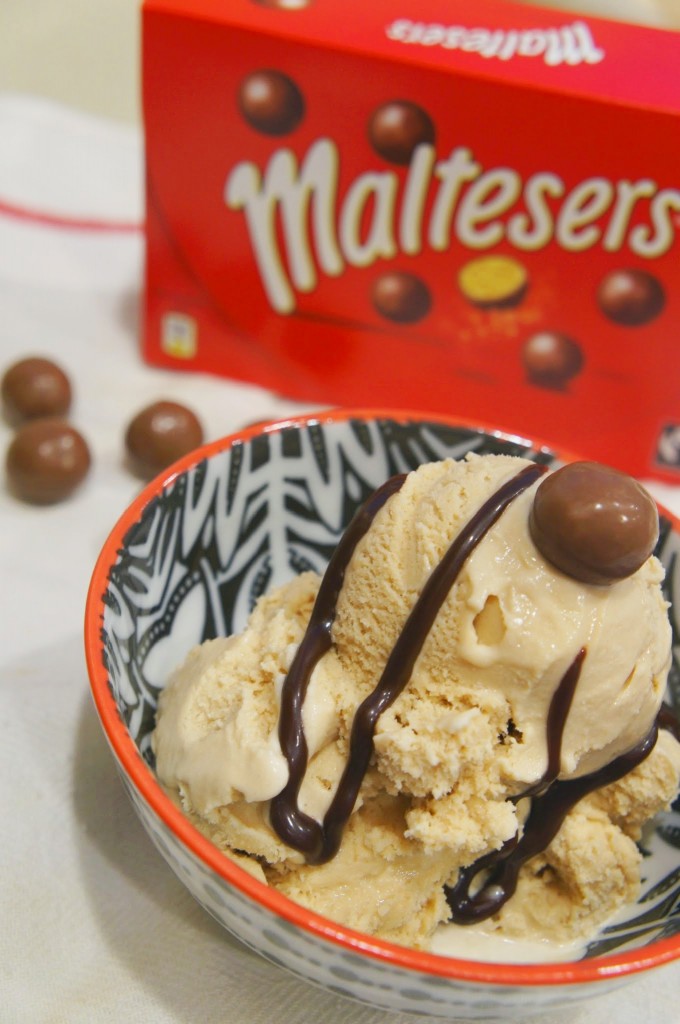 Malt Ice Cream
Indulge in the creamy, rich goodness of homemade malt ice cream with this easy-to-follow recipe featuring Ovaltine, milk, sugar, and heavy cream. Enjoy the taste of childhood memories with a modern twist!
-
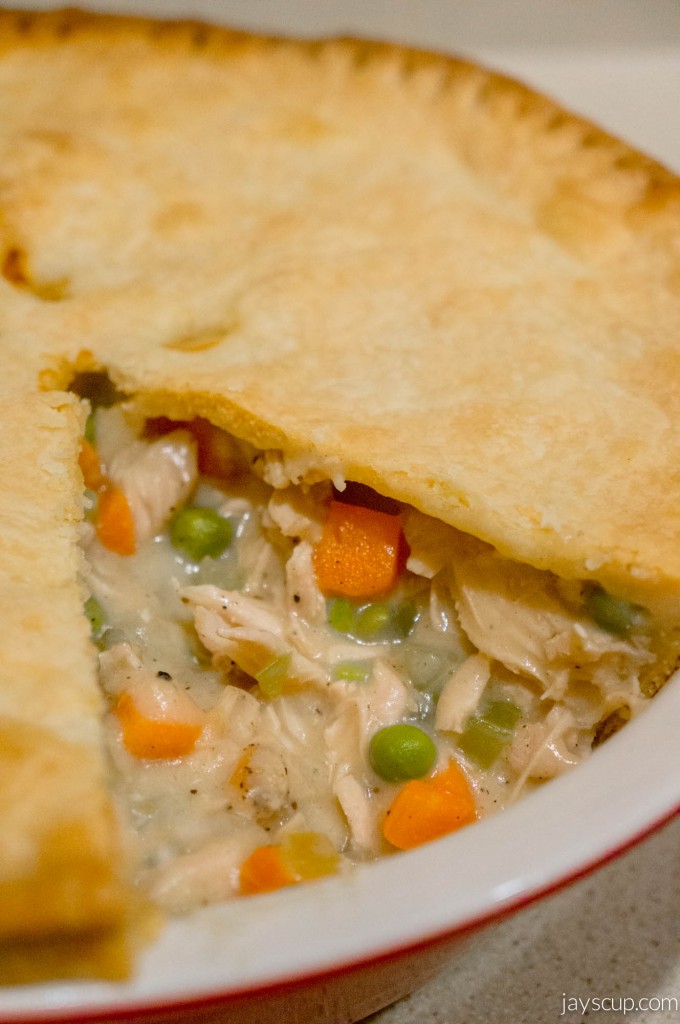 Hearty Chicken Pot Pie
Indulge in the ultimate comfort food with this hearty chicken pot pie recipe, perfect for cold, rainy days or cozy dinner parties. Plus, save time during the week by pre-cooking chicken breasts for easy meal prep!
-
 Homemade Vanilla Extract
Save money and make your own vanilla extract at home with just 3 ingredients! With a bit of patience, you can have a homemade extract that will last you up to 5 years.