
The Lam-Luu annual tree chop weekend brought new furry friend Casey into the mix, making the tradition even more festive and fun. Decorating with memories and post-holiday sale finds, the house is now filled with Christmas spirit and charm.
Posts tagged with "decor"
-
 Annual Tree Chop
 -
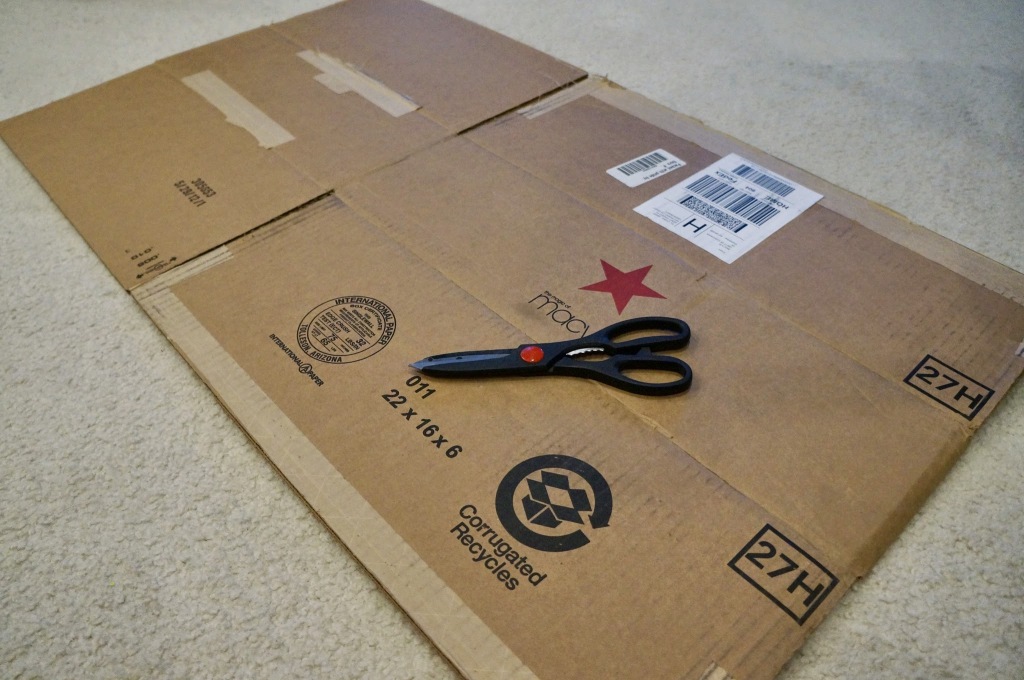 DIY Cardboard Halloween Decor
Get creative with Halloween decor by using cardboard and poster board to make spooky cutlery and zombie barricades. Save money by waiting until after Halloween for discounted decor items. Happy Halloweek!
-
 Happy One Year!
Celebrate one year of blogging with a look back at some favorite DIY projects, recipes, and travel adventures. Cheers to many more years of creativity and inspiration!
-
 DIY: Wall Stencil
Transform your space with an easy DIY wall stenciling project that adds a surprise element to any room. Save money and create a unique look with these simple steps and supplies.
-
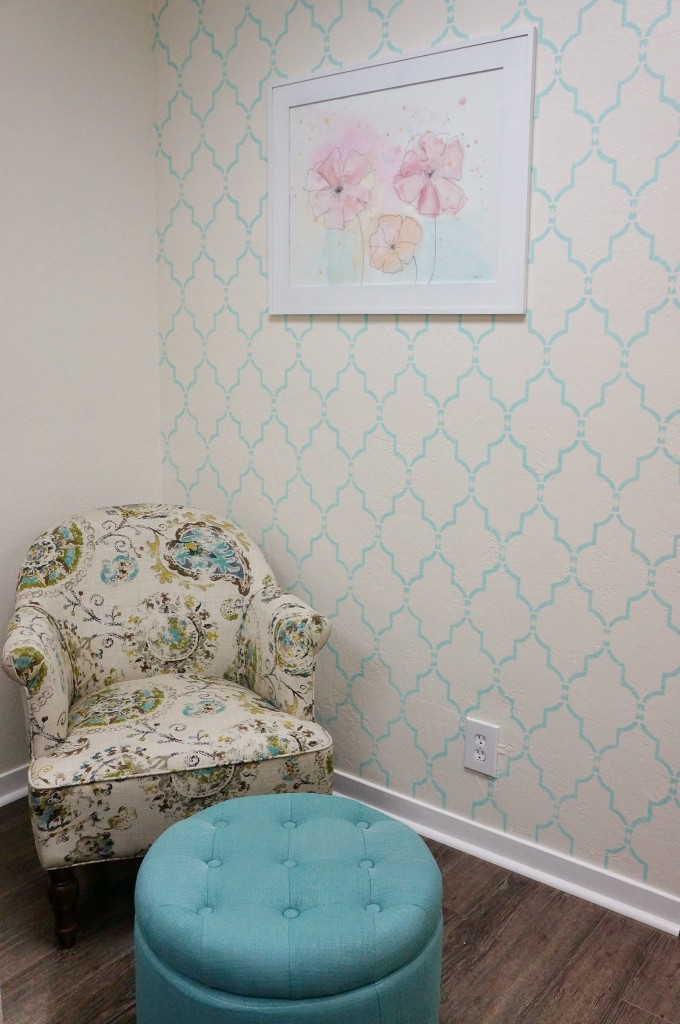
 The Office Reveal
After completing a month and a half interior design project for a dental office, the clients loved the new look incorporating seafoam, peach, and champagne colors. The waiting room features a wooden frame notice board for a polished finish.
-
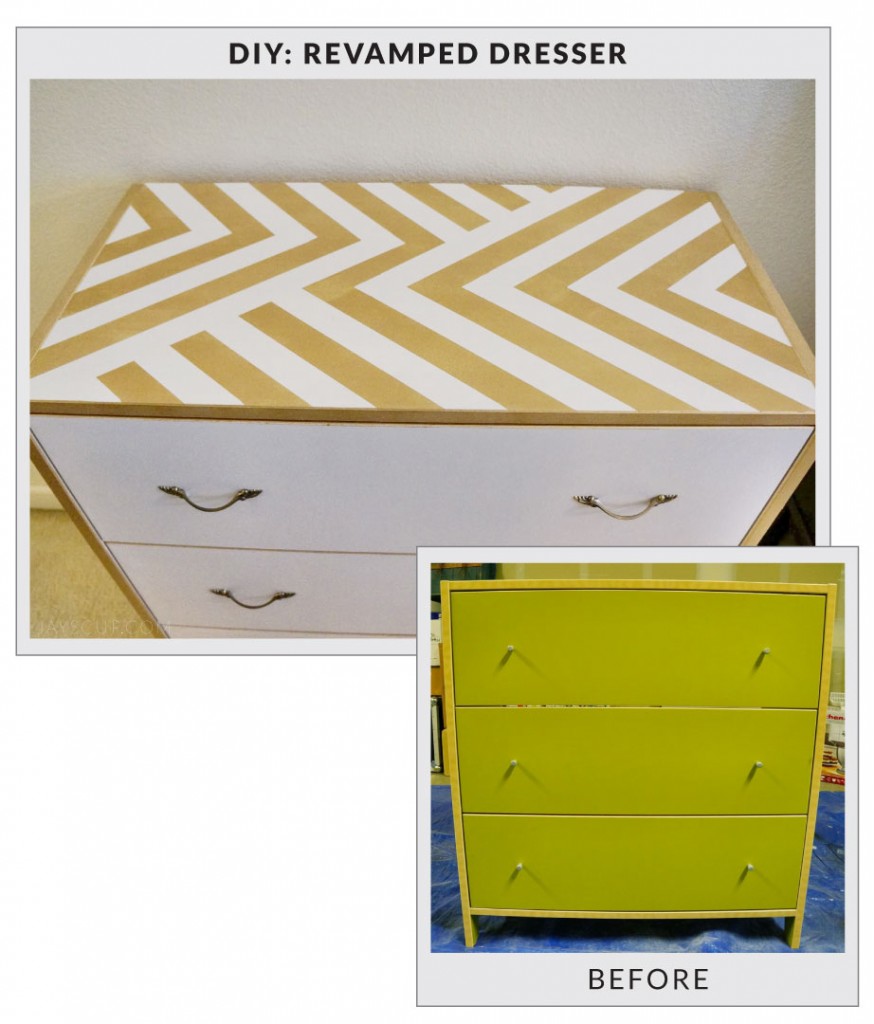 DIY Dresser Revamp
Revamp an old dresser with a fresh coat of paint and new hardware in just 3 days. Get inspired to recycle and refurbish old furniture while being green and saving money.
-
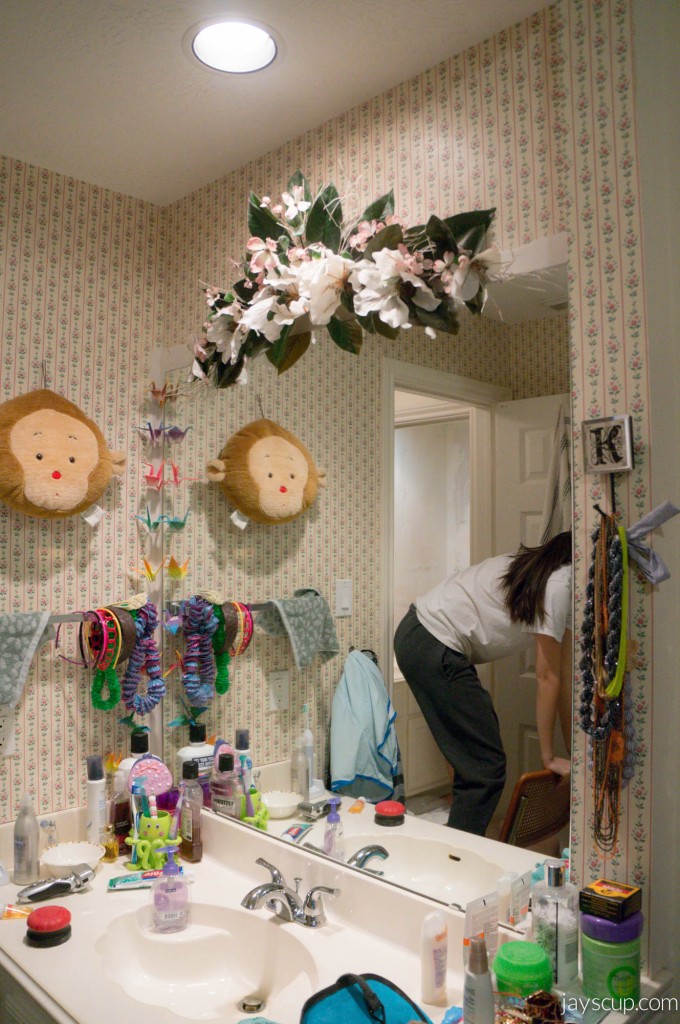 From Wallpaper to Paint
Transforming a bathroom with new glass doors turned into a challenging DIY project due to wallpaper glued directly onto drywall, requiring multiple steps and days of drying in between.
-
 Dainty Vases
While away from home in Texas, I miss the convenience of having my own things but am grateful for my parents' care. I've been obsessed with dainty vases since my wedding in 2012 and love decorating with them - what's your favorite decor element?
-
 Annual Pumpkin Carving Party
Embracing the Fall/Winter season with pumpkin carving parties and roasted pumpkin seeds - a great way to kick off the holidays and start new traditions with loved ones.
-
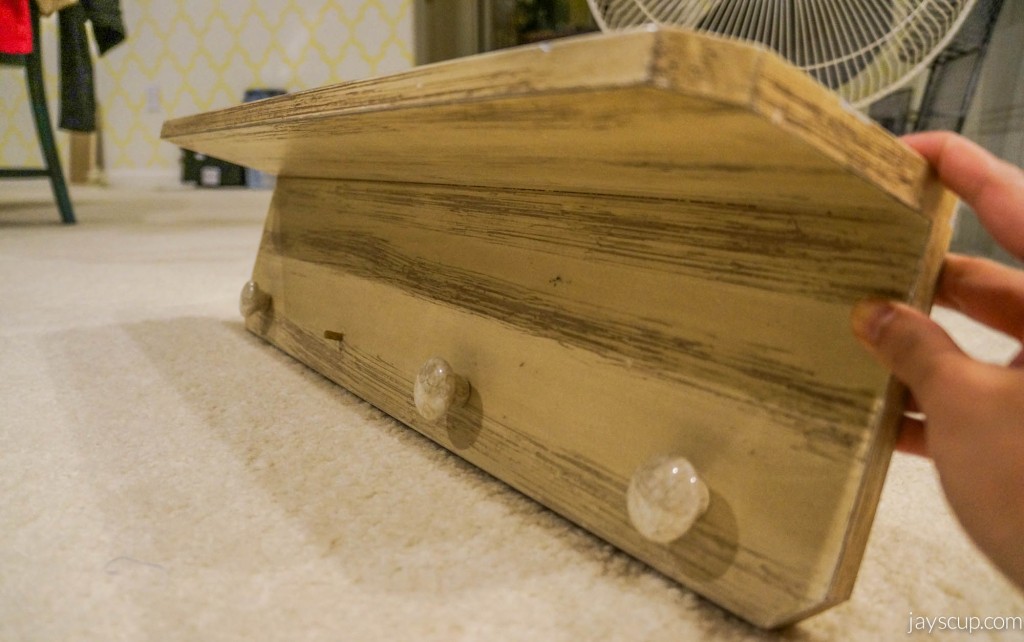 A New Look For My Wall Rack
Revamp your bedroom wall rack with colorful knobs and a fresh coat of paint for a budget-friendly upgrade that adds style and organization to your space.
-
 It's All In The Details
Attending Joe and Rachel's outdoor wedding in California, I marveled at the garden theme, romantic backdrop, and unique details like sprayed gold flowers and ice cream sandwiches dipped in dark chocolate. Plus, cat-sitting three adorable feline friends - a cat lady's dream come true!
-
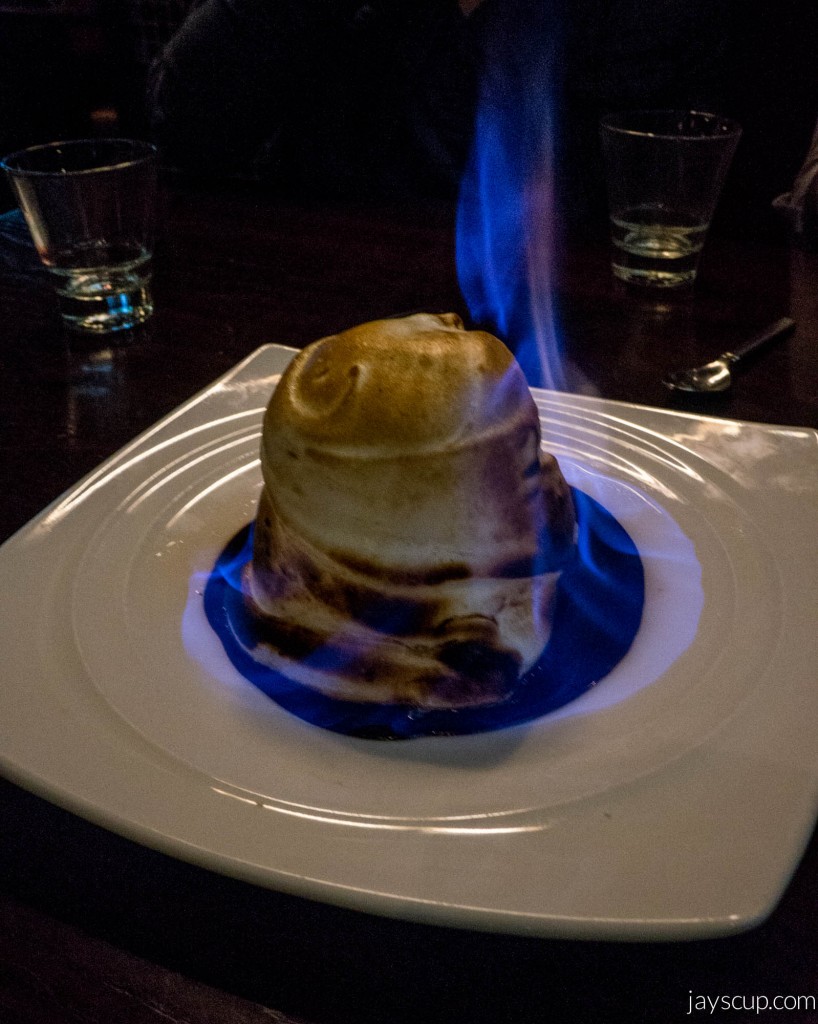 Flaming Cake & Revamped Goodies
This weekend was all about rest, DIY projects, and indulging in a delicious cake. From painting a storage unit to revamping a thrifted bench, there's plenty of inspiration to be found in this blog post.
-
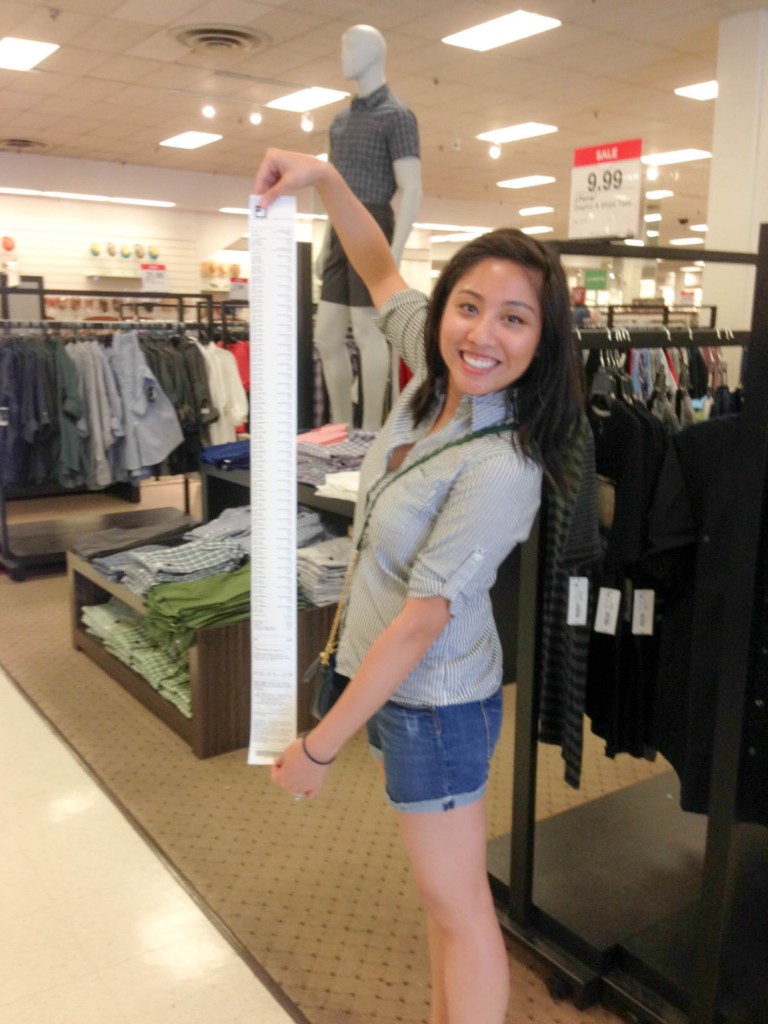 Updated Frames from JCP
Discover the amazing home items and clothing finds at JCPenney, including clearance deals and trendy pieces for both men and women. With tips on how to save money and find great deals, this post will have you heading to your nearest JCPenney store in no time.
-
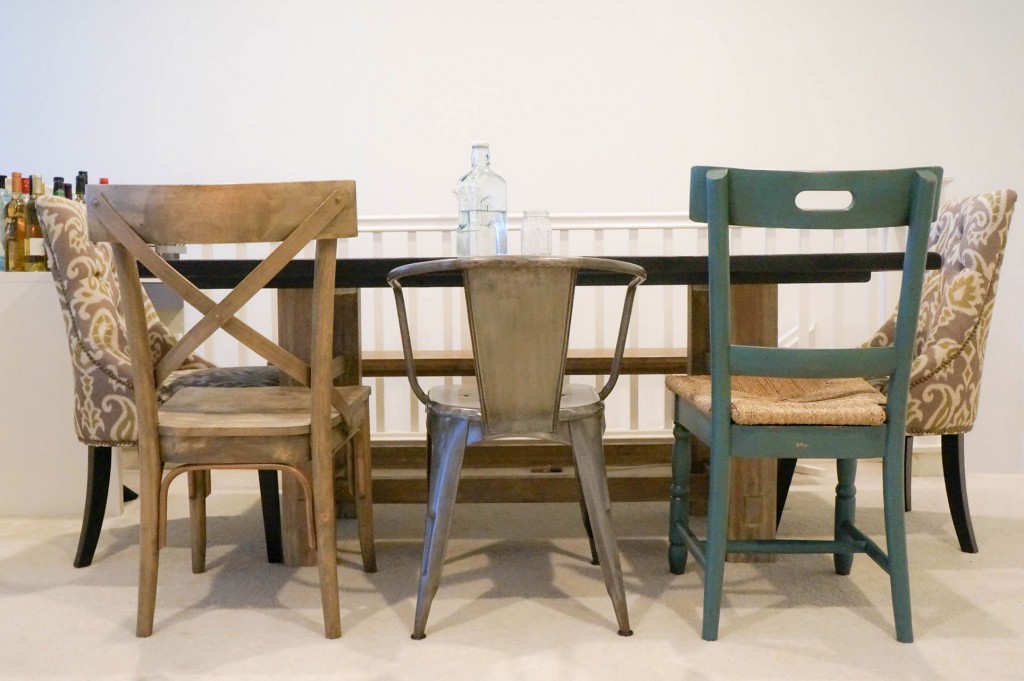 Mismatched Chairs
Redecorate your house with tips on picking pieces you love, exploring different styles, and finding great deals at places like Cost Plus World Market and Marshall's. Embrace the mismatched chairs trend for a unique and stylish look!
-
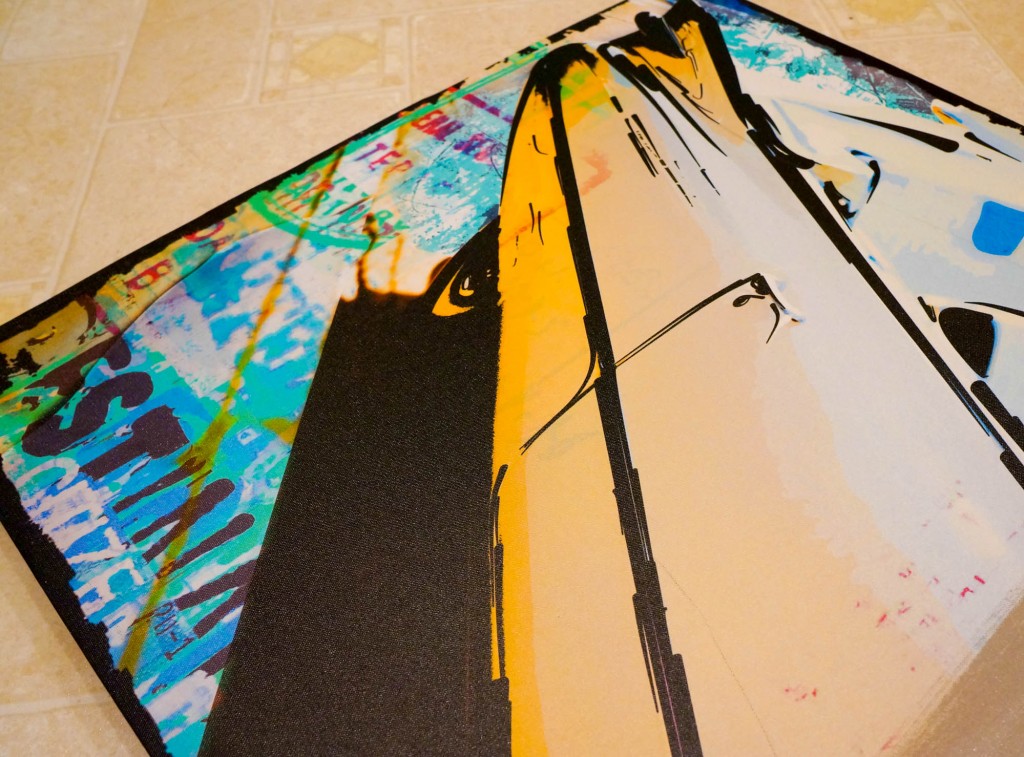 Cassette Tape Wall Art
Turn your husband's old cassette tapes into a sentimental piece of artwork with this DIY project using a canvas and some craft glue. Display his memories in a unique and creative way!
-
 Wall Stripes Tutorial
Transforming a blank townhome into a cozy haven with stylish navy walls and modern striped accents. Learn how to easily create this trendy look with some simple tools and tips.