
Revamp an old dresser with a fresh coat of paint and new hardware in just 3 days. Get inspired to recycle and refurbish old furniture while being green and saving money.
Posts tagged with "revamp"
-
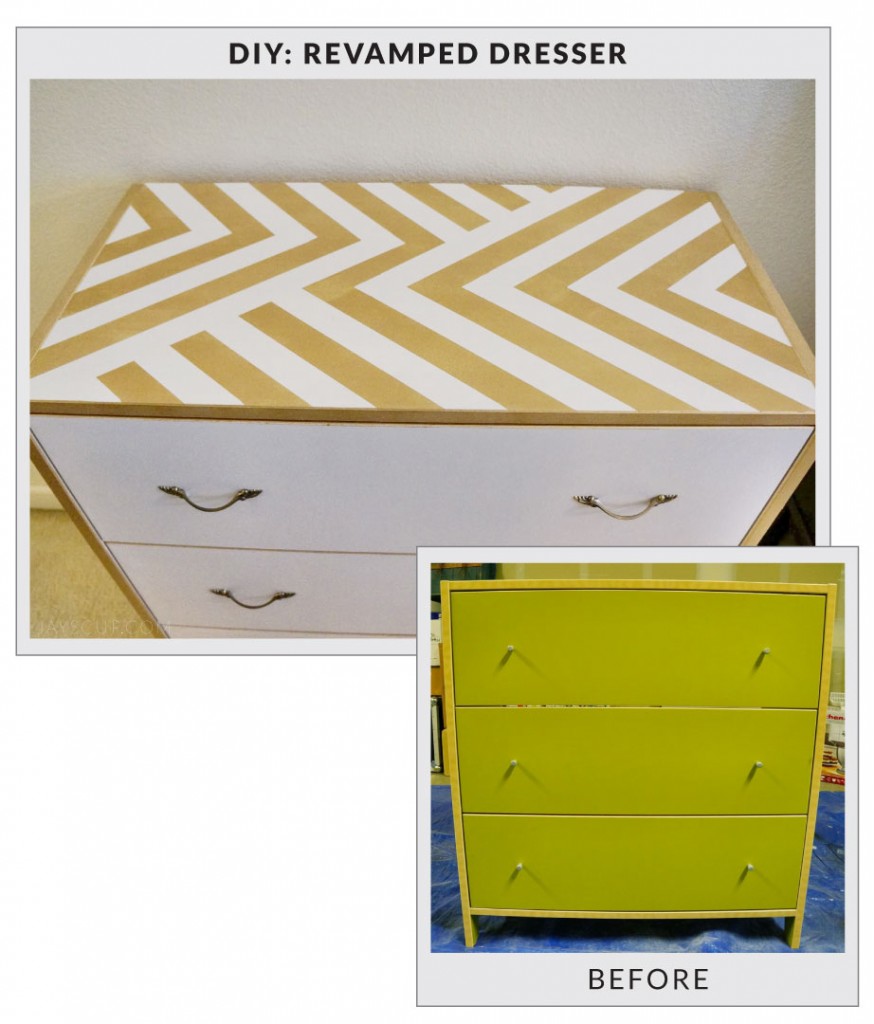 DIY Dresser Revamp
 -
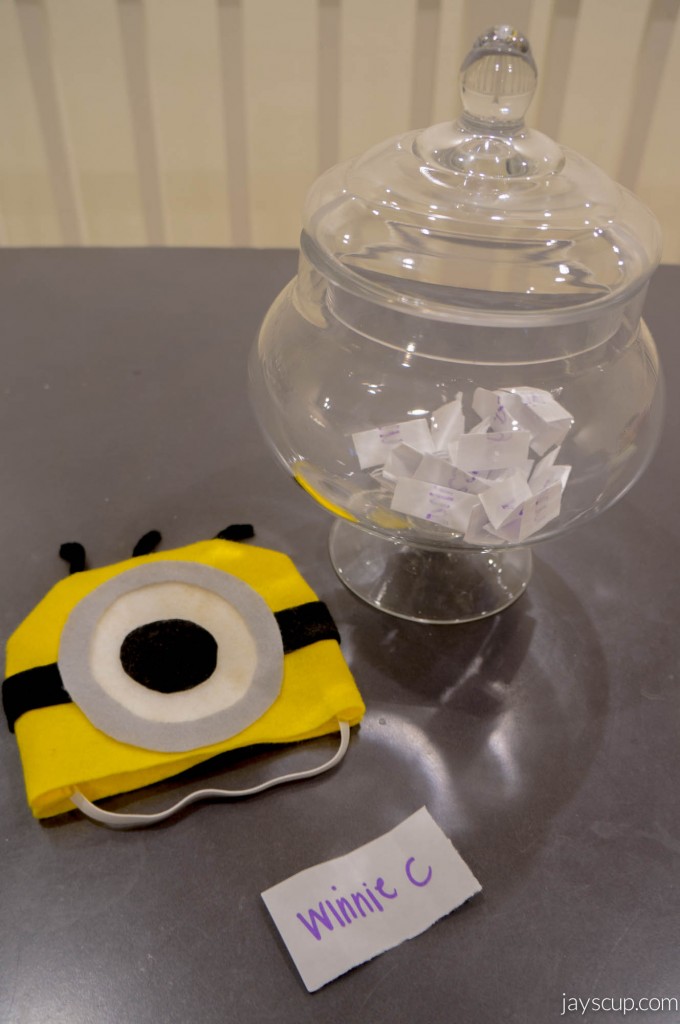 Revamped Storage Unit
Revamp your old storage unit with a fresh coat of paint and some sanding. Follow these detailed instructions to give new life to an old piece of furniture!
-
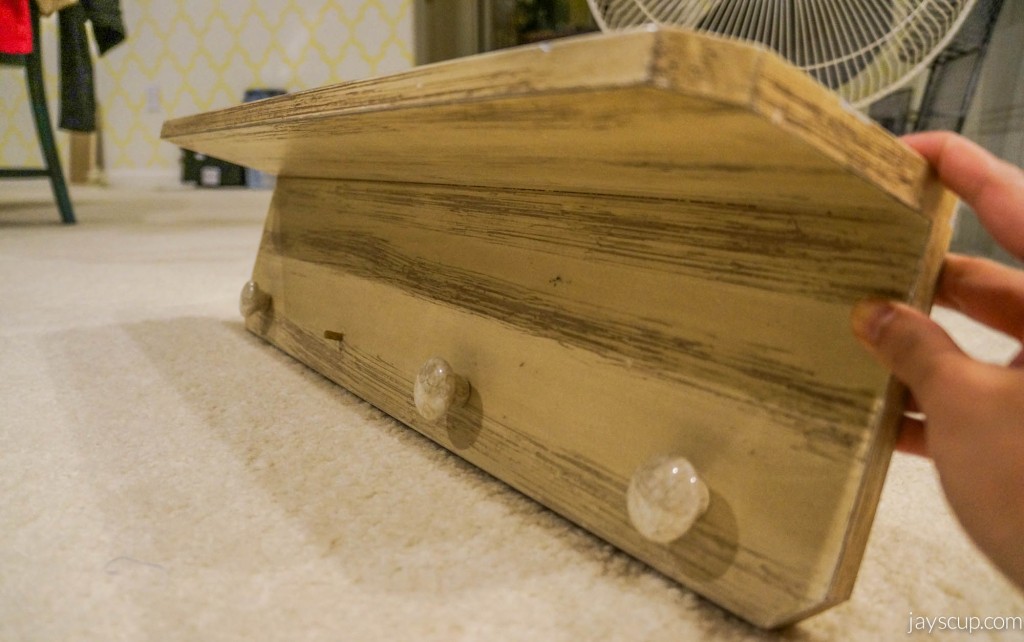 A New Look For My Wall Rack
Revamp your bedroom wall rack with colorful knobs and a fresh coat of paint for a budget-friendly upgrade that adds style and organization to your space.