
Get ready to drool over this Asian-American Thanksgiving feast featuring a juicy prime rib roast and a blend of traditional Chinese and American dishes. Who needs turkey when you can indulge in this delicious holiday meal with your loved ones?
Posts tagged with "recipes"
-
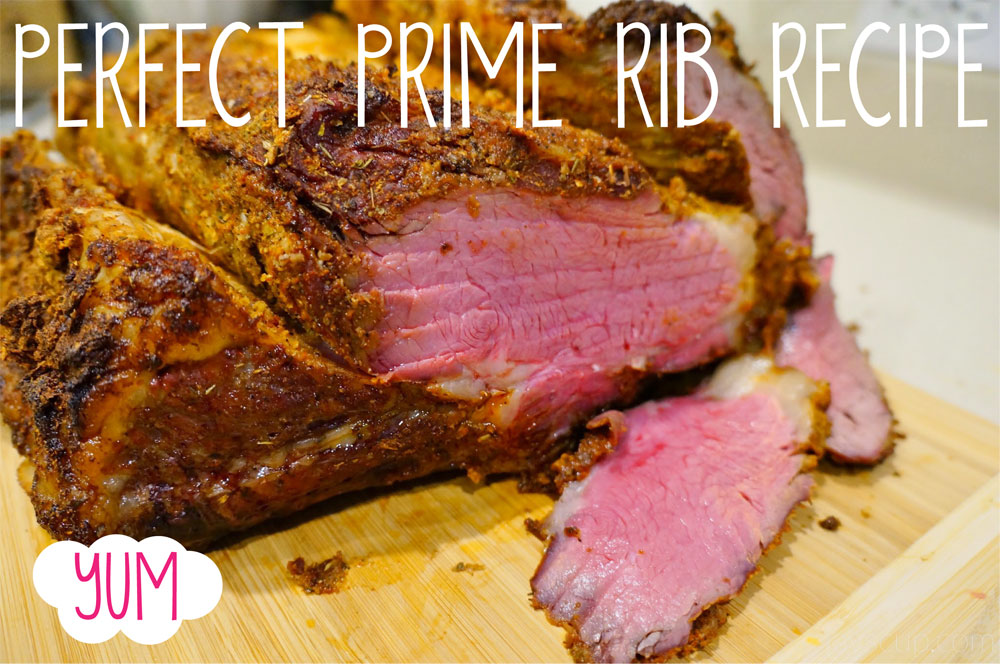 Oh Yeah, Perfect Prime Rib
 -
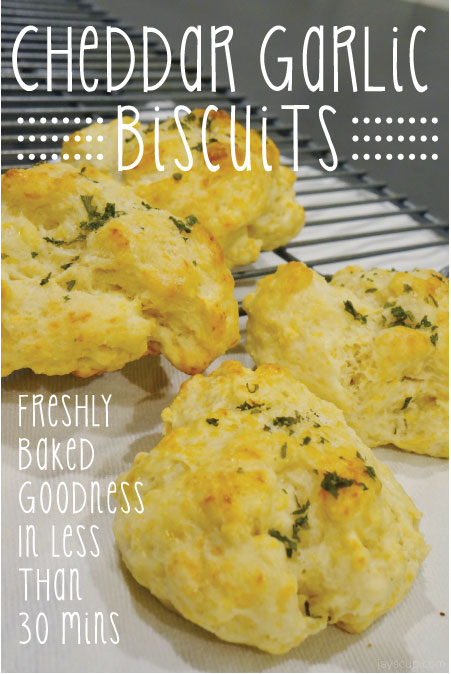 Cheddar Garlic Biscuits
Warm up your home and belly with these delicious garlic cheddar buttermilk biscuits, ready in less than 30 minutes! They're flakey, crisp on the outside, and fluffy on the inside - the perfect Fall treat.
-
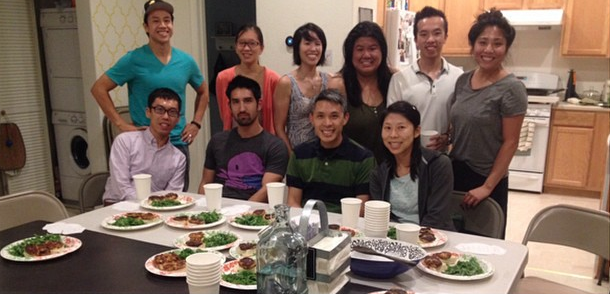 Progressive Dinner Activity
Host a Progressive Dinner for your fellowship group and enjoy appetizers, main courses, and desserts at different homes. Get to know everyone better while indulging in delicious food and good company.
-
 Happy One Year!
Celebrate one year of blogging with a look back at some favorite DIY projects, recipes, and travel adventures. Cheers to many more years of creativity and inspiration!
-
 Jay's Baked Ribs Recipe
Craving Texas BBQ in the Bay Area? Try this easy peasy rib recipe for a lip-smacking, fall-off-the-bone meal that will win over any meat lover at your next dinner party.
-
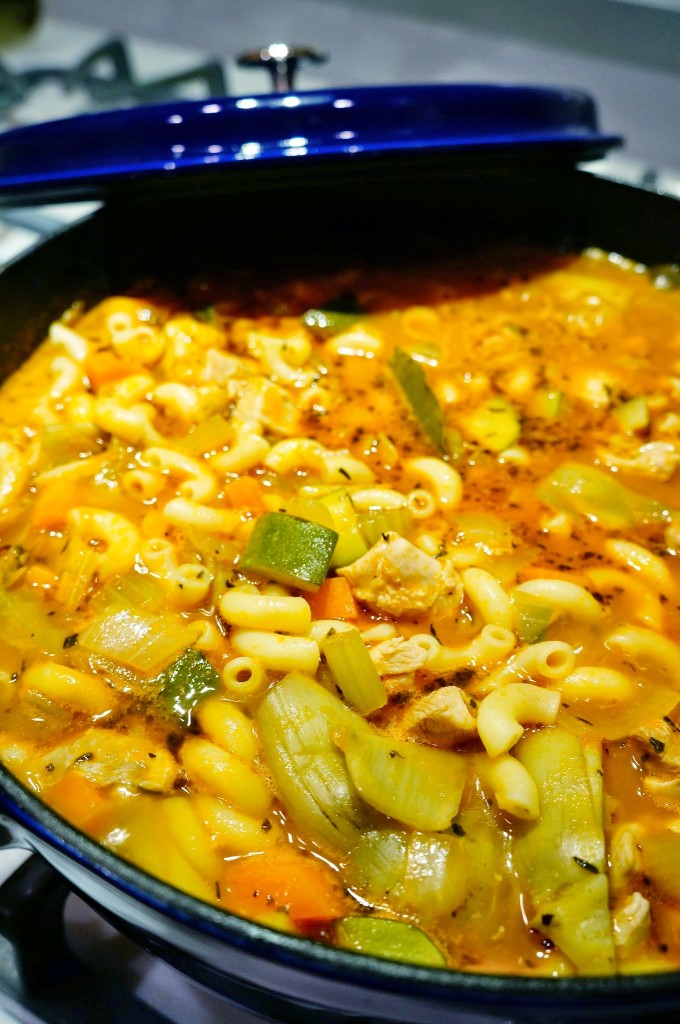 Hearty Spezzatino
Indulge in a hearty bowl of Hearty Spezzatino, a one-pot chicken and vegetable soup that is perfect for cleaning out the fridge and ready in under 30 minutes. This comforting dish will give you the motivation to get through the day and enjoy a delicious meal at home.
-
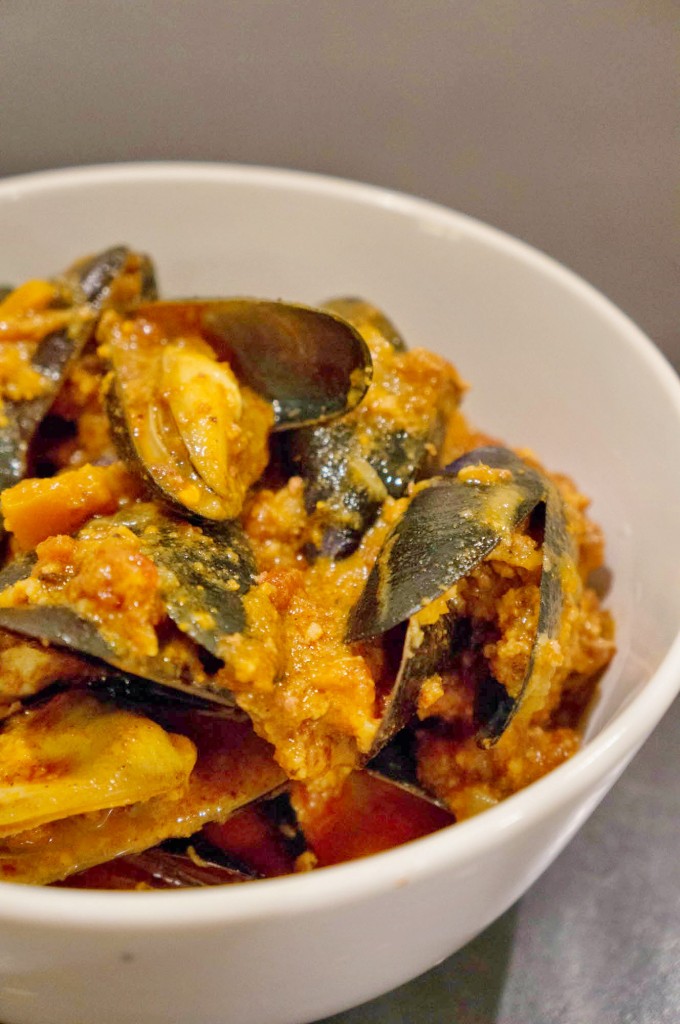 Chorizo Mussels Recipe
Exciting news - I'm starting a freelancing job at an ad agency! But don't worry, I'll still be posting on Mondays, Wednesdays, and Fridays. Today's post features my quick and delicious chorizo mussels recipe - perfect for a flavorful and easy dinner option.
-
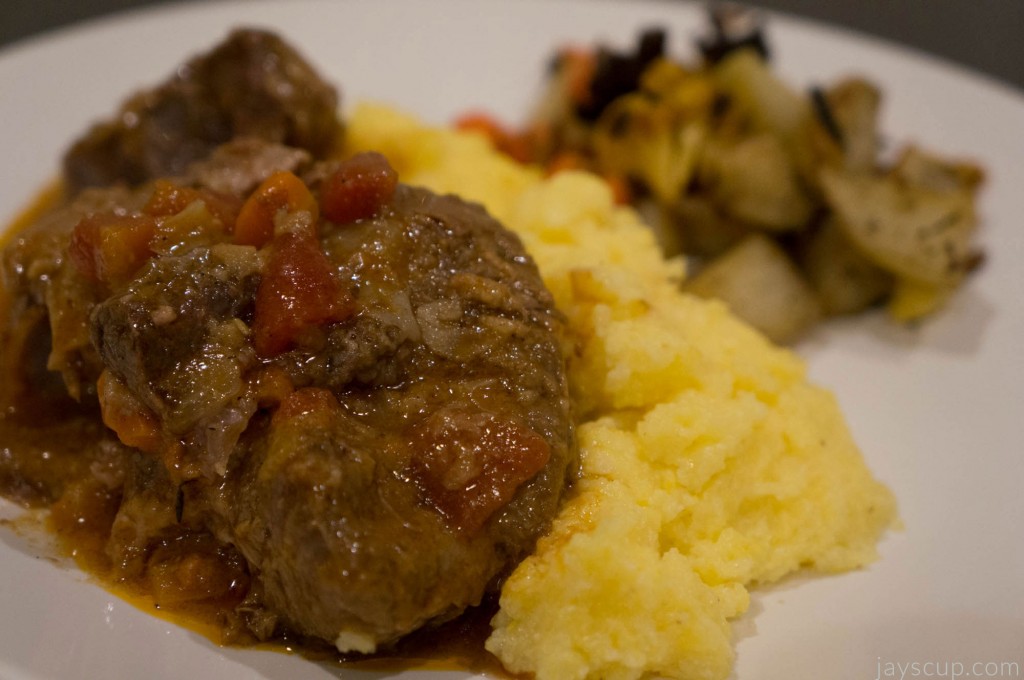 Beef Osso Buco (Jay's Way)
Indulge in the delicious flavors of osso buco with this easy recipe using a pressure cooker. Perfect for a dinner party or a cozy night in, this Italian dish will leave you wanting more.
-
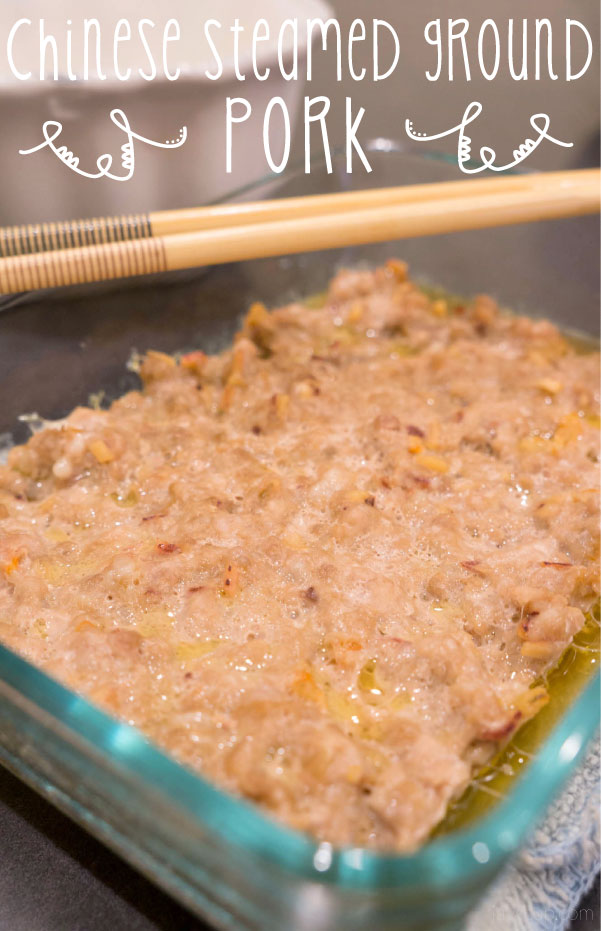 Chinese Steamed Ground Pork
Embrace your Chinese heritage with this easy and delicious Chinese steamed pork recipe, full of flavor and perfect with rice. Just be careful not to overeat and end up "miserably angry"!
-
 Chinese Steamed Egg
Indulge in the comfort of Cantonese-style Chinese dishes with this easy and delicious recipe for steamed egg. Perfect for a cozy meal at home!
-
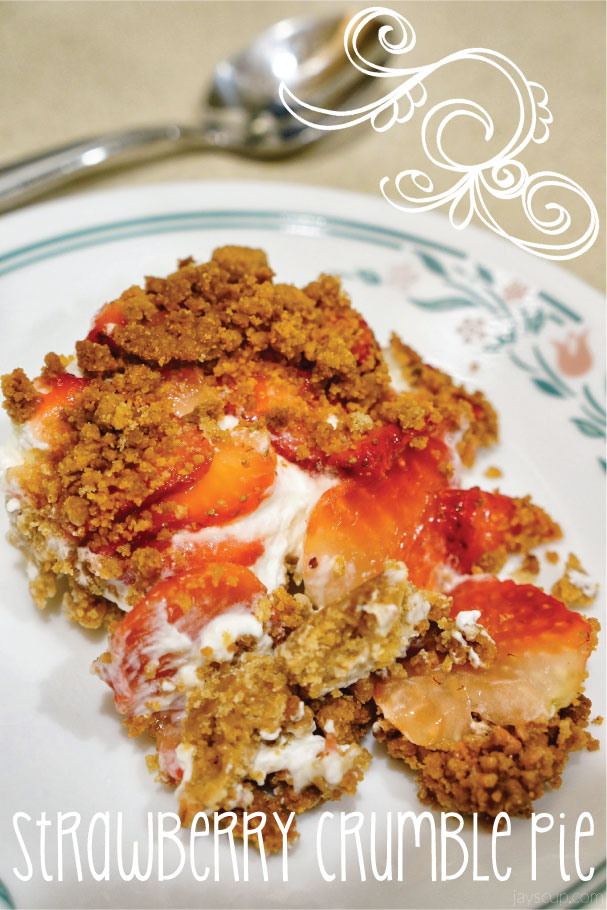 Simple Strawberry Crumble Pie
Indulge in a simple and delicious strawberry crumble pie that takes just 20 minutes to make and 1 hour to freeze. Perfect for satisfying your sweet tooth without the need for Easter candy!
-
 Leftover Enchilada Casserole
Leftover Enchilada Casserole is the perfect recipe for using up taco night leftovers. With ground beef, beans, and cheese, this dish is a delicious way to minimize food waste and enjoy a flavorful meal.
-
 April Showers Bring Soup!
April Fool's Day jokes and rainy weather in the Bay Area aside, this Red Curry Noodle Soup recipe is simple and delicious, with recognizable ingredients and the option to make it vegetarian by omitting the chicken!
-
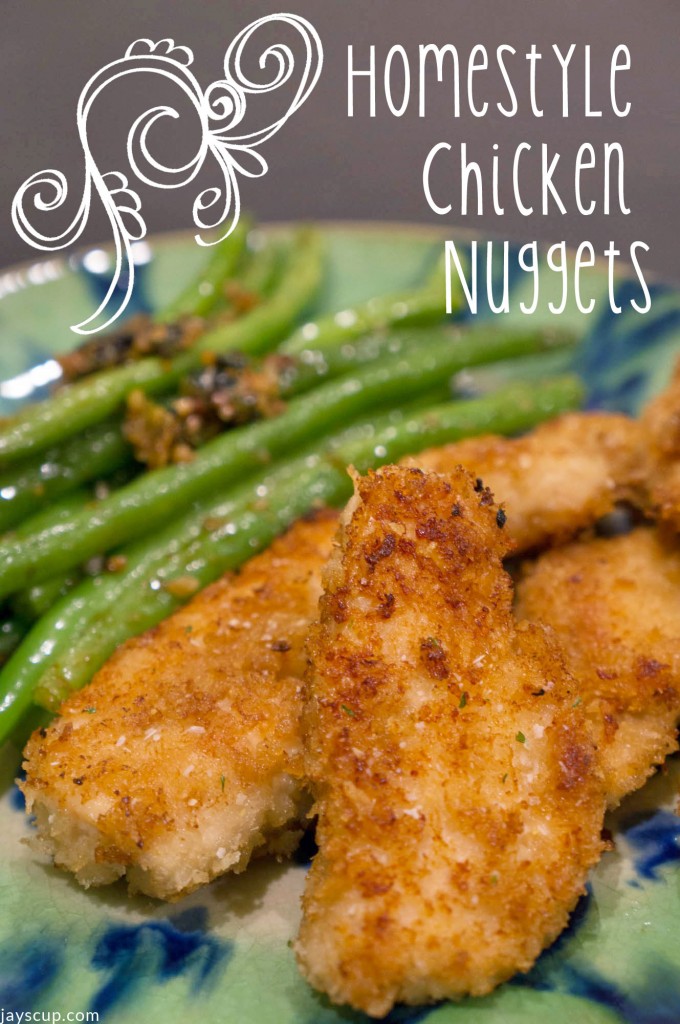 Homestyle Chicken Nuggets
Make delicious homestyle chicken nuggets as a perfect pairing for Asian green beans. Easy to make, crispy on the outside, and a healthy option for picky eaters or anyone craving a tasty meal.
-
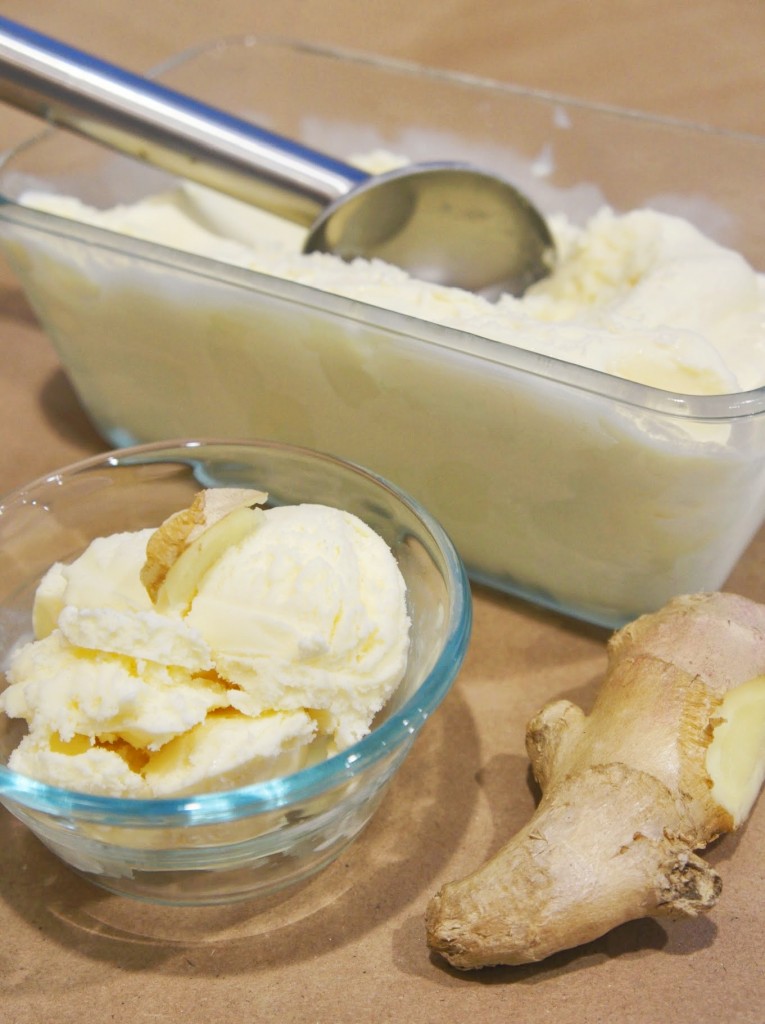 Ginger Ice Cream
Indulge in the nostalgia of childhood memories with this delicious ginger ice cream recipe that is not only tasty but also packed with health benefits.
-
 Malt Ice Cream
Indulge in the creamy, rich goodness of homemade malt ice cream with this easy-to-follow recipe featuring Ovaltine, milk, sugar, and heavy cream. Enjoy the taste of childhood memories with a modern twist!
-
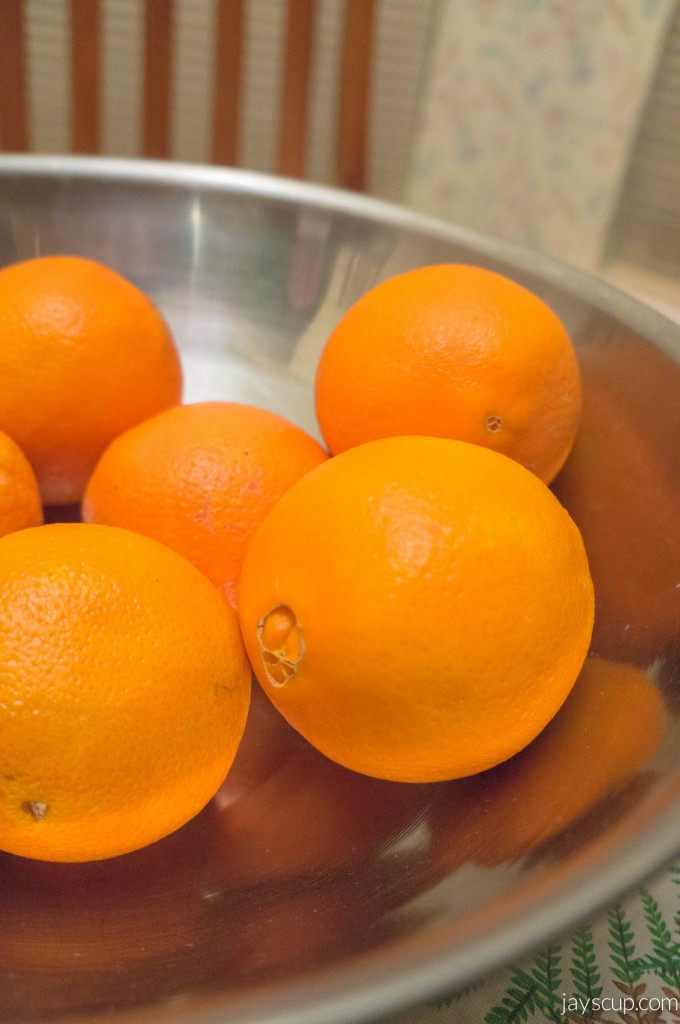 Cran-Orange Cookies
Indulge in these tart and zesty Cran-Orange Cookies that are the perfect balance of sweetness. This fruity cookie recipe is sure to be a hit with friends and family!
-
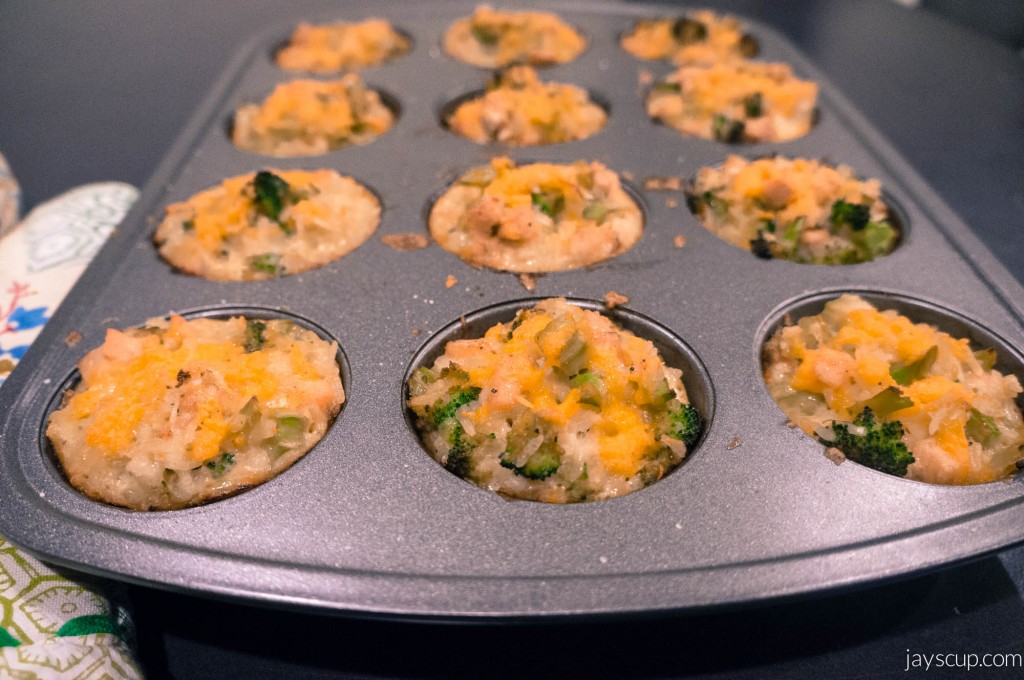 Baked Broccoli Chicken Rice Cups
Try making these delicious baked broccoli & chicken rice cups - a simple and tasty recipe that's perfect for using up leftover rice and easy to take on the go!
-
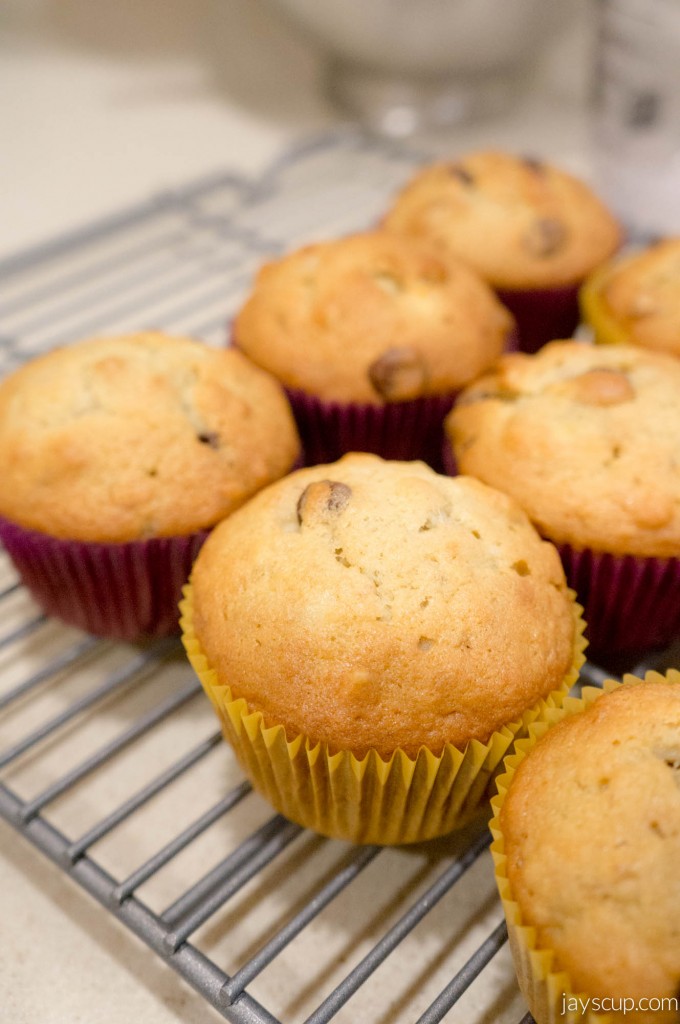 Perfect Banana Nut Chocolate Chip Muffins
Indulge in the deliciously fluffy, not too sweet banana nut chocolate chip muffins recipe perfect for the Holidays and any occasion!
-
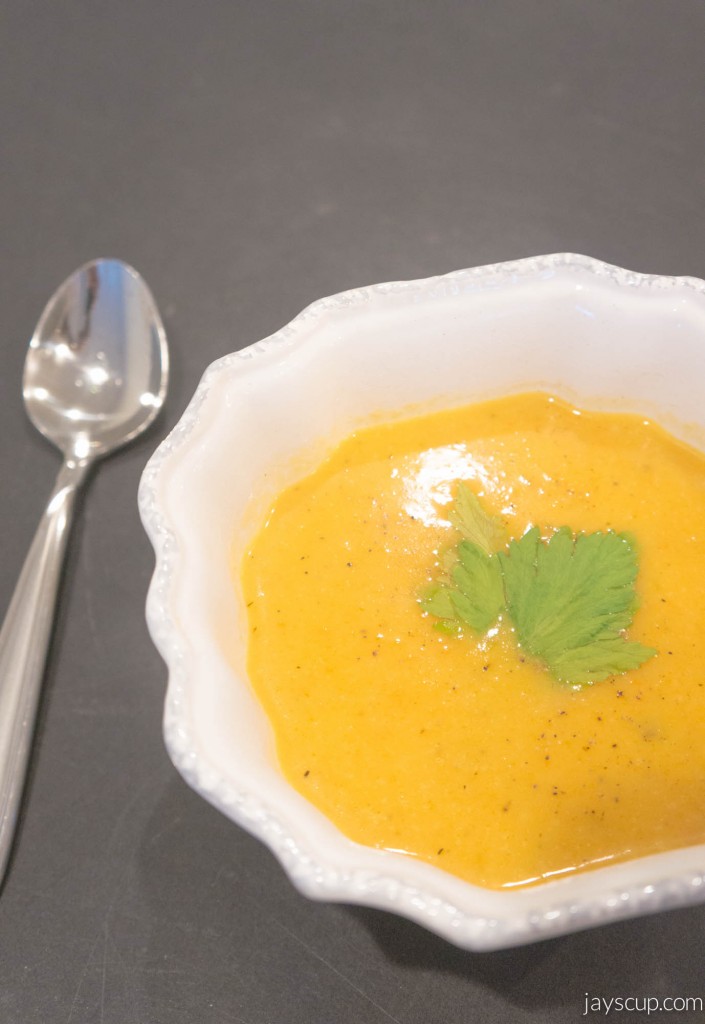 Roasted Butternut Squash Soup Recipe
Get ready for Thanksgiving with this delicious and easy recipe for roasted butternut squash soup! Perfect for a festive appetizer that will impress your guests.
-
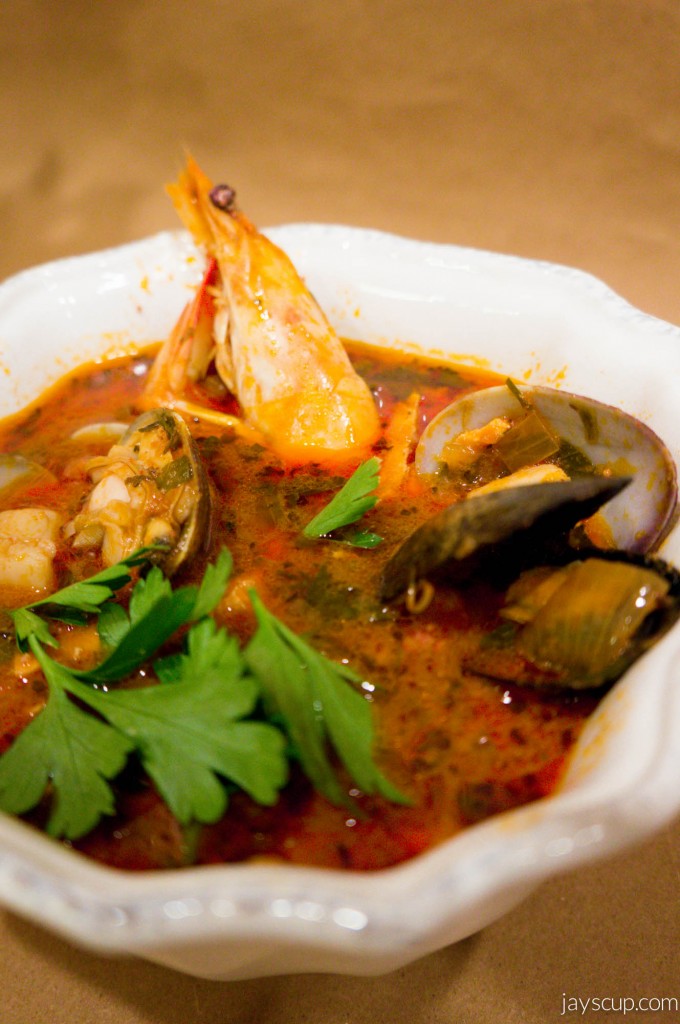 Chorizo Cioppino Recipe
Warm up this winter with a cozy bowl of homemade cioppino, packed with fresh seafood and delicious flavors. Save money and enjoy this hearty dish all week long!
-
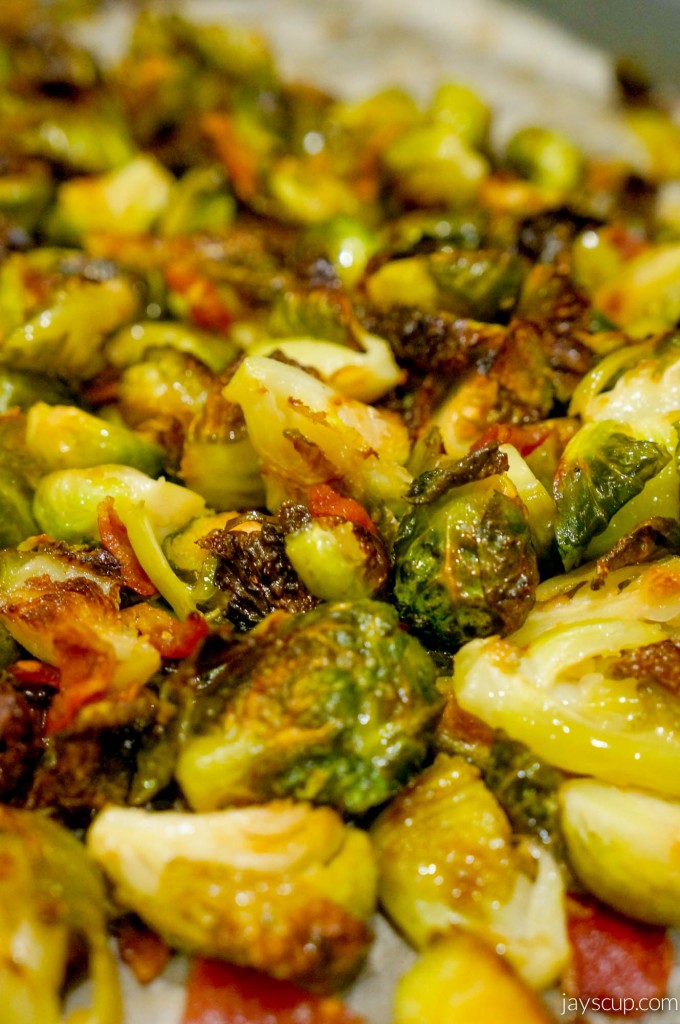 Fat Girl Brussels Sprouts Recipe
Indulge in the deliciousness of Fat Girl Brussels Sprouts - a simple and savory recipe with only three ingredients, including the beloved bacon!
-
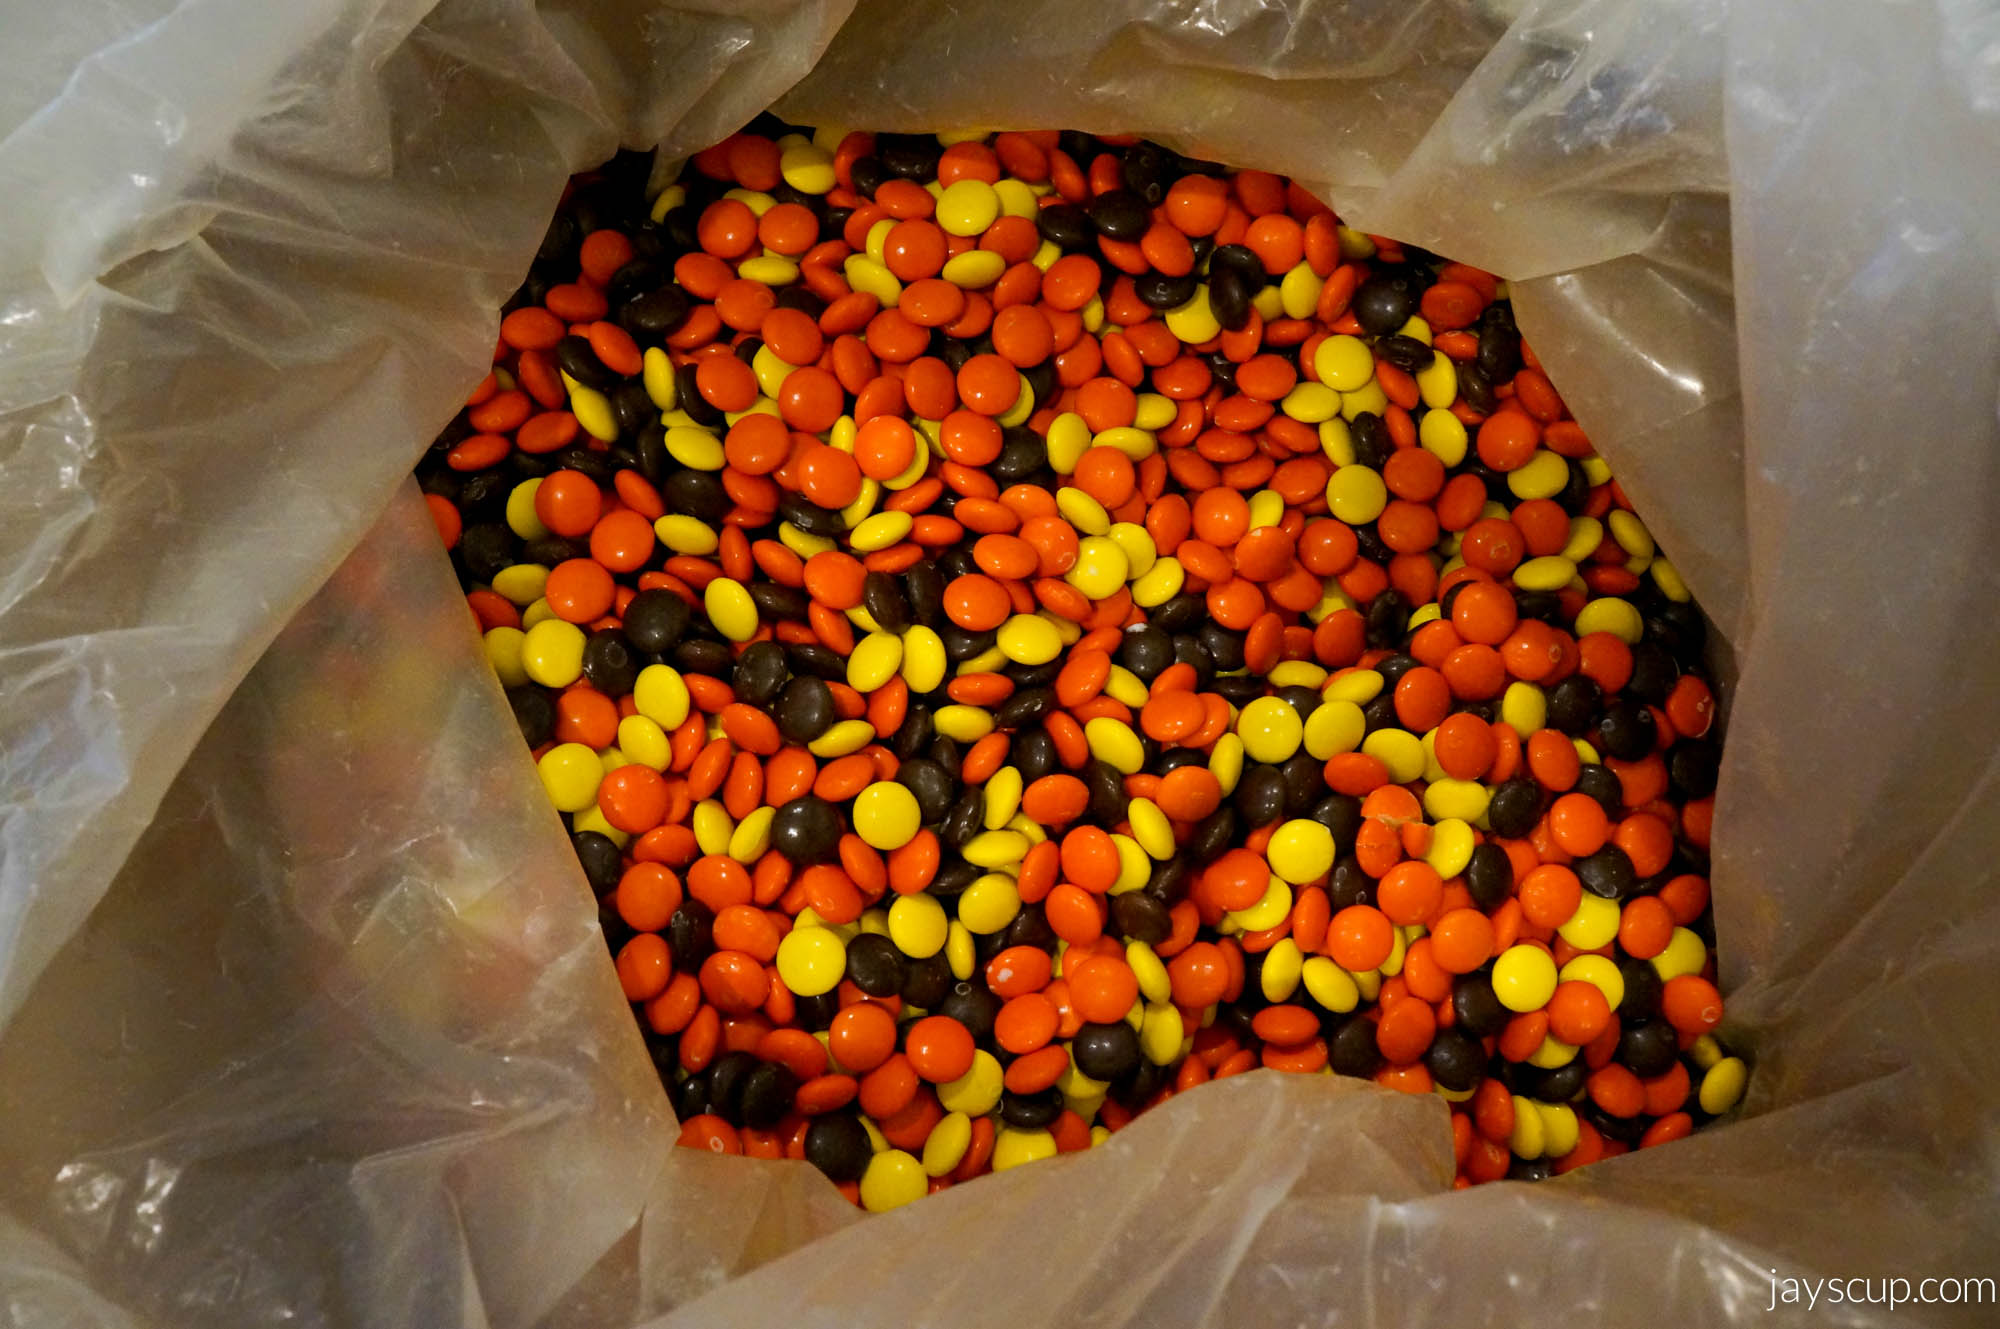 Reece's Pieces & More Pieces
Discover the joy of finding unexpected treats while cleaning, like a 25lb box of Reece's Pieces! Try your hand at baking delicious Reece's Pieces cookies with these helpful tips and recipes.
-
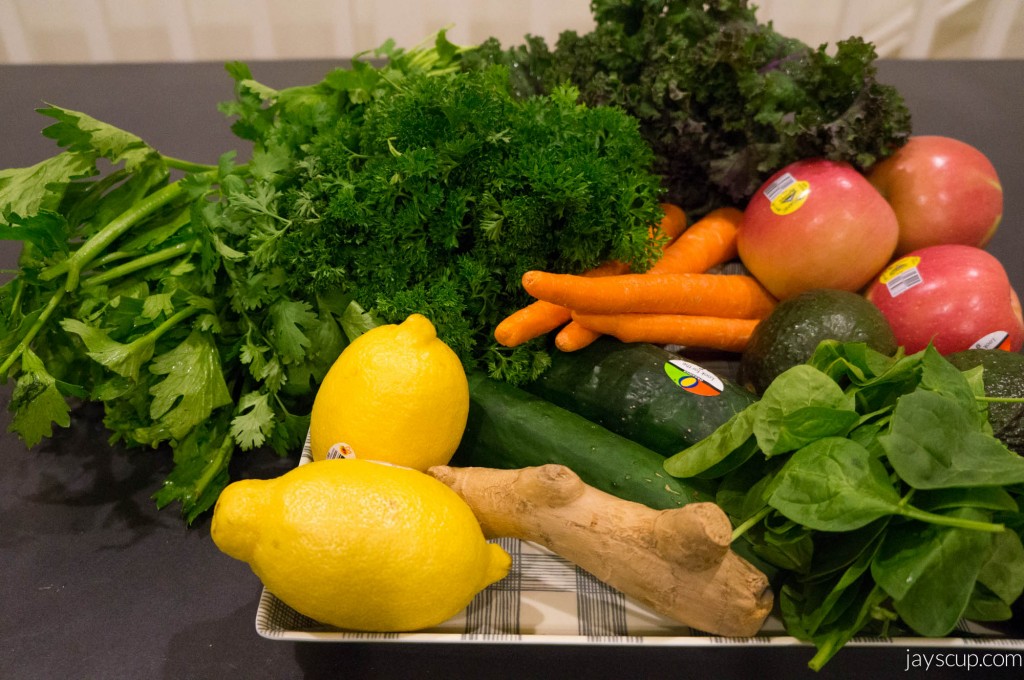 Healthier Living
o check out these food documentaries and consider adding more fruits and veggies to your diet for a healthier lifestyle.