What’s the first thing that comes to mind when you think of a hearty comfort food?
Mine has always and will always be chicken pot pie. Chicken, veggies, cream, and a crunchy, flaky pastry? Yes please! You know how sometimes you crave certain foods based on weather? For me, hot days mean sushi and fresh seafood. For cold, rainy days, I crave noodles, soup, and pot pie. Do you have those cravings too? Pot pie is one of those recipes that warm the soul and honestly leaves you with a happy belly. Most times I cannot have more than just once slice!
I have a cooking tip for those of you reading.
Cook multiple chicken breasts and keep them in the fridge!
It’s hard to put dinner on the table throughout the work week because when you get home, you’re tired. You want to veg out on the couch, eat something, and go to bed. I get it. I’ve been there! I get it so much that I make food on the weekends and keep everything in the fridge, so that when the weekday comes along and you need to make dinner, it’s basically microwaveable. Chicken breasts is perfect for this!
I typically cook 3 chicken breasts on the weekend because I can make so many different meals – chicken salad, chicken in pasta, chicken stir fry, chicken tenders, and yes, chicken pot pie. So many different options!
This savory pie recipe is one that I often make for cold days, for dinner guests, and for pot lucks. It’s great for 4-6 guests, if you’re able to stop eating after one slice. The most difficult part is the crust, but that’s only because you need time to refrigerate the dough. That’s not even hands-on! Make this simple recipe, and it will not disappoint!
Hearty Chicken Pot Pie Recipe
Ingredients for crust (makes 2 pie crusts):
- 2 1/2 cup flour
- 1/2 teaspoon of salt
- 1 cup of butter, chilled and diced
- 1/2 cup of cold water
Ingredients for the filling:
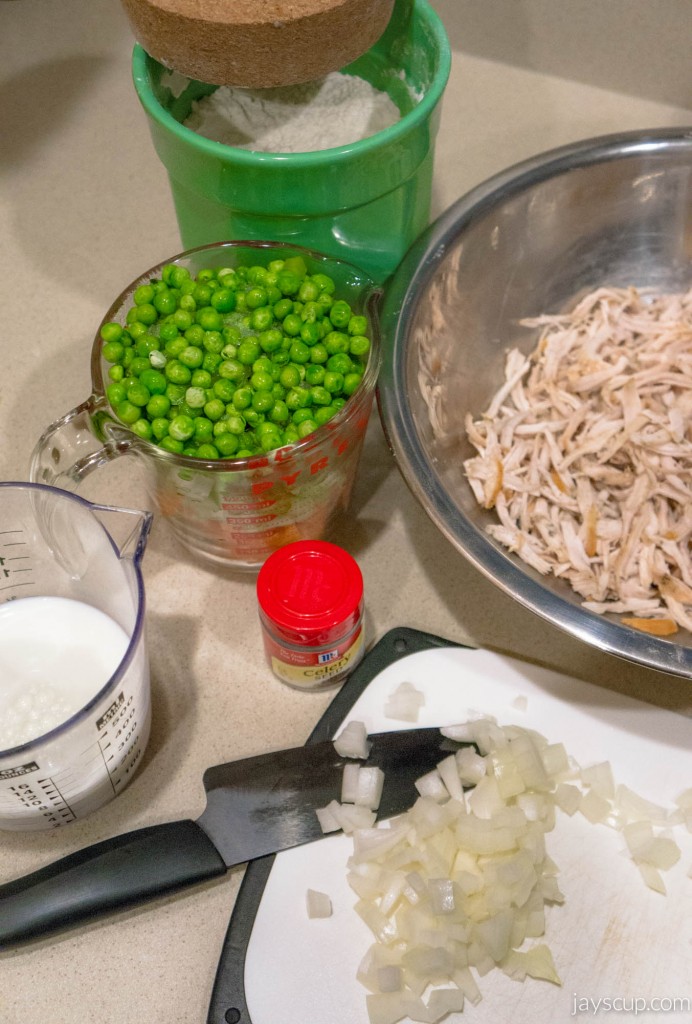
- 1 chicken breast, cooked and shredded
- 1 cup of frozen carrots
- 1 cup of frozen peas
- 2 ribs of celery, sliced
- 1/2 onion, chopped
- 1/3 cup of butter
- 1/3 cup of flour
- 1/2 teaspoon of salt
- 1/4 teaspoon of pepper
- 1/3 teaspoon of celery seed
- 1 3/4 cup of chicken broth
- 2/3 whole milk
Directions for crust:
1. Let’s make the crust first since it needs to be refrigerated. In a bowl, combine the flour and salt. Then mix the diced butter into the dry mix until it resembles crumbs. Stir in water a tablespoon at a time, until the mixture is tacky and can form a ball. Cut dough into two pieces, and wrap each piece in plastic. Refrigerate for 2-3 hours or overnight.
2. Roll out dough to fit your 9 inch pie dish. Press the dough evenly onto the bottom of the dish and sides. Roll out the second piece of dough, and this piece will go on top of the pie, after the filling is complete.
Directions for the filling:
1. Preheat the oven to 425 ° F.
2. Add water to a saucepan and boil the carrots, peas, and celery for 2-3 minutes. Drain and set aside.
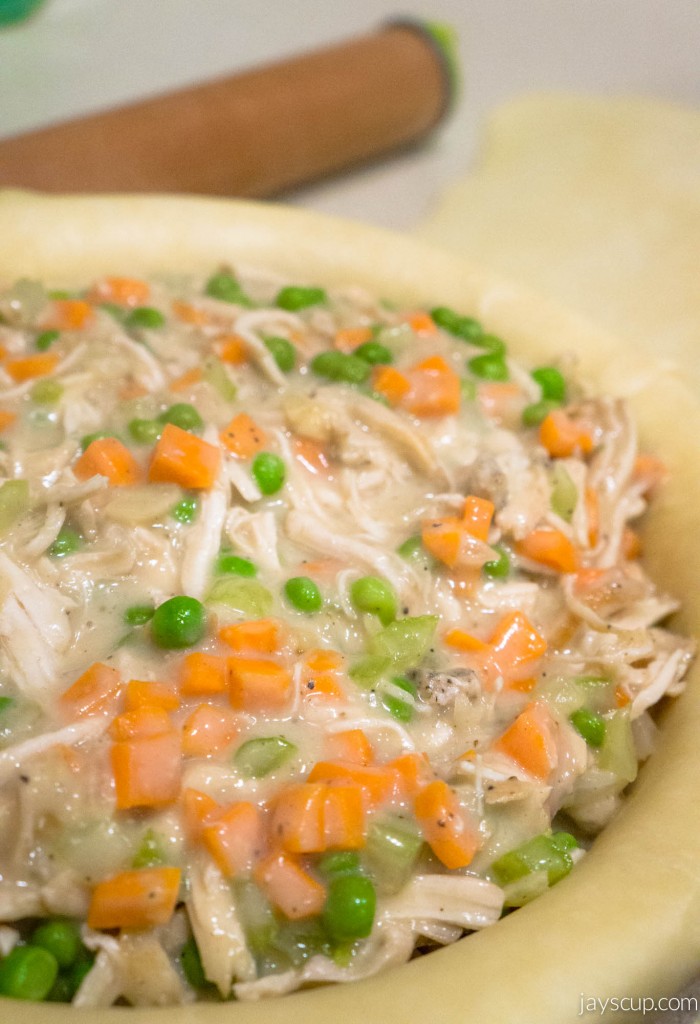
3. In the same saucepan, melt the butter and cook the onion until soft and translucent. Stir in flour, salt, pepper, and celery seed. Once combined, stir in broth and milk. Simmer until mixture thickens, and add chicken and veggies.
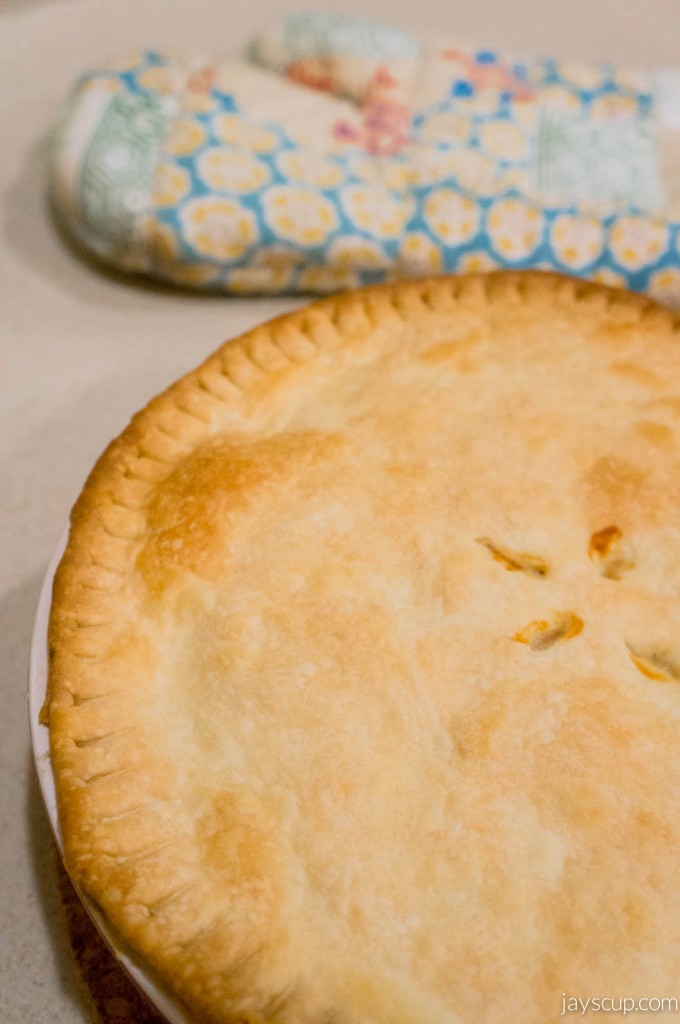
4. Pour the filling into the bottom pie crust, and cover the filling with the other rolled out crust. Cut away excess dough, and make small slits to allow steam to escape.
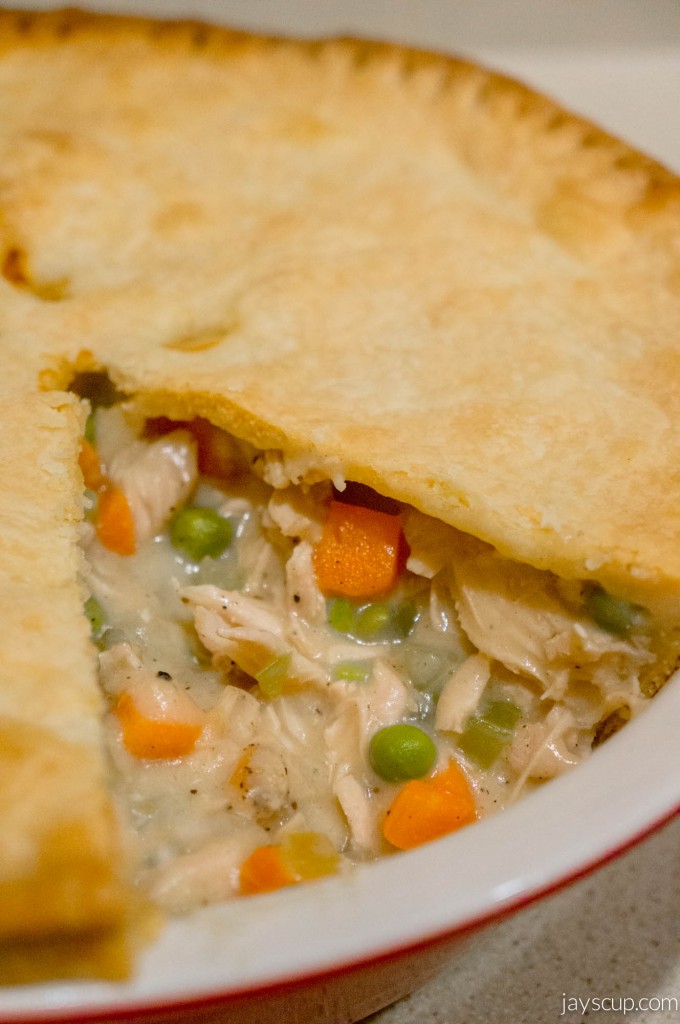
5. Bake the pie for 30-35 minutes, crust should be golden brown. Cool for 10 minutes then serve.

This filling is making me hungry!!!
This makes me miss the cold, rainy, winter days in the Bay Area. Unfortunately, this west coast has been in a drought this whole winter season, but I might just have to make this pie even on a sunny, hot day!
Is this something you can make? What’s your favorite savory pie? Better yet, can you share the recipe?
Happy belly,
Jay


