Jay’s Baked Ribs Recipe

I’m a Texas girl at heart. I love meat, and I love BBQs. That’s how you can win me over. Easy!

Now that I’m in the Bay Area, I reminisce those days I ate at Rudy’s, and Salt Lick, and Franklin’s. I definitely took it for granted when I lived in Austin because BBQ was so easy to come by. It’s just not the same here.

But when I crave those things, I usually make something at home to satisfy. For instance, this week, I’m having a dinner party for friends, and I know the perfect thing to cook. Ribs! Who doesn’t love lip-smacking, juicy, fall off the bone, BBQ ribs?

Close up of ribs

At Costco, you can purchase 3 racks of ribs for about $25 dollars. Perfect for a dinner part of 6-8 people! With a few sides, like a salad, cornbread, potatoes, and corn, that’s the perfect Southern meal.

Here’s my easy peasy rib recipe. I’m not lying when I say simple.

Jay’s Baked Rib Recipe (3 ingredients only)

Ingredients:

  • Dry pork rub (Find one at the grocery store. It need not be expensive)
  • Pork ribs
  • Your favorite BBQ sauce

Directions:

1. Preheat your oven to 300° F.
2. Peel off the membrane that covers the boney side of the ribs. The hardest part is finding an edge to start peeling, but once you do that, it should come off fairly easily. Look at corners for a piece to grip and peel. Otherwise, I like to cut the membrane with a knife between two bones and start to peel from the middle.
3. Now apply the rub on the front and back of the ribs. Be generous with the rub and coat evenly.
4. Lay the ribs on foil, meaty side down, and shiny foil out. Add another layer of foil on top and bottom and crimp the edges together.
5. Place the ribs onto a baking sheet and bake for 2-2.5 hours.
6. Remove from the oven, and put oven on broiler on high.
7. Cut ribs into serving sizes and brush on the BBQ sauce on every side of the ribs. Be super generous!
8. Place the ribs into the broiler, meaty side up and broil for 5 minutes, or until the ribs are charred to your liking.
9. Enjoy! And lick those fingers clean!

Membrane

Broiled

Done

Seriously so delicious! It really falls right off the bone.

Another option for this recipe is to grill the ribs instead of broiling. Gives it that yummy grilled taste. To keep things simple, because after smelling cooking ribs for 2.5 hours, I just use the broiler so it can get into my mouth quicker!

Craving ribs now? What are some of your favorite BBQ places to eat? Any recommendations for BBQ in the Bay Area?

I want my baby back, baby back…
Jay

Hottest Camping Weekend Ever!

This was by far the hottest weekend I’ve ever gone camping. When we arrived at Henry Coe State Park on Friday, the temperature reached 103° F. We knew we were in for some heat. That’s an understatement!

Bees and wasps galore when the heat is in. They swarmed our food, but thankfully no one got stung. That’s good right? Since the state of California is in a drought right now, everything is dry. Sadly for us, that meant no charcoal or wood fires. No campfire makes me a sad girl. Nonetheless it was still a fun trip!

On Friday night, we got in, scoped out our sites, pitched our tents, and started to make dinner before dark. I prepped some chicken teriyaki at home so we simply cooked it, cooked some spam, heated the rice up, and supplemented with seaweed. Asian meal at it’s finest, chicken for protein and deconstructed spam musubis for dinner. I also made some brownies at home to bring as dessert. Delish!

Niki

Boys

Aaron

Spam

We played some games that night and then went to sleep. MG and I didn’t use our tarp over our tents that night so that we could see through the mess and feel the night breeze. Comparatively speaking to my other camping experiences, this was a hot night. Mid 60°F to low 70°F is pretty hot for sleeping. Once dawn hit, it was too hot to sleep in; everyone was up by 7am.

We prepped breakfast, sat around and talked, made our sandwiches, and started a 5 mile hike. We even brought our swimsuits because midway through the hike, there’s a lake. We were excited to be able to cool off… but once we got to the lake, we realized why it was named “frog lake.” Thousands of frogs jumping everywhere, a layer of slime, and stagnant water. Great! Who’s getting in first? Nobody. We didn’t want to risk our lives in this water…

Gang

Hiking

Gandalf
^^^ Look at Gandalf here trying to fashion his walking stick

Frog Lake
Oh okay… Let me just jump right in here… NOT

Frogs
All those rock lookin things… frogs.

We hiked back down and asked the ranger where we could swim. Apparently in the county of Santa Clara, you cannot swim in bodies of water. Our ranger told us 1) we could swim in frog lake (who-the-eff does that!?!) or 2) we could “fall” into Anderson Lake nearby to cool off. We drove back down the mountain and dipped into the super muddy Lake to cool off. At that point, having some sort of water to degrease and get the caked on sunscreen off was worth it!

Perhaps we stopped by a McDonald’s afterwards for ice cream… maybe. Can you blame me?

We fix up some burgers, ramen, smores and smoreos for the night. Oh yes, you read that right. I said smoreos; roasted marshmallows sandwiched into oreos. You’re welcome for opening your eyes.

Smores

We played games, the girls did facials, and then we all headed to bed for an early morning to get to church on time.

Note to the reader: Quiet time is at 10pm at campsites. Don’t cook and talk loudly at midnight! Or else you’ll hear from me…

Great camping trip! I’ve had better ones but the fellowship during this trip was definitely memorable!

Have a great week y’all!
Jay

Camping Prep

I’m going camping this weekend at Henry Coe State Park!

My fellowship group decided to take a weekend trip together, and we chose the great outdoors. If you’ve been reading along you know I love camping! Can’t wait to get away from technology, snuggle into my sleeping bag, and read. Oh yup, you already know food is a big, hu-mun-go part of camping. As usual, I’m in charge of groceries. There’s going to be some good eats!

We’re going to be a group of 13. I love shopping for medium/large groups because there’s such a wide selection of things to choose from. It’s also fun for me to keep costs to a minimum when it comes to that many people. Challenge accepted. I love it!

I went shopping for snacks today at Target. Lots of goodies. It’s like a kid at a candy store!

Target

For drinks we got Anchor Steam, Pinot Noir, Gatorade, Water, and Dr. Pepper. I even made brownies for dessert for tomorrow night!

For snacks, check this out:

Snacks

Yes!

I forgot the beef jerky on purpose because I need the huge bag from Costco 😉

What are your favorite camping snacks? Am I missing anything good? Onto Costco tomorrow…

Fat kid at heart,
Jay

Hearty Spezzatino

You can’t go wrong with a hearty bowl of soup. A warm and full belly after a perfect bowl of soup is one of my happy places!

I always keep raw chicken breast in my freezer. It’s such a universal meat that you can eat with just about anything, sandwiches, pasta, soup, grilled, stuffed, stir-fry; choices are endless!

This is one of those recipes that calls for chicken. It’s also one of those recipes that’s perfect for when you need to clean out the fridge. Lots of veggies leftover that are going back, just throw them into the soup.

By the way, this recipe gets better. It’s a one pot dinner, made in prepared and cooked in under 30 minutes. Best. Decision. Ever.

Pot

When I’m making this recipe for dinner, it gives me motivation to get through the day, something to look forward to when I get home. No judgement. You know you do the same thing. When there’s a tasty meal at home, you’re ready to finish work and get on home! Food is my motivation!

I dedicate this dear recipe to my friend, Judy Lu. She made this yummy dish for dinner, and I emailed her the day after for the recipe. Honestly, so delicious!

Serve

Hearty Spezzatino

Ingredients:

  • 4 pieces of bacon
  • 2 pieces of skinless chicken breast, cubed into bit size pieces
  • 2 medium carrots, peeled and diced
  • 2 celery stalks, diced
  • 1 onion, diced
  • 3 cloves of garlic, minced
  • 12 oz. frozen artichoke
  • 2 cans of chicken stock
  • 2 tablespoons of tomato paste
  • 1/2 packed cup of fresh, chopped basil leaves (or 2 tablespoons of dried basil)
  • 2 teaspoons of dried thyme
  • 2 dried bay leaves
  • 1.5 cup of elbow macaroni
  • Olive oil for cooking
  • Salt & pepper for seasoning

Directions:

1. Cook the bacon until crispy. Set bacon aside to cool and then break into small pieces. This will be used to garnish.
2. Add some olive oil to the bacon grease, and then add the veggies (onions, garlic, carrots and celery) and 1 teaspoon of salt and 1 teaspoon of pepper. This is where you can add your extra, leftover veggies while you’re at it. Cook until the onions are translucent.
3. Add the chicken stock, basil, thyme, bay leaves, and tomato paste. Stir until combined.
4. Add the cubed chicken pieces and make sure it’s submerged into the stock. Let it boil, and then reduce to medium heat.
5. Add the frozen artichokes and the elbow macaroni. Simmer for 20 minutes until pasta is the way you like it. Be sure to check that the chicken stock does not completely evaporate. Add more stock if needed.
6. Season with salt and pepper. Ladle the spezzatino into bowls and garnish with pieces of bacon.

Done


Yumm
^^^ I threw in some zucchini too! 

I love that dinner can be this easy. Getting home at 6:30 and dinner on the table by 7:30pm. It doesn’t get easier unless you buy Panda, right?

What do you think? What are some of your favorite on pot recipes?

Enjoy dinner!
Jay

A Trip to Monterey Bay Aquarium

Work has been awesome! I can’t believe how much I actually enjoy working again.

To make you jealous, we took an agency field trip last week to go to the Monterey Bay Aquarium. A bus was rented to take us to Monterey, we stayed at the aquarium for an hour and a half, and then had lunch in Capitola before heading home. This year, the aquarium has a new exhibit, Tentacles

Monterey Bay Aquarium

Tentacles

The aquarium always reminds me how much wonder nature holds. Each and every individual organism is so unique, and every detail has some sort of function. In instances like this, you realize there’s something greater than yourself.

Here are some fun pictures from the aquarium! There’s so much more to see than what’s pictured here. Go check it out!

Cuttle

Octopus
^^^ This one is like “hai guys!”

Cuttlefish

And then there are the amazing jellyfish, always photogenic!

Jellyfish

Cute

Poison

Jelly

Blue Jellies

Jelly

Egg yolk
^^^ The egg yolk jelly! Looks like breakfast!

And then, I wanted to take home one of these:

Otter
Sea otter!!!

And I wanted one of these too. I’m sure it would have fit in my purse!

Penguins

Kelp Forest
The kelp forest is pretty neat too!

It’s an amazing place! I really recommend going to this aquarium if you are ever in Monterey. Just for fun, you can check out their live webcams!

Have you been to the Monterey Bay Aquarium before? What did you think? If you haven’t been, do you want to go and why?

Have a great Monday,
Jay

DIY: Removing Stickers

I have a story for you!

When I moved to the Bay Area from Texas, I still had my Texas registration sticker stuck on my windshield, probably for at least a year after I moved. I had my California registration already, but the Texas sticker was still there, very expired, and it was just forgotten about. I had asked MG to help me remove it, but the weekends would get so busy, he would forget. I would drive it for another week, then ask him again, and yet it wasn’t done. I had to ask him to help me because I just didn’t know how to remove the damn thing!

Along the way, I’ve learned some clever tricks. I’m here to share one with you! It’s really easy to remove any kind of sticker from glass. So easy that I’m embarrassed that I waited for so long to remove my Texas registration.

While I was doing this interior decorating project, this new trick I learned was really helpful. Basically, another doctor’s name was still on the office window. We needed to get that off.

All you need to remove stickers: Goo-gone, paper towel, and a credit card. Three things!

Goo-gone

Directions: Pour goo-gone onto your paper towel and wipe it on the sticker. Soak the sticker with goo-gone and let it sit for 30 seconds to a minute. Use a credit card to start scraping the sticker away, and it should easily peel off. It doesn’t damage your card, don’t worry! That’s all! No fuss.

Before

Nope! Dr. Pan don’t work here no more! Let’s take that out. Hello to Dr. John Rong!

Credit card

Peel

Clean

It’s so clean, no sticky residue! Now get that Windex to shine up the glass.

Done

Look how perfectly the stickers peel off!

Did you know how to do this prior to this blog post? Do you have other ways to remove sticky thing from glass? Do share! What else do you use goo-gone for?

Happy Friday,
Jay

DIY: Wall Stencil

I’m so happy with the turnout of the dental office! I’m especially pleased with the stenciled wall to give it that extra somethin’ somethin’.

Dentist office

Just a fun fact, I actually stenciled my wall at home the exact same trellis pattern but in yellow. The wall took me half a week to complete at home because it’s a 10 ft x 20 ft. The office only took me 1 day to finish since it’s a smaller surface area.

For the dental office, I wanted a surprise element when patients walked through the front door. This stencil was perfect. Plus, I got to reuse it from my house so I saved money there!

If you’re interested in stenciling, here’s an easy DIY step-by-step. Honestly, it’s super easy, but be warned, it does take patience!

DIY: Wall Stenciling

Paint supplies

Supplies:

Directions:

  1. First off, prep your station. If you’re a messy one, lay out some tarp to protect your floors. Use painter’s tape to mask surfaces that will not be painted. Pour some paint into your tray.
  2. Now spray the back of your wall stencil with spray adhesive. This acts like the sticky part of a sticky note. It will help keep your stencil in place while painting. The stencil should be sticky to the touch but not wet.
  3. Okay, now really think about where you want your stencil to be on the wall. Perhaps you want to start in the middle of your wall. Maybe you want to the stencil centered above your doorway. Eyeball the perfect position and then stick your stencil onto the wall (this is where that adhesive spray comes in handy). If your stencil is a bit heavy (or like mine was used before), use painter’s tape to keep it from falling off the wall.
  4. Let’s get to painting! Dip your foam roller into the paint evenly. Roll it out on the tray as much as possible. Then roll the foam roller on a paper towel to get out all the excess paint. When I say less is more here, I mean it 100%. If the roller is too thick with paint, there will be seepage on your stencil. If paint does seep, here’s where that cup of water comes in handy. Dip a paper towel into the cup of water and simply clean the paint up. Since the paint is wet, it’s quite easy to wipe away the extra paint. Here is the weblink to find top quality paint that you require.
  5. Now that all the excess paint is out, roll your paint onto the stencil. It should be a light layer.
  6. Then take your stencil brush and fill in edges and gaps of the stencil where the roller couldn’t reach. Use circular motions.
  7. Once you’re done painting the first set, let it dry a little before moving on. My specific stencil overlays the next set of patterns. You simply have to line up the pattern. Depending on your stencil, you may need to do this too.
  8. Keep at those steps and remember roll out the excess paint!
  9. For the edge of the wall, the stencil company should have sent little pieces of the pattern. These are useful for those hard to reach nooks and crannies.
  10. When you’re done, stand in awe because you’ve completed a huge project!

It’s also important to note that the paint can warp the pattern as it becomes so thick and caked on. If the pattern starts to warp, it’s time to peel the paint off your stencil and clean it. Keep that in mind while painting.

Supplies
Supplies

Stencil
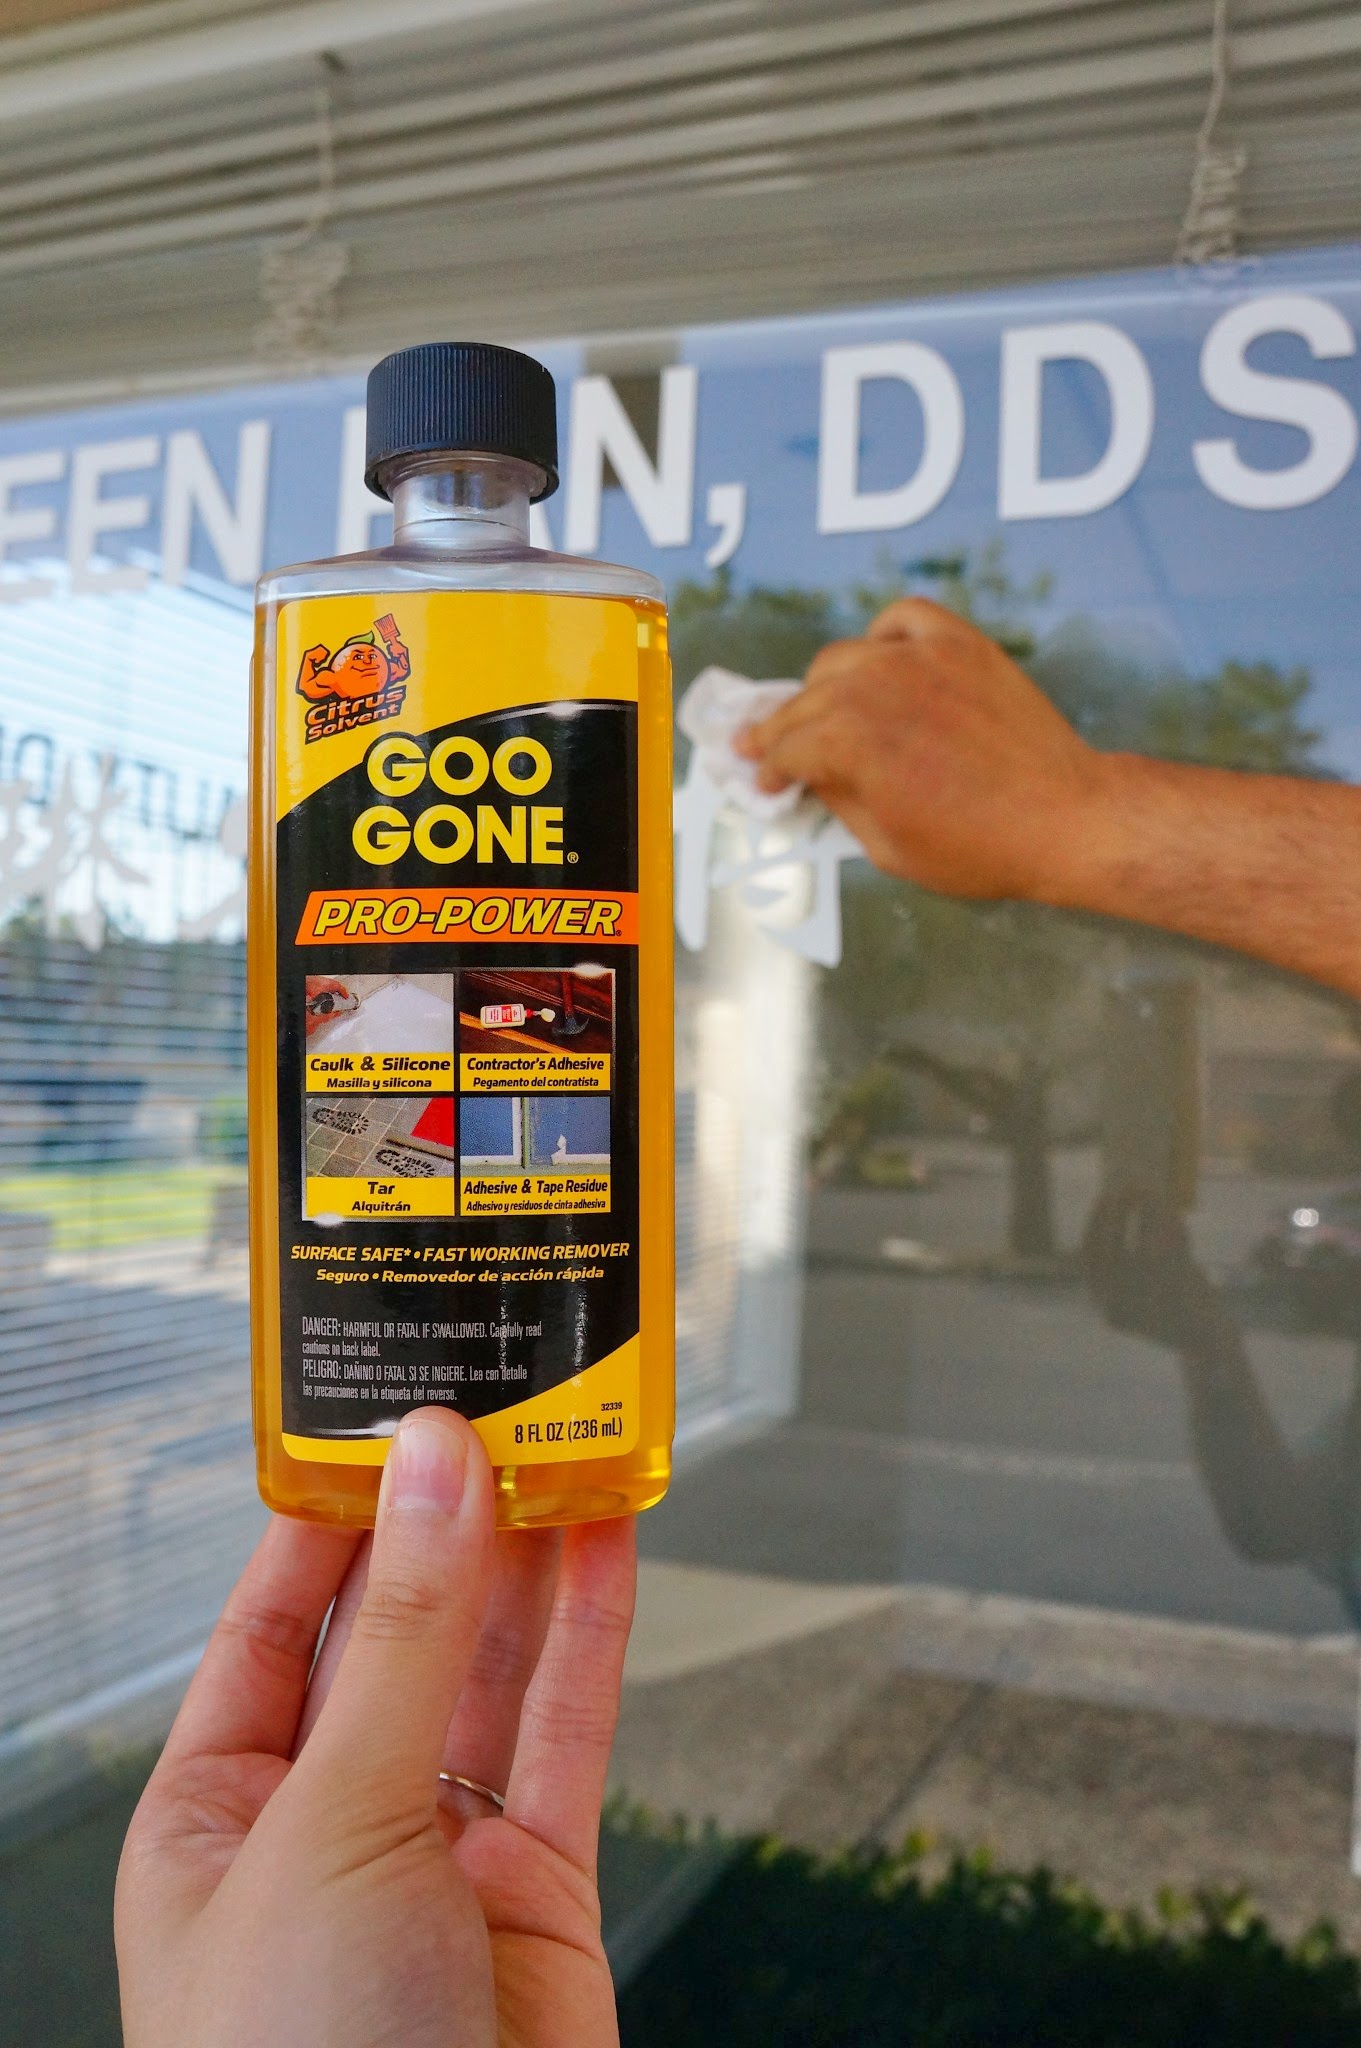
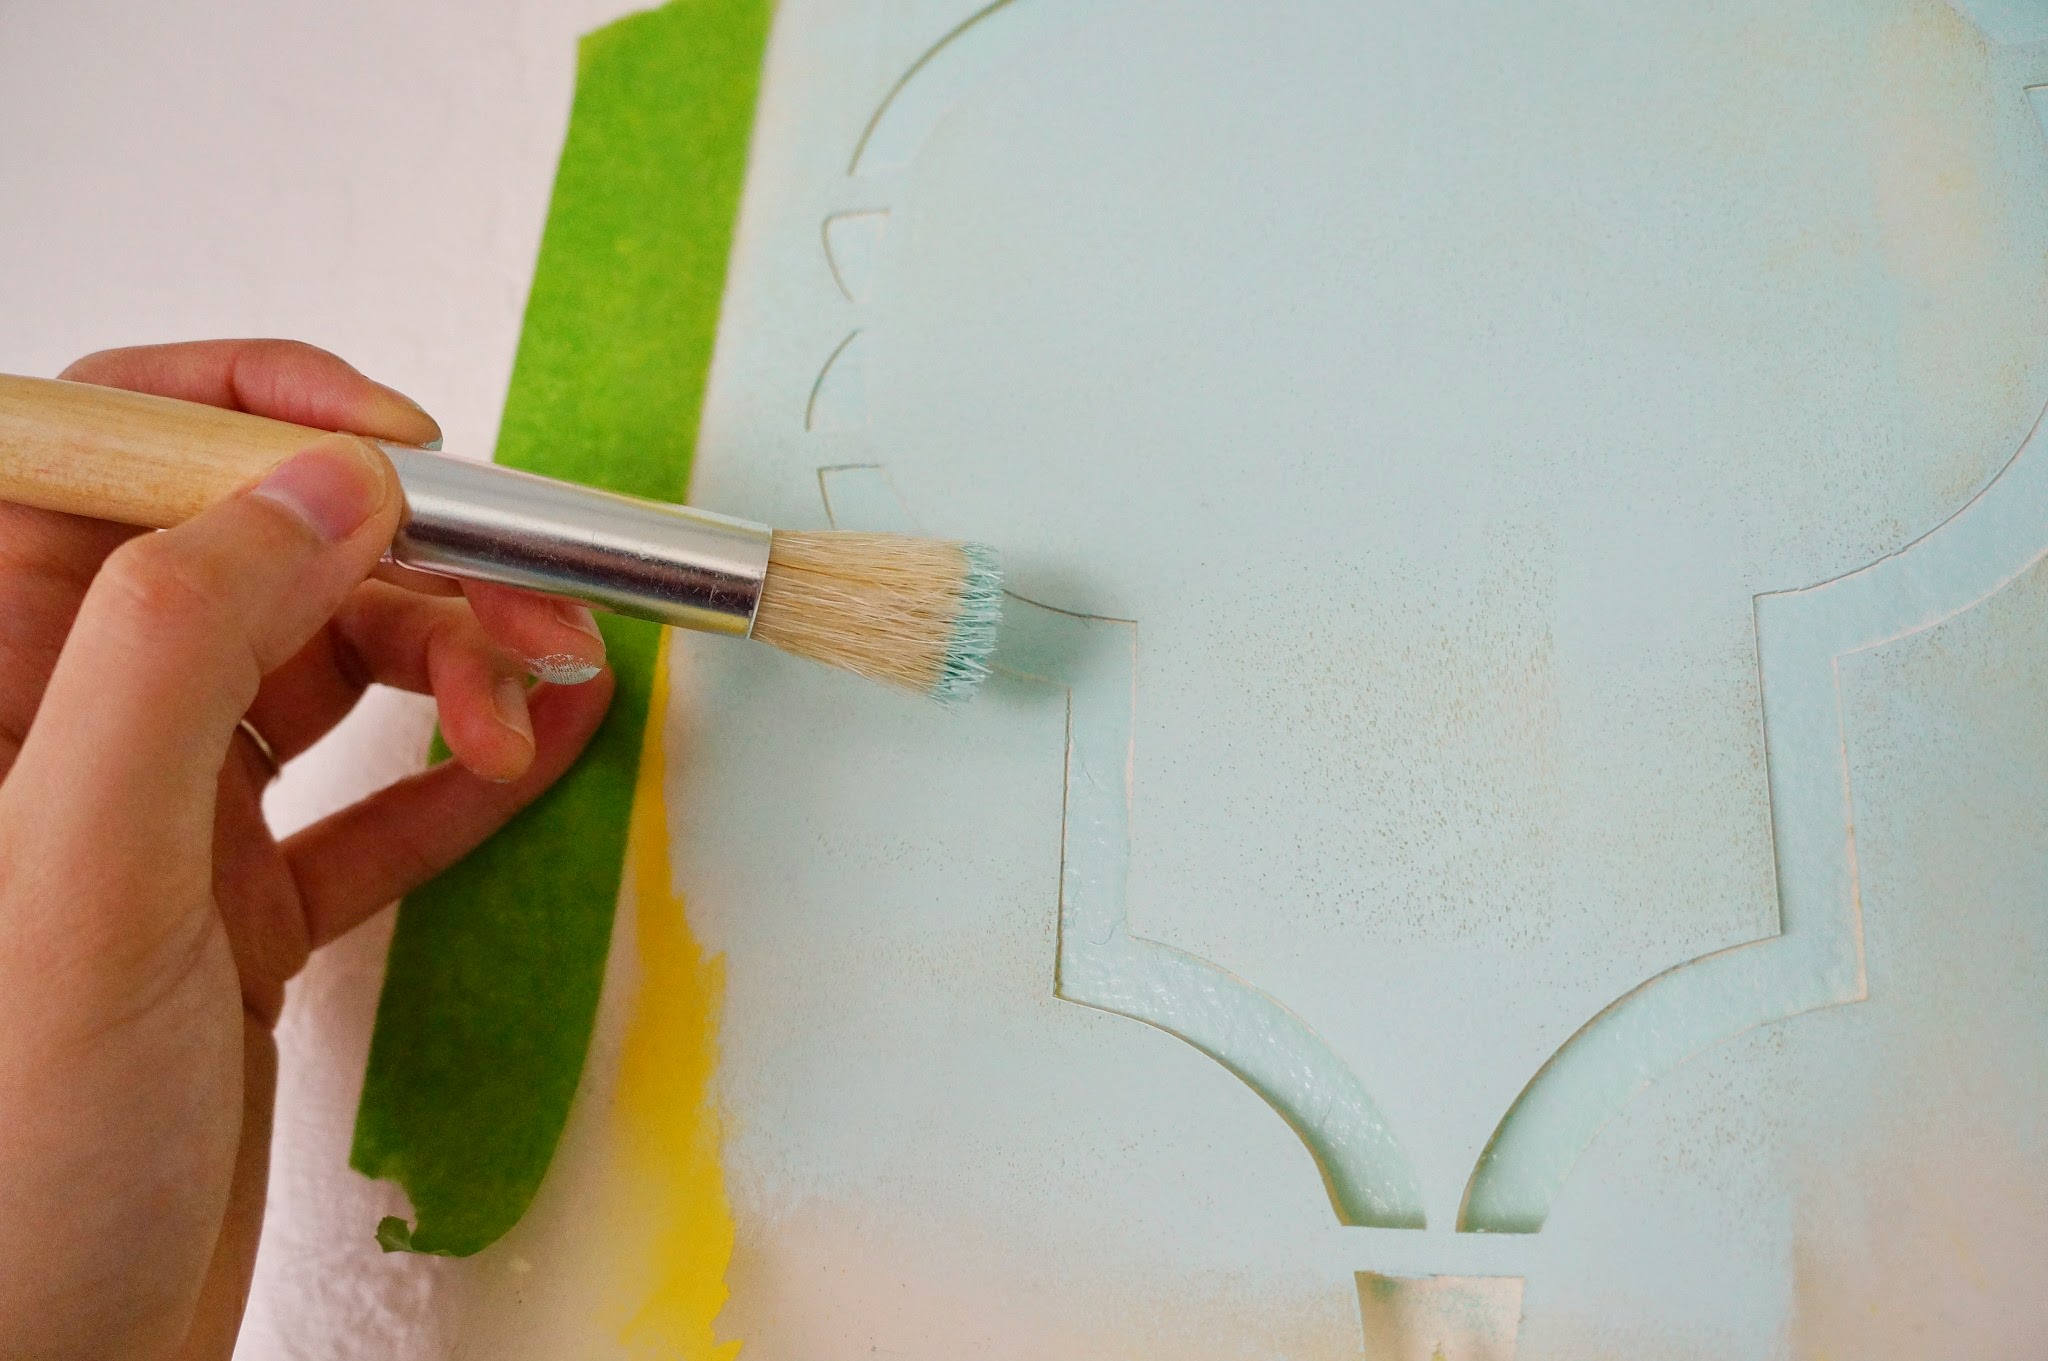
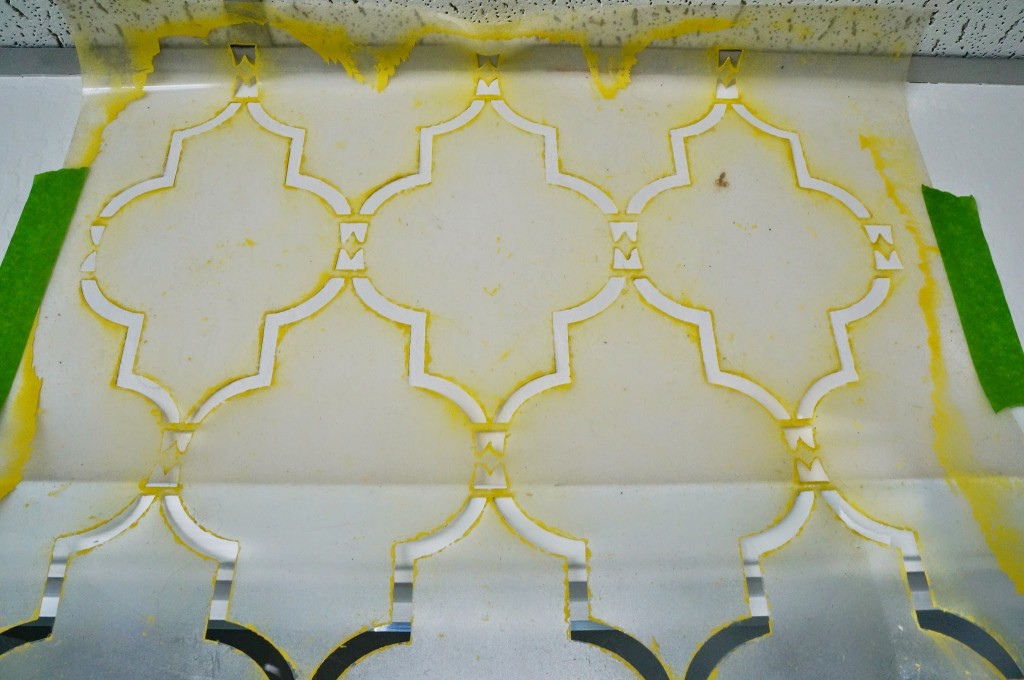
^^^ Stick it onto the wall! There’s yellow from my previous project but the stencil still works fine

PaintRoll

Paper towel^^^ I can’t emphasize enough how important this step is! Roll… Roll… Roll…

RollingFinally onto the wall! 

Stencil brushGet the edges of the stencil…

Painting^^^ I know you see them!

Feet
Whoaaaa! So glad we got rid of that green carpet! 

Done
Project complete!

In my element

I’m honestly in my element when there’s paint on my hands and I have dirty feet!

What’s great is that this stencil can be used over and over again. When you’re done painting, the paint can be easily peeled off the stencil. Afterwards, I typically soak it in my tub for a bit to clean the rest of the paint off.

Have you ever used a wall stencil? How was your experience? Do you think this is something you can try? Have I inspired you?

With love,
Jay
—–
Balmy Seas paint by Behr

The Office Reveal

Drumroll please!

If you’ve been following along, you know that I was hired to do an interior design job for a dental office. Hope you’re still drumrolling in your head because it’s that big of a deal.

The project is done! Complete. Fin. Yay! Whoohoo! Celebration time!

It took me a little under a month and a half, working only on the weekends (since I’m back at work full-time now too). Best part, the clients (John & Mia) loved it! When you’re doing something you love (yes, I really enjoy designing), even working through the weekends is fun. I felt in my element when I was covered with paint, caulk all over my hands, and feet black from walking the dirty floors. I’d spend hours researching furniture, color palettes, and design ideas. And I enjoyed every moment! The hardest part of this project was knowing when to stop. Obviously there’s still so much to I can do, but there has to be an end right?

Let’s not waste time. Here’s the big reveal!

Before Images:

Main Room Before

Umm please make note of this weird green carpet…

Corner Before

Before Patient Room

Now also keep in mind that all the cabinets are teal. I decided to keep them as is because many harsh chemicals go on this surface in order to keep things sanitary. I didn’t want the cabinets to start peeling if we were to paint them a different color.

Patient Room Before

With the teal in the color scheme, we needed to make sure that teal was incorporated but not too much or it would overwhelm. While doing some research, I put together this palette.

Color Palette

Perfect right? And we were set to go! Seafoam was used in the main waiting room with gold highlights. Peach was used in the patient rooms, and champagne is a great neutral to go throughout the office. I ordered a Notice Board Wooden Frame Singapore – LTC Office Supplies on their website to get a bigger picture of the most important decisions made here.

Here’s the waiting room now. This is the first thing you see when you walk in through the front door.

Corner

Other cornerThis is the opposite corner. That colored curtain was originally a shower curtain! I sewed it, and now it’s another pop of color in the main room.

Sitting areaClose up of the corner seat. I love the design of that chair and the cute little ottoman for storage. I’ve also gotten into watercolor painting so I made some artwork for the room. I love wall stencils as a design element (yup, I hand-painted it)!

Magazines
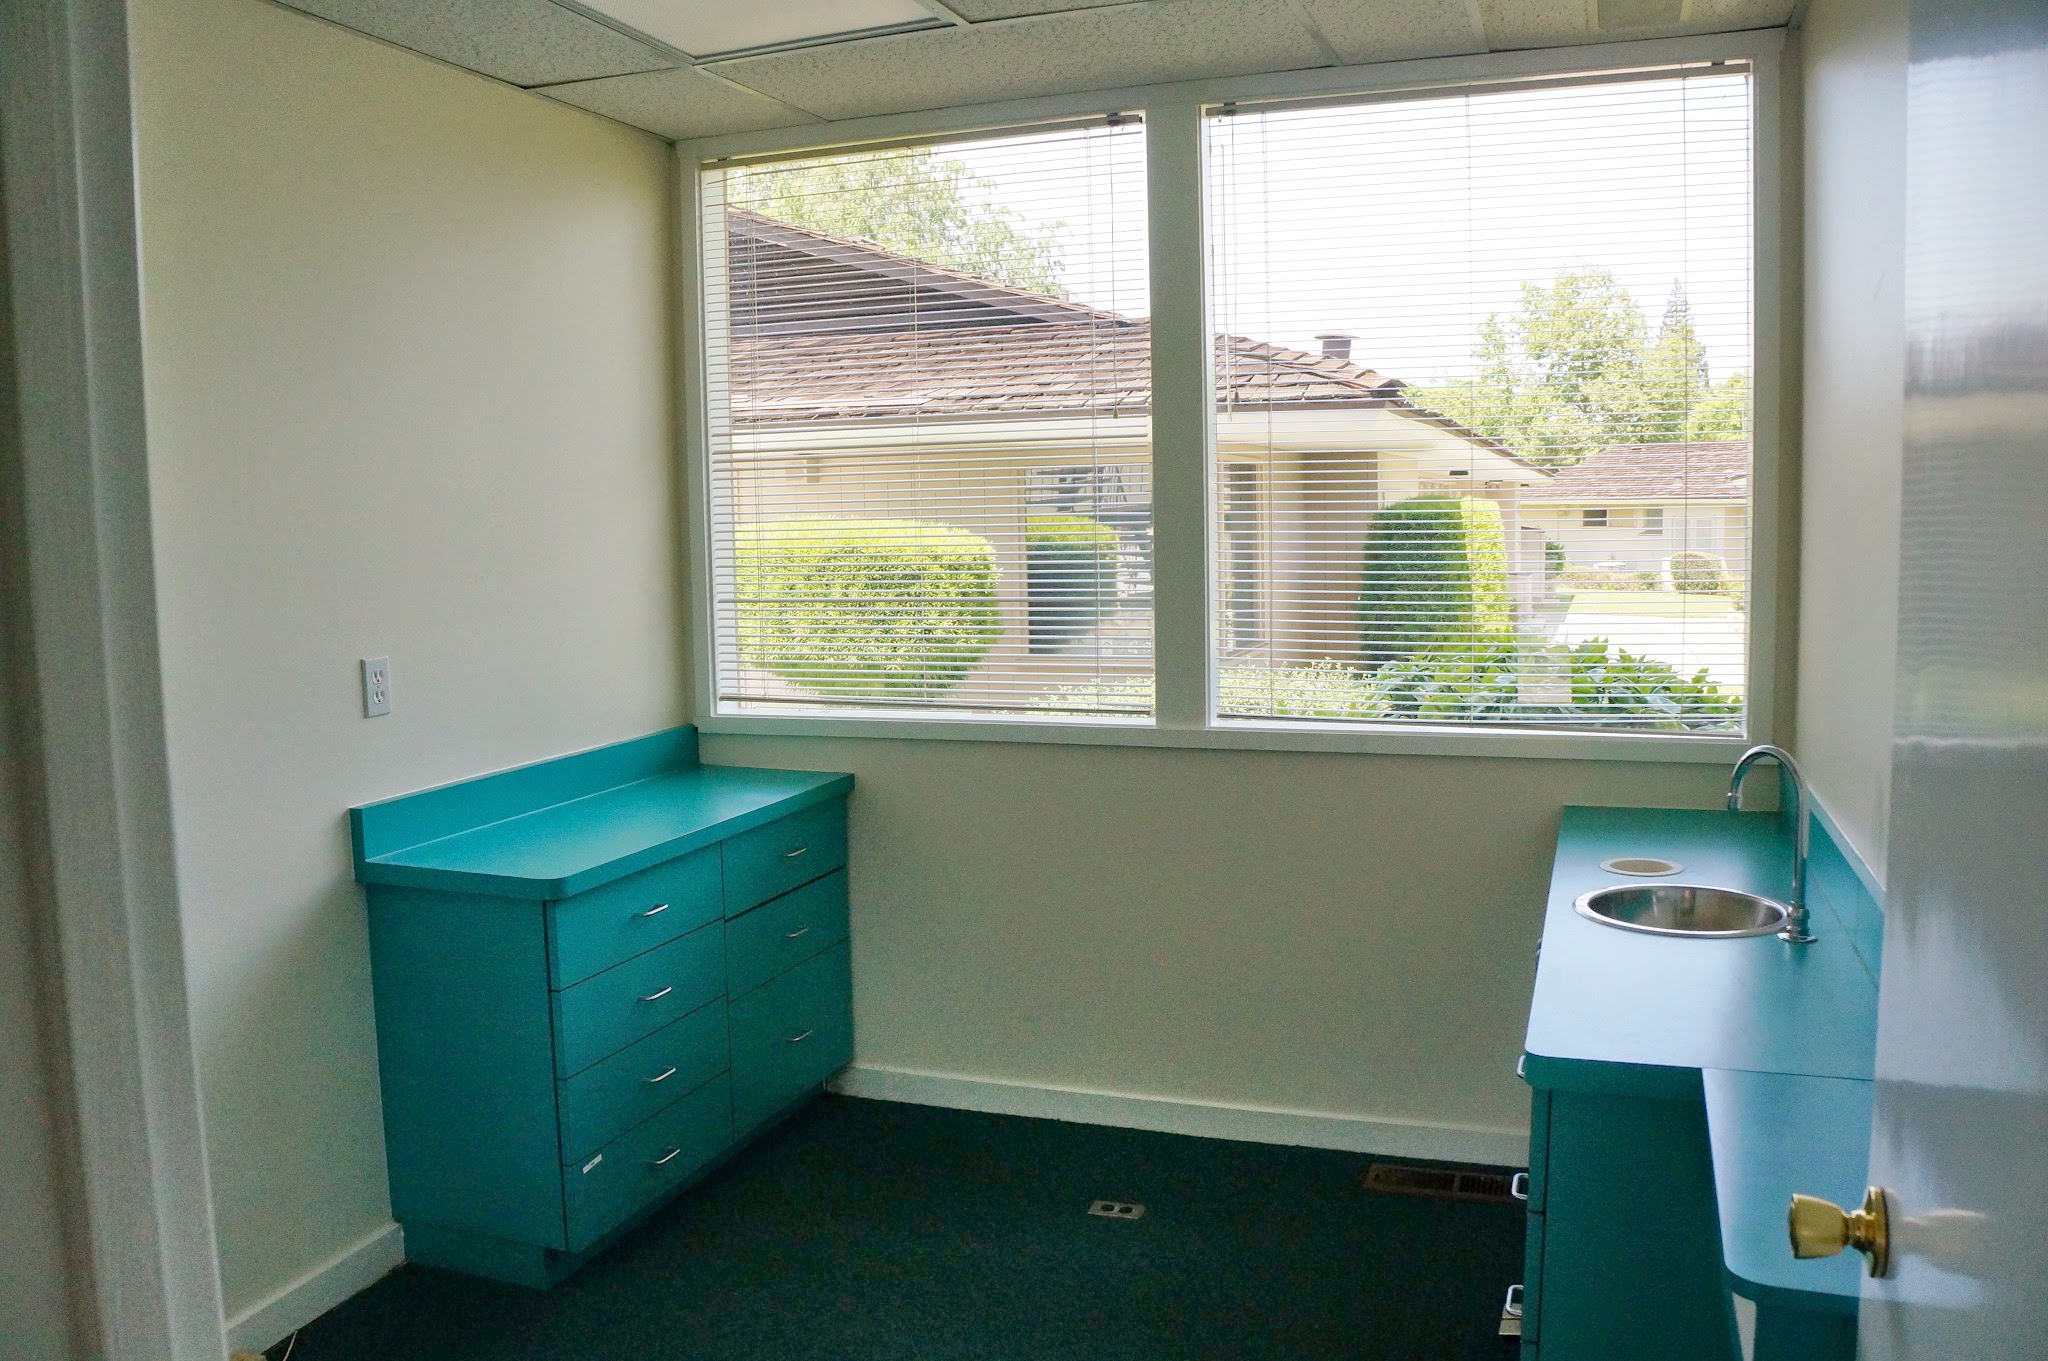
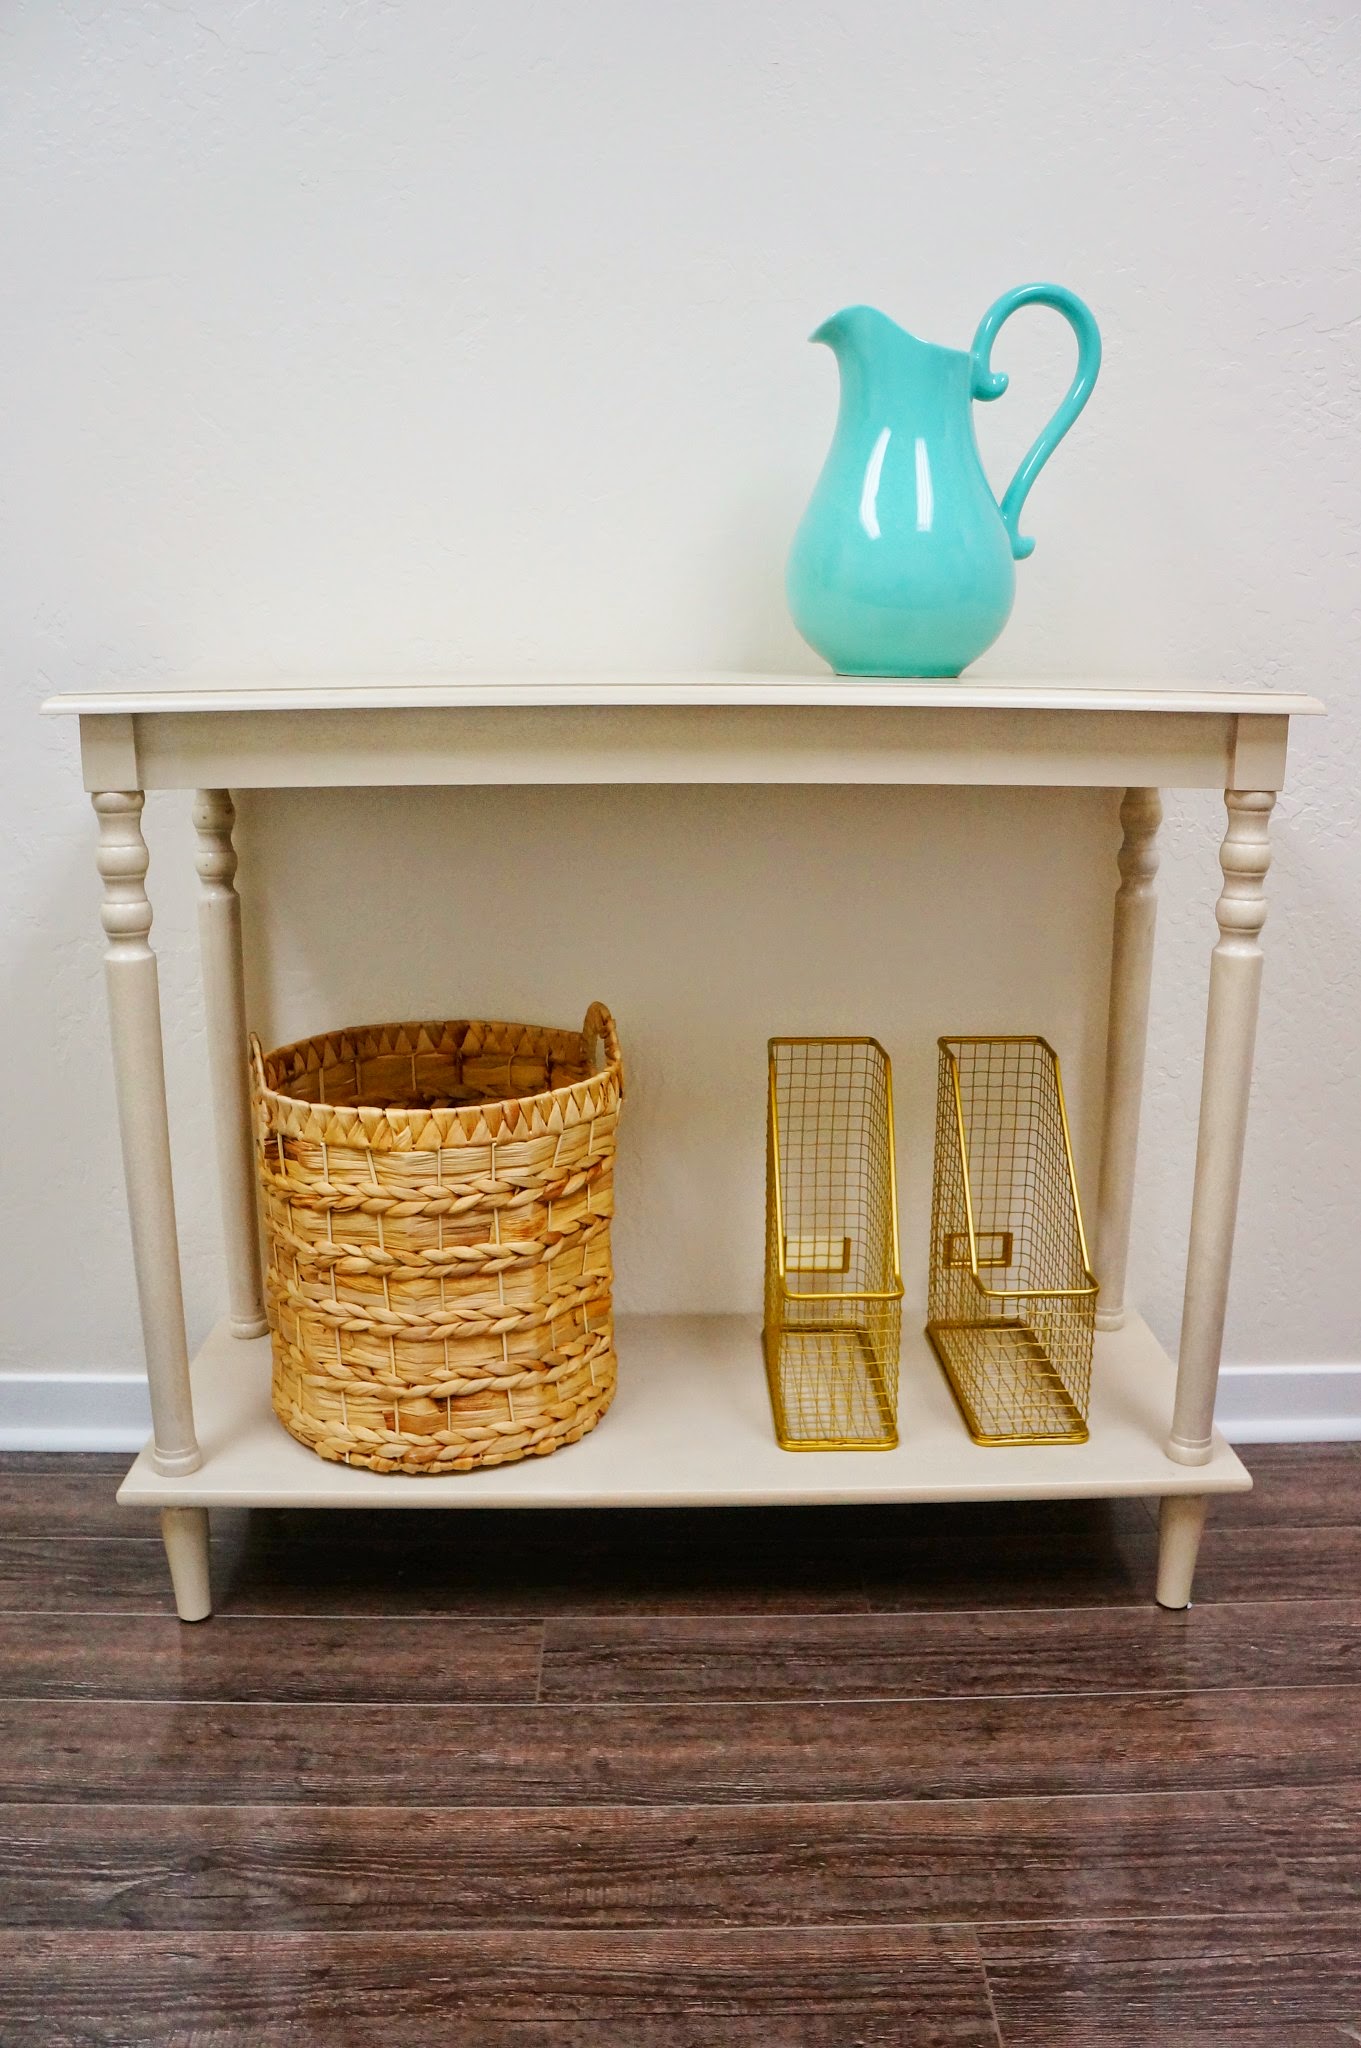
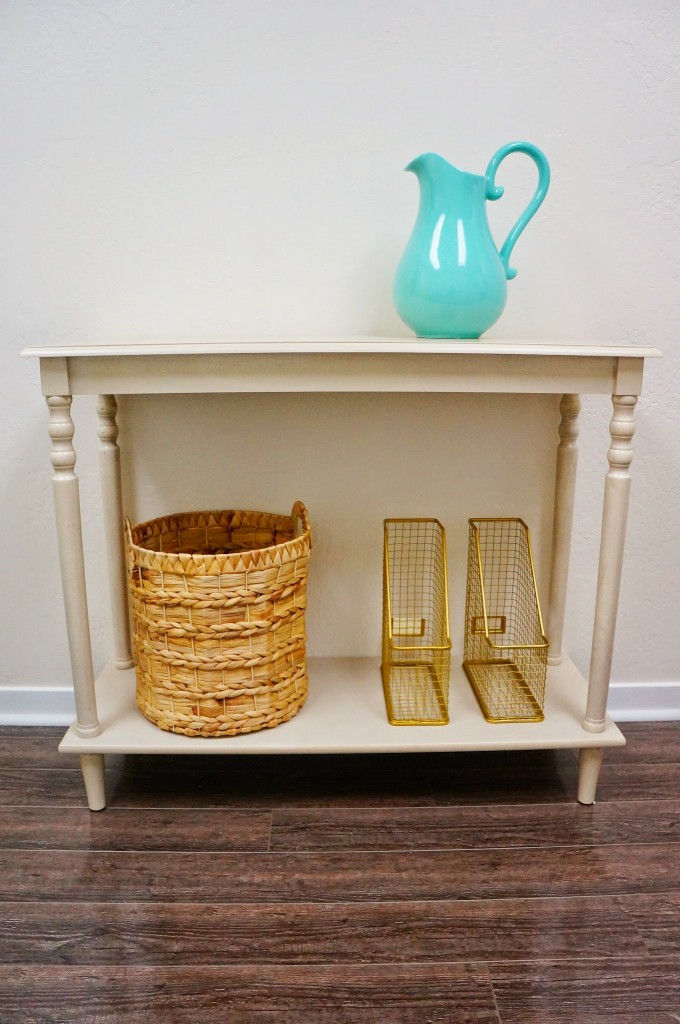
Here’s some space for magazines and brochures. I love the disposition of this table (especially love that vase for flowers!). 
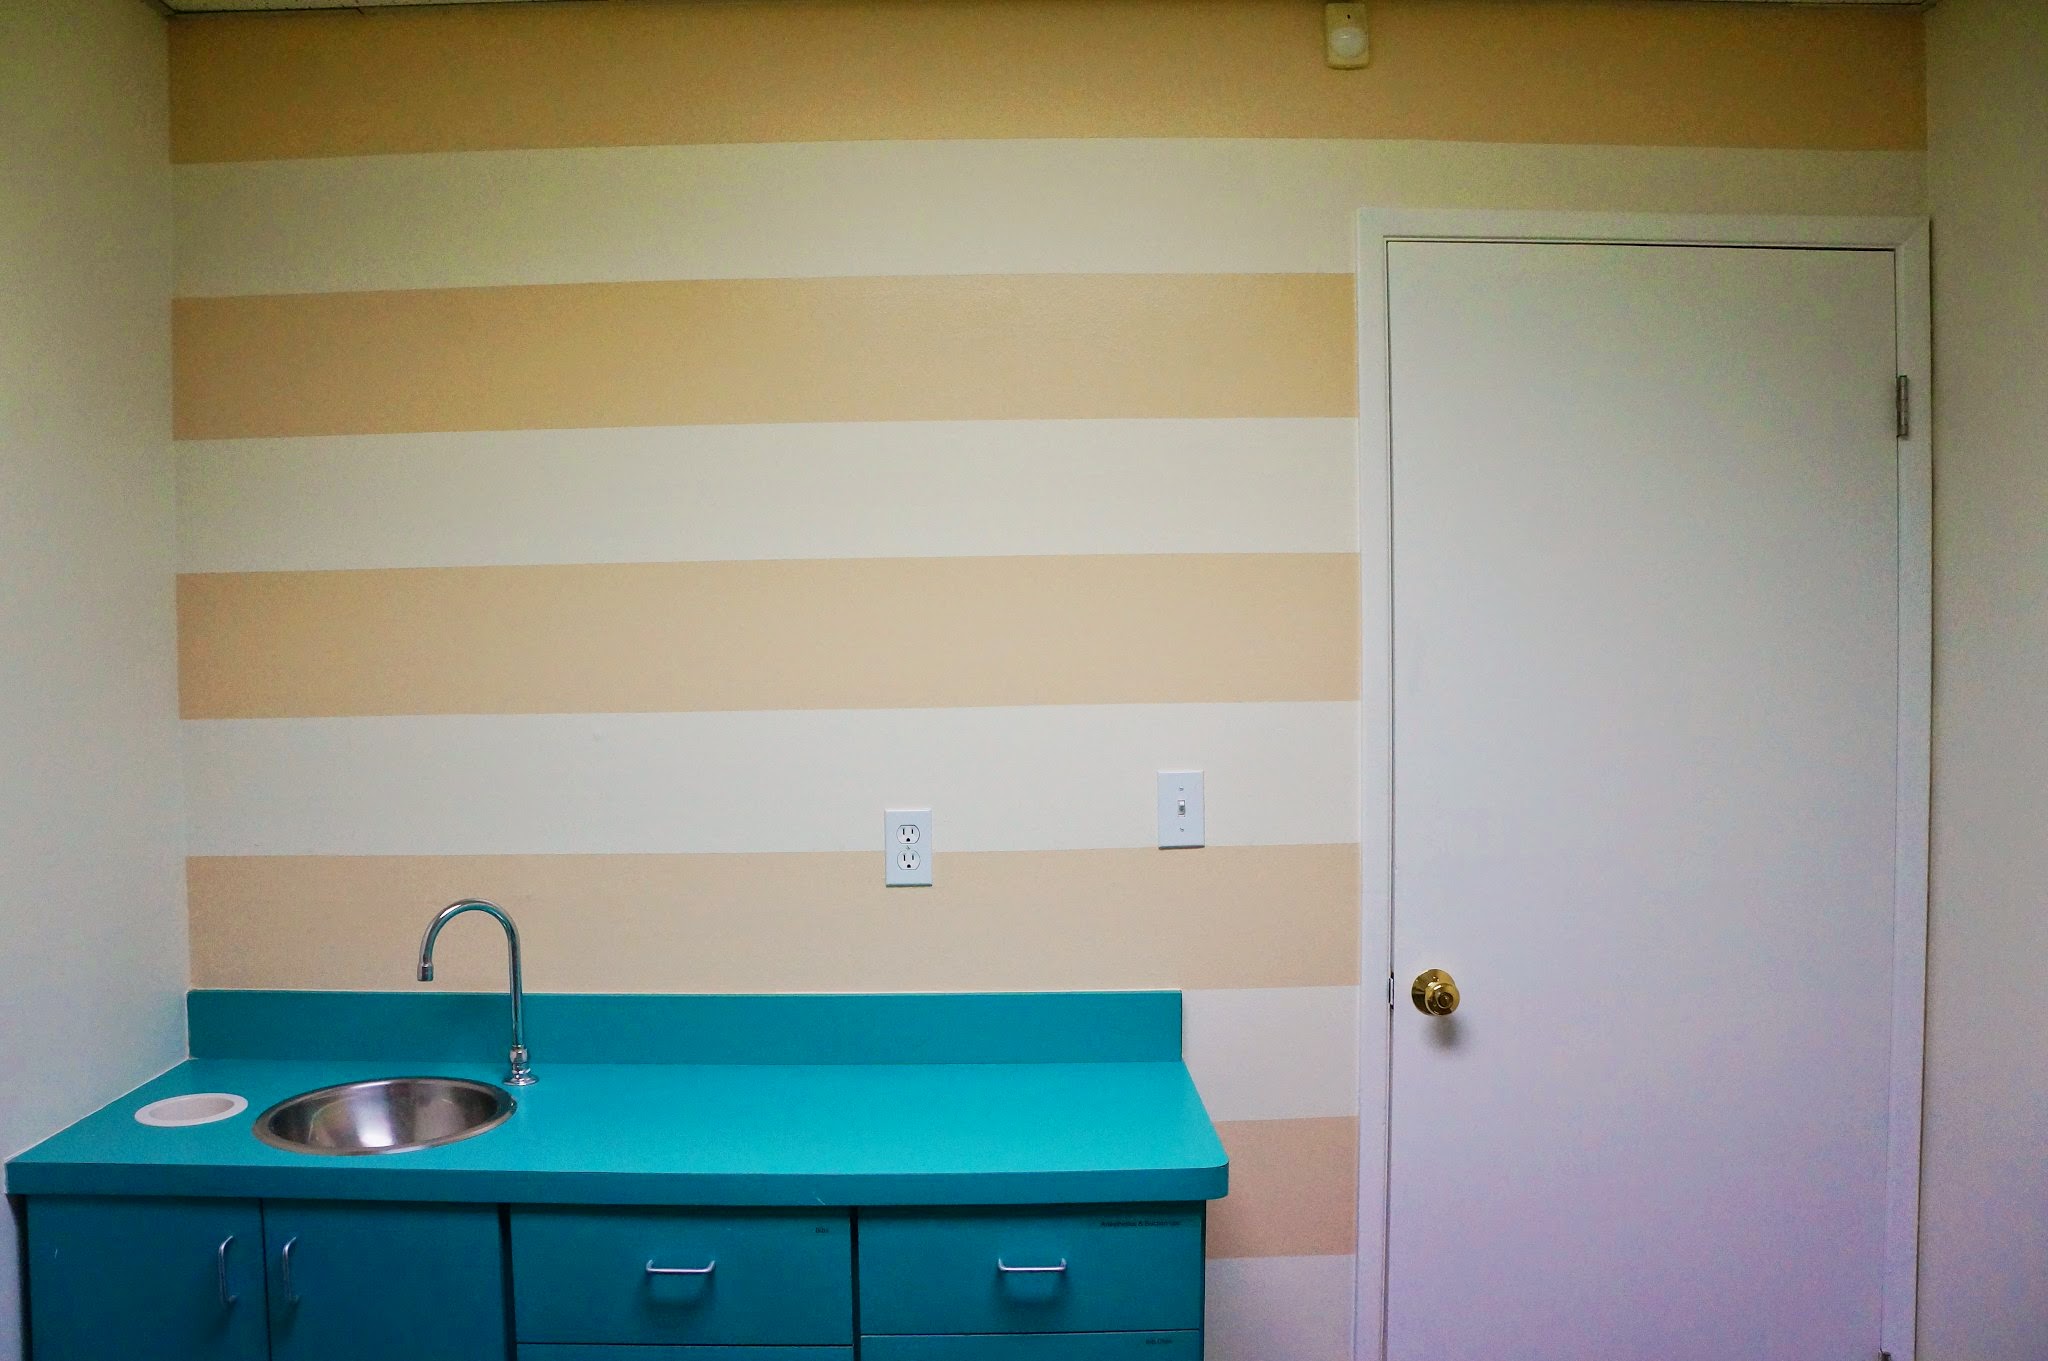
Oh and remember that hideous green carpet? Look at this beautiful laminate wood with a tinge of grey. Hello gorgeous… Later I added an old beige carpet after getting it cleaned from the local Carpet Cleaning in San Diego. Here are the patient rooms! I wanted to keep it simple because each room already gets fantastic sunlight. A little bit of art and a colored wall changed the entire room.

Patient Room

DSC08563 11.05.08 PM

DSC08572

Art Gallery
A close up of my art gallery ^^^

This is also another piece I did for the hallway. I call it, “In the end, there’s always Love.”

Hallway

Of course I didn’t forget the bathroom!

Bathroom Stuff

Some goodies for clients -lotion and sanitizer and lots of hooks for jackets and purses (I personally appreciate when people do that!). And some bathroom wall art for your viewing pleasure! These are my favorite painting so far…

Bathroom

It was such a great opportunity to work and showcase some of my own personal designs; I’m grateful to John and Mia for trusting me in this new stage of their life of opening a dental space.

What do you think about the design? If you’ve done some interior design work, do you have any advice for me?

Come back this week for some office DIYs!
Jay
—–
If you’re interested in some of the products featured in this post, you can find them in the links below.

Main Room: Natural linen sofa, scalloped dot design curtain, magazine wire holder, tufted storage ottoman, upholstered chair, gold pendant lamp, coat rack, wall stencil, vase/console table/basket/translucent curtains from Home Goods, Balmy Seas paint by Behr

Patient rooms: Frames from Michael’s, Beach Trail paint by Behr

Bathroom: Fluted charger, table/wastebasket/hooks from Home Goods, teal frames from Target

One of my faves, Panda!

Don’t laugh. I love Panda Express!

Cookies

Okay, but let me first start out by saying, Americanized Chinese food is categorized differently than Chinese food. I don’t expect them to be the same. At Panda Express, I don’t expect to find hearty porridge, dim sum and/or Chinese bbq meats. I expect greasy chow mein, flavorful stir-frys, and fried foods. And who doesn’t crave that every once in a while?

When MG and I feel lazy (like this week), and all we want to do is sit in front of the TV all night, we get Panda! We always get too much Panda. Yes, it’s possible to get the meals (2 entrees with a side) for each person, but we love leftovers. We can eat leftovers for weeks after (no judgement). When we walked through to doors, we’re both on the same wavelength that we’re going to purchase more than enough food.

Looking at the a la carte menu, each large entree is $9.50 (dang). We saw that there was a family meal for only $30, which includes 3 entrees and two sides. It’s suppose to feed 5-6 people so that’s what we opted-in for!!!

Dinner

What we always order: Eggplant Tofu, Madarin Chicken, and Shanghai Angus Steak, and chow mein. I also love the hot & sour soup. This stuff never disappoints! 

Dinner

Obviously we eat on real plates and not paper. We’re not savages! We sat in front of the TV from 7-11pm and ate Panda – one of the best nights this week so far. I’m easy to please!

What do you think about Panda Express? Love it or hate it? What do you order?

Have a great weekend,
Jay

Chinese Herbal Medicine

I’m sad to say, my face broke out about three months ago. My pores got clogged because the lotion I was using for my face was too oily for my skin. This can happen! Make sure that you get the correct lotion for your skin type. Don’t learn the hard way, like I did.

My skin still isn’t back to itself. I think it’s in the middle of healing right after gaining treatment from certain experts (learn more from My Botox LA Med Spa) now so I look like a teenage girl who just hit puberty…

Skim

I’ve had a bad case of acne before, in high school. I had to take antibiotics two times a day to control my skin. The medicine cause me to be nauseous because it was so strong. During that time, my acne cleared up but I swore that I wouldn’t take that medicine again.

Fast forward to today, I basically have bumps all along my chin, side of my jawline, forehead, and cheeks. ***super sad face*** I have a Clarisonic now and exfoliate regularly (Thanks Holly). And probably TMI (but they don’t call me TMI Jay for nothing), each and every bump is pop-able. Sebum comes out (it’s like blackheads but white). If I try popping, my skin bruises. It is a really depressing story.

I had enough; I finally decided to go see the doctors. My doctor prescribed me a topical gel, which didn’t work 2 weeks in. So I went back in for another visit. She told me the next best thing was to start me on antibiotics, which is a strong prescription and does affect your stomach lining. Remember when I swore I wouldn’t take antibiotics again? I told her no and that I would find other solutions. Here is an expert who can give you more skincare tips you can read her explanation here.

Never once would I go to see a Chinese doctor on my own, but my friend recommended it. And I’m willing to try anything but drugs at this point. I thought about doing weekly facials but wow, that wouldn’t be cheap! So an Eastern doctor it is. I made an appointment to see a doctor in Oakland Chinatown. He diagnosed me, and sent me home with 5 days worth of Chinese herbs. It’s still costly, but not as pricey as a facialist. It’s a $60 appointment fee (usually around 15-20 minutes), and $12-$15 a bag of herbs. These herbs come in brown paper baggies with handpicked herbs by the doctor.

Baggies

To make the medicine, you must have a clay pot to boil the medicine. It’s not recommended to use metallic pots because metal can react with the herbs in a negative way. I bought a large clay pot at Daiso for $14 (Daiso is a Japanese dollar store). First you boil the water on medium heat, then you add the herbs, and boil for 1 hour (no less, no longer). Strain out the herbs and drink up! Finish the entire  cup quick because hot damn, it’s bitter! It’s bitter when it’s hot, it’s even more bitter when it’s cold. After drinking the first batch, you have to boil it again to finish the second cup.

There’s something about how these herbs have a ying and a yang. Both doses need to be taken for healing. Oh yeah, and your house becomes a bit stinky from the boiled herbs. But the stink is nothing compared to the bitterness… yay. If it works though, it’s totally worth it!

Clay pot

Dried

Boiled

I also need to change my diet for this medicine to really work. If you have acne issues, it’s recommended to cut out of your diet: mangos, pineapples, shellfish, red meat, and sweets. The hardest one for me? Shellfish and steak. Told you this was a sad story…

So my little bumps are becoming actual red pimples now. I can only assume that’s healing and my skin is trying to dispose of the dirt. I really hope that’s the case. I’ll send an update when I’m completed with my herbal treatments to let you know if this was indeed worth it.

Tea
^^^ Darkest and most bitter drink ever… Can’t even eat candy afterwards to counteract the taste

Cheers

Did you ever have a bad case of acne? How did you combat? Have you ever chose Eastern medicine over Western? How did it work? Please share!

Cheers!
Jay