DIY: Removing Stickers

I have a story for you!

When I moved to the Bay Area from Texas, I still had my Texas registration sticker stuck on my windshield, probably for at least a year after I moved. I had my California registration already, but the Texas sticker was still there, very expired, and it was just forgotten about. I had asked MG to help me remove it, but the weekends would get so busy, he would forget. I would drive it for another week, then ask him again, and yet it wasn’t done. I had to ask him to help me because I just didn’t know how to remove the damn thing!

Along the way, I’ve learned some clever tricks. I’m here to share one with you! It’s really easy to remove any kind of sticker from glass. So easy that I’m embarrassed that I waited for so long to remove my Texas registration.

While I was doing this interior decorating project, this new trick I learned was really helpful. Basically, another doctor’s name was still on the office window. We needed to get that off.

All you need to remove stickers: Goo-gone, paper towel, and a credit card. Three things!

Goo-gone

Directions: Pour goo-gone onto your paper towel and wipe it on the sticker. Soak the sticker with goo-gone and let it sit for 30 seconds to a minute. Use a credit card to start scraping the sticker away, and it should easily peel off. It doesn’t damage your card, don’t worry! That’s all! No fuss.

Before

Nope! Dr. Pan don’t work here no more! Let’s take that out. Hello to Dr. John Rong!

Credit card

Peel

Clean

It’s so clean, no sticky residue! Now get that Windex to shine up the glass.

Done

Look how perfectly the stickers peel off!

Did you know how to do this prior to this blog post? Do you have other ways to remove sticky thing from glass? Do share! What else do you use goo-gone for?

Happy Friday,
Jay

DIY: Wall Stencil

I’m so happy with the turnout of the dental office! I’m especially pleased with the stenciled wall to give it that extra somethin’ somethin’.

Dentist office

Just a fun fact, I actually stenciled my wall at home the exact same trellis pattern but in yellow. The wall took me half a week to complete at home because it’s a 10 ft x 20 ft. The office only took me 1 day to finish since it’s a smaller surface area.

For the dental office, I wanted a surprise element when patients walked through the front door. This stencil was perfect. Plus, I got to reuse it from my house so I saved money there!

If you’re interested in stenciling, here’s an easy DIY step-by-step. Honestly, it’s super easy, but be warned, it does take patience!

DIY: Wall Stenciling

Paint supplies

Supplies:

Directions:

  1. First off, prep your station. If you’re a messy one, lay out some tarp to protect your floors. Use painter’s tape to mask surfaces that will not be painted. Pour some paint into your tray.
  2. Now spray the back of your wall stencil with spray adhesive. This acts like the sticky part of a sticky note. It will help keep your stencil in place while painting. The stencil should be sticky to the touch but not wet.
  3. Okay, now really think about where you want your stencil to be on the wall. Perhaps you want to start in the middle of your wall. Maybe you want to the stencil centered above your doorway. Eyeball the perfect position and then stick your stencil onto the wall (this is where that adhesive spray comes in handy). If your stencil is a bit heavy (or like mine was used before), use painter’s tape to keep it from falling off the wall.
  4. Let’s get to painting! Dip your foam roller into the paint evenly. Roll it out on the tray as much as possible. Then roll the foam roller on a paper towel to get out all the excess paint. When I say less is more here, I mean it 100%. If the roller is too thick with paint, there will be seepage on your stencil. If paint does seep, here’s where that cup of water comes in handy. Dip a paper towel into the cup of water and simply clean the paint up. Since the paint is wet, it’s quite easy to wipe away the extra paint. Here is the weblink to find top quality paint that you require.
  5. Now that all the excess paint is out, roll your paint onto the stencil. It should be a light layer.
  6. Then take your stencil brush and fill in edges and gaps of the stencil where the roller couldn’t reach. Use circular motions.
  7. Once you’re done painting the first set, let it dry a little before moving on. My specific stencil overlays the next set of patterns. You simply have to line up the pattern. Depending on your stencil, you may need to do this too.
  8. Keep at those steps and remember roll out the excess paint!
  9. For the edge of the wall, the stencil company should have sent little pieces of the pattern. These are useful for those hard to reach nooks and crannies.
  10. When you’re done, stand in awe because you’ve completed a huge project!

It’s also important to note that the paint can warp the pattern as it becomes so thick and caked on. If the pattern starts to warp, it’s time to peel the paint off your stencil and clean it. Keep that in mind while painting.

Supplies
Supplies

Stencil^^^ Stick it onto the wall! There’s yellow from my previous project but the stencil still works fine

PaintRoll

Paper towel^^^ I can’t emphasize enough how important this step is! Roll… Roll… Roll…

RollingFinally onto the wall! 

Stencil brushGet the edges of the stencil…

Painting^^^ I know you see them!

Feet
Whoaaaa! So glad we got rid of that green carpet! 

Done
Project complete!

In my element

I’m honestly in my element when there’s paint on my hands and I have dirty feet!

What’s great is that this stencil can be used over and over again. When you’re done painting, the paint can be easily peeled off the stencil. Afterwards, I typically soak it in my tub for a bit to clean the rest of the paint off.

Have you ever used a wall stencil? How was your experience? Do you think this is something you can try? Have I inspired you?

With love,
Jay
—–
Balmy Seas paint by Behr

The Office Reveal

Drumroll please!

If you’ve been following along, you know that I was hired to do an interior design job for a dental office. Hope you’re still drumrolling in your head because it’s that big of a deal.

The project is done! Complete. Fin. Yay! Whoohoo! Celebration time!

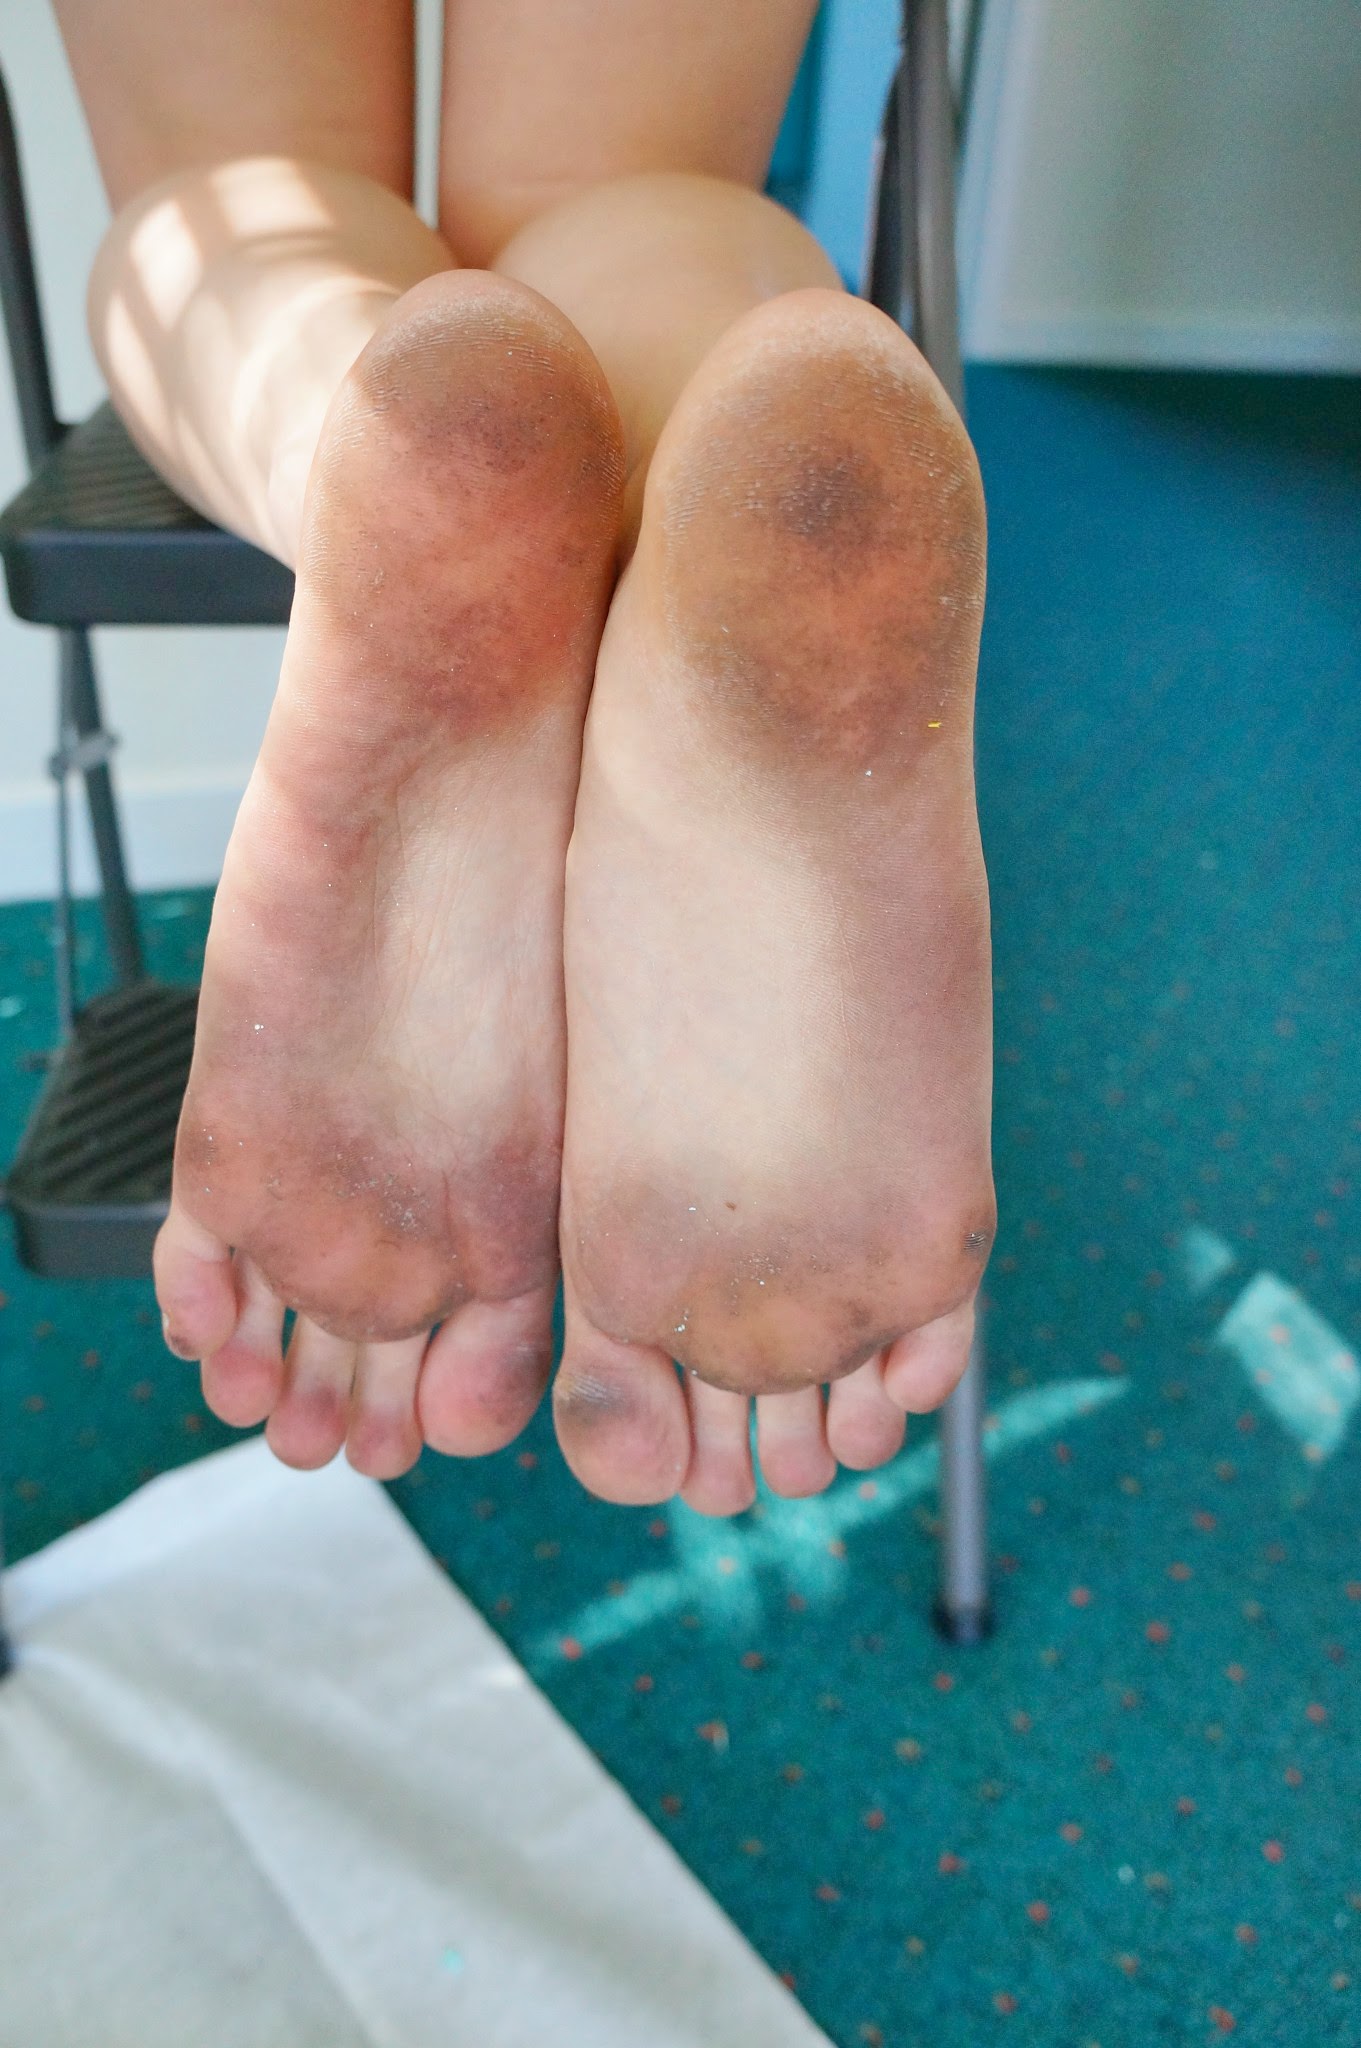
It took me a little under a month and a half, working only on the weekends (since I’m back at work full-time now too). Best part, the clients (John & Mia) loved it! When you’re doing something you love (yes, I really enjoy designing), even working through the weekends is fun. I felt in my element when I was covered with paint, caulk all over my hands, and feet black from walking the dirty floors. I’d spend hours researching furniture, color palettes, and design ideas. And I enjoyed every moment! The hardest part of this project was knowing when to stop. Obviously there’s still so much to I can do, but there has to be an end right?

Let’s not waste time. Here’s the big reveal!
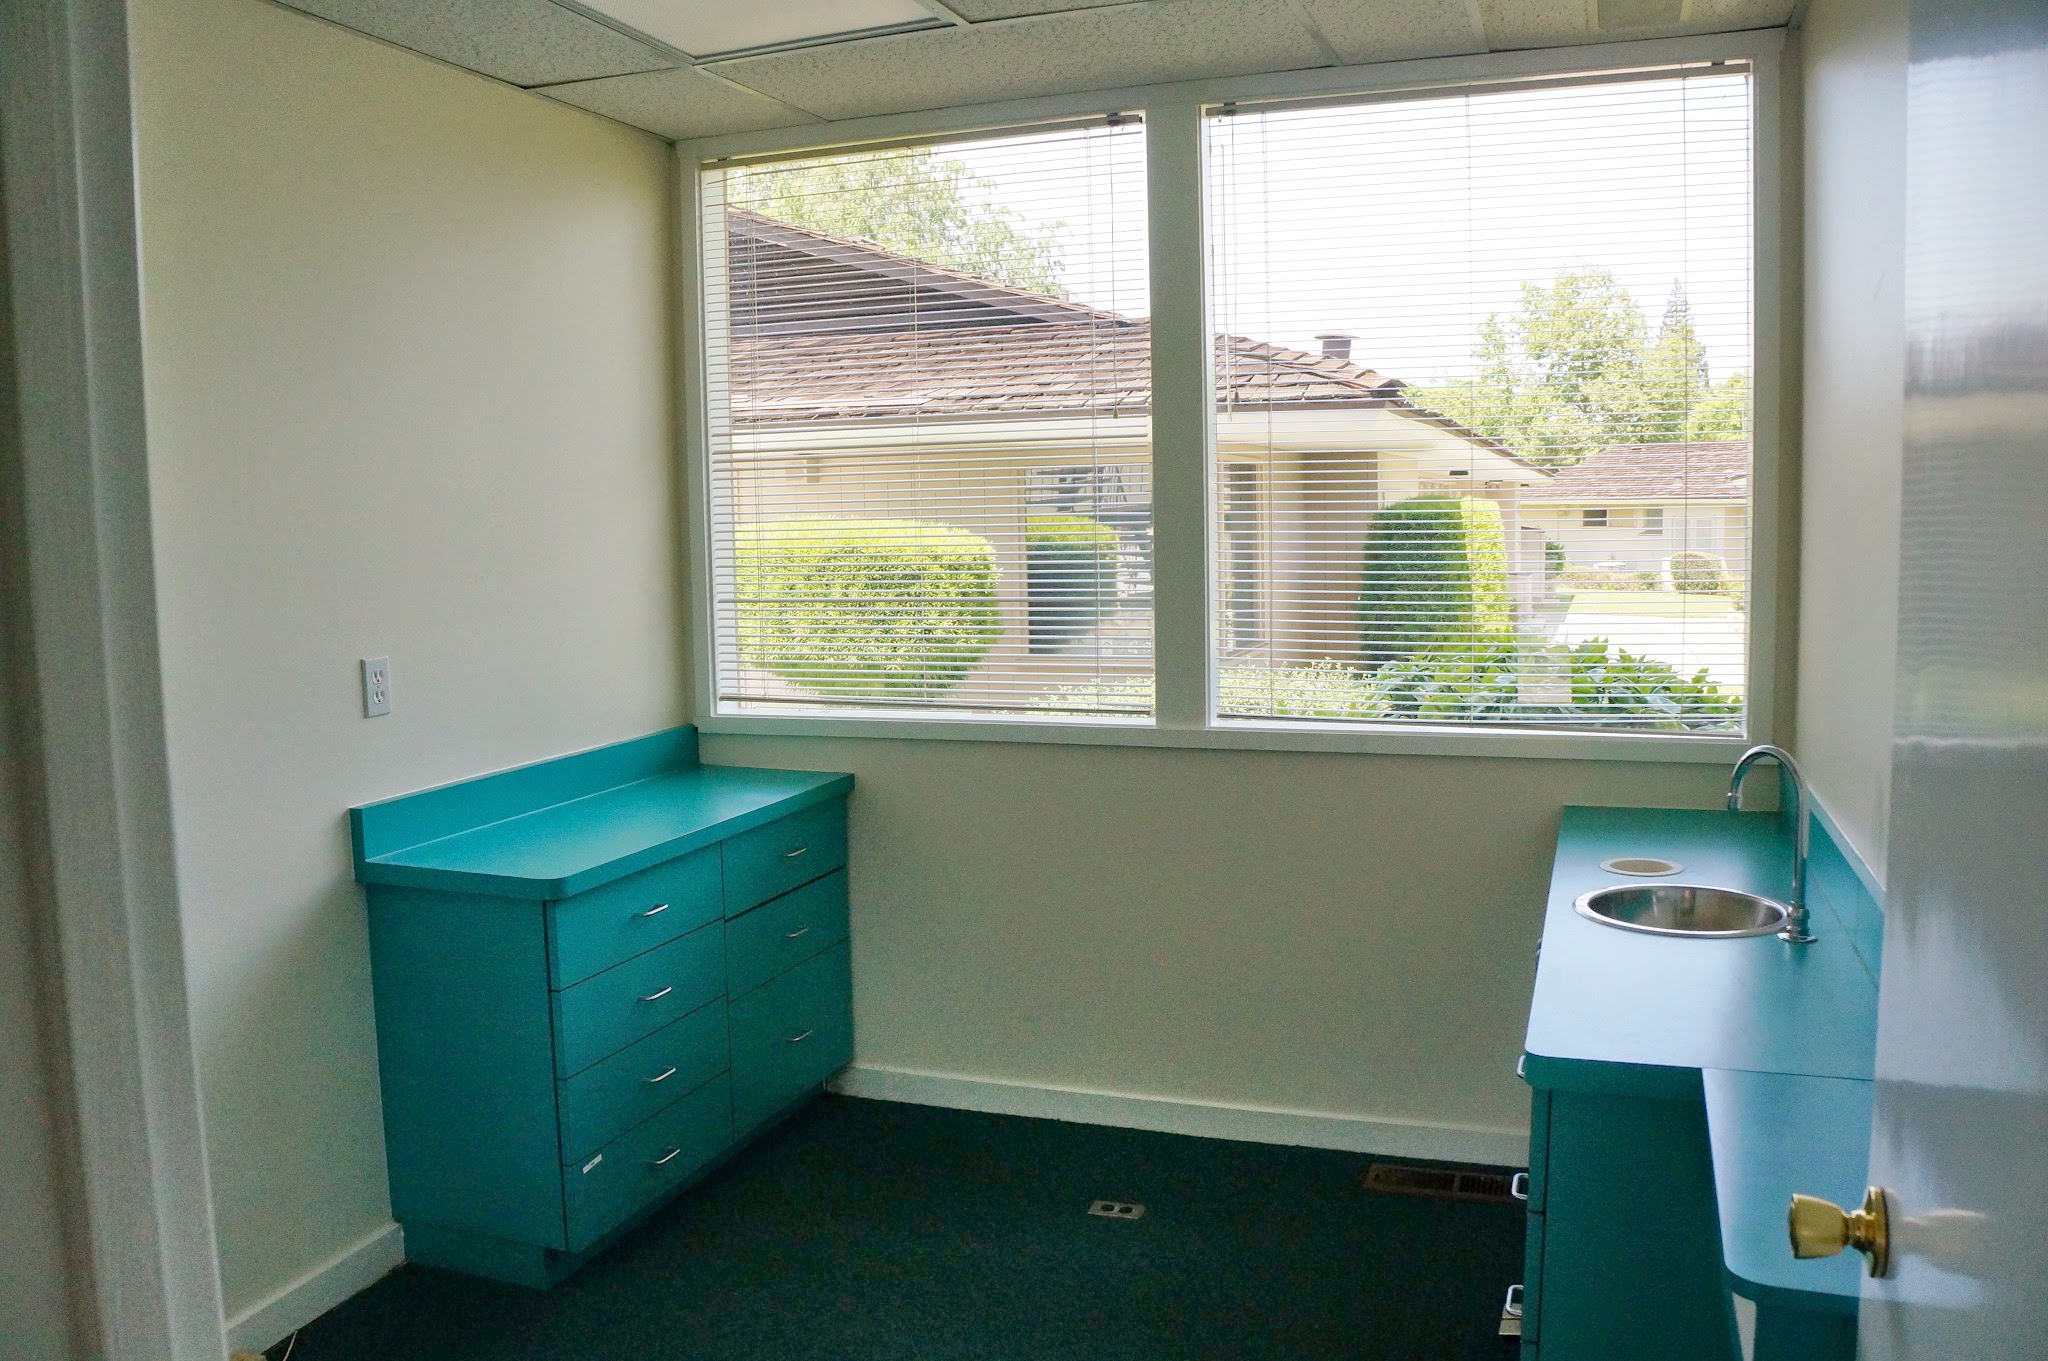
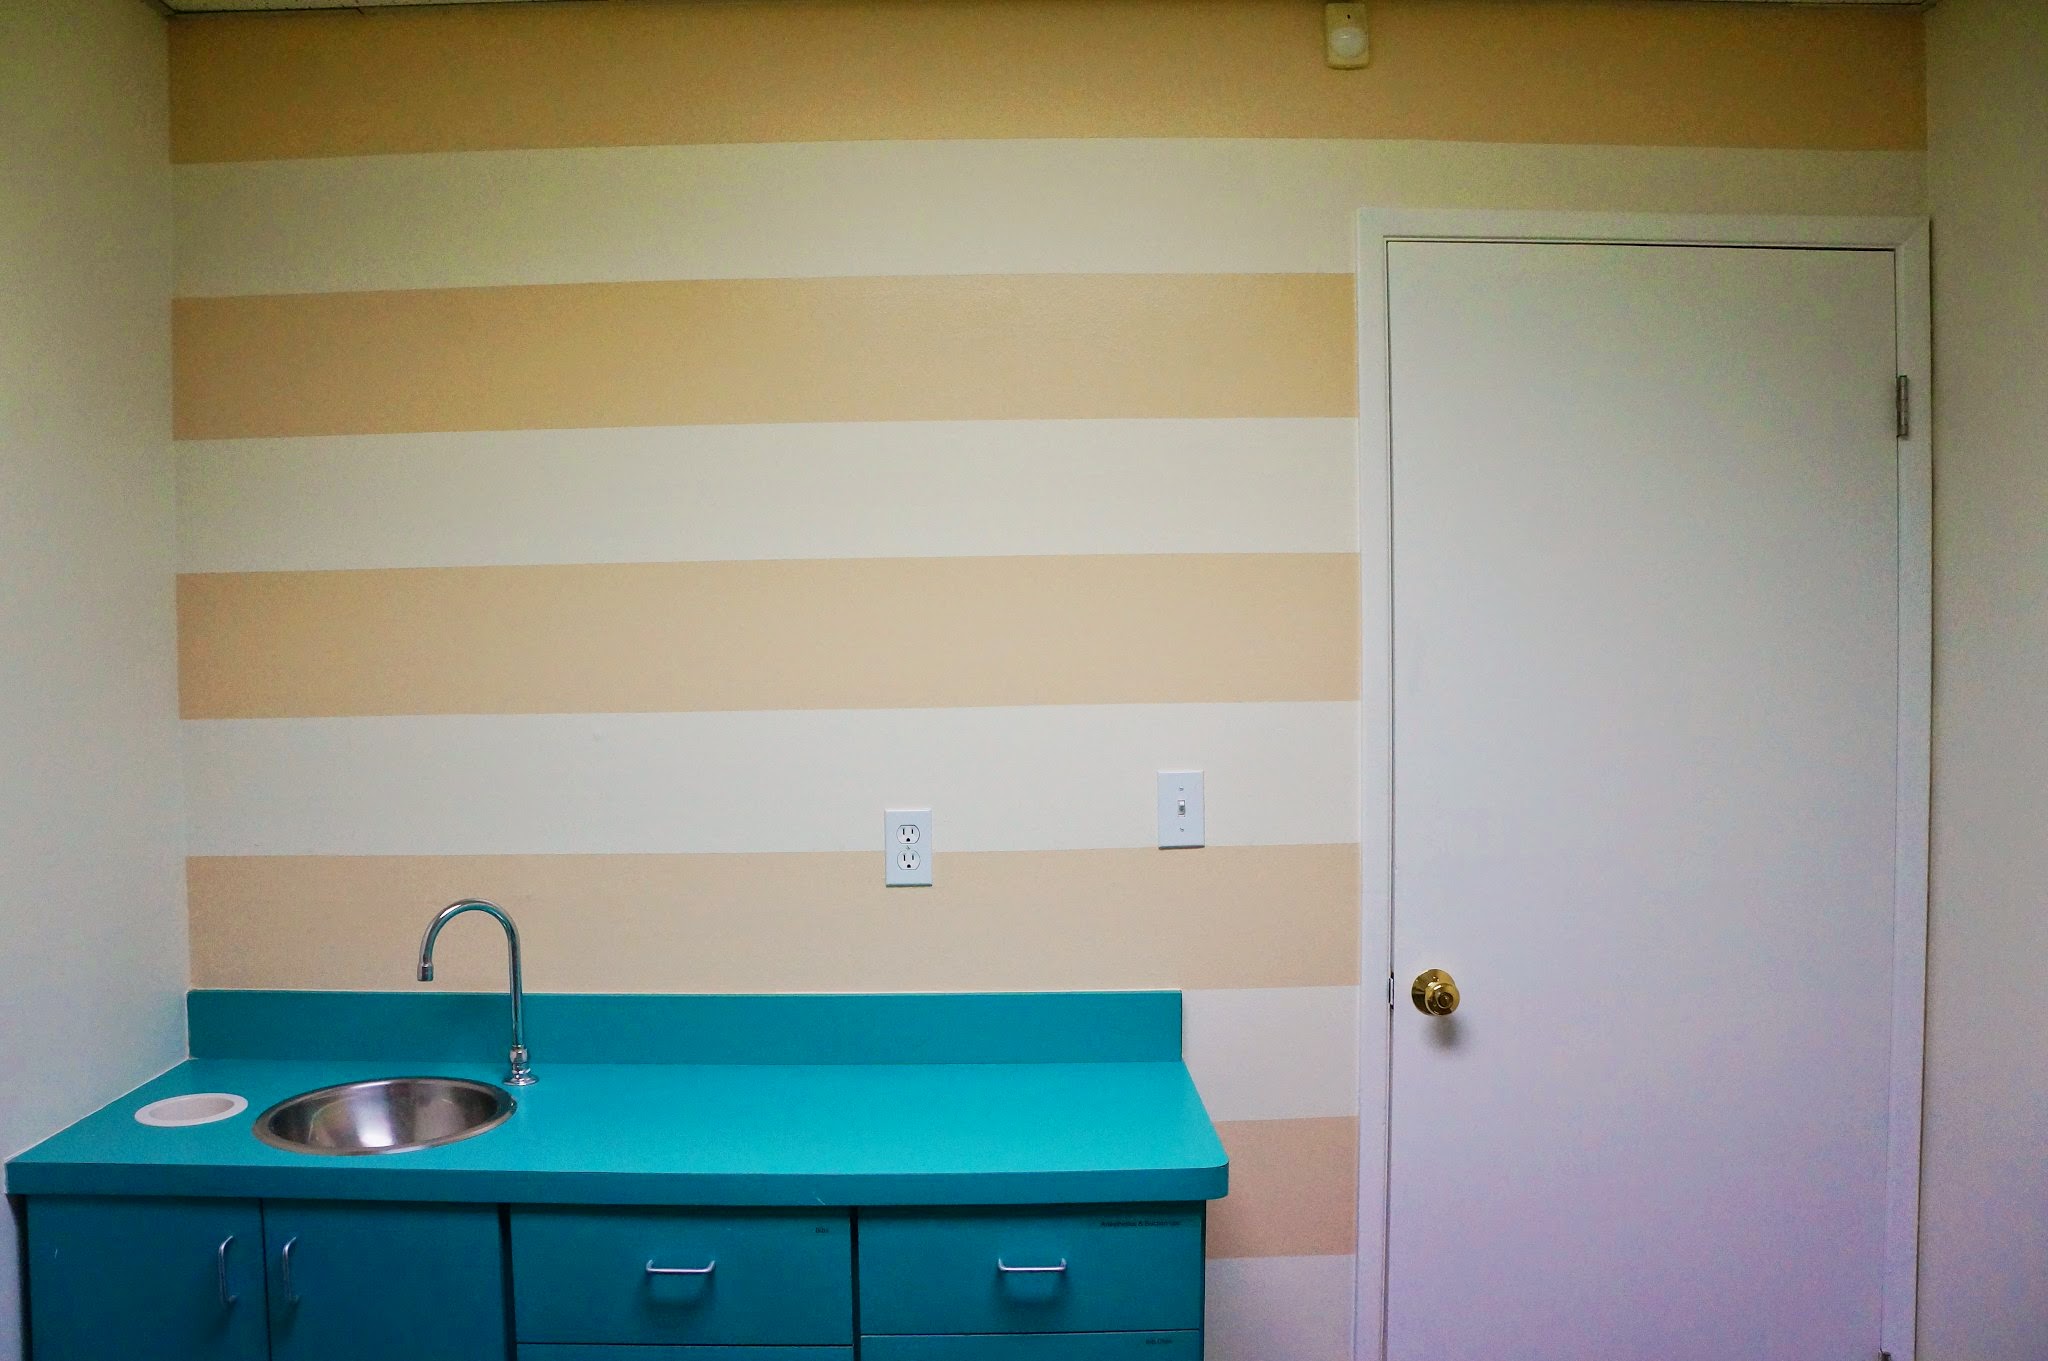
Before Images:

Main Room Before

Umm please make note of this weird green carpet…

Corner Before

Before Patient Room

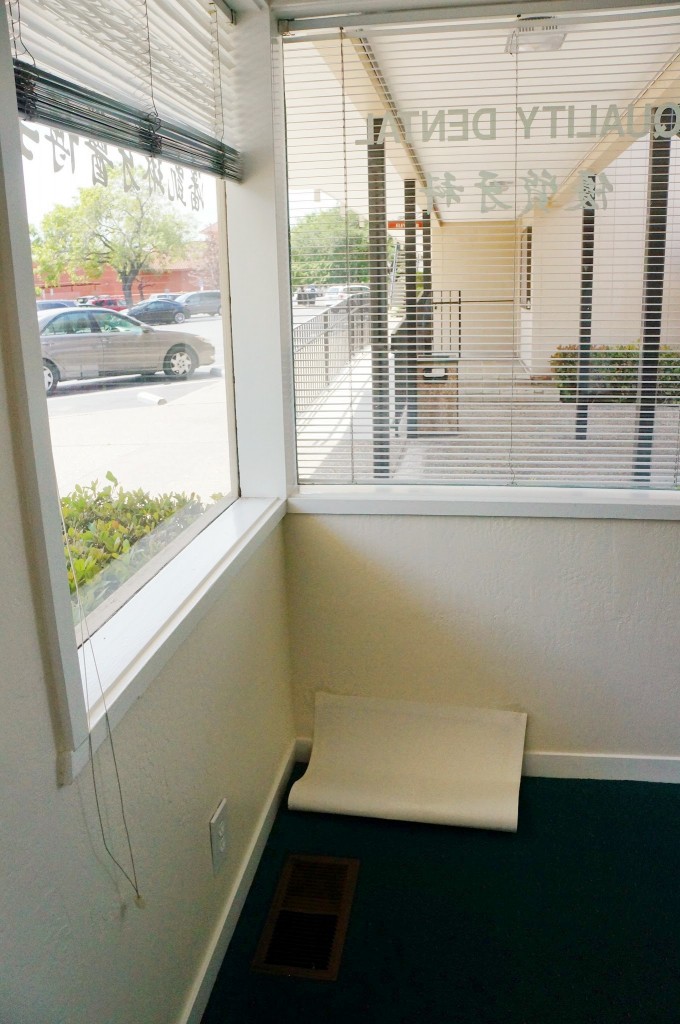
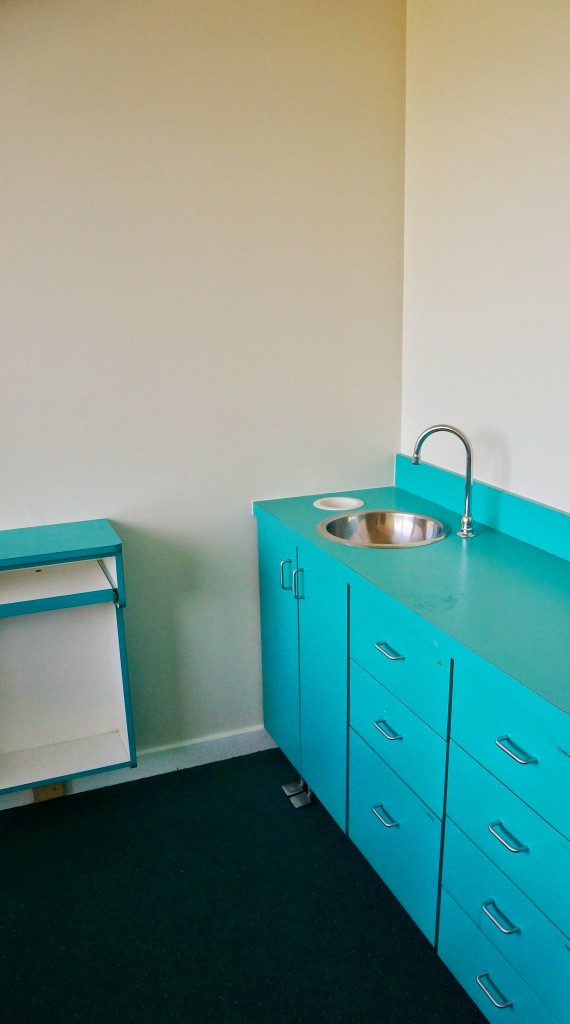
Now also keep in mind that all the cabinets are teal. I decided to keep them as is because many harsh chemicals go on this surface in order to keep things sanitary. I didn’t want the cabinets to start peeling if we were to paint them a different color.

Patient Room Before

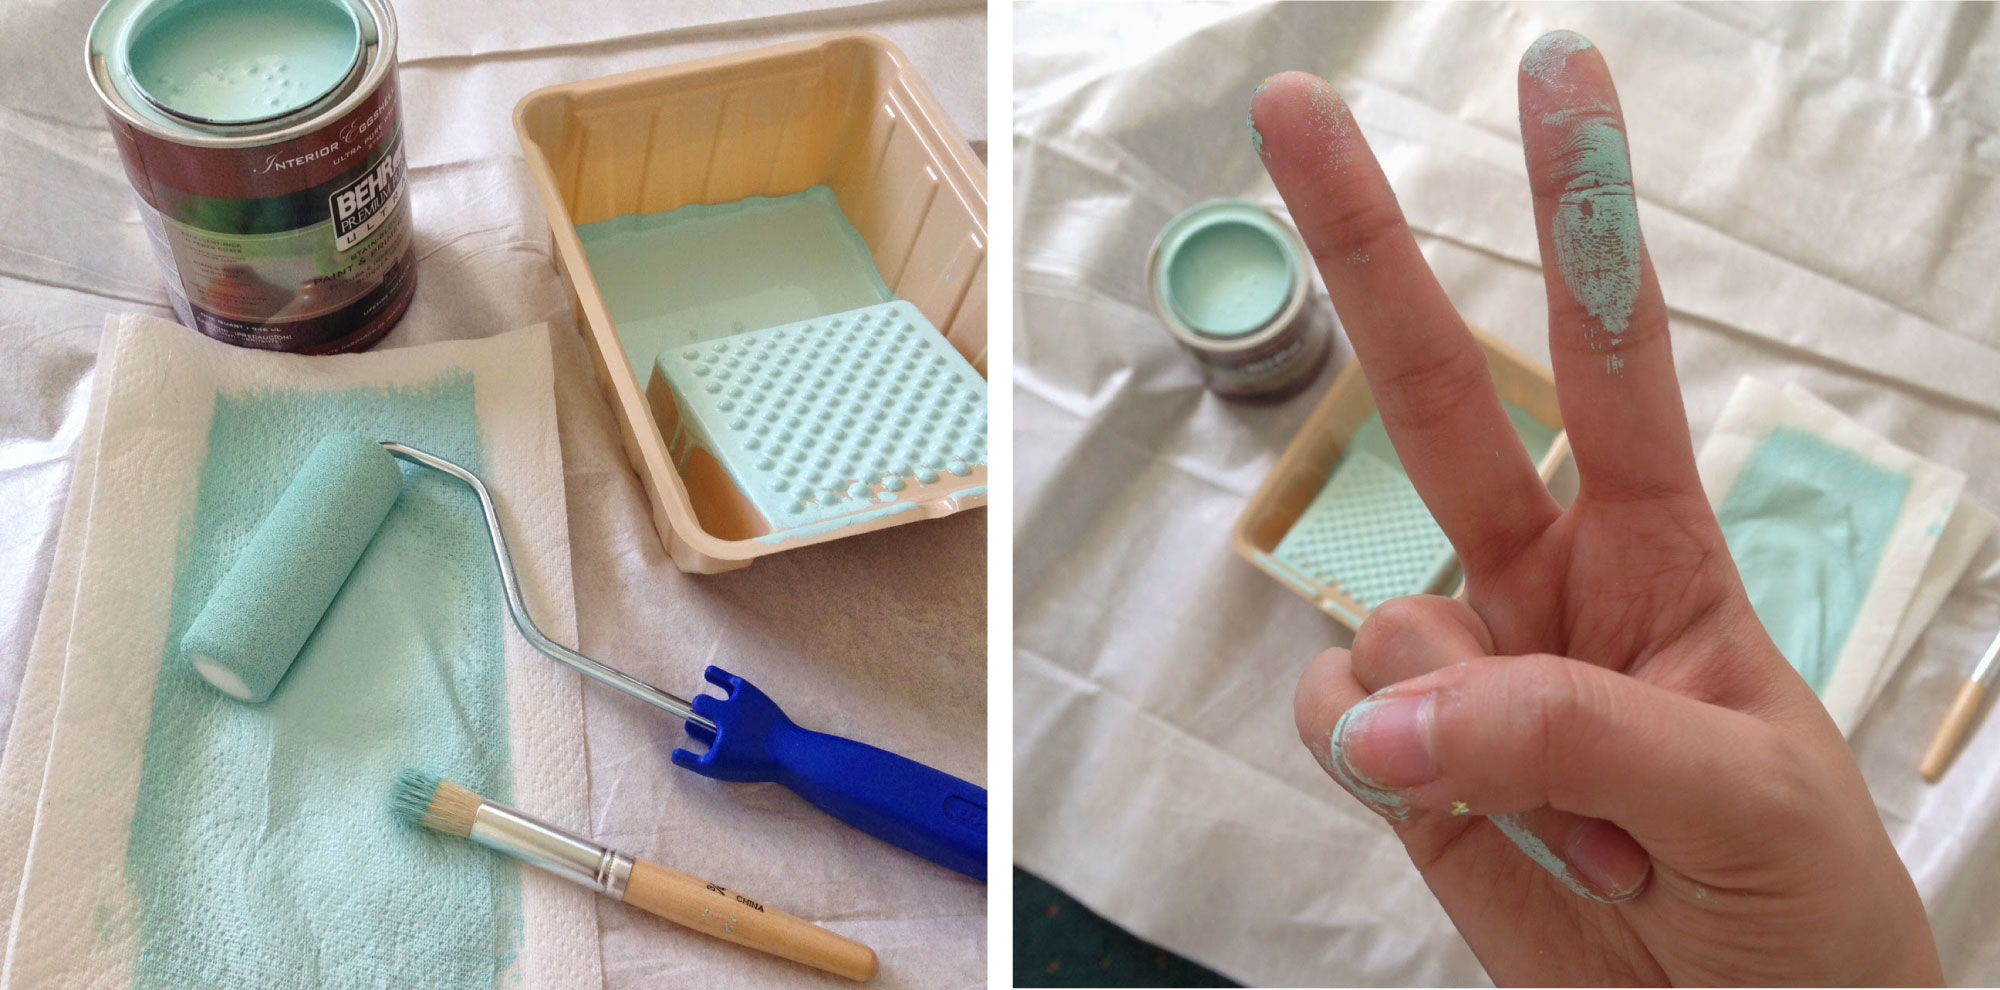
With the teal in the color scheme, we needed to make sure that teal was incorporated but not too much or it would overwhelm. While doing some research, I put together this palette.

Color Palette

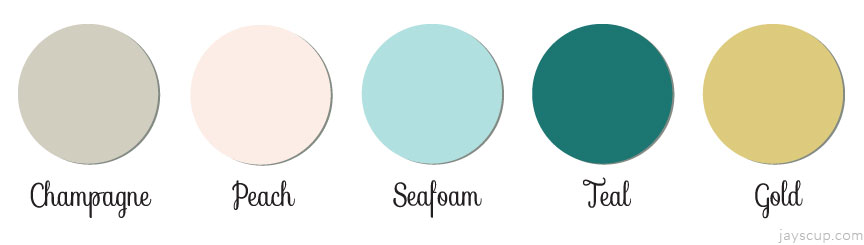
Perfect right? And we were set to go! Seafoam was used in the main waiting room with gold highlights. Peach was used in the patient rooms, and champagne is a great neutral to go throughout the office. I ordered a Notice Board Wooden Frame Singapore – LTC Office Supplies on their website to get a bigger picture of the most important decisions made here.

Here’s the waiting room now. This is the first thing you see when you walk in through the front door.

Corner

Other corner
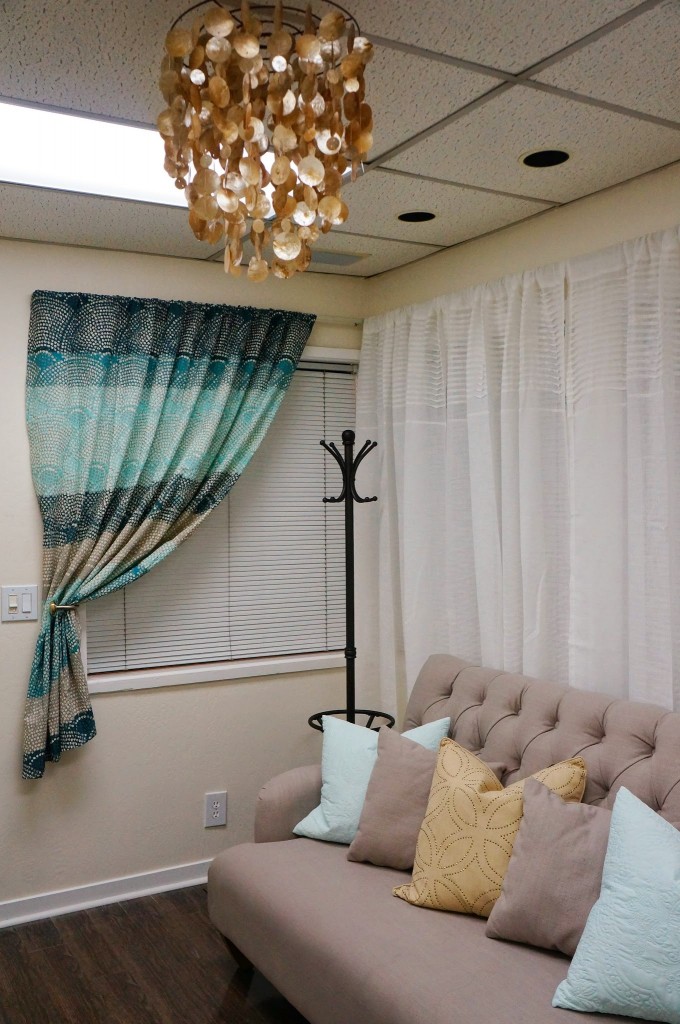
This is the opposite corner. That colored curtain was originally a shower curtain! I sewed it, and now it’s another pop of color in the main room.

Sitting area
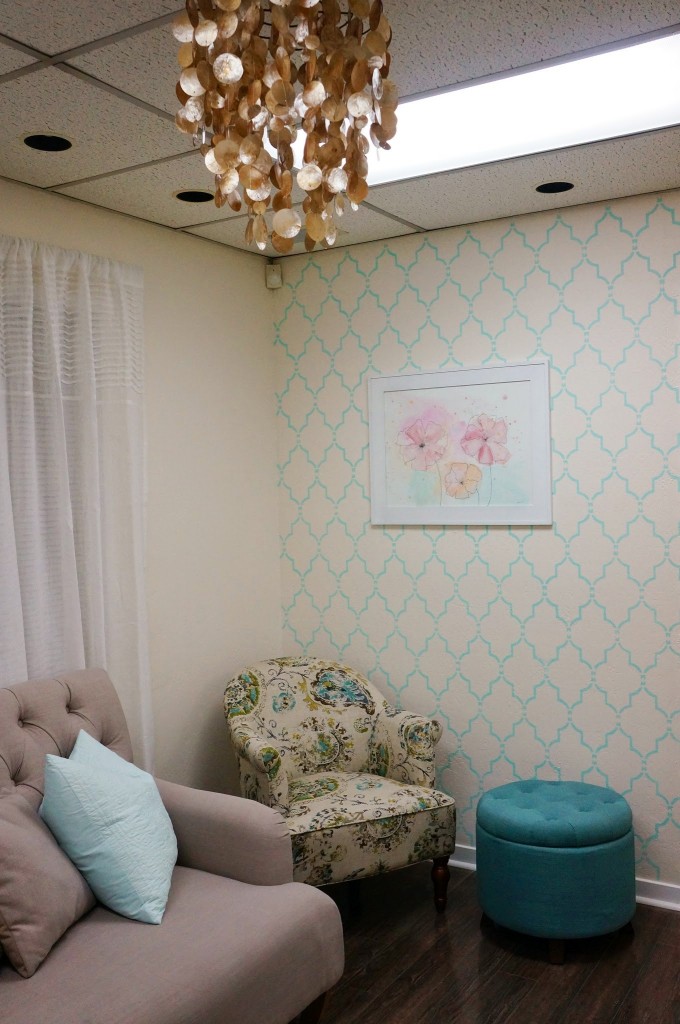
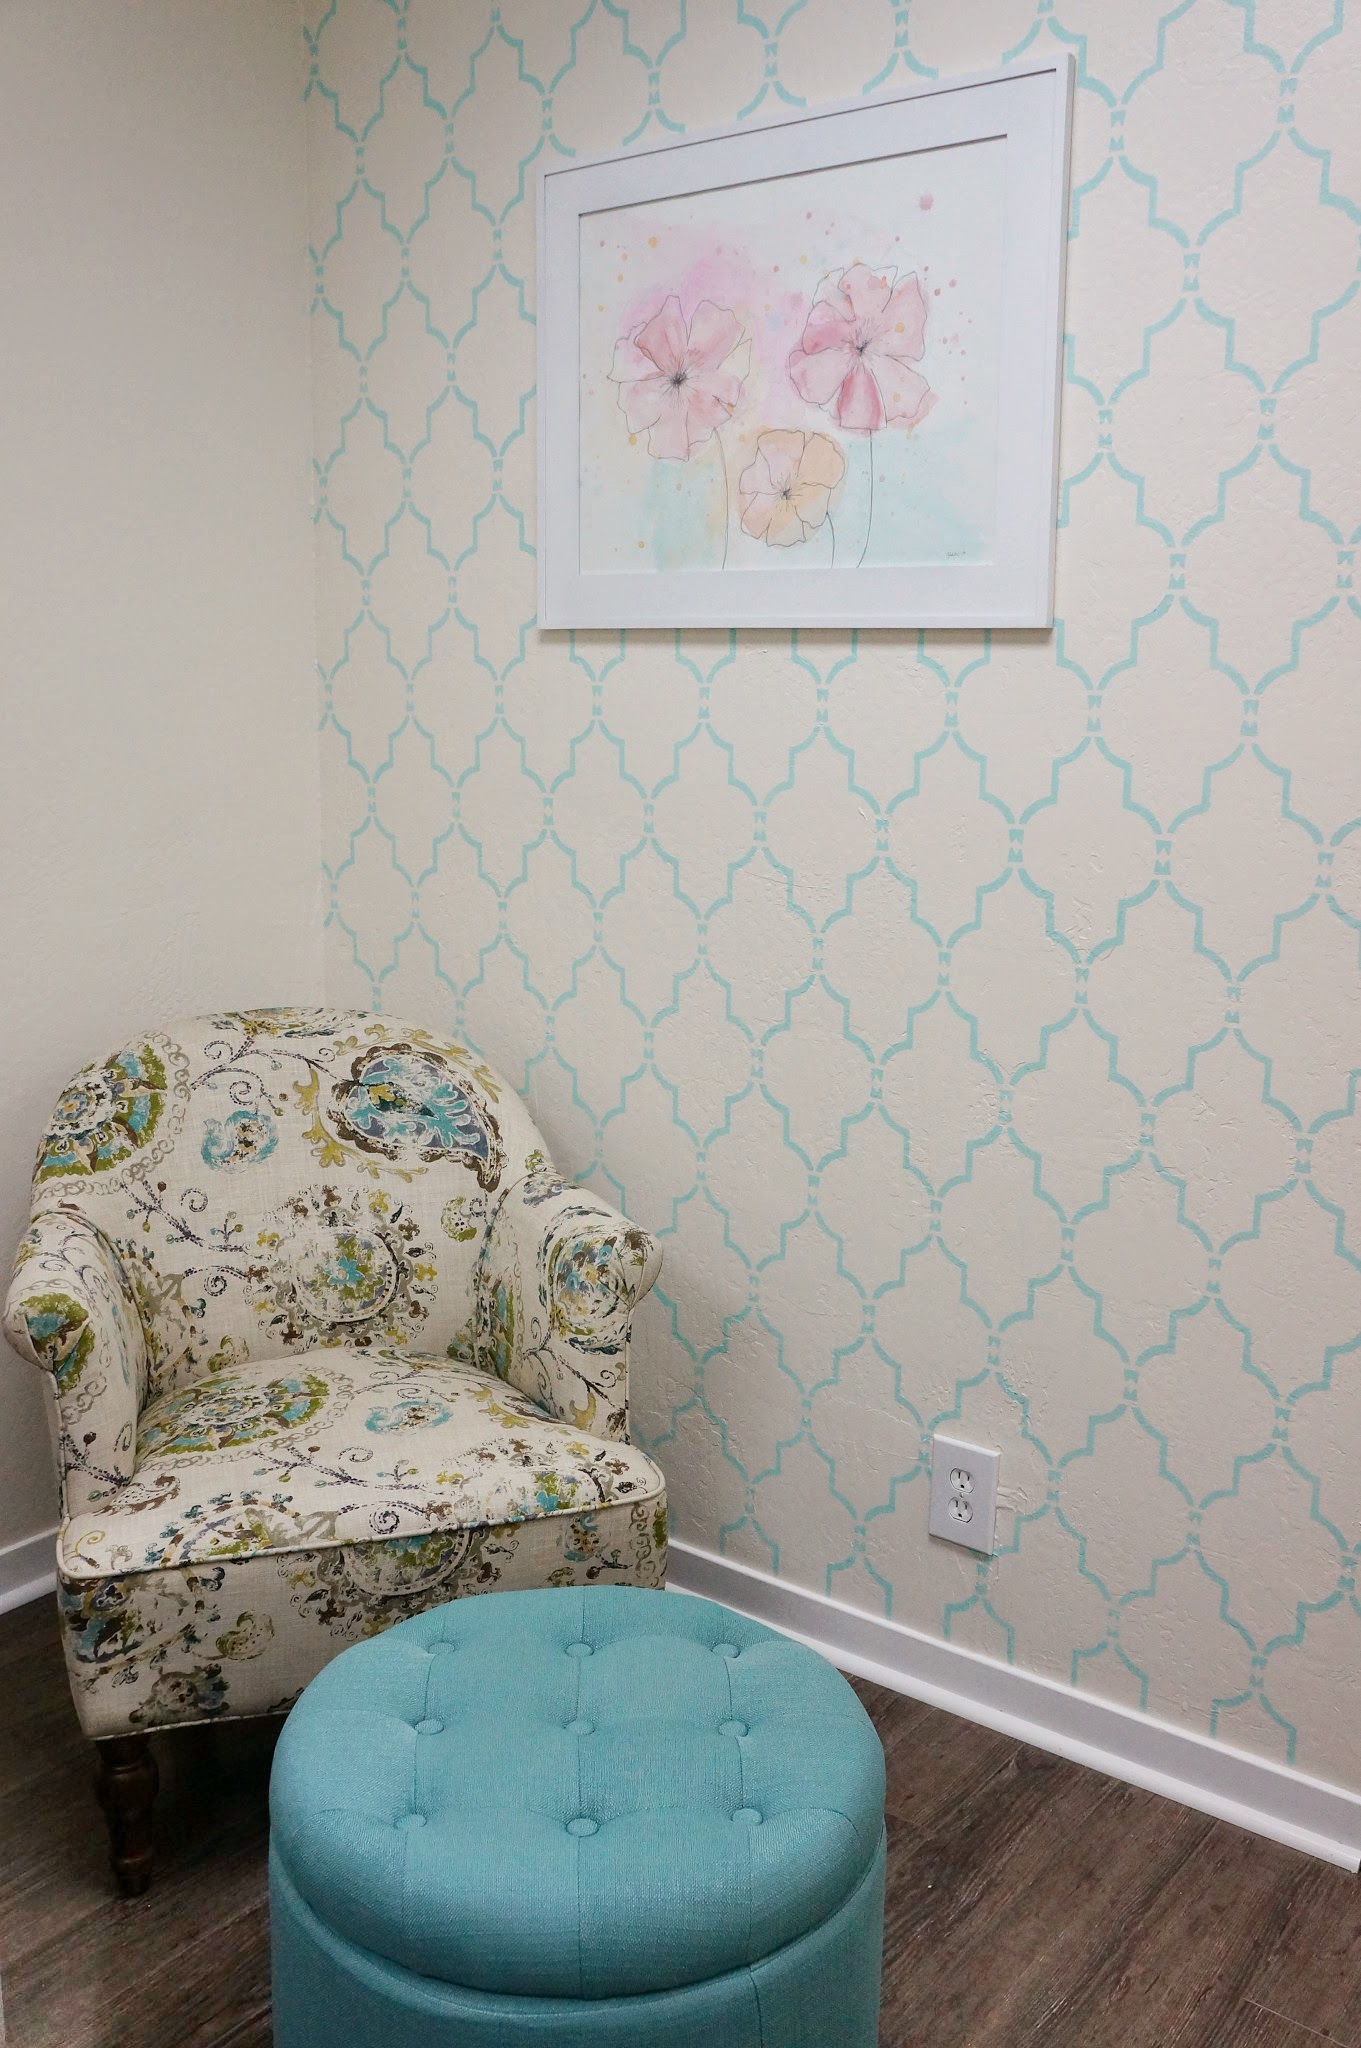
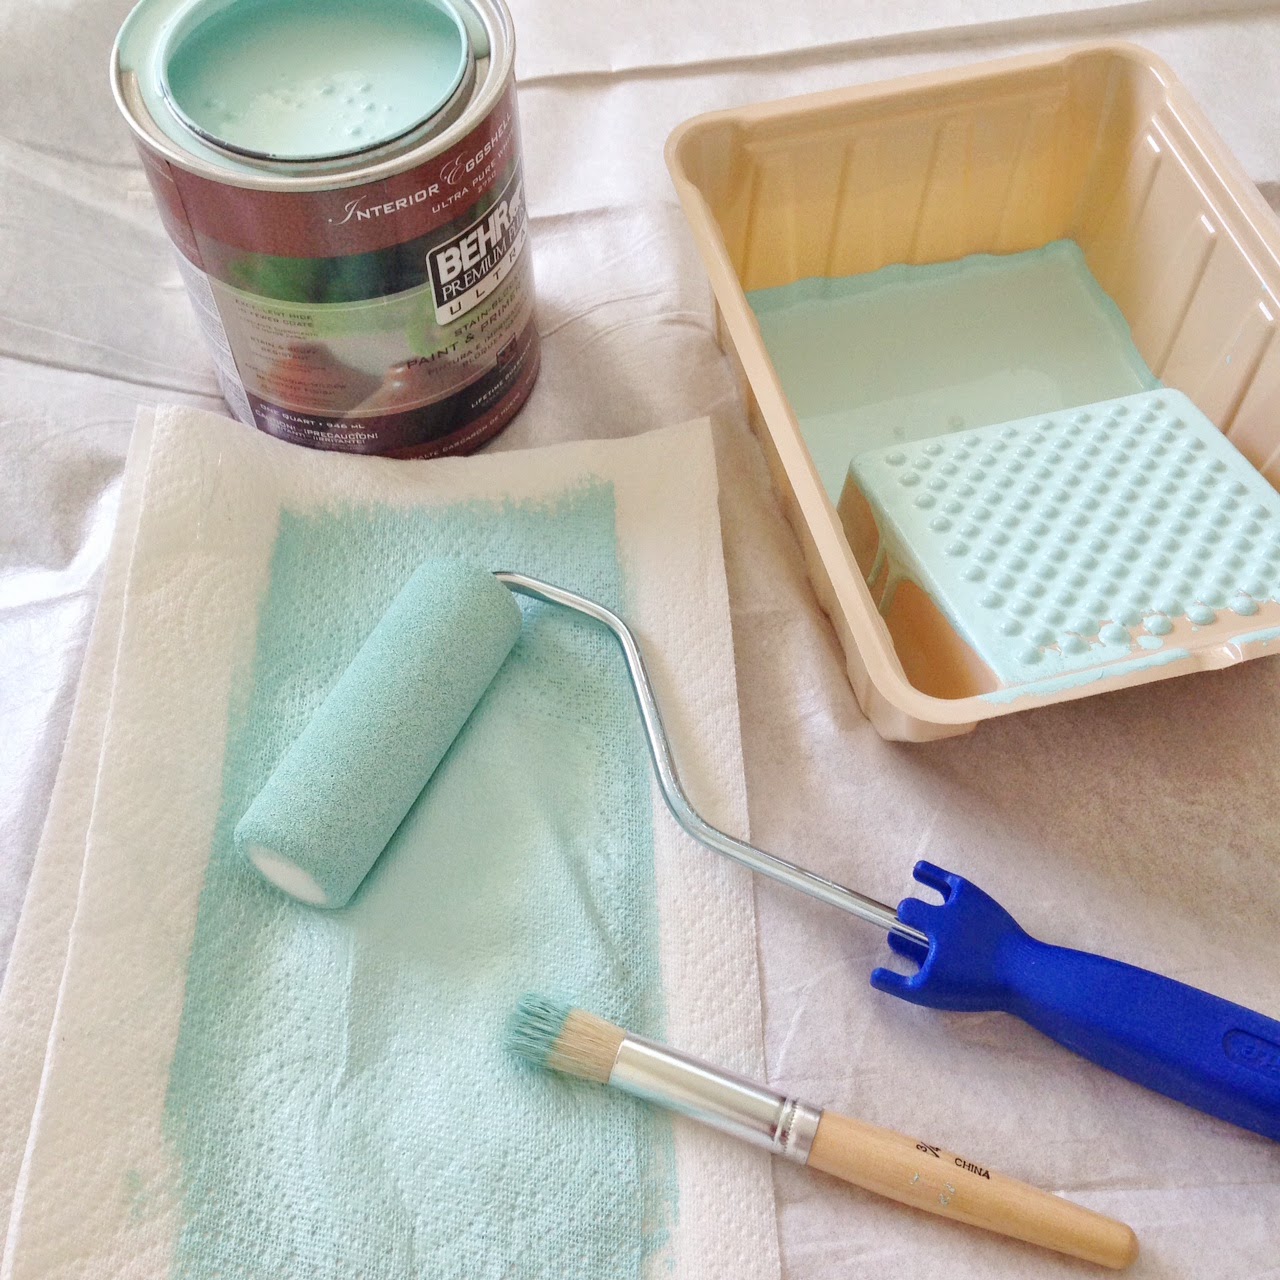
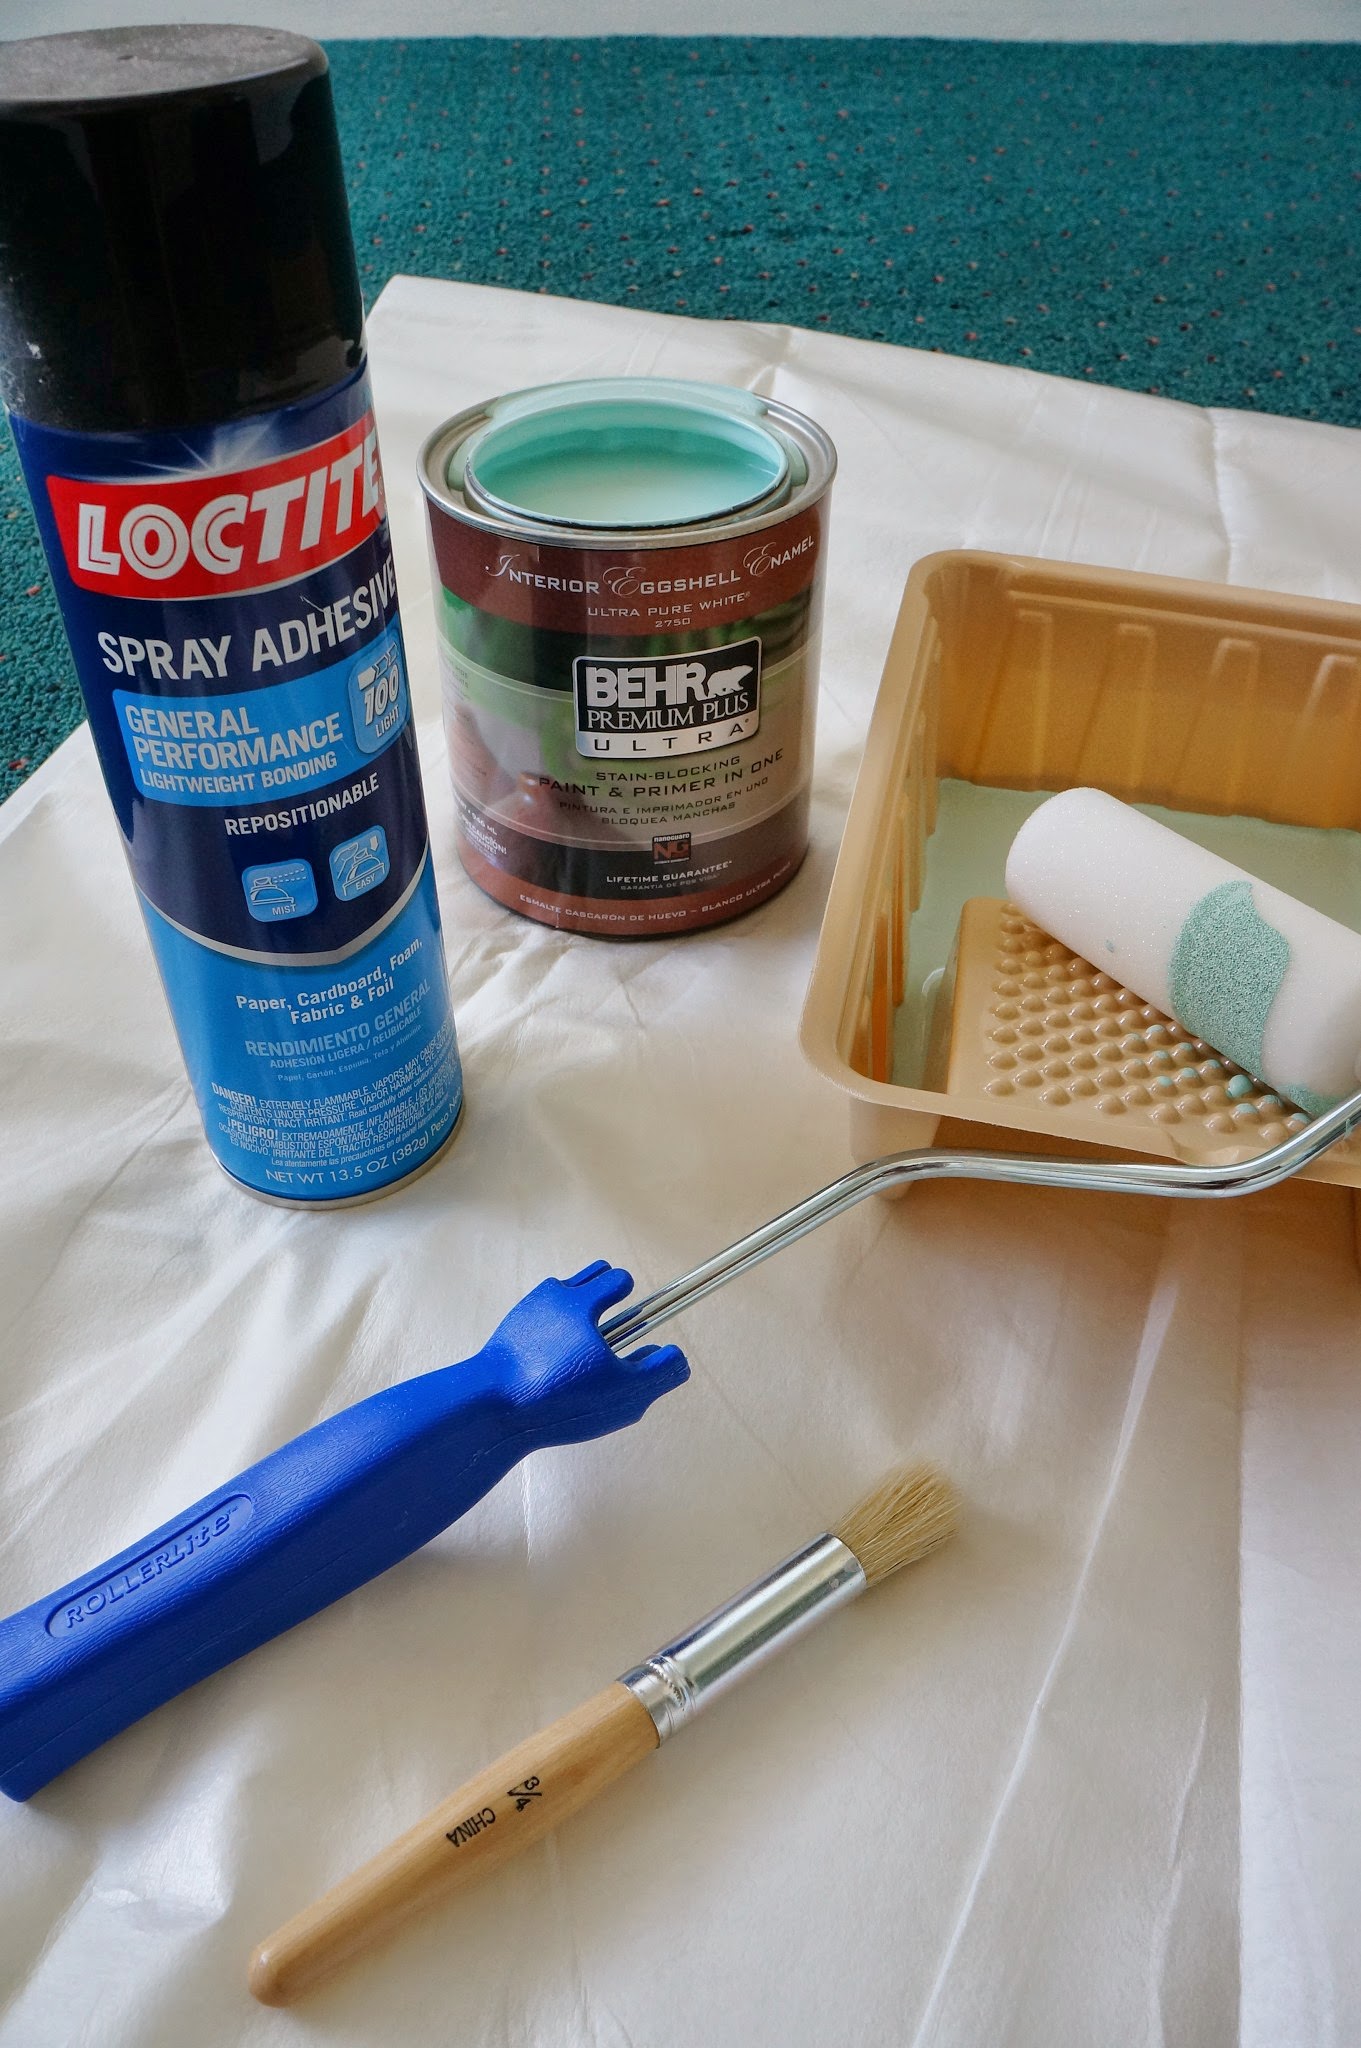
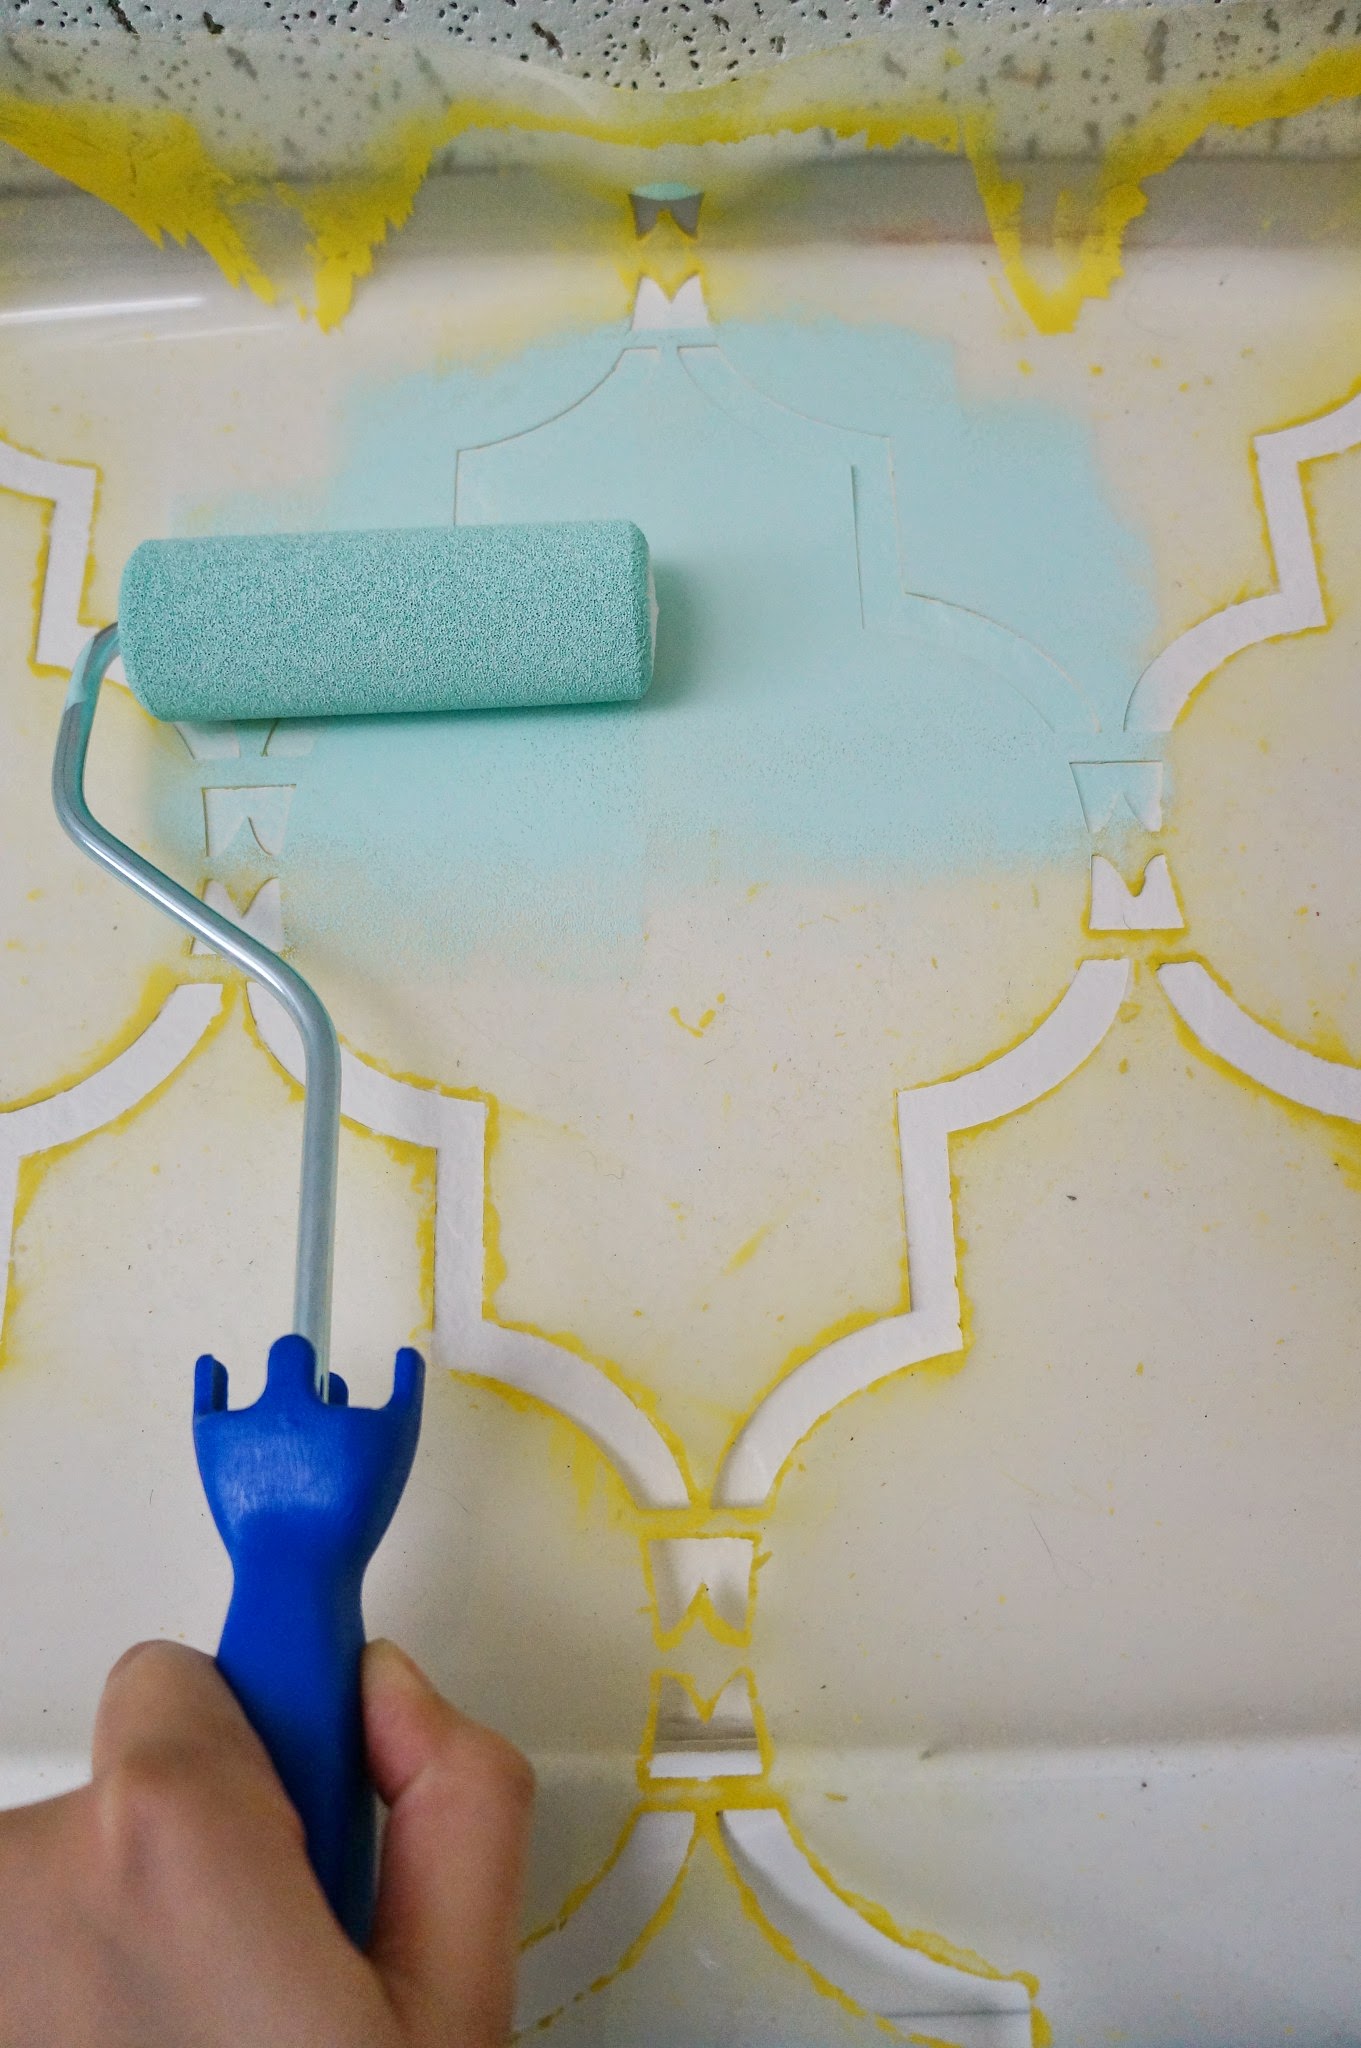
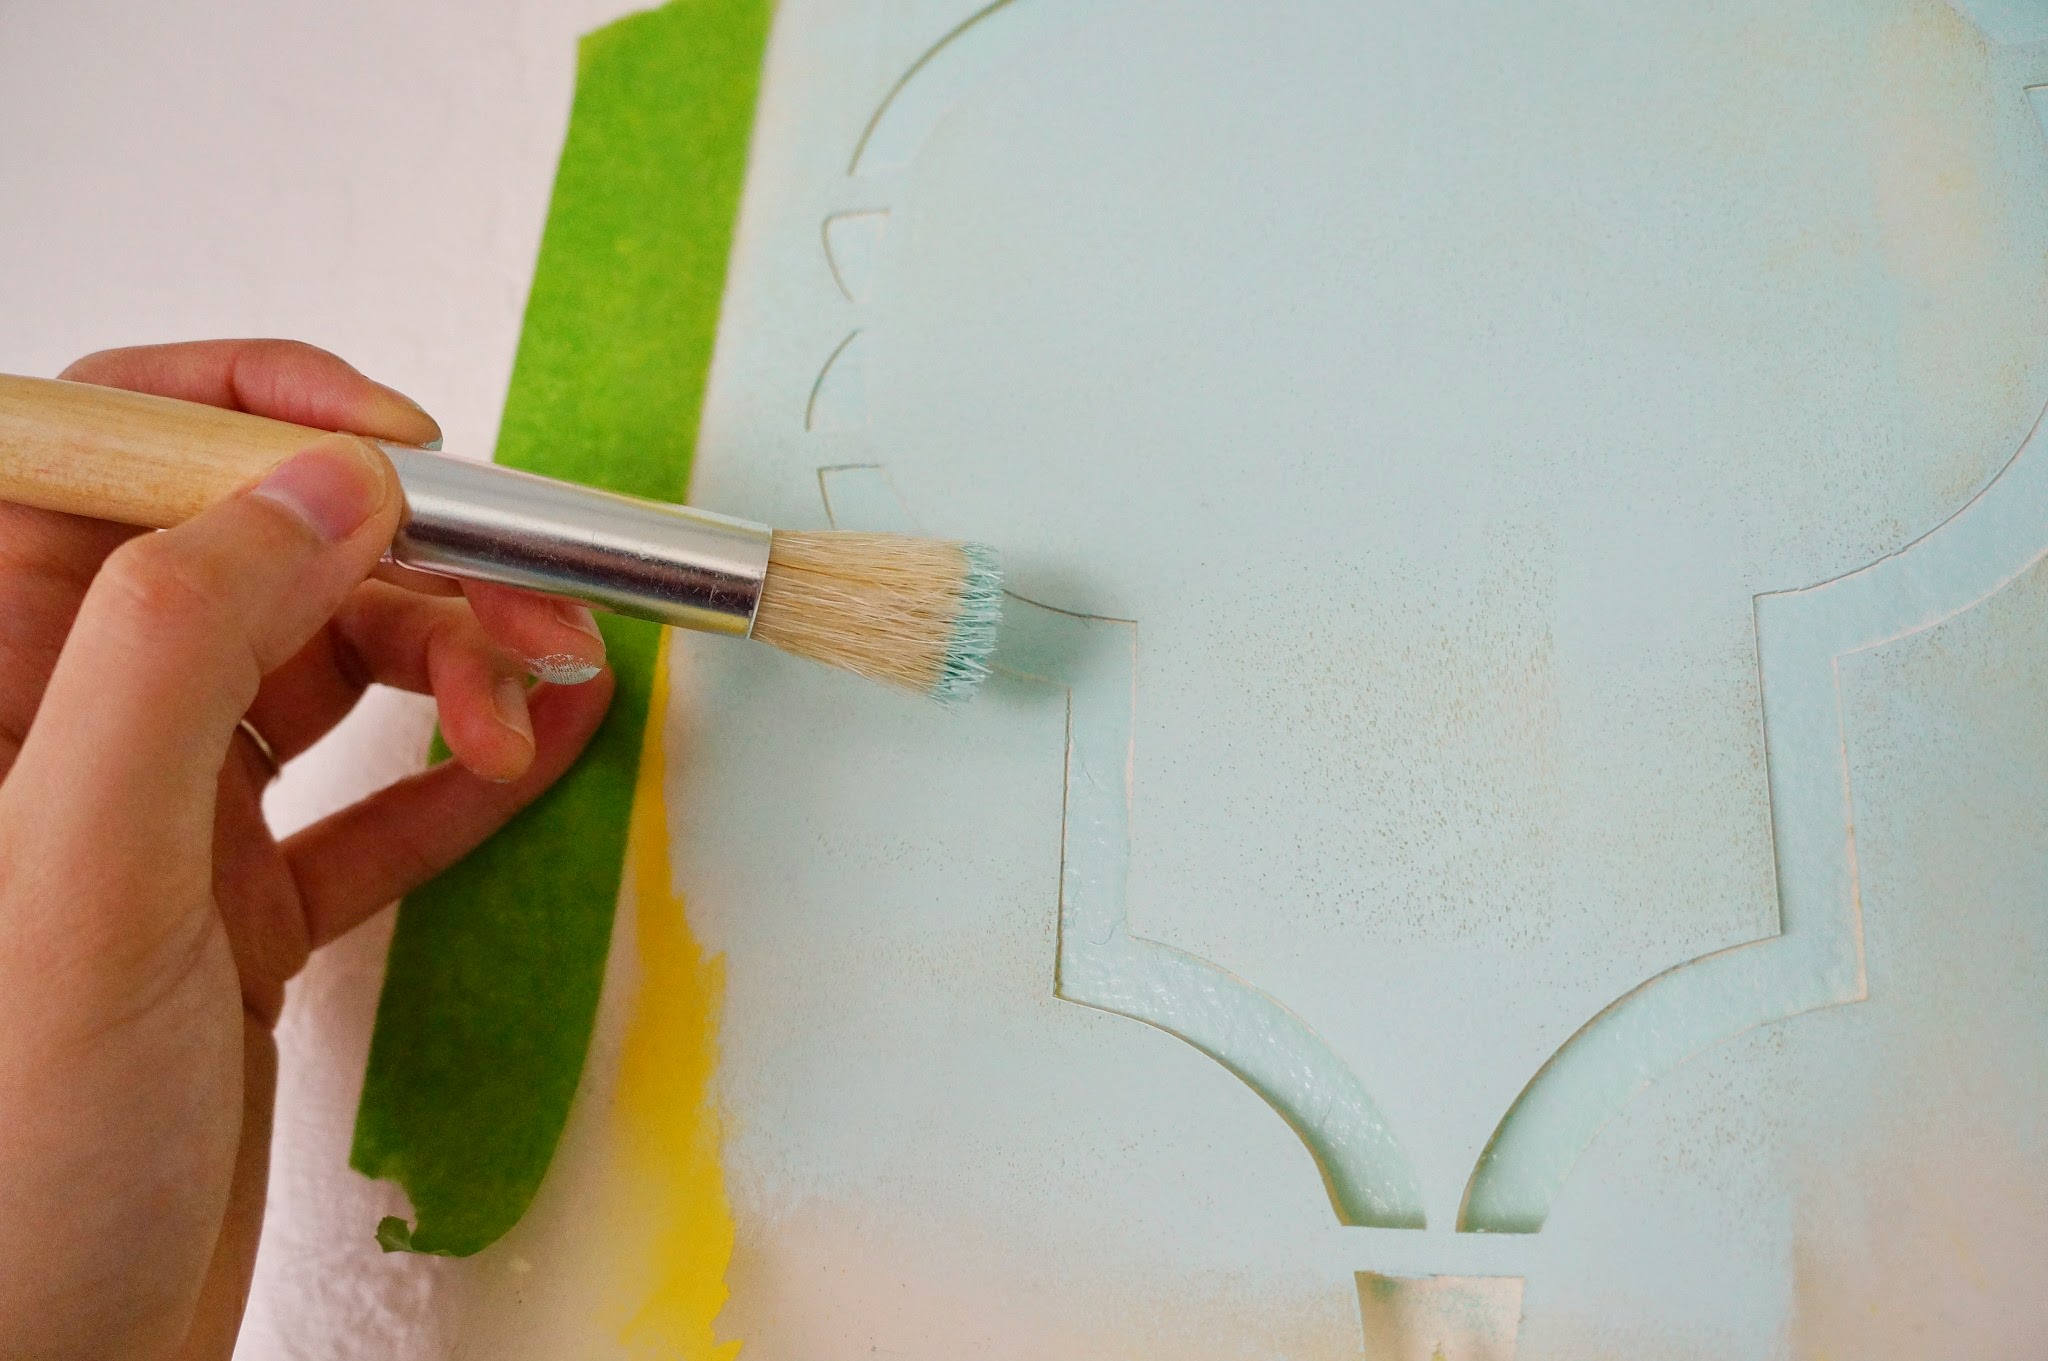
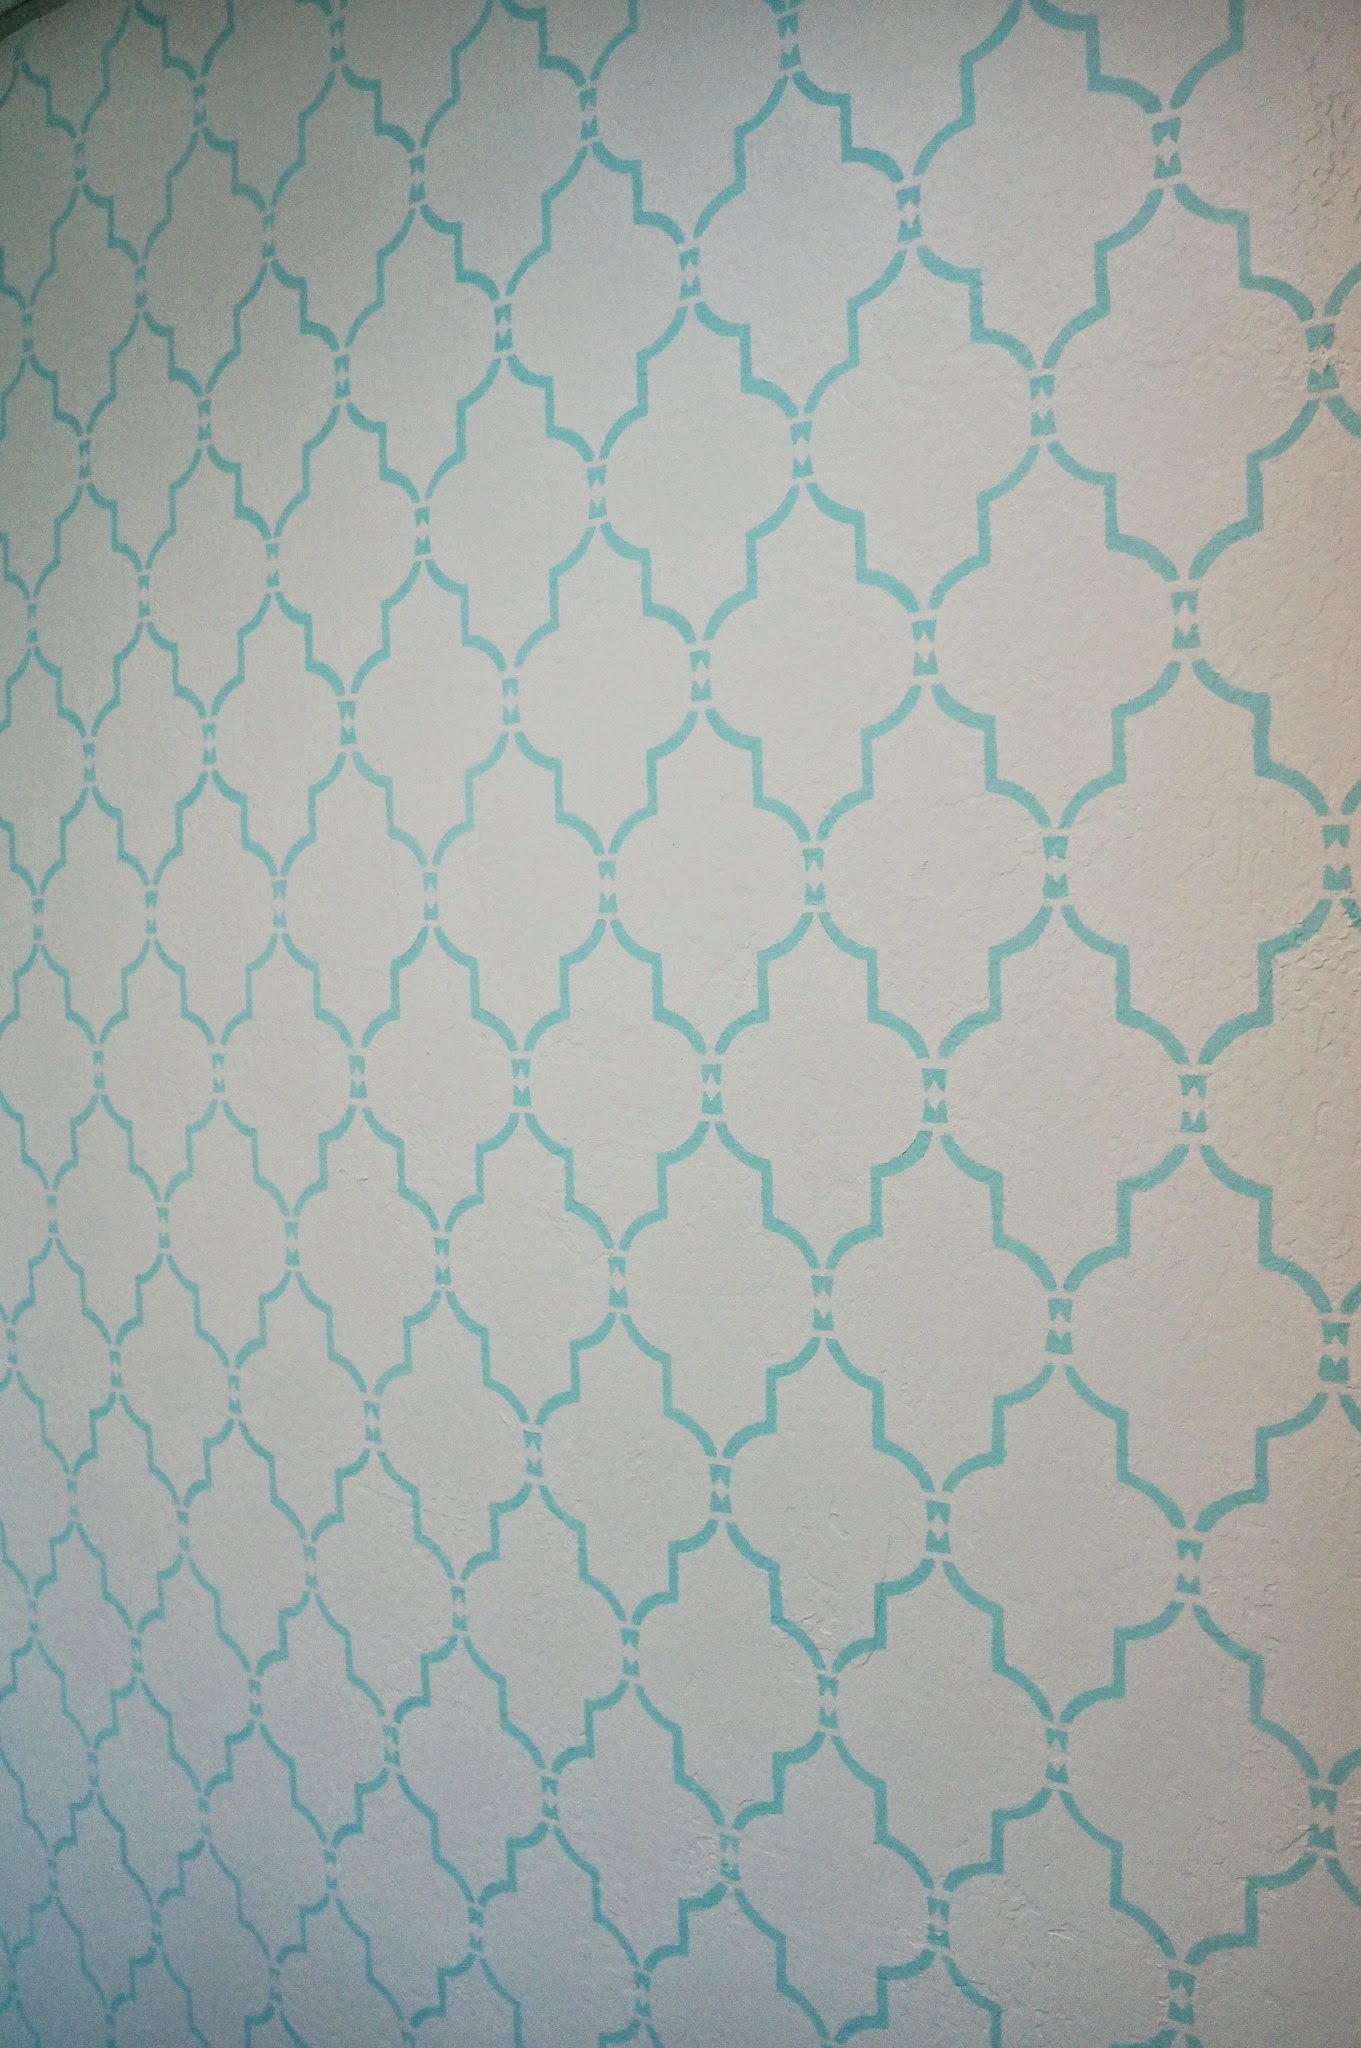
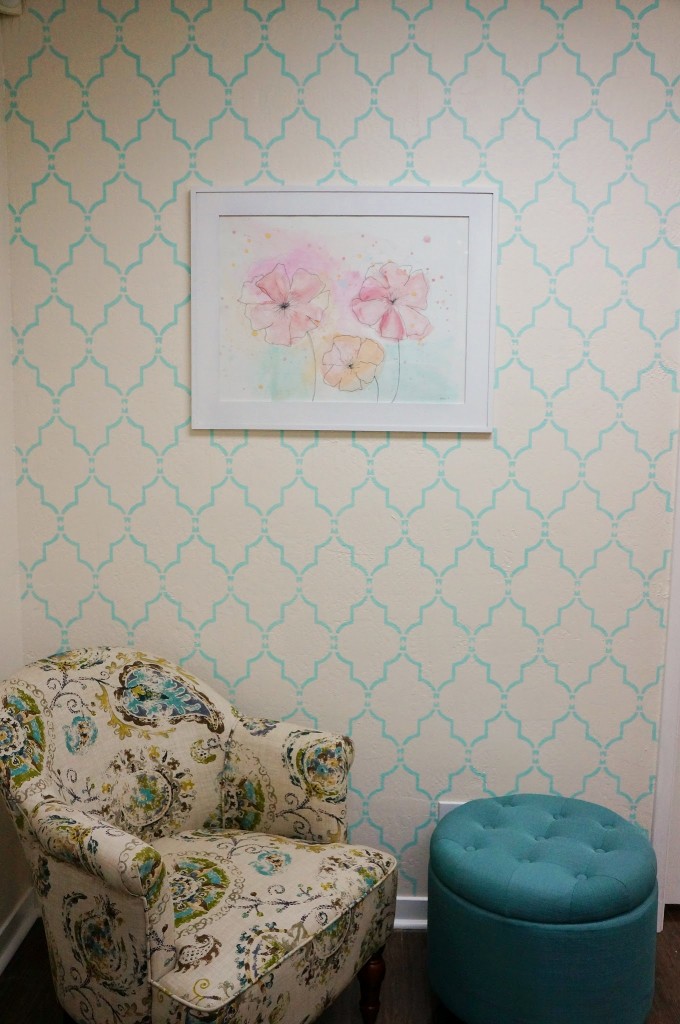
Close up of the corner seat. I love the design of that chair and the cute little ottoman for storage. I’ve also gotten into watercolor painting so I made some artwork for the room. I love wall stencils as a design element (yup, I hand-painted it)!

Magazines
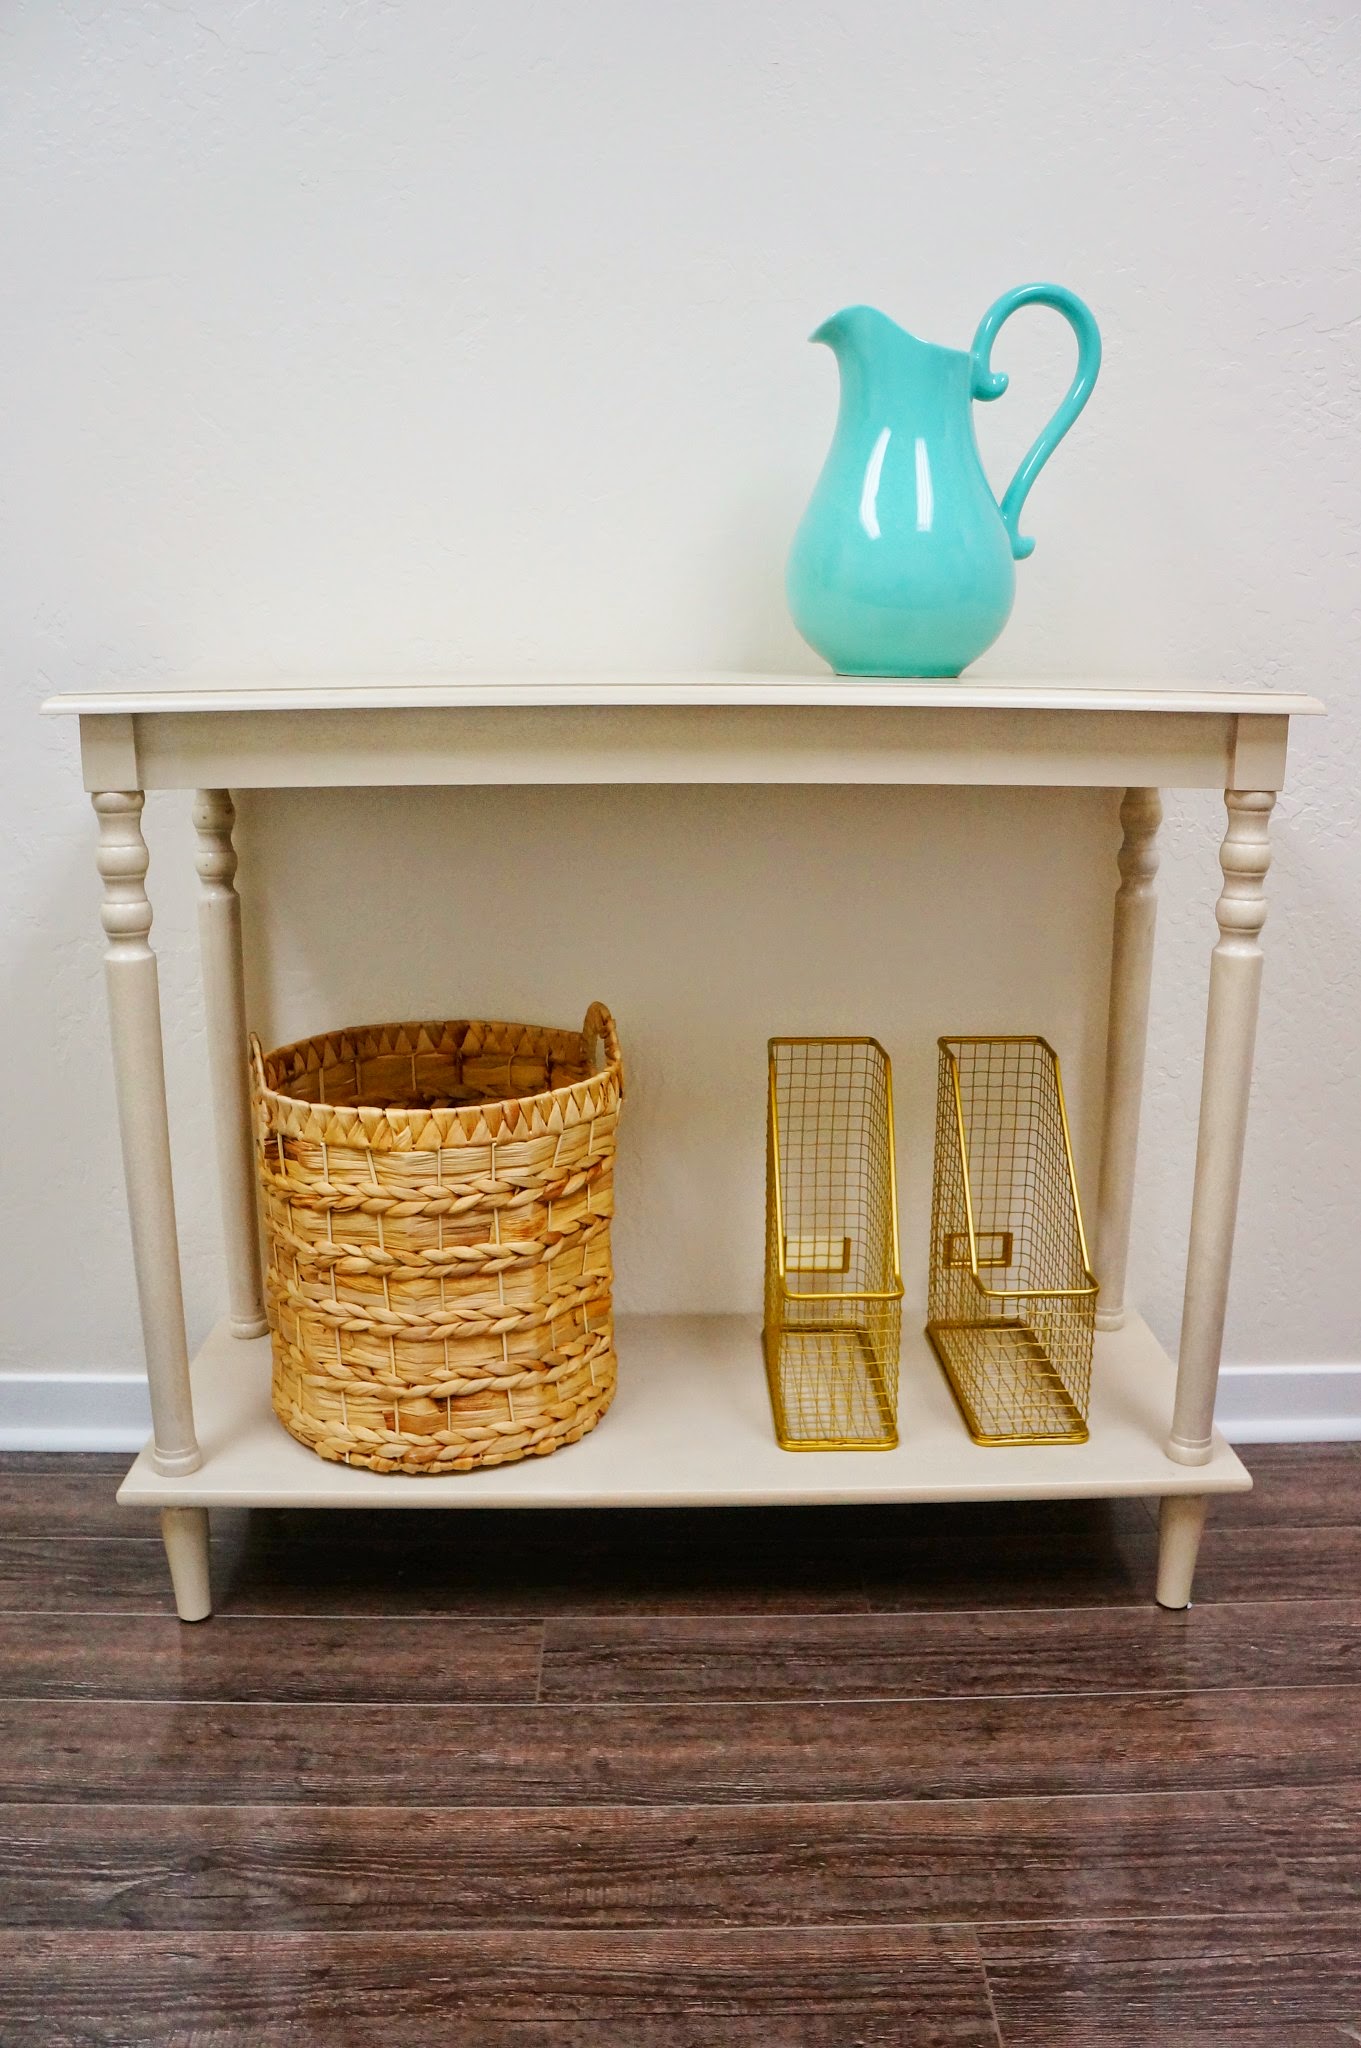
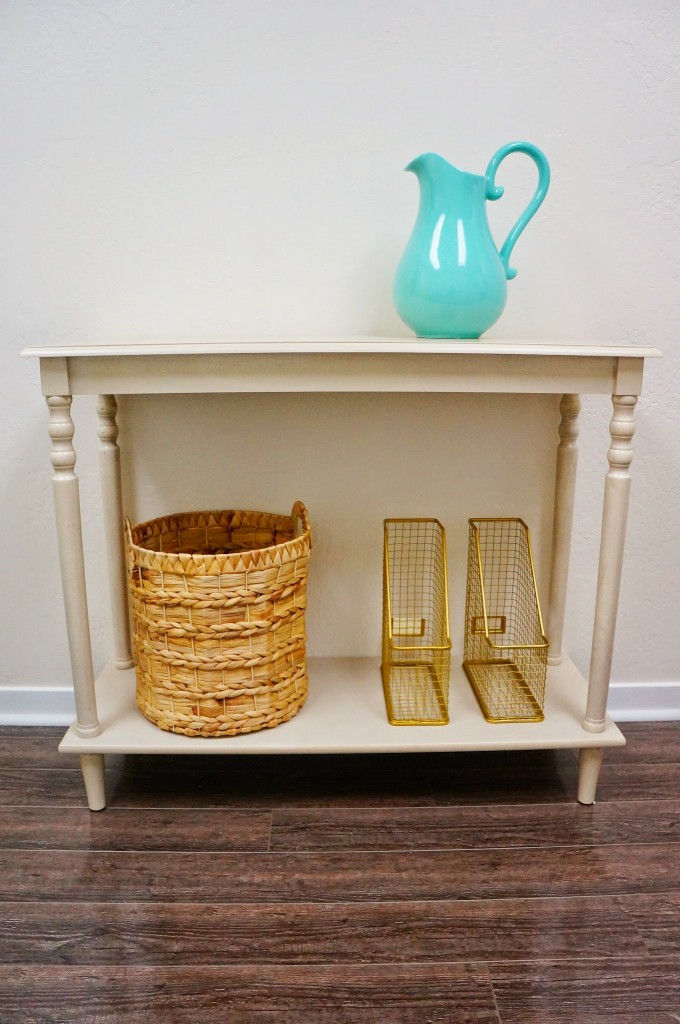
Here’s some space for magazines and brochures. I love the disposition of this table (especially love that vase for flowers!). 

Oh and remember that hideous green carpet? Look at this beautiful laminate wood with a tinge of grey. Hello gorgeous… Later I added an old beige carpet after getting it cleaned from the local Carpet Cleaning in San Diego. Here are the patient rooms! I wanted to keep it simple because each room already gets fantastic sunlight. A little bit of art and a colored wall changed the entire room.

Patient Room

DSC08563 11.05.08 PM

DSC08572

Art Gallery
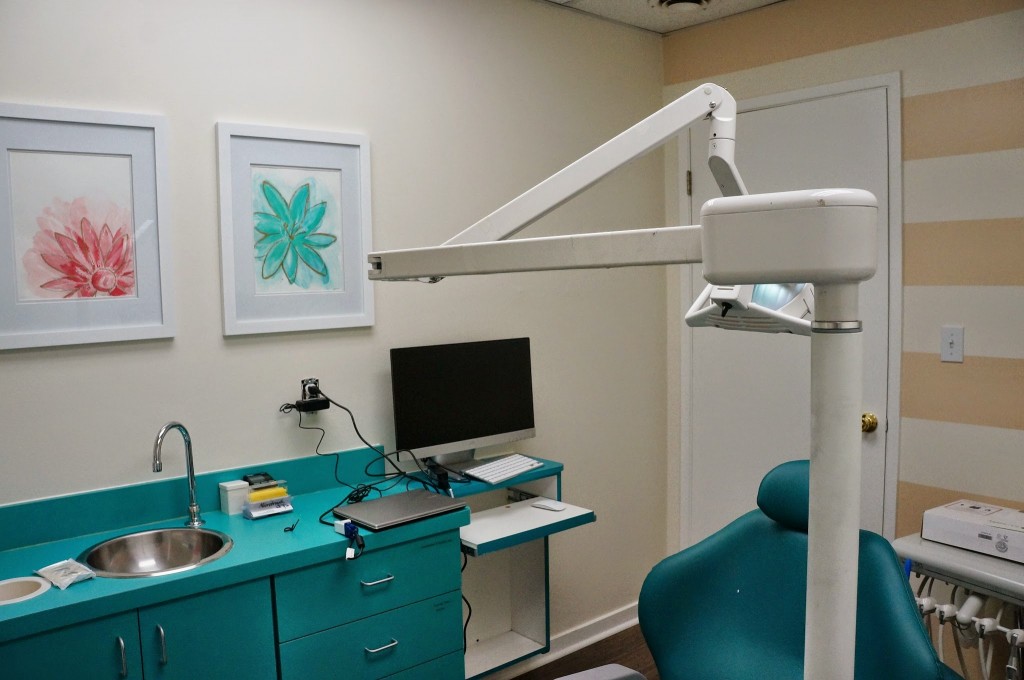
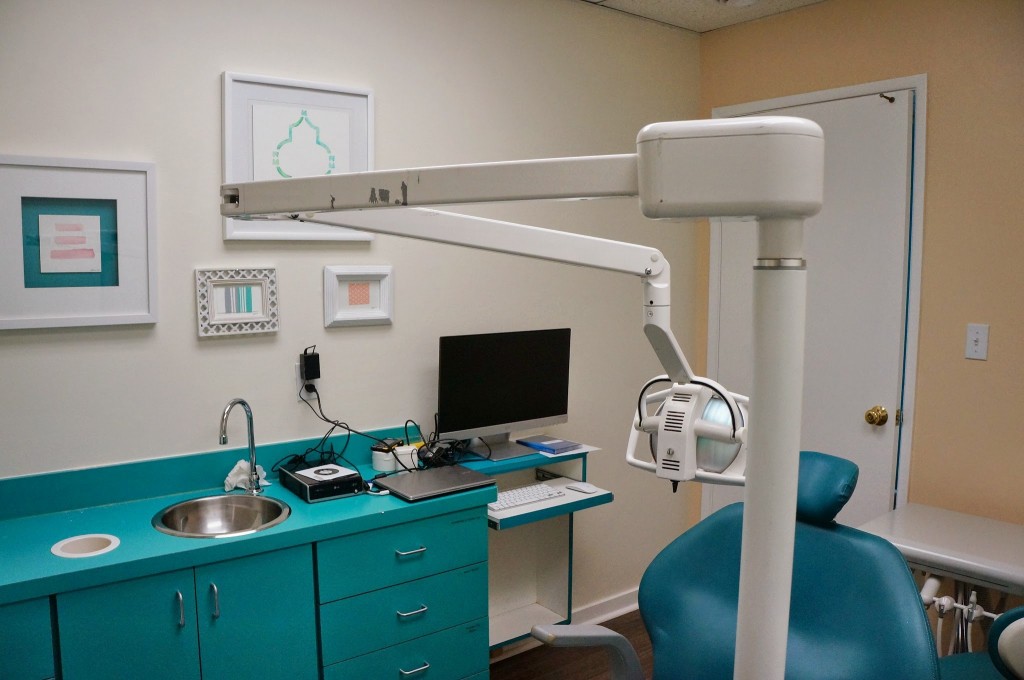
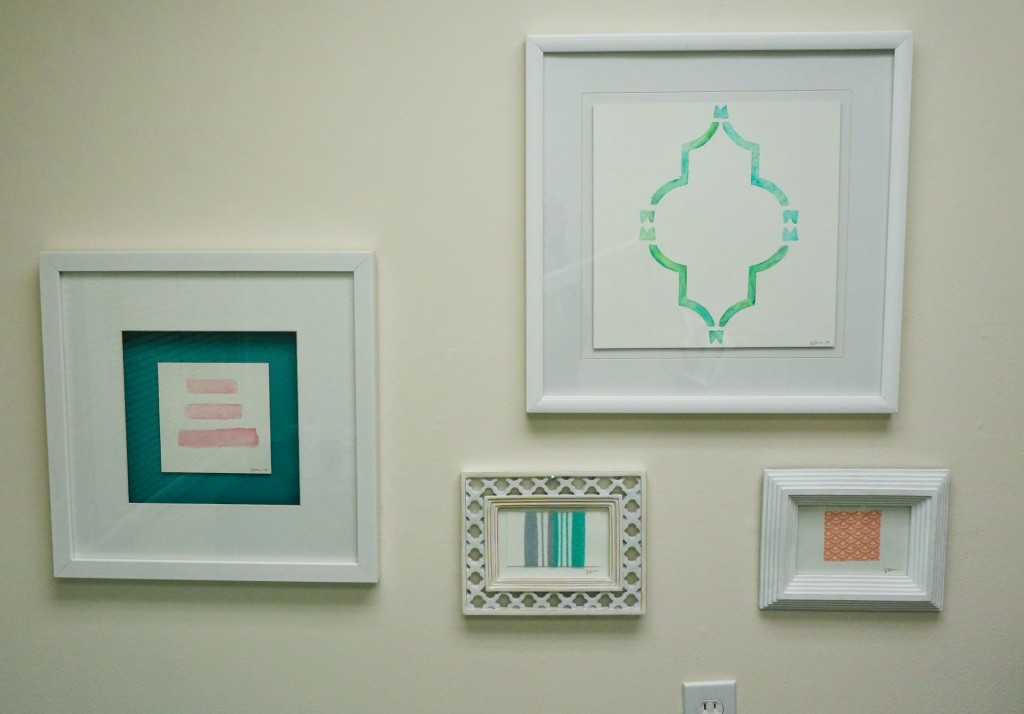
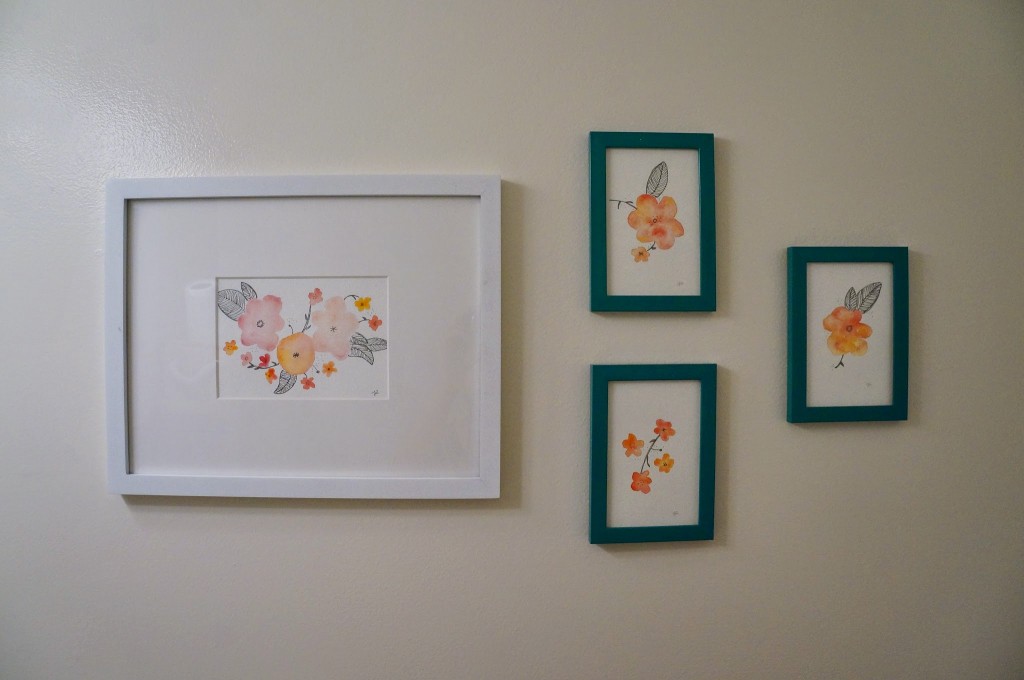
A close up of my art gallery ^^^

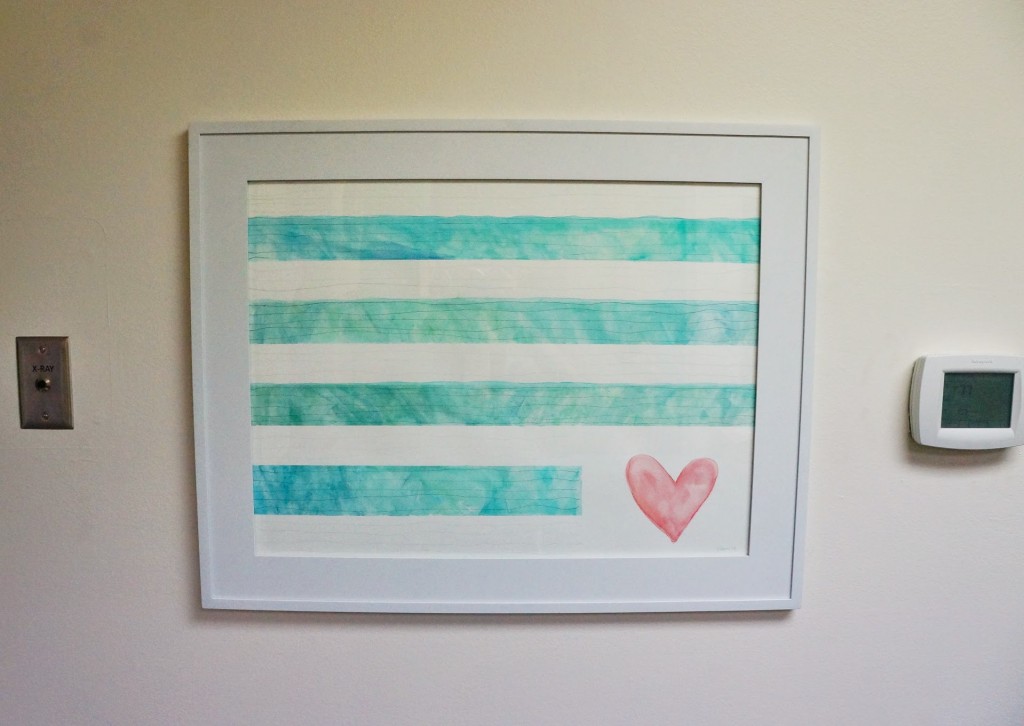
This is also another piece I did for the hallway. I call it, “In the end, there’s always Love.”

Hallway

Of course I didn’t forget the bathroom!

Bathroom Stuff

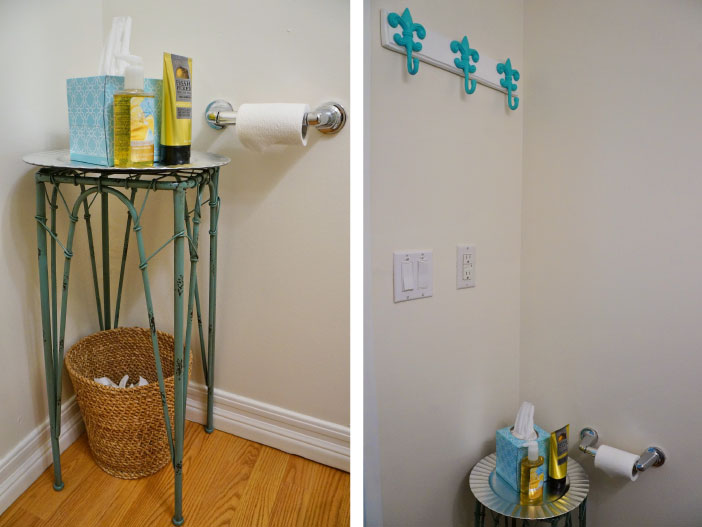
Some goodies for clients -lotion and sanitizer and lots of hooks for jackets and purses (I personally appreciate when people do that!). And some bathroom wall art for your viewing pleasure! These are my favorite painting so far…

Bathroom

It was such a great opportunity to work and showcase some of my own personal designs; I’m grateful to John and Mia for trusting me in this new stage of their life of opening a dental space.

What do you think about the design? If you’ve done some interior design work, do you have any advice for me?

Come back this week for some office DIYs!
Jay
—–
If you’re interested in some of the products featured in this post, you can find them in the links below.

Main Room: Natural linen sofa, scalloped dot design curtain, magazine wire holder, tufted storage ottoman, upholstered chair, gold pendant lamp, coat rack, wall stencil, vase/console table/basket/translucent curtains from Home Goods, Balmy Seas paint by Behr

Patient rooms: Frames from Michael’s, Beach Trail paint by Behr

Bathroom: Fluted charger, table/wastebasket/hooks from Home Goods, teal frames from Target
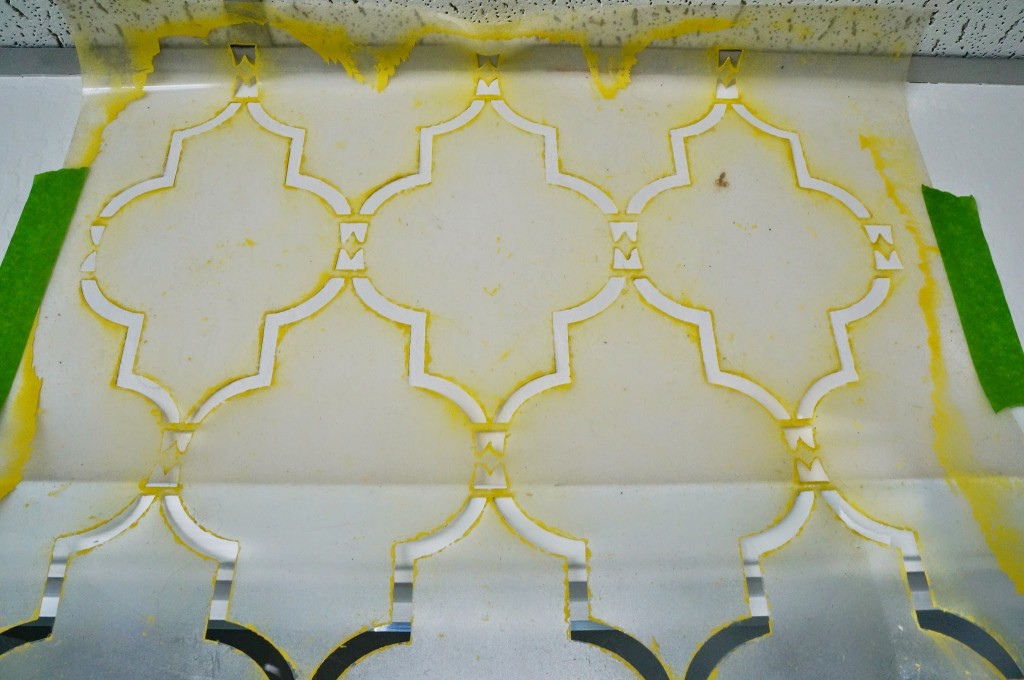
Housewife to Two Jobs

I’m working again!

I’m currently freelancing at Chemistry Club, doing what I do best, media. Yup, at it again. It’s advertising, and it’s what I know! I’m working part-time, Monday through Wednesday. I’m also working on a side project, interior decorating a dental office. Two part-times equal one full-time job right?

officeHere’s the front of the office and my workspace. This space used to be a firehouse so it has a really cool warehouse feel. There’s a fire pole to the left of the first picture!

job2Here’s my second job. I went into the office on Saturday to paint. It’s sneak peak to what I will one day share on the blog! When I’m painting, I’m in my true element!

And since now I have places to be and people to see, in other words, I’m actually leaving the house and not wearing PJs all day… gotta go shopping and get me some bling! I got two new beautiful gold rings and a statement necklace. Eepppp I love them!

jewelry

And if all this isn’t new enough for you, I’m cat-sitting my cousin’s fluff ball! Chubs and Toby have become playmates now!

cats

Have an awesome week! I’m leaving for Austin on Friday to attend my sister’s graduation. Then I’m going to Europe for three weeks! I’ll be on hiatus while on vacation. I’ll still be posting the rest of this week so come back to see what I’m up to!

What did you do this weekend?
Jay