I’m back! After a weeklong vacation in Vancouver, I’m home. Ming-Gih and I decided to visit my grandma, my aunts, and my cousins in Vancouver. My Aunt Kathy from Ireland and my parents from Texas all flew up the same week, so it was a mini family reunion.
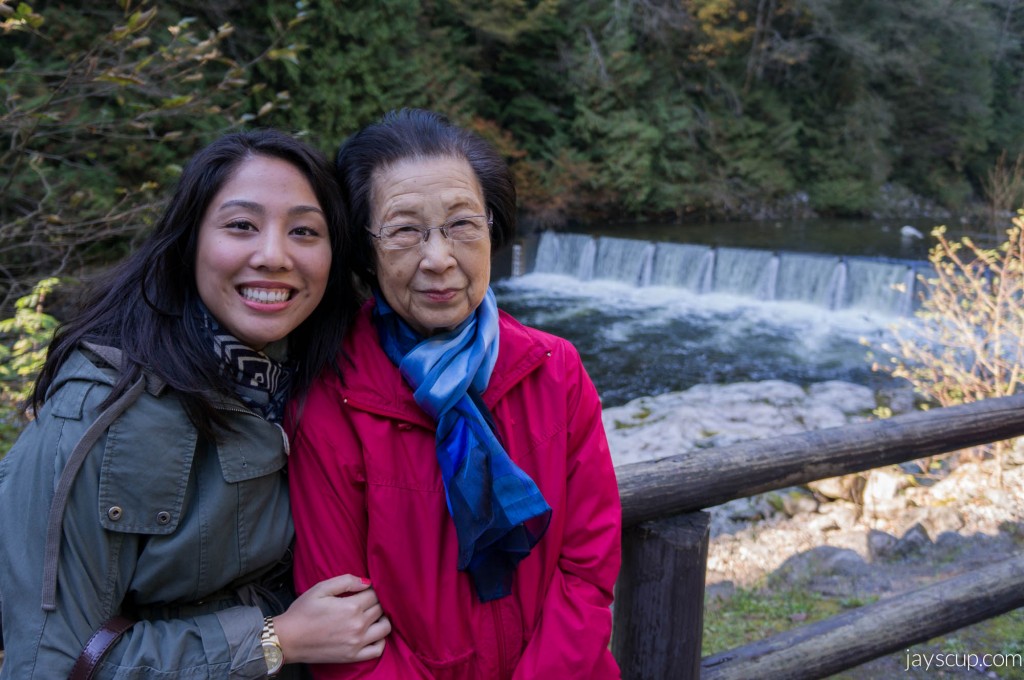 Look how cute my Grammy is!!!
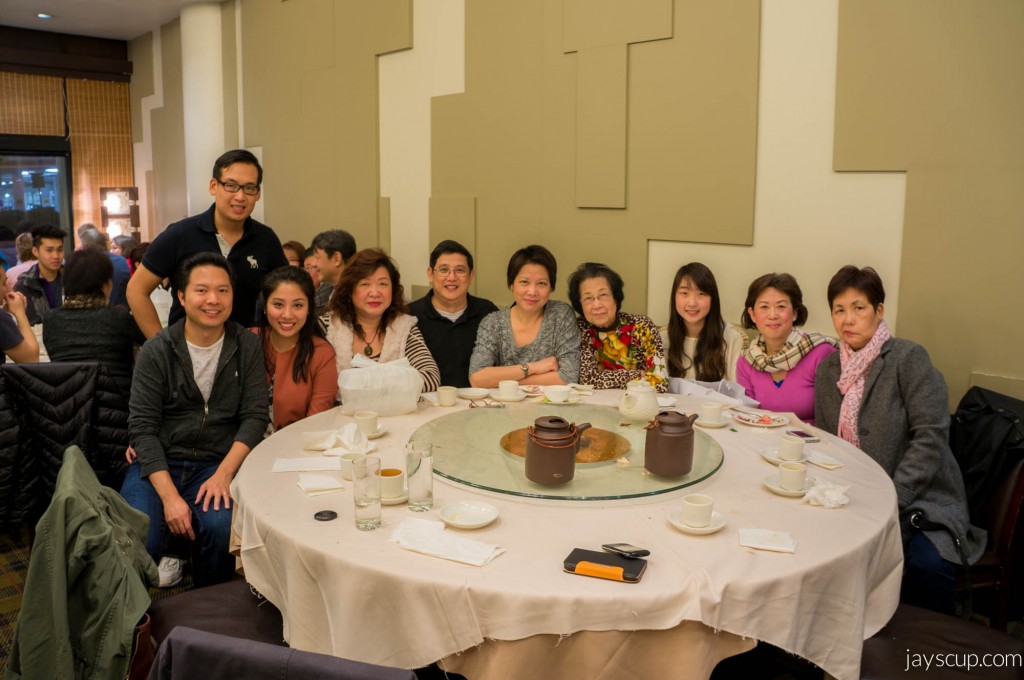 The reunion – thanks everyone for making us feel so welcomed!
I captured a bunch of things we did while vacationing. Maybe you can take note if you are planning a trip up to Vancouver too. Loads and loads of pictures, so here we go!
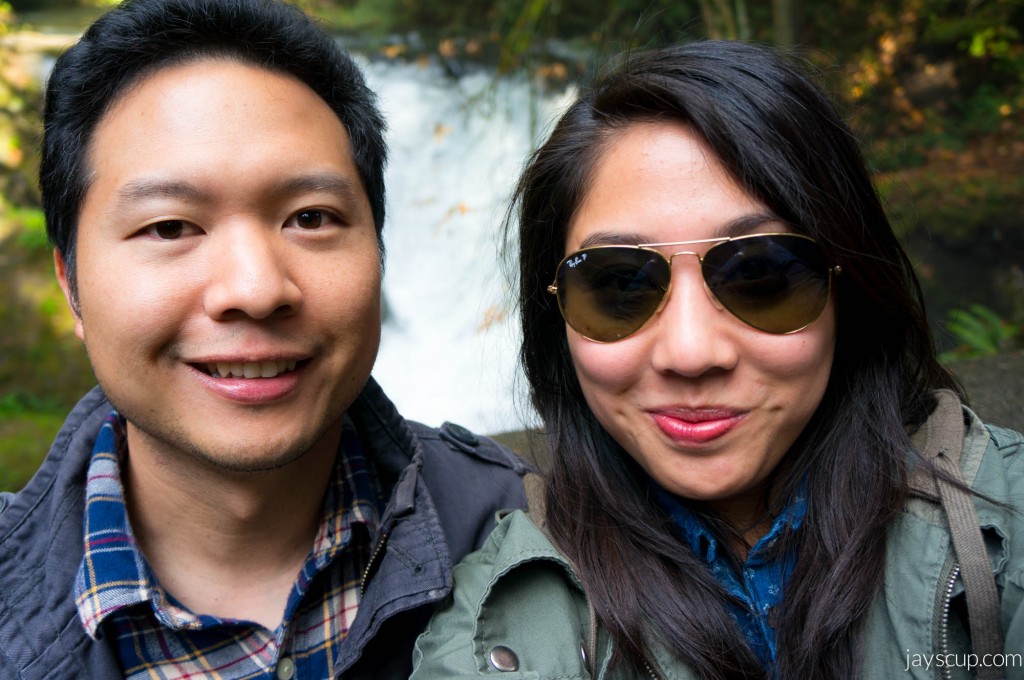
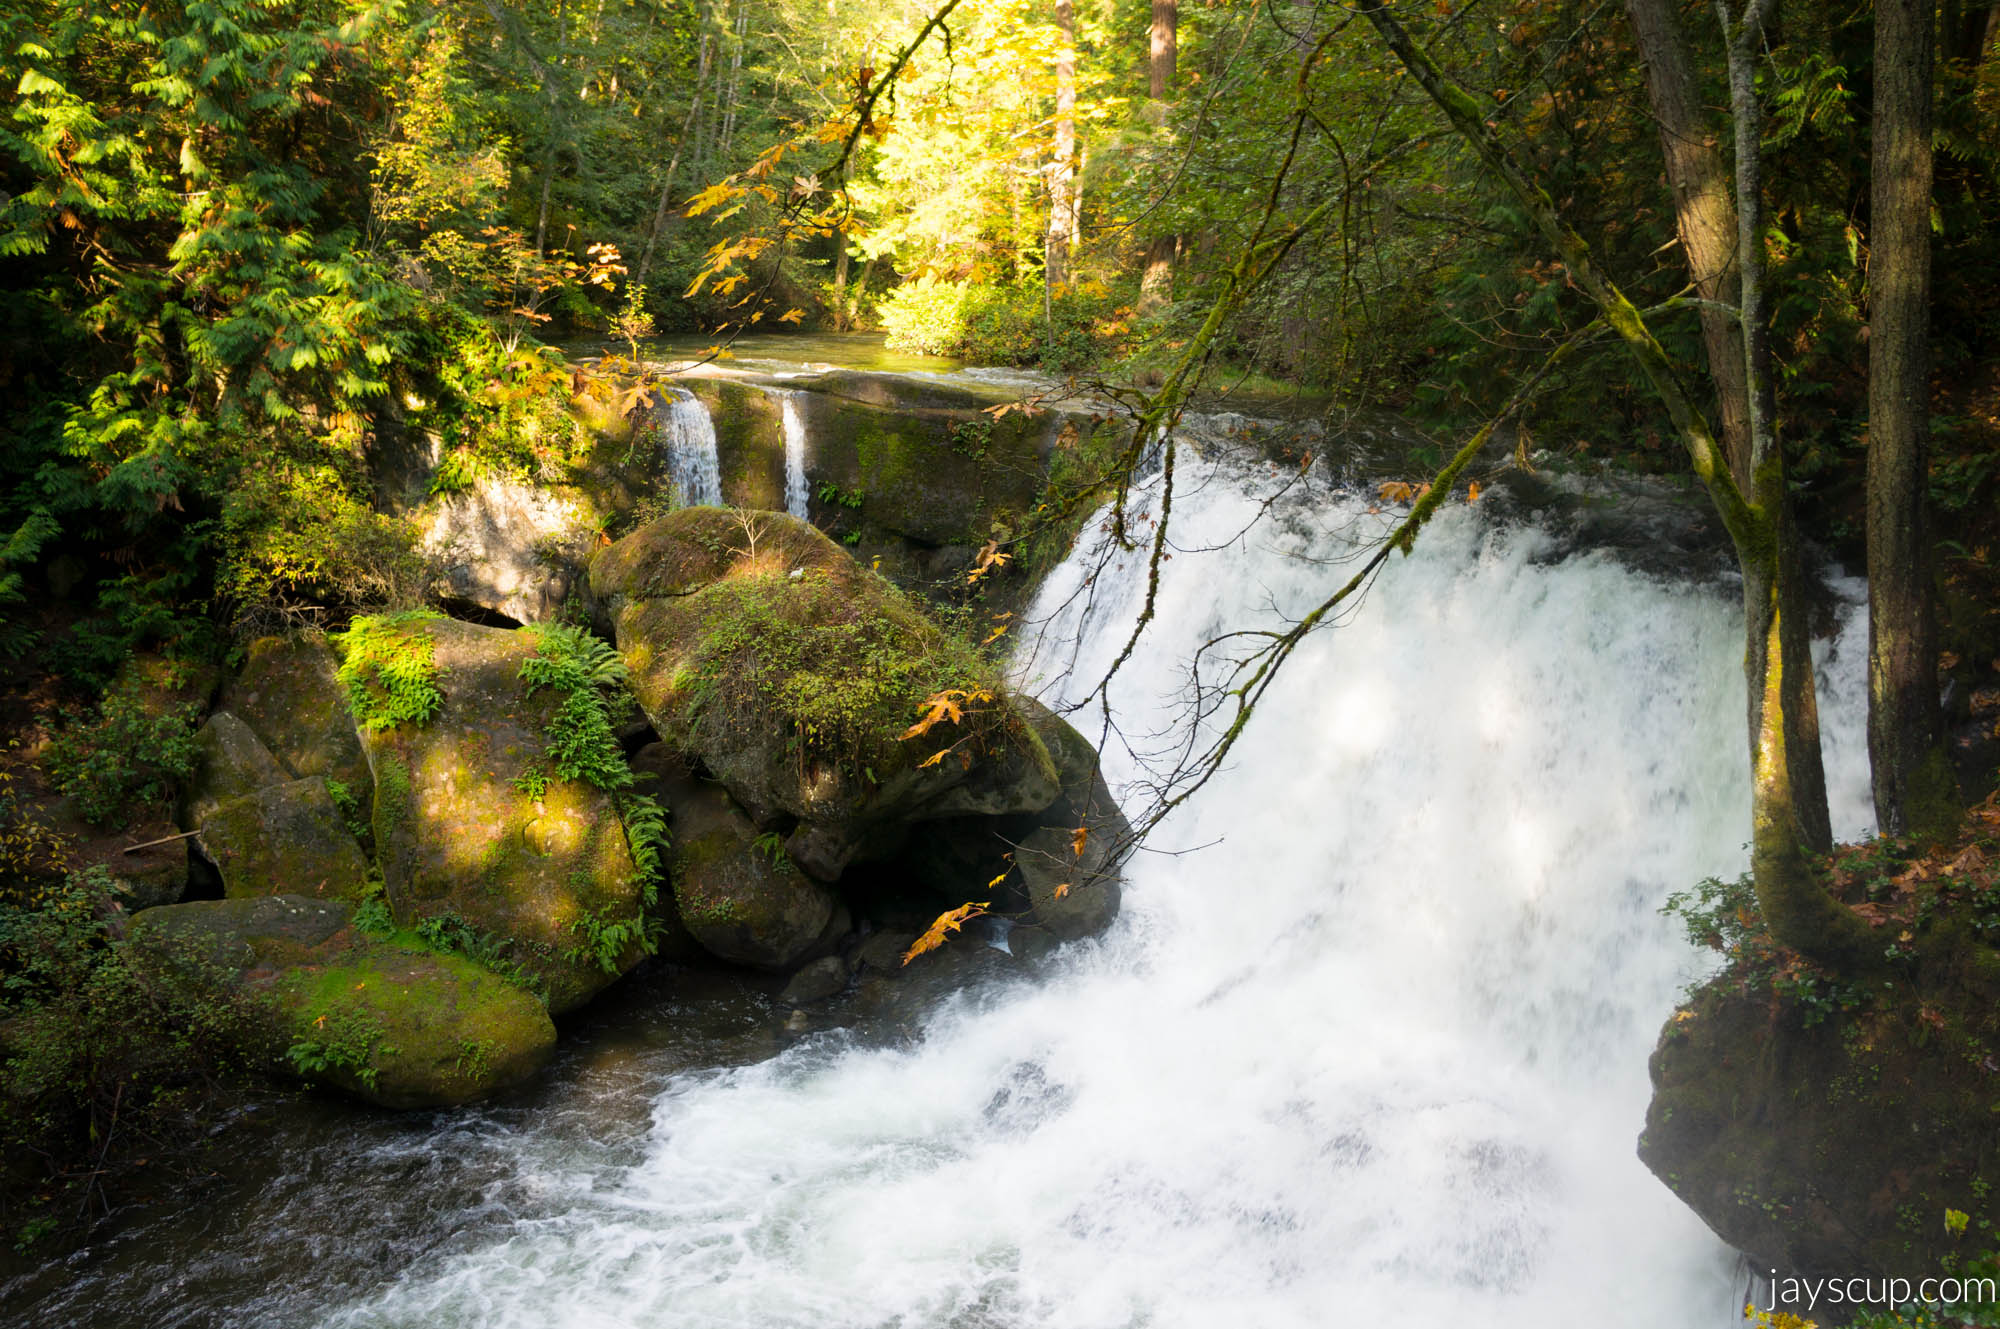
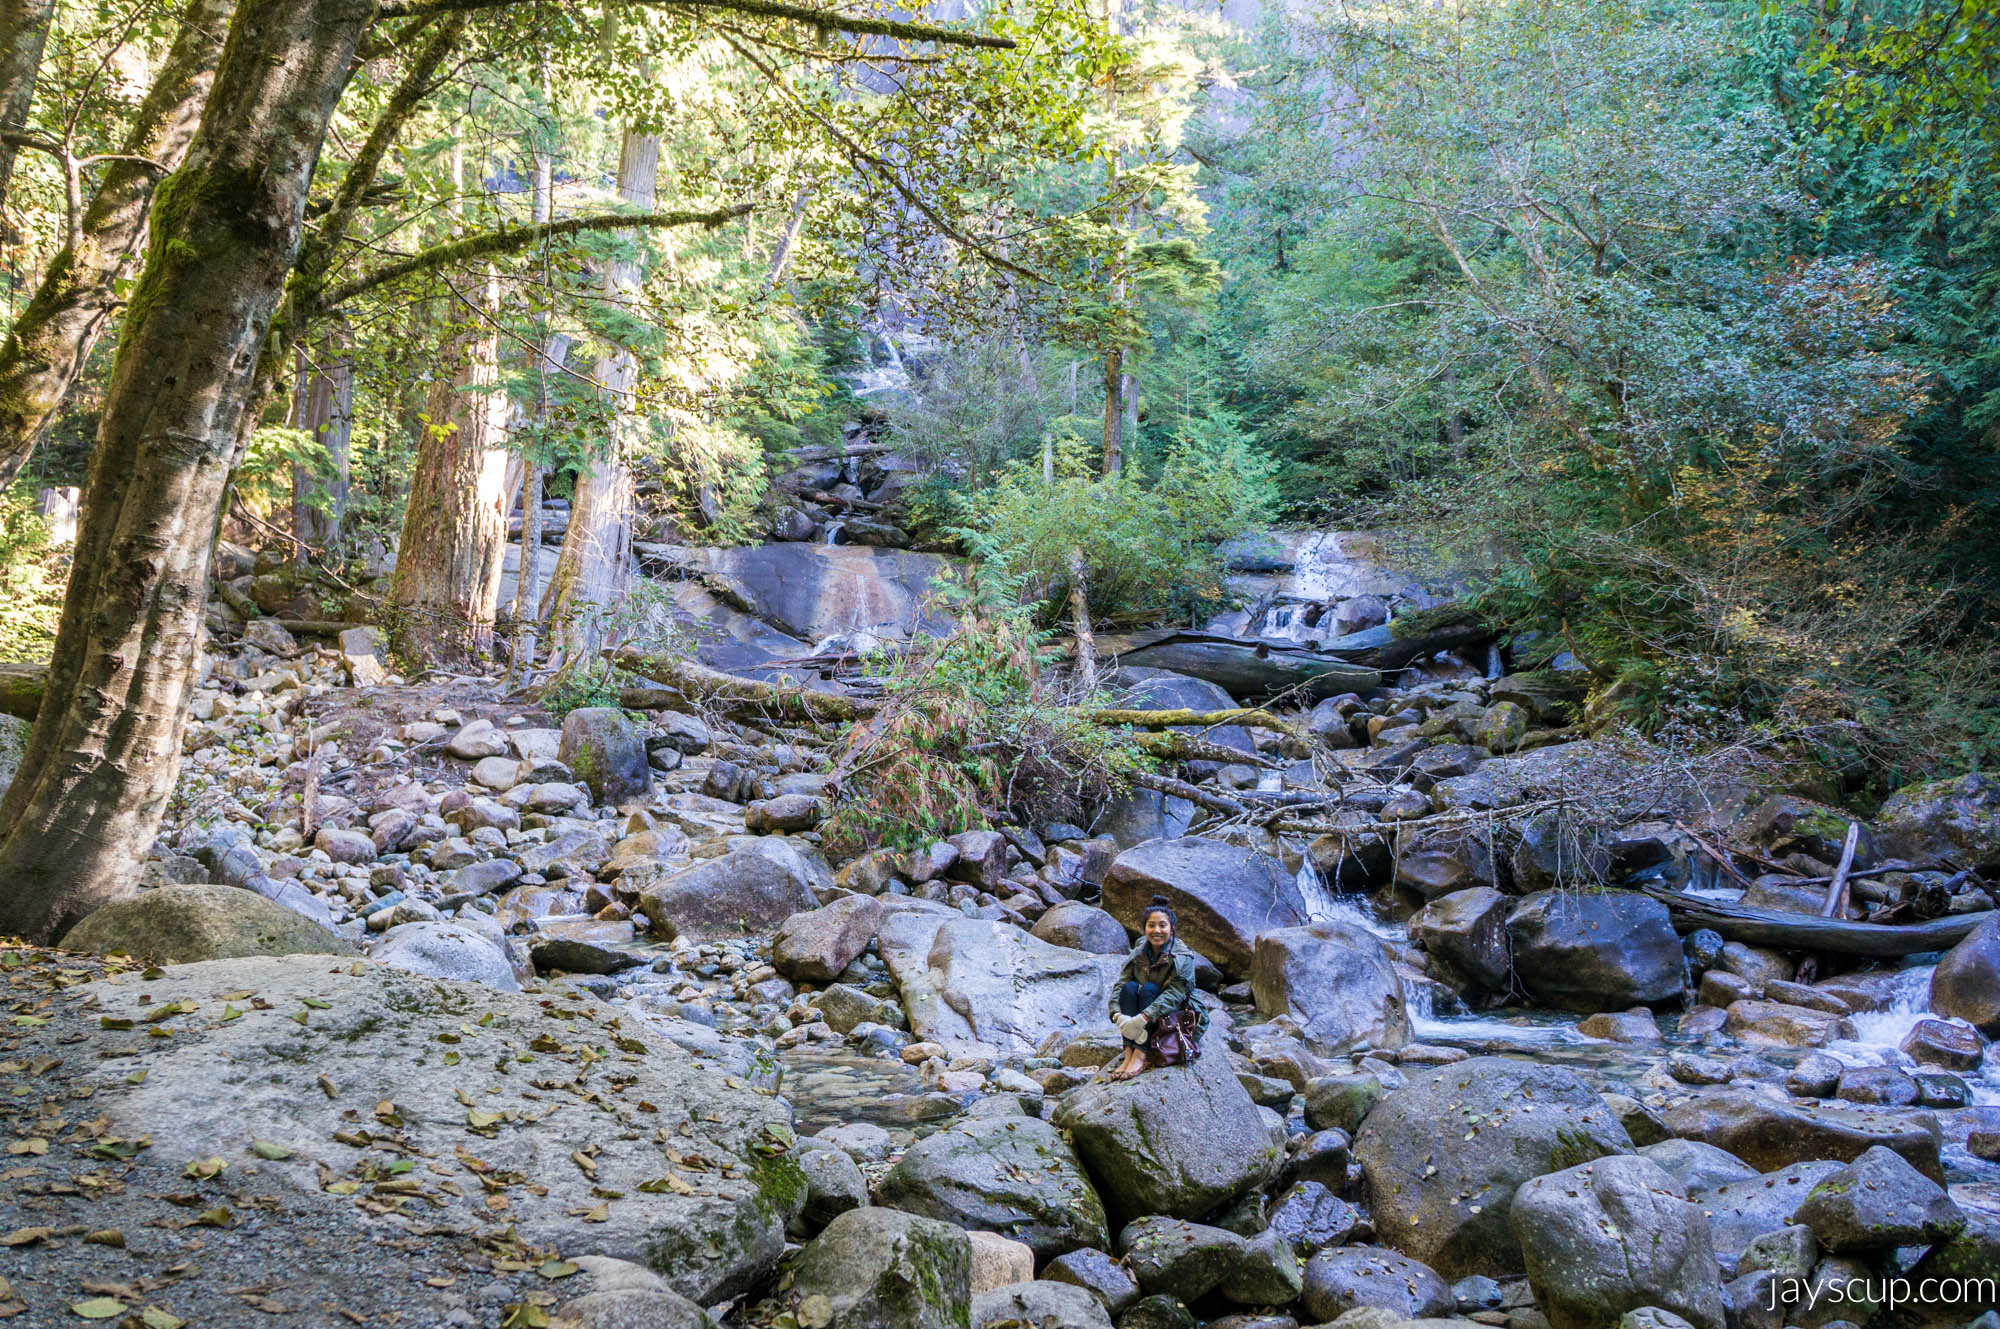
We flew on Allegiant Air to Bellingham, Washington for about $140 round-trip, per person (this airlines has some great deals!). We rented a car and drove across the border into Vancouver. But before we went into Canada, MG and I looked for something to do in Bellingham, and lo and behold! We found a waterfall near the airport so decided to check it out. Really pretty scenery, and you know it’s good when there are three brides all taking wedding pictures in the area!


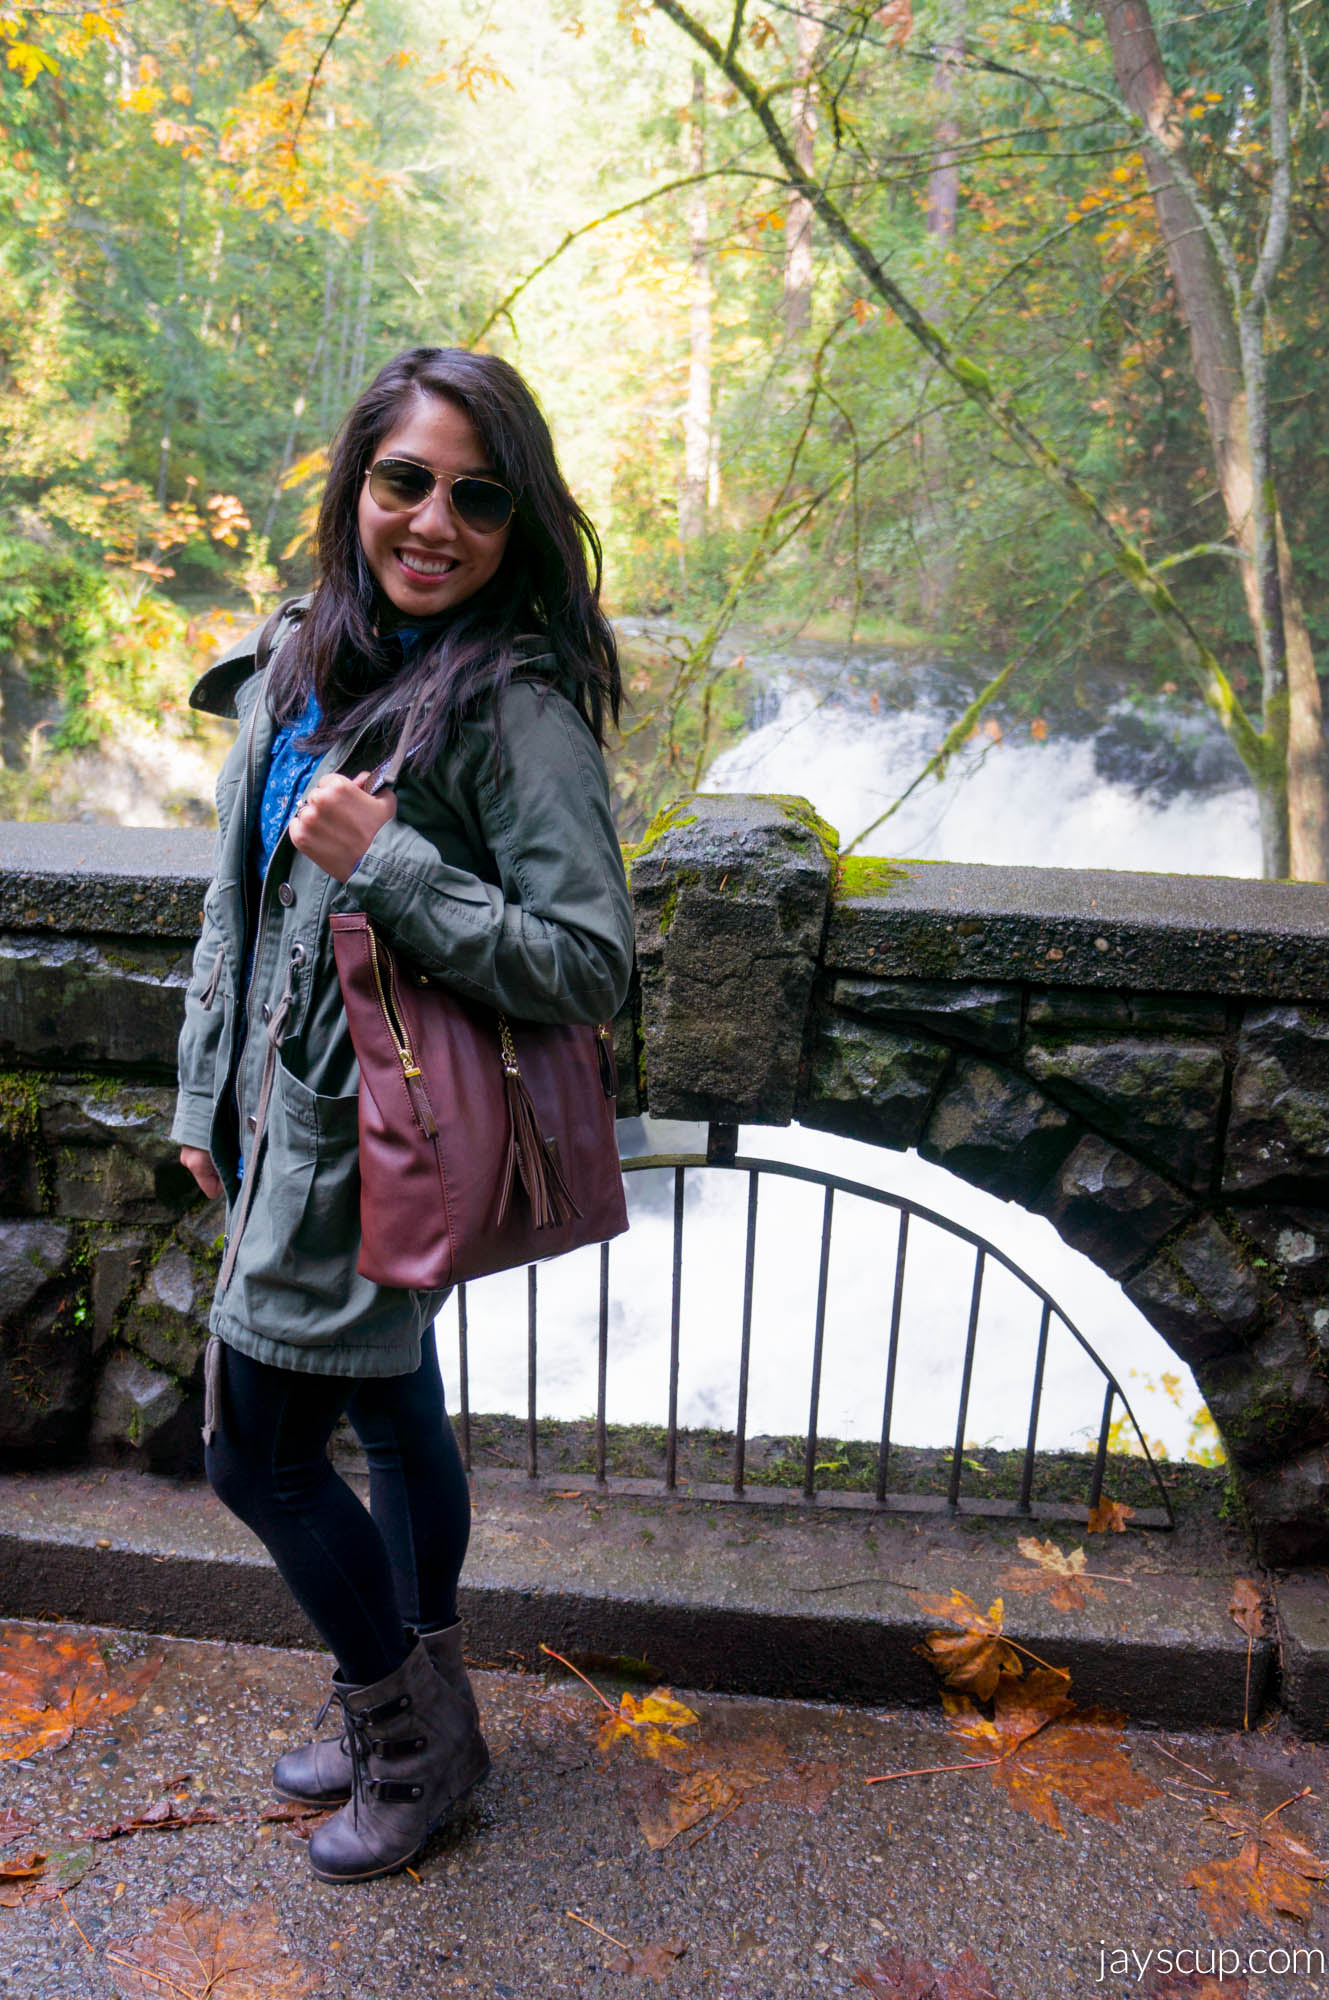
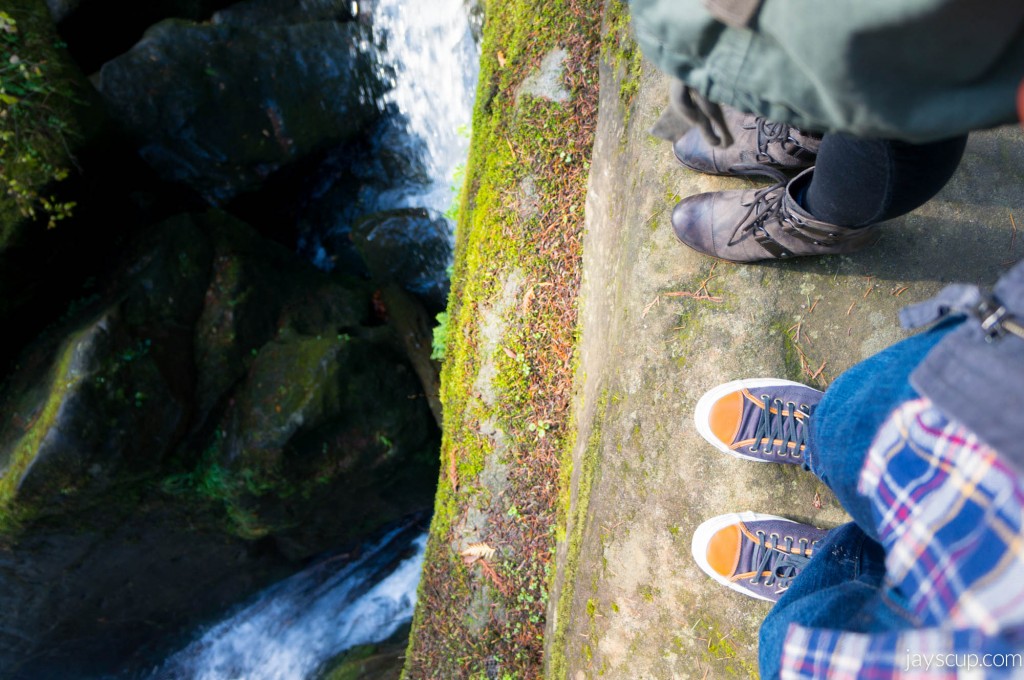 We are on the edge of glory here^^^! It was pretty terrifying looking down.

This shroom looks SO cool, doesn’t it?
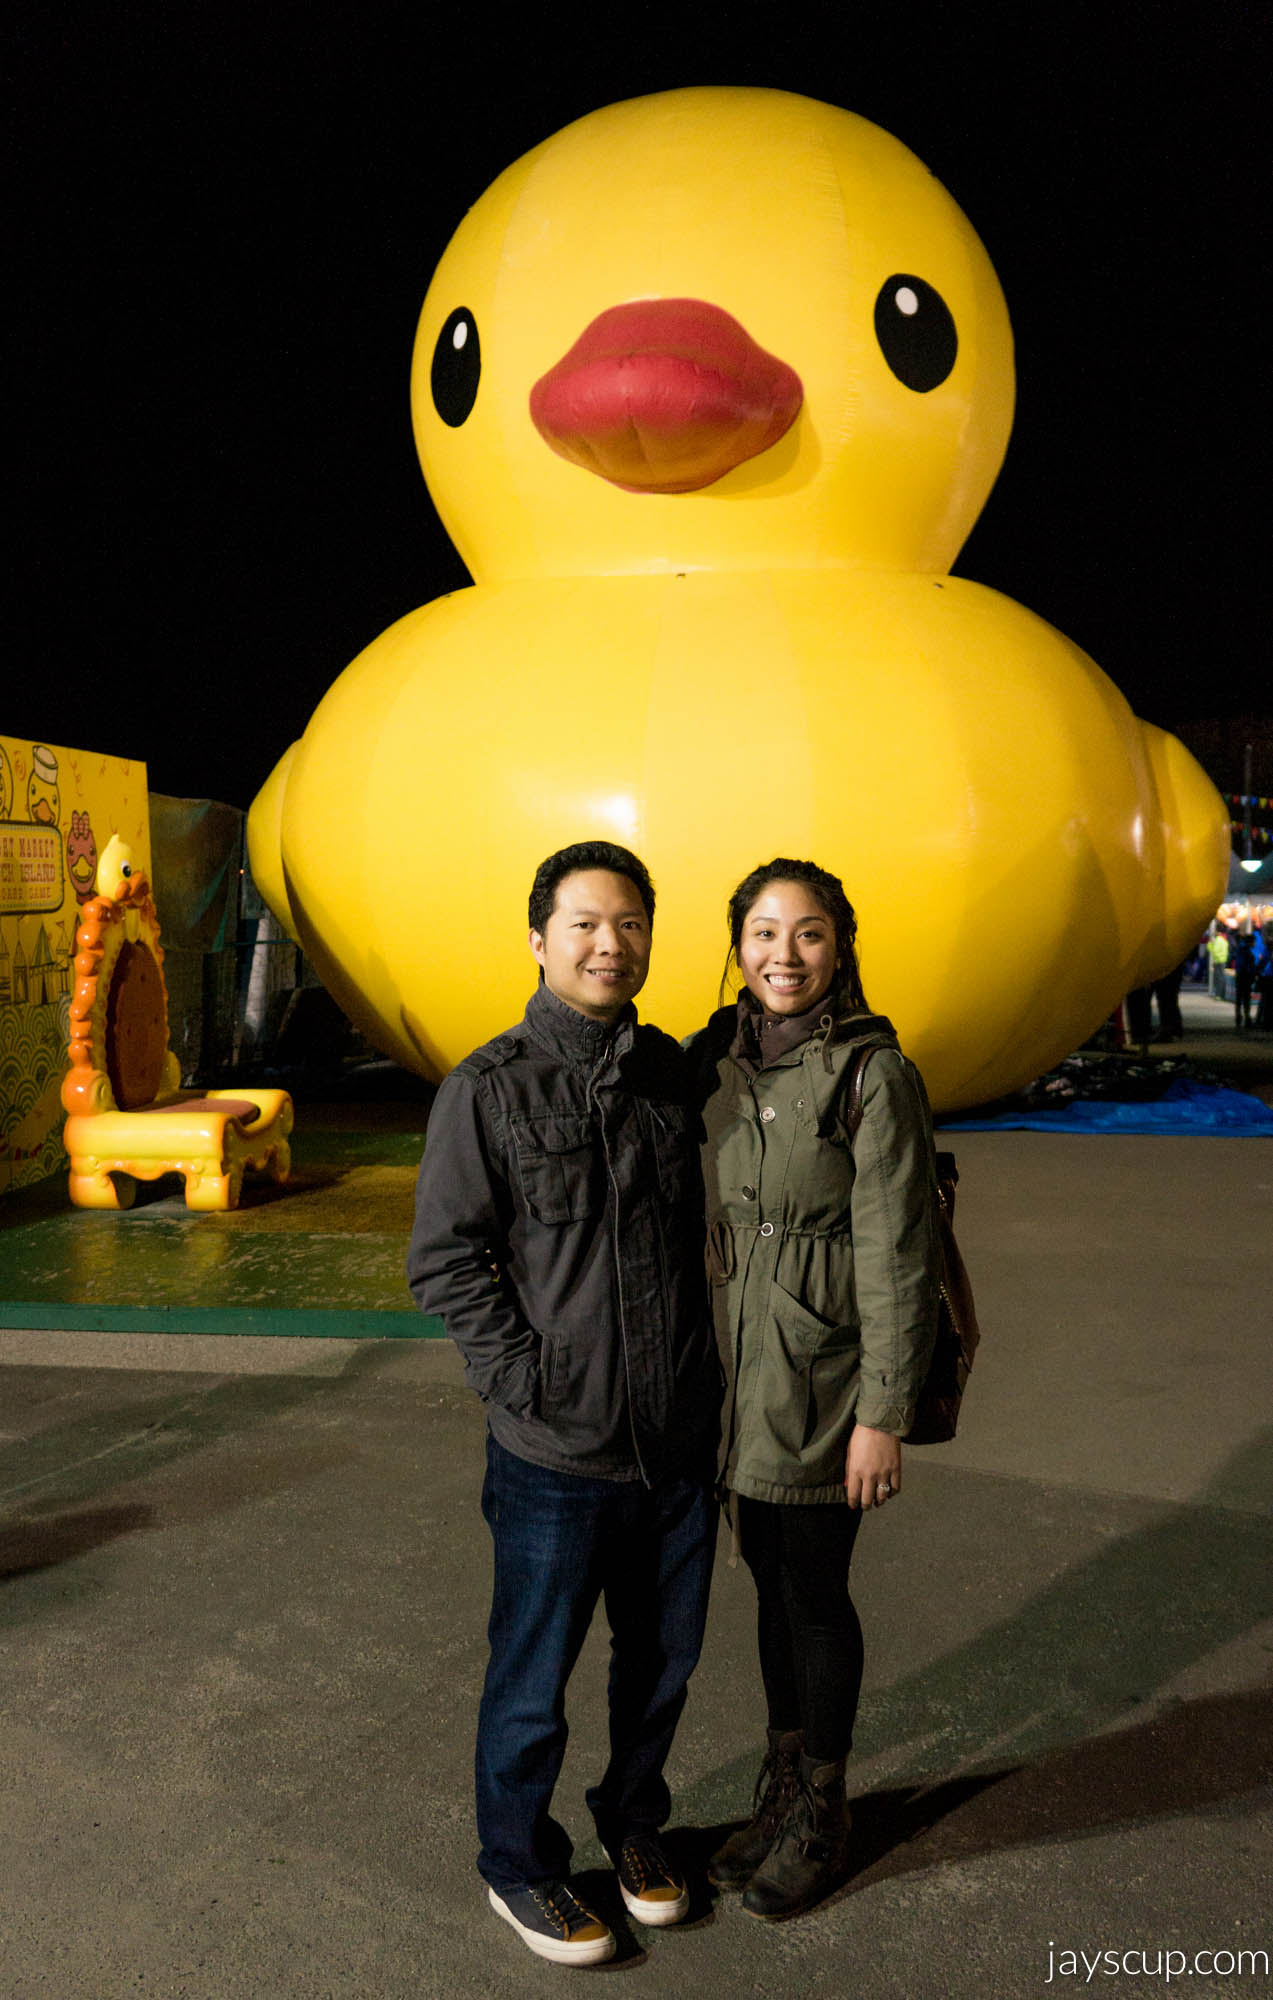
The first night we got into Vancouver, we went to the Night Market. Thankfully, it was still open. During the winter time the market is closed. We got some delicious foods, and I bought some cute socks!
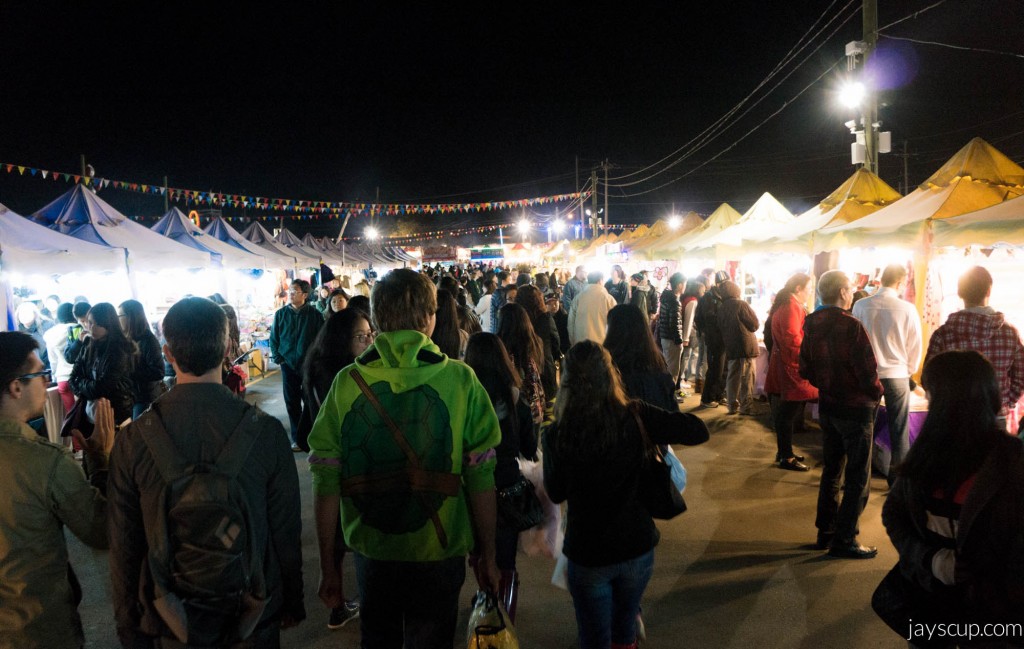 We needed a buddy system – the place was packed!
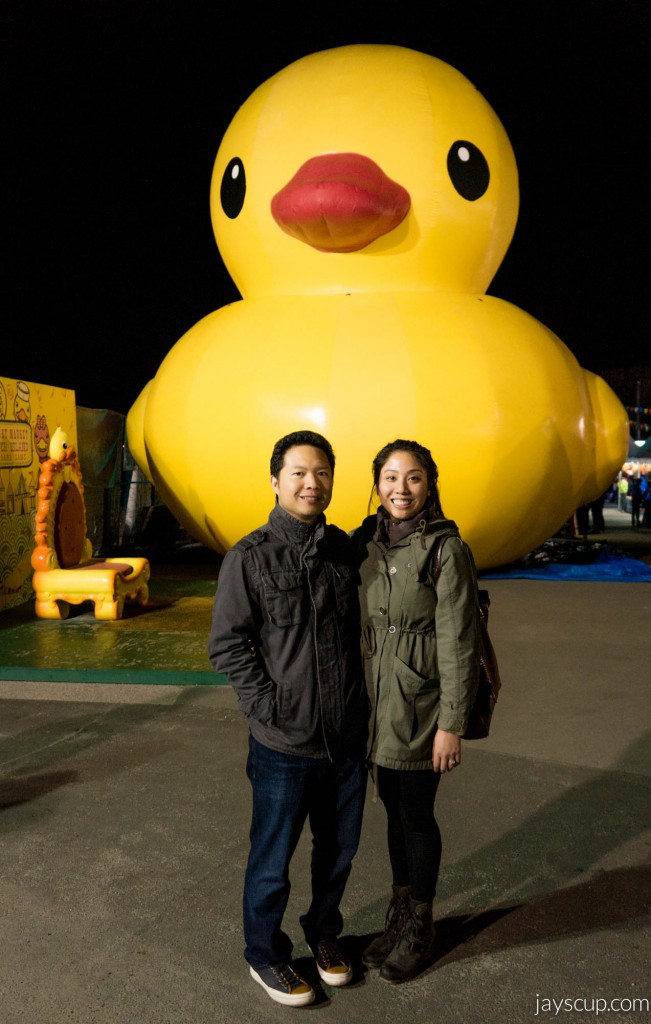
Here’s my buddy in front of the night market icon
Now for the food!
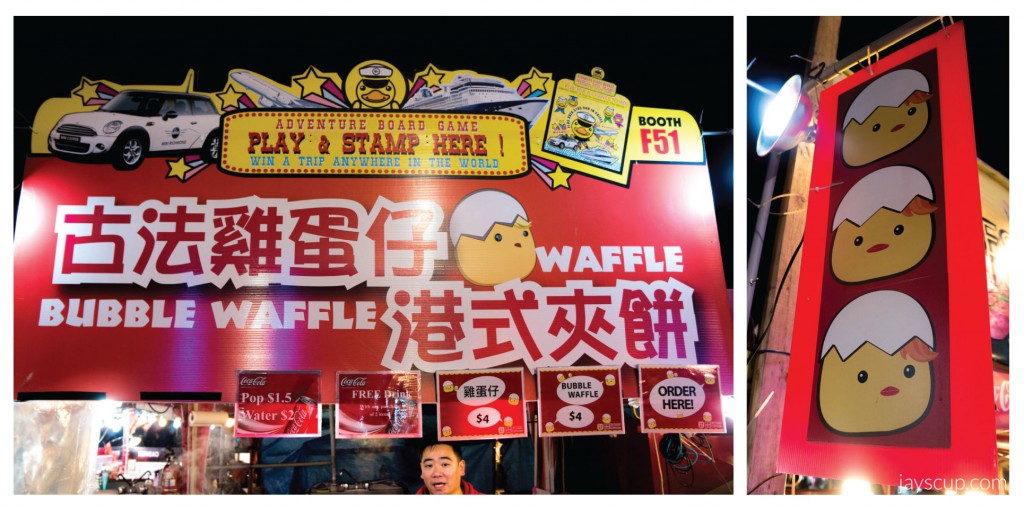 Bubble waffles!!!
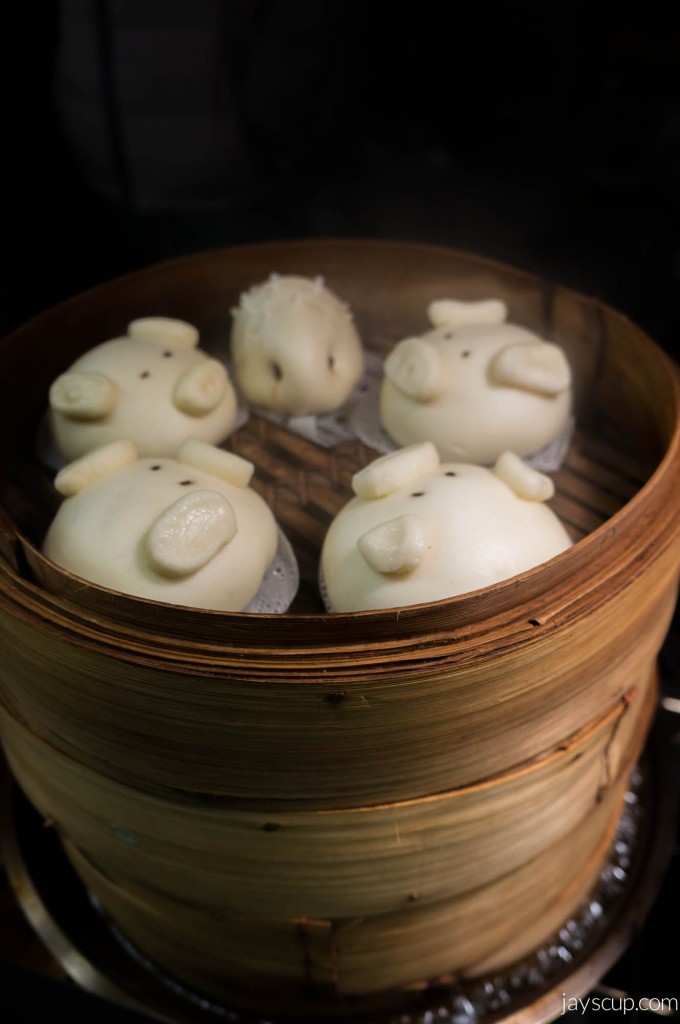
The cutest pork buns you will ever see!
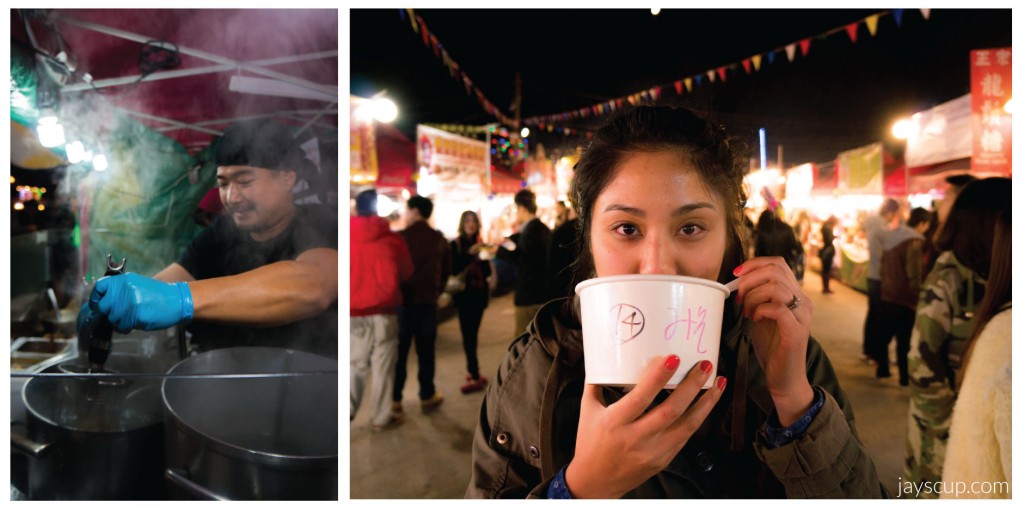 Ramen ends the night perfectly, hot soup and noodles on a cold night
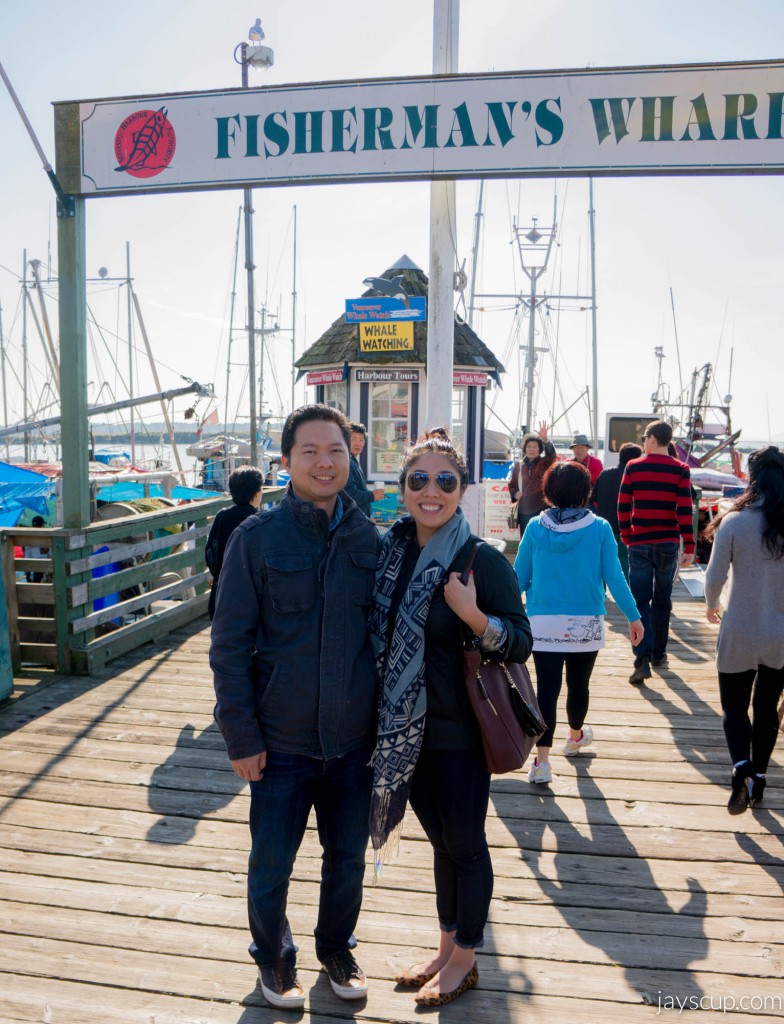
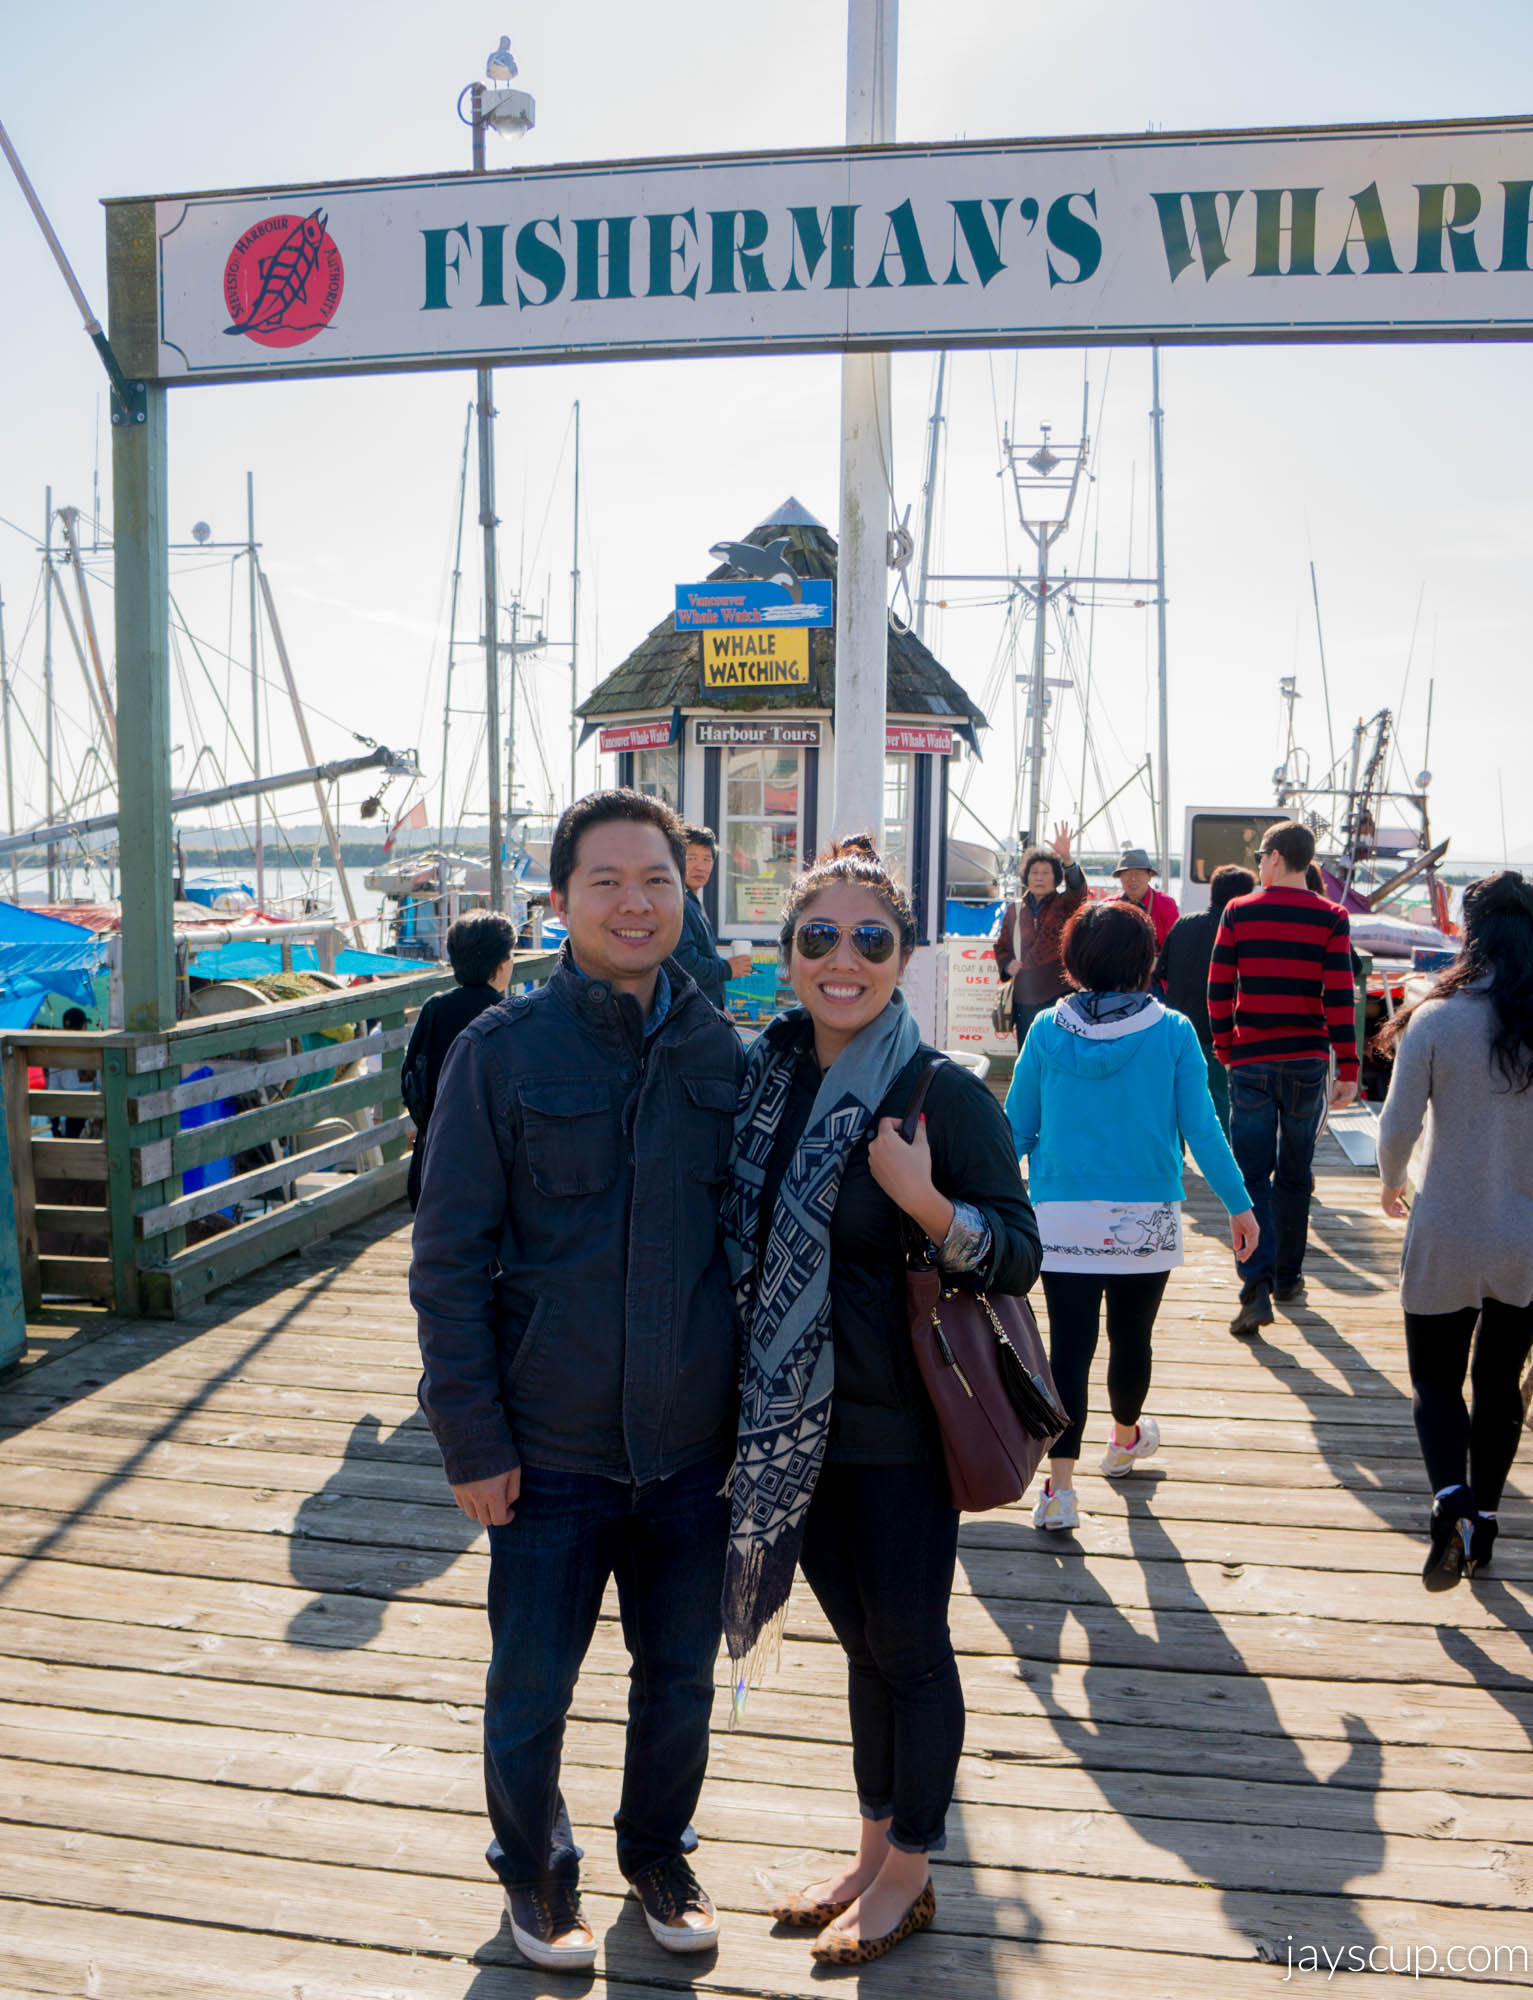
Vancouver is a seaport, so we were surrounded by lots of water. We went to their version of Fisherman’s Wharf.
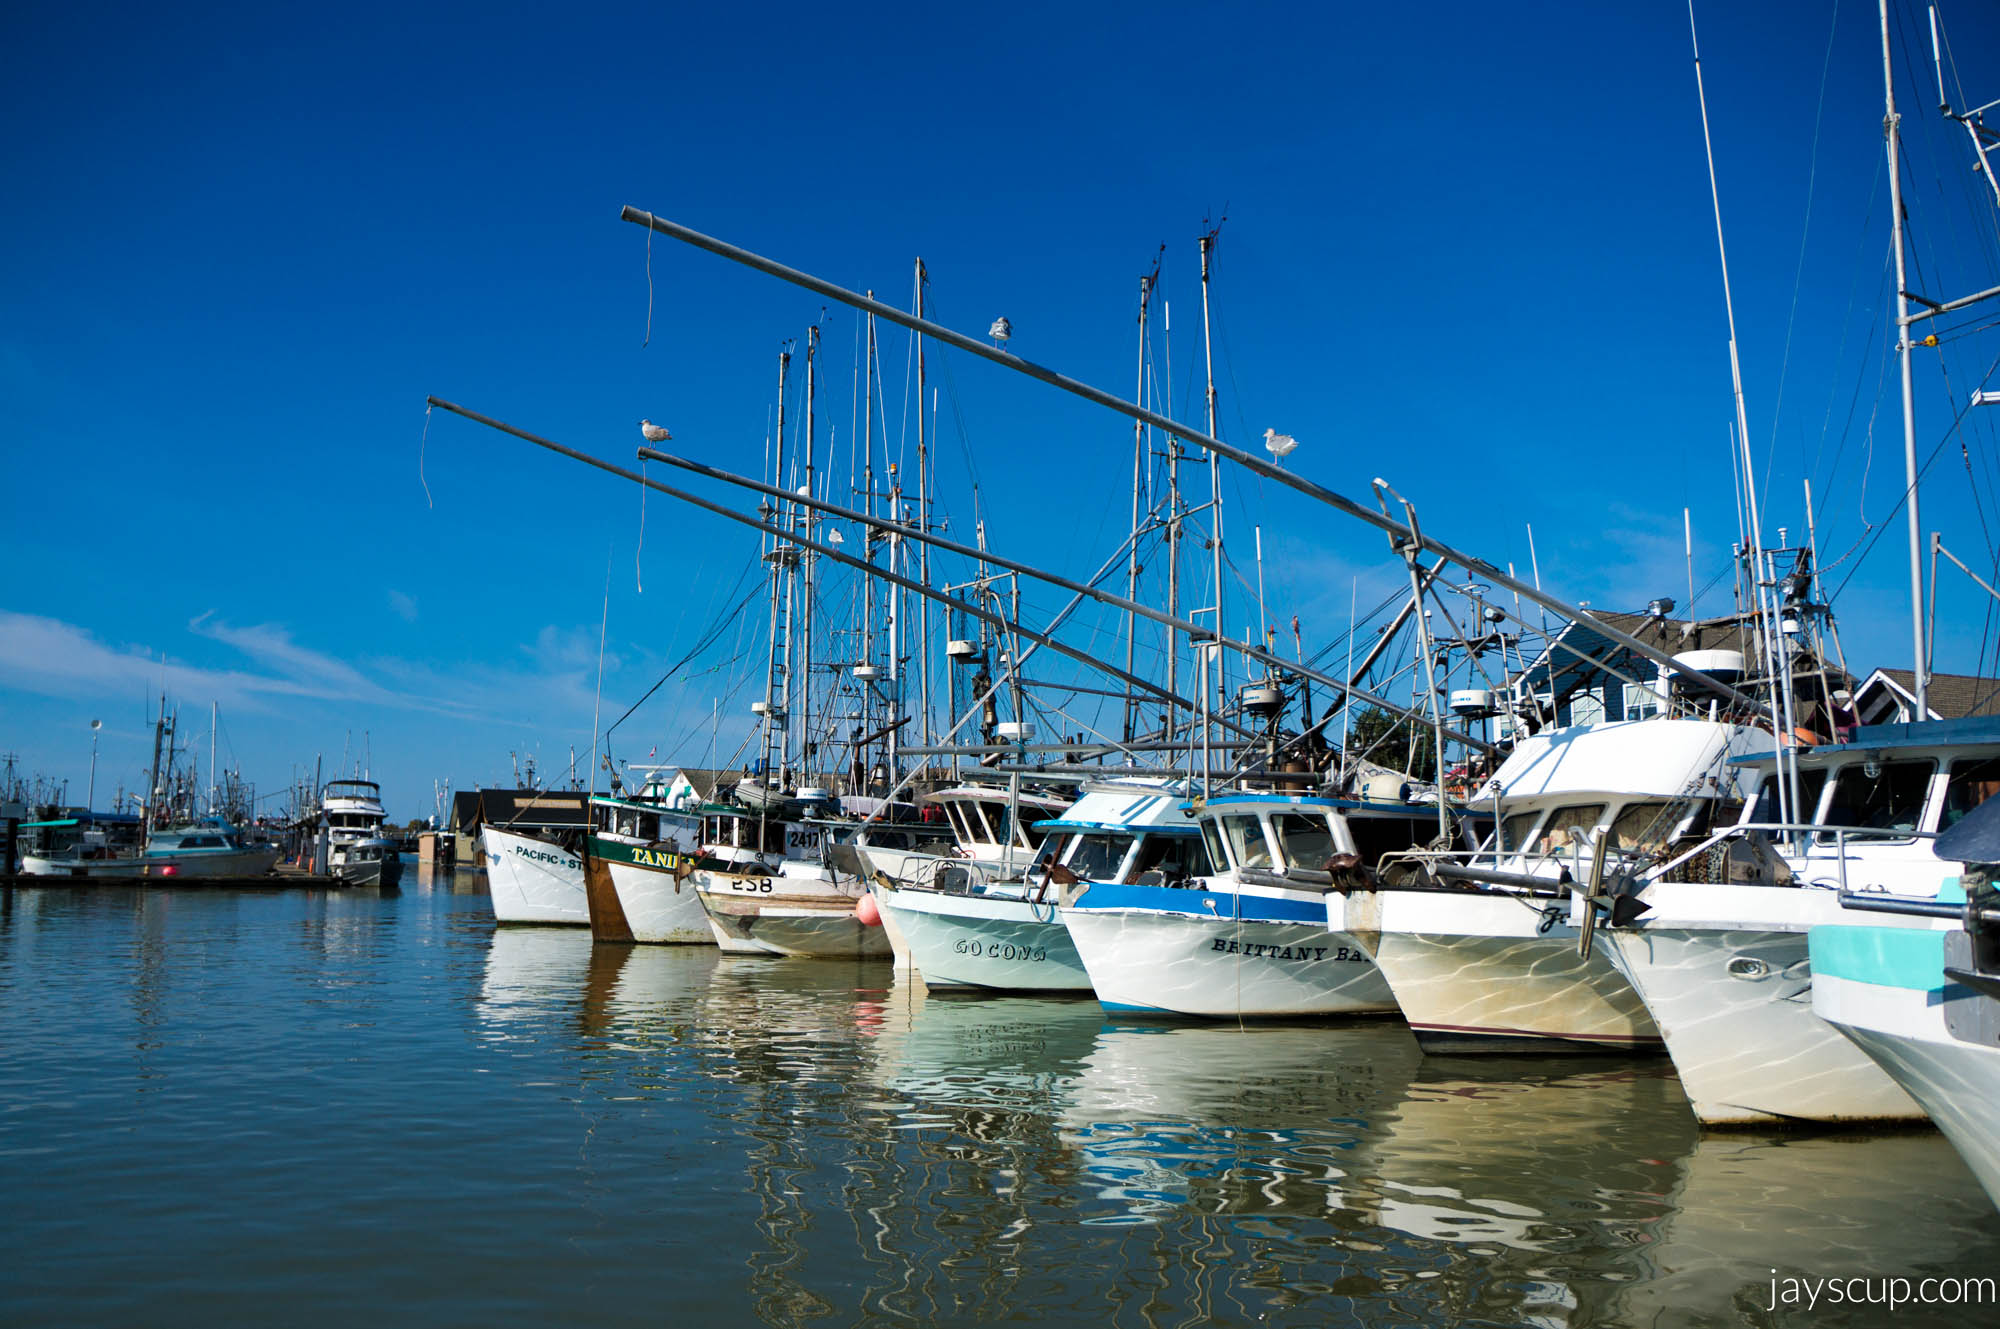
 How gorgeous is this?

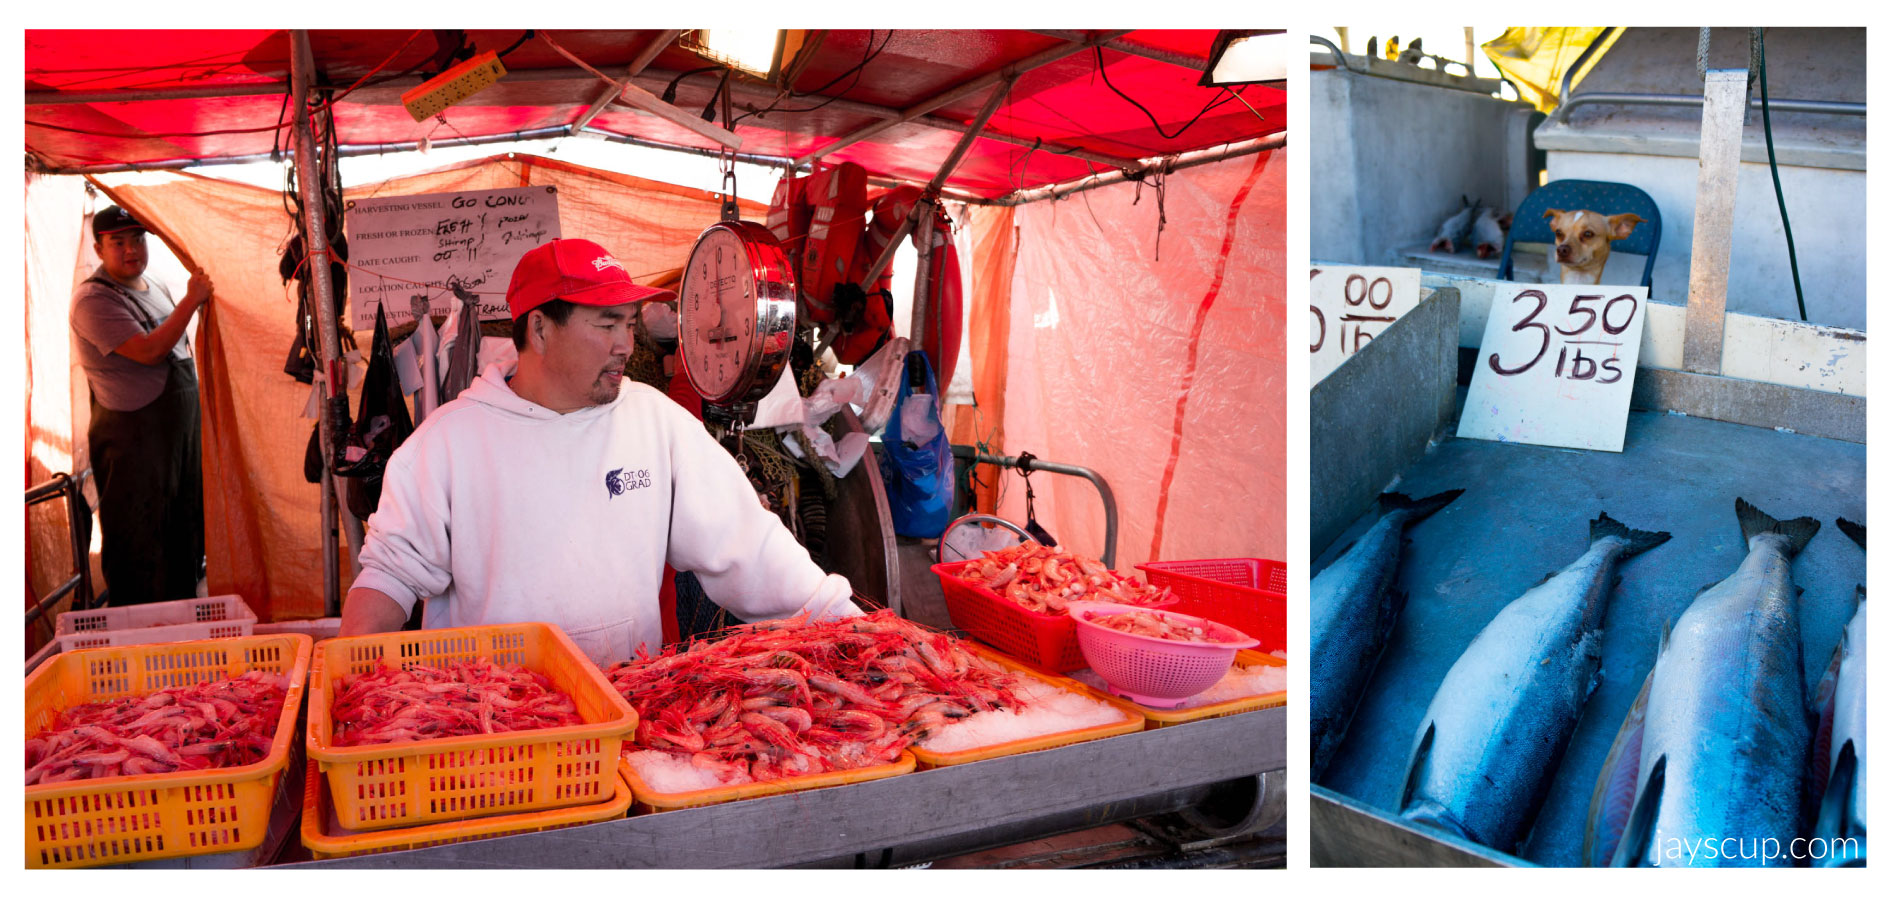
You can buy lots of fresh seafood on the wharf. This man sells shrimp. This puppy sells fish!
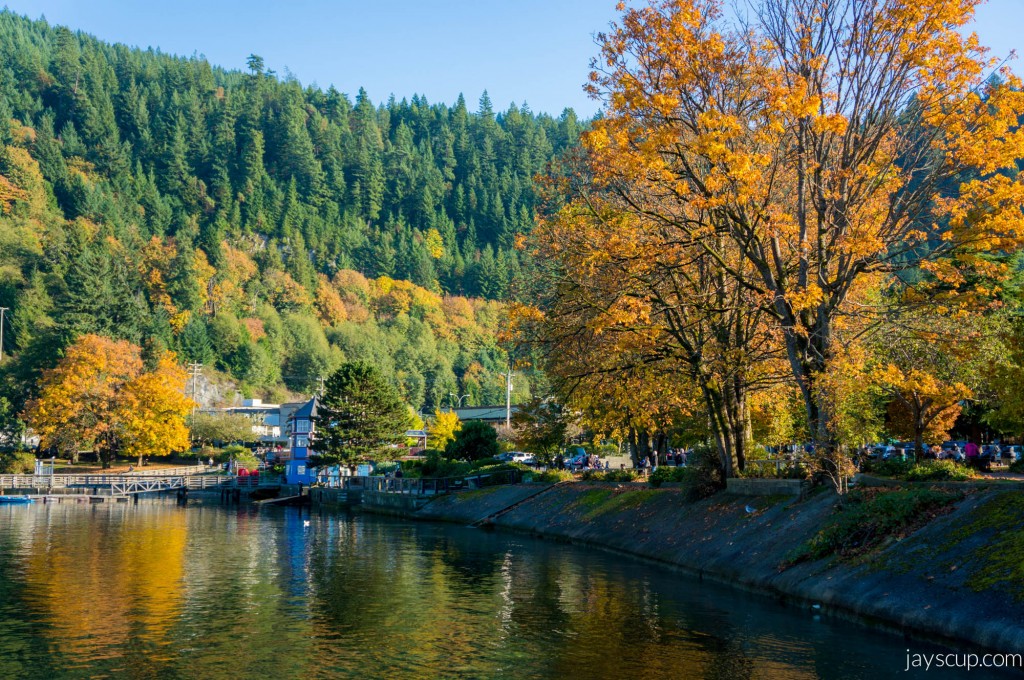
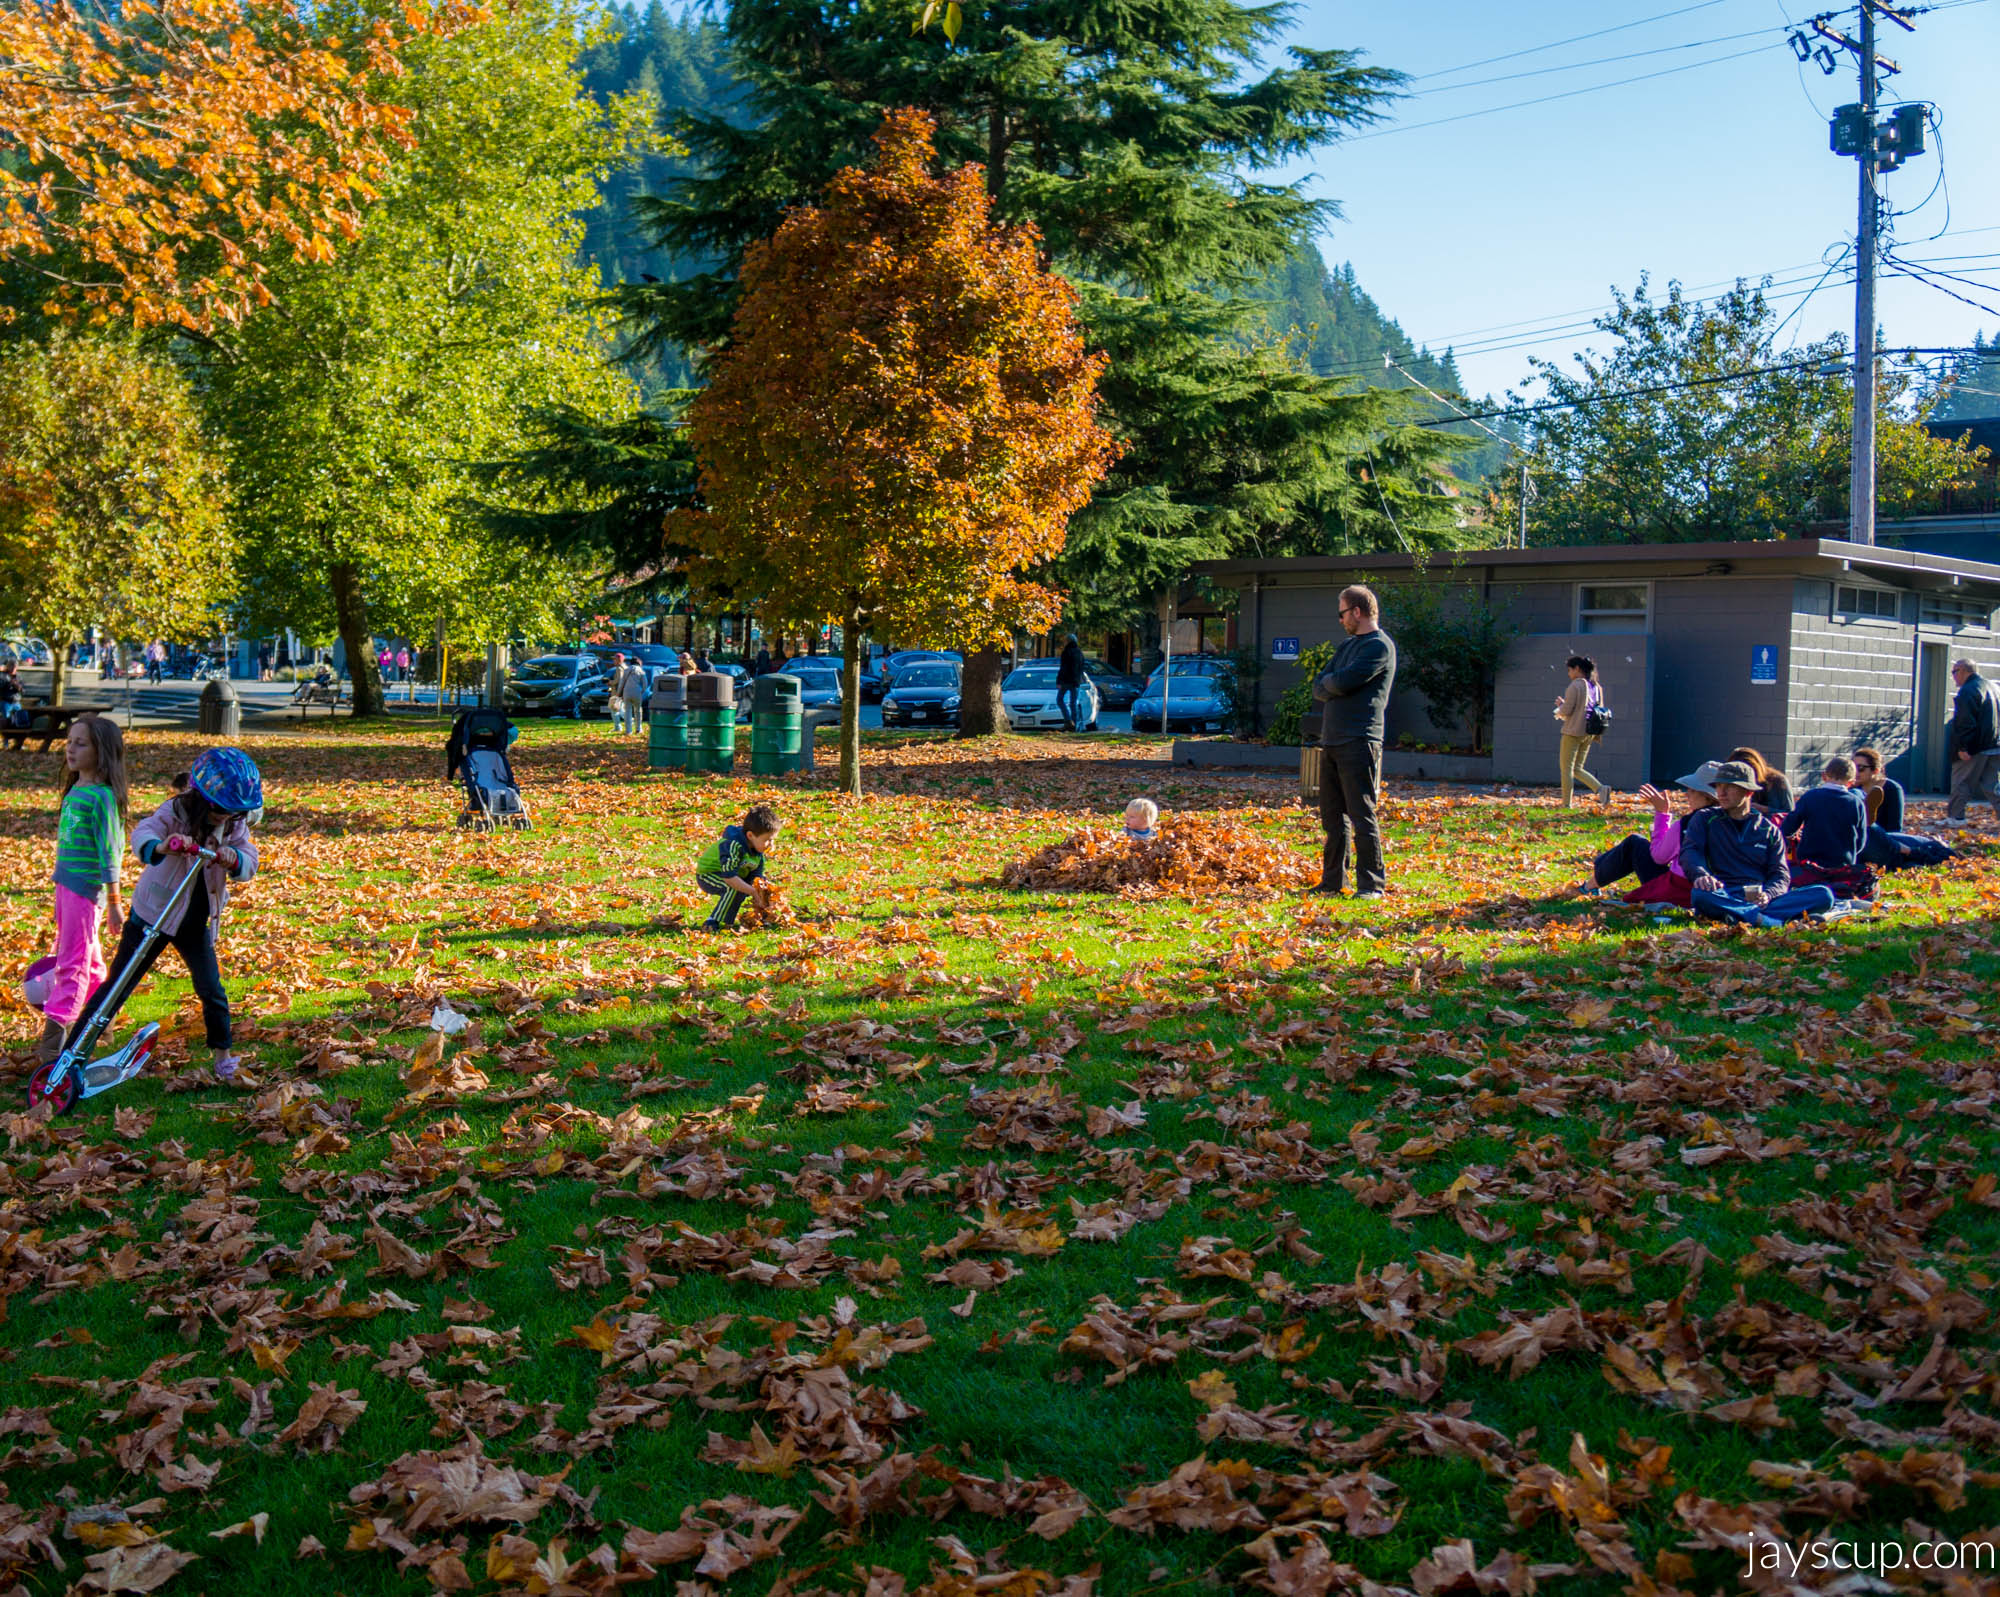
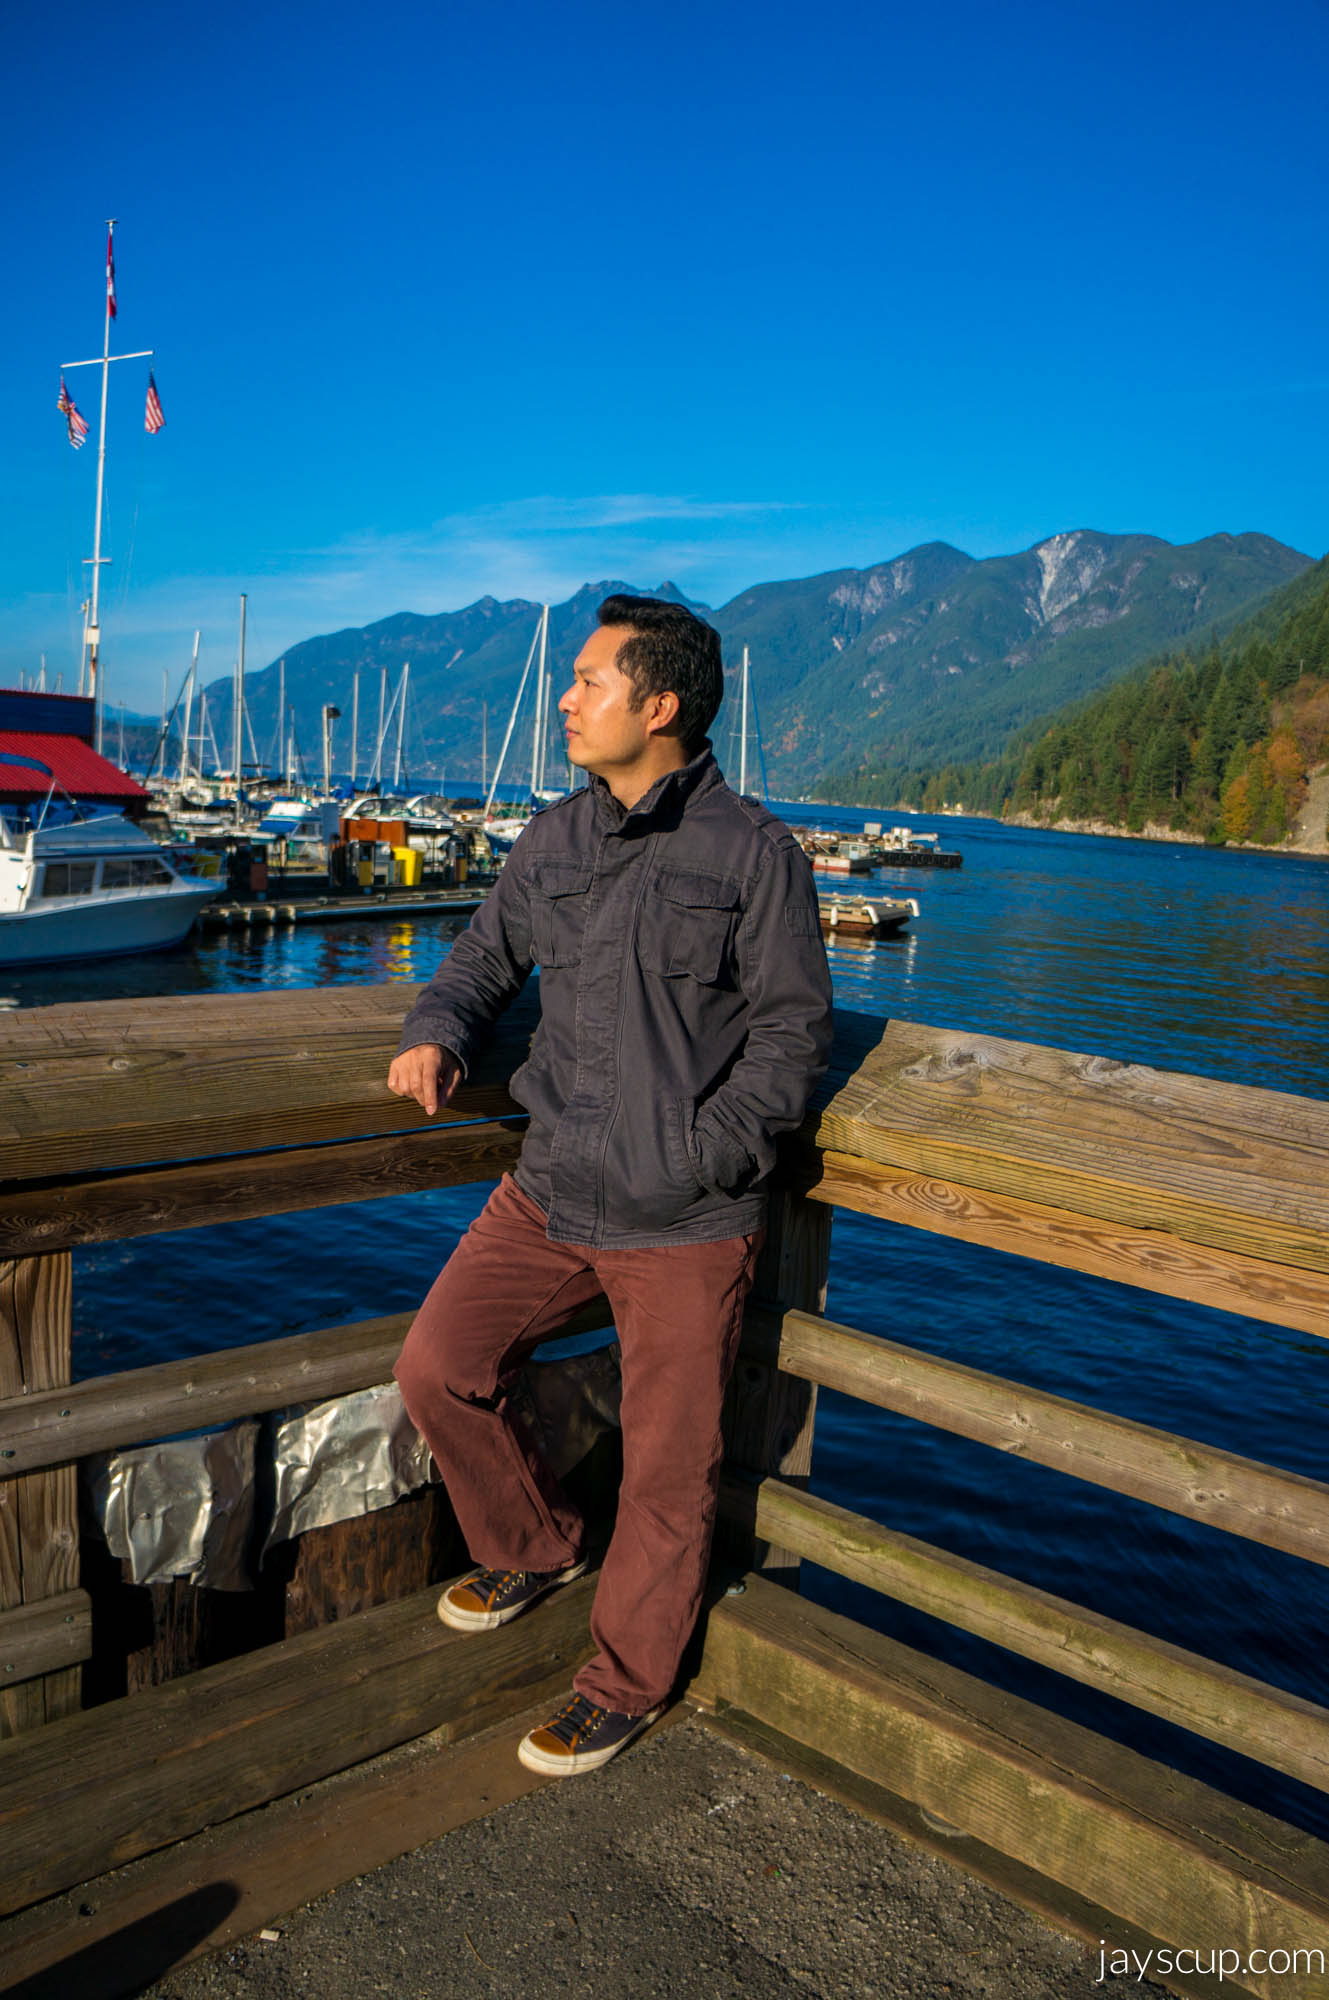
We also went to Horseshoe Bay to look at all the Fall colors. I’m in adoration of all the Fall colors that are in Vancouver. Being from the Bay Area, it’s rare to come across yellowing and red leaves. It’s breathtaking.
 Watching the kids play in the leaves made me really want to jump in too! Look at the little one sitting in the pile – cute!
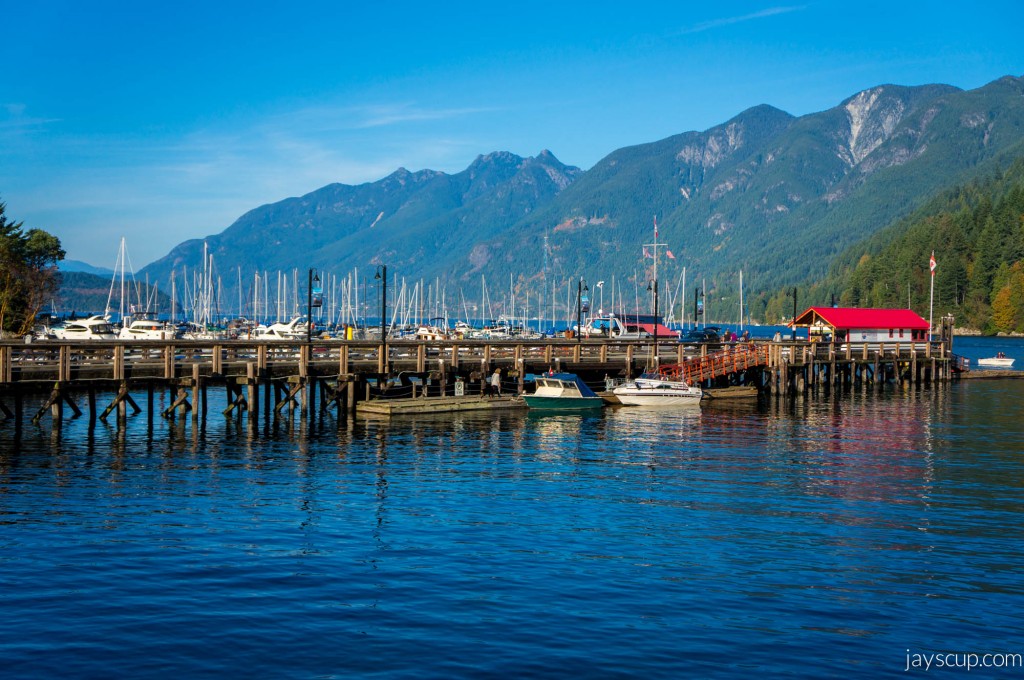 Another shot of the scenic Bay
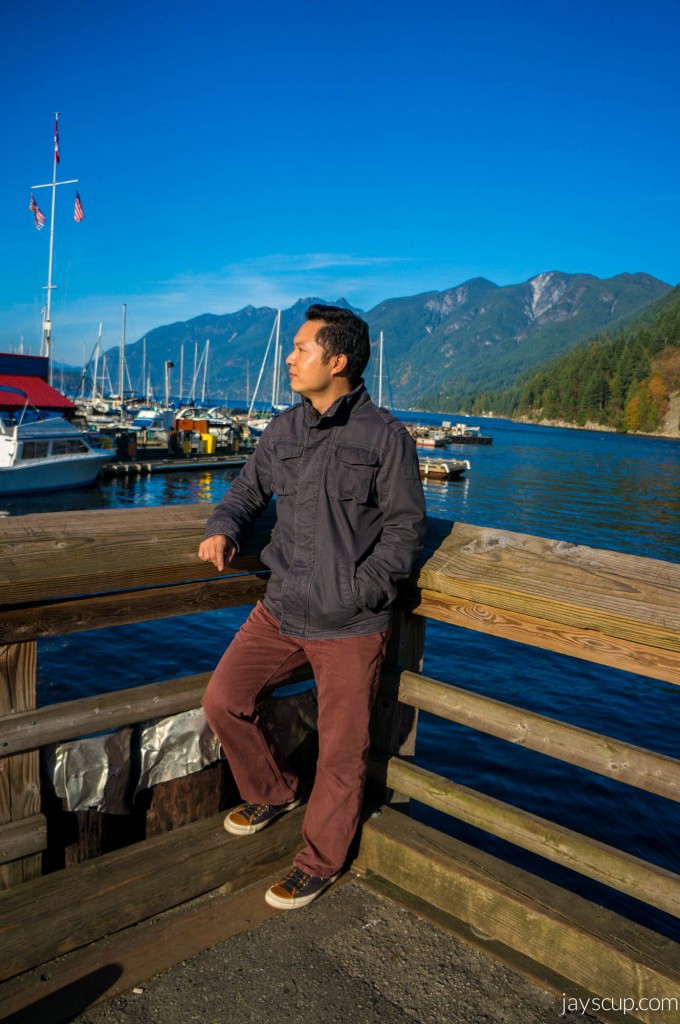
My handsome man on the pier ^^^
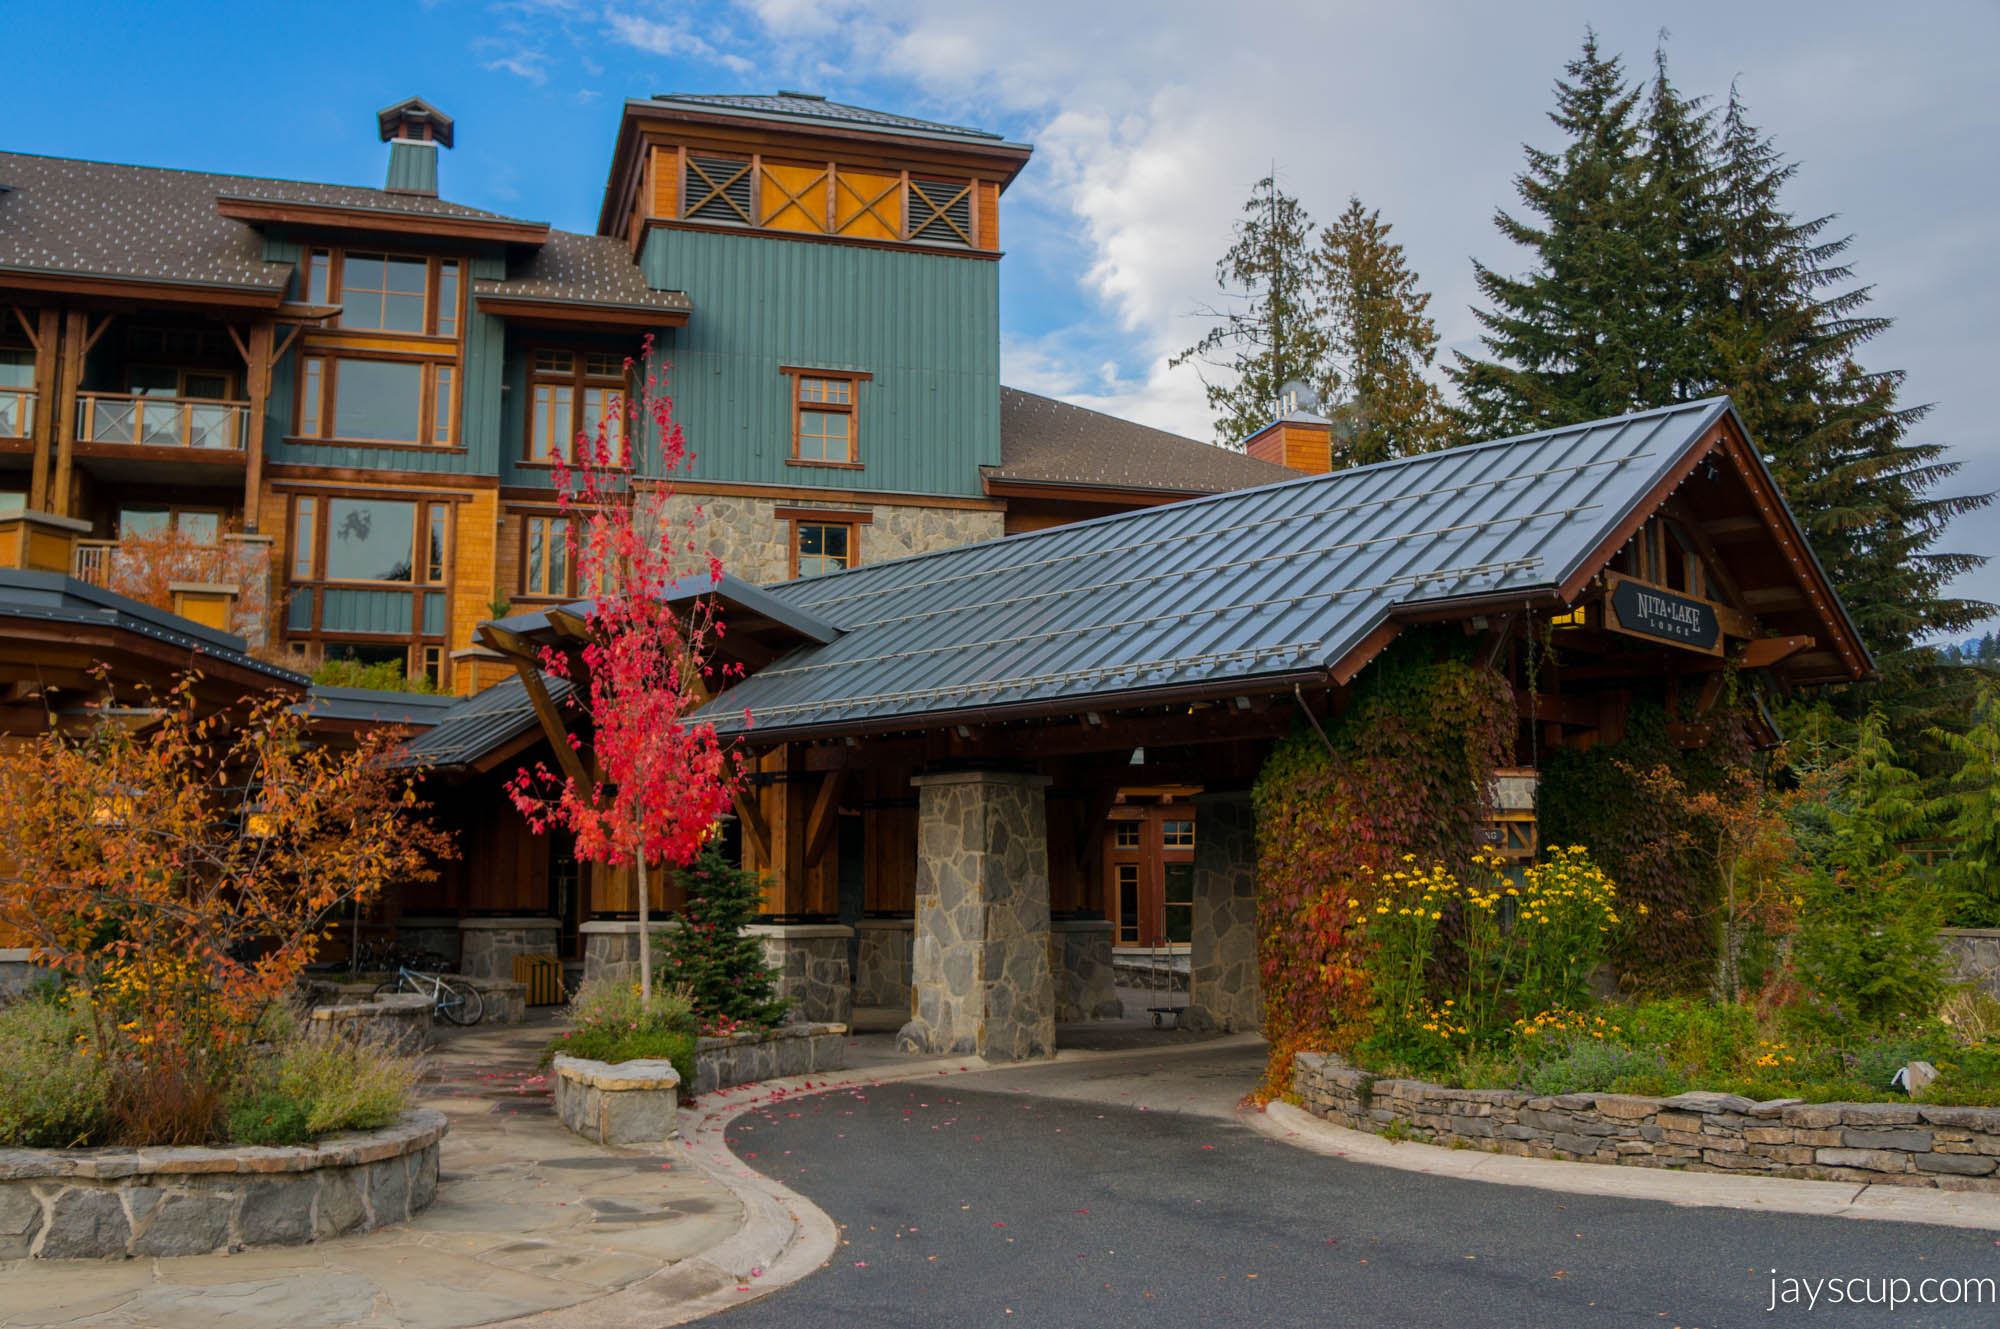
MG and I ventured to Whistler for a romantic getaway (as romantic as you can possibly get since I was stricken with food poisoning). Imagine taking bathroom stops every 20 minutes on a 2-hour drive… But the views of Whistler definitely made up for the unfortunate sickness. We went during off-season, so we got some extra attention from staff members. Dining at nearby restaurants was also affordable since it was off-season. A 5-course meal at Aura was only $30, and a 4-course at Rimrock Cafe was only $45 (our favorite dinner thus far).
 We stayed at Nita Lake Lodge, and I highly, highly recommend this hotel. The hotel is clean, the staff is friendly, and the complimentary accommodations include bike, canoe, and kayak rentals. Our bathroom floor was heated stone, so every morning my toes were toasty. We also had a fireplace in the room and a kitchenette. If you’re ever in town, stay here!
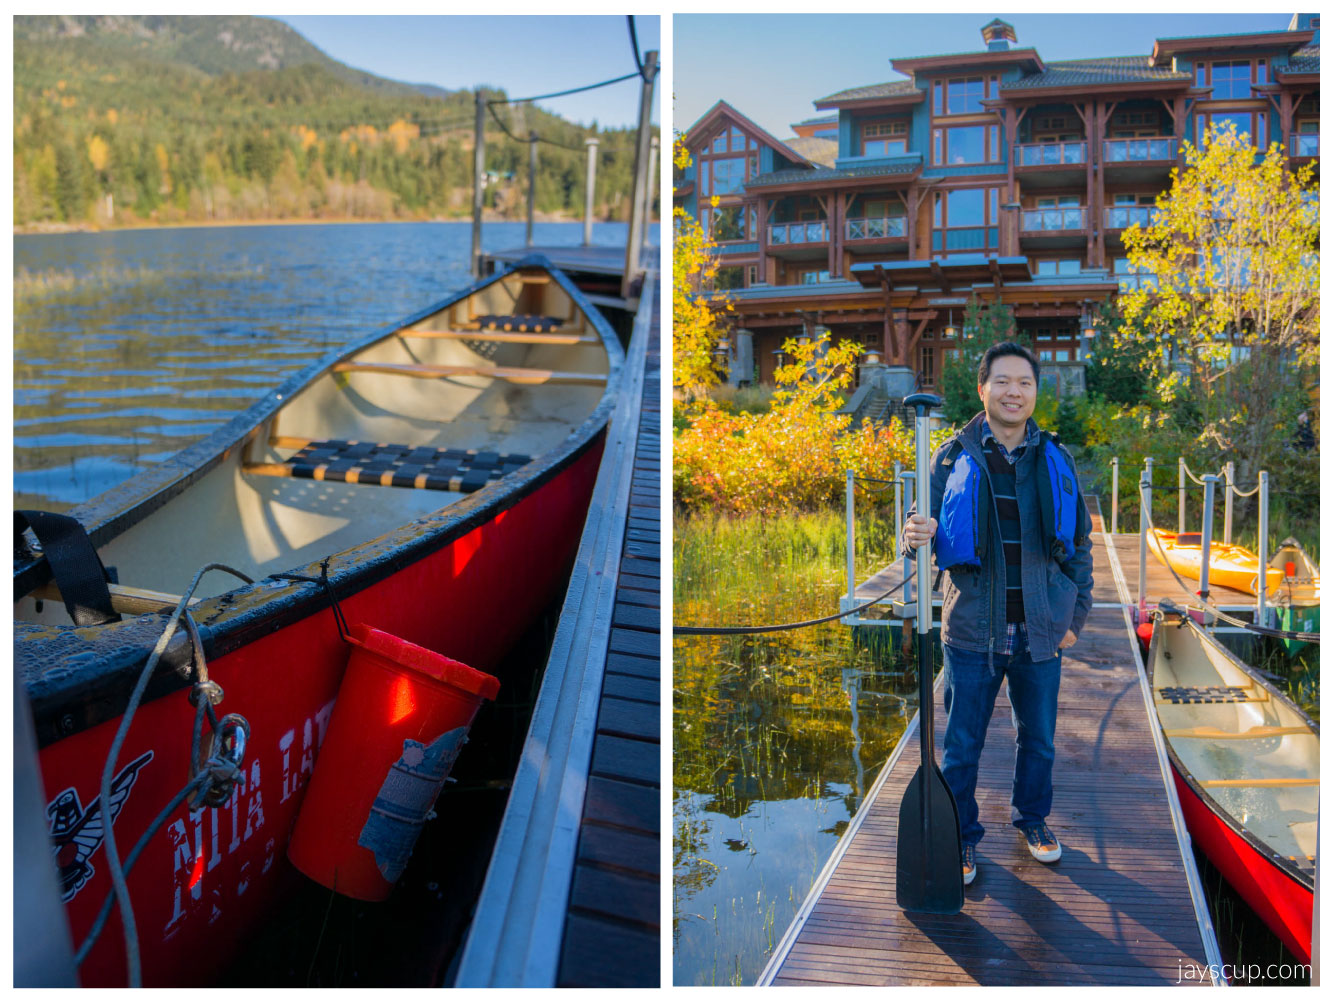
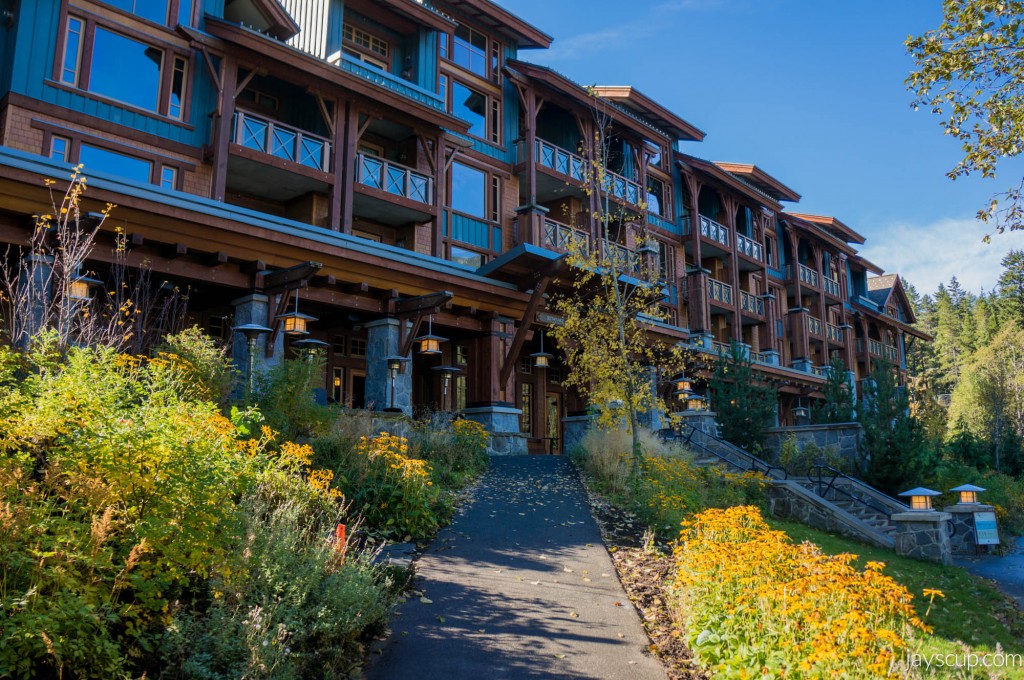 Back view of the hotel
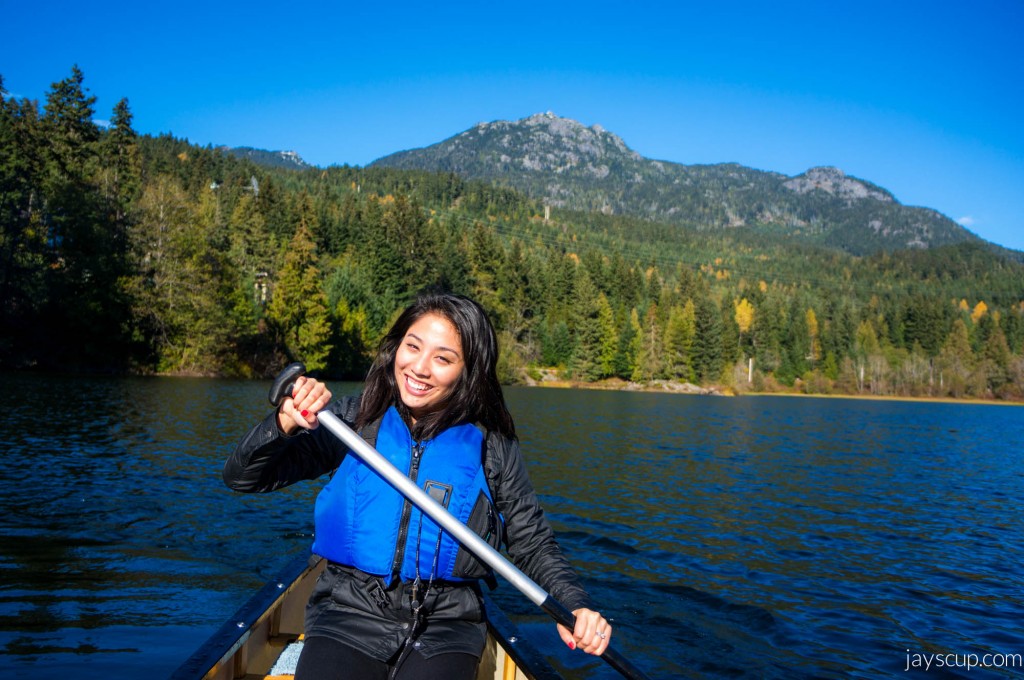
We took full advantage of the free canoe! Because it was off-season, MG and I were the only ones on the lake. It’s better than something from The Notebook!

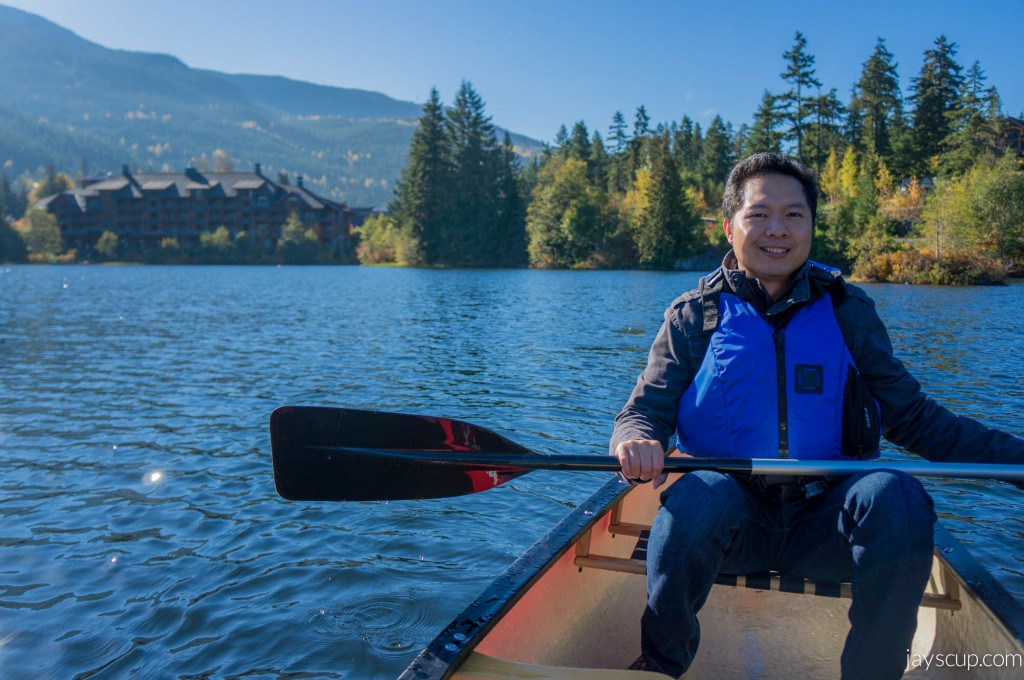
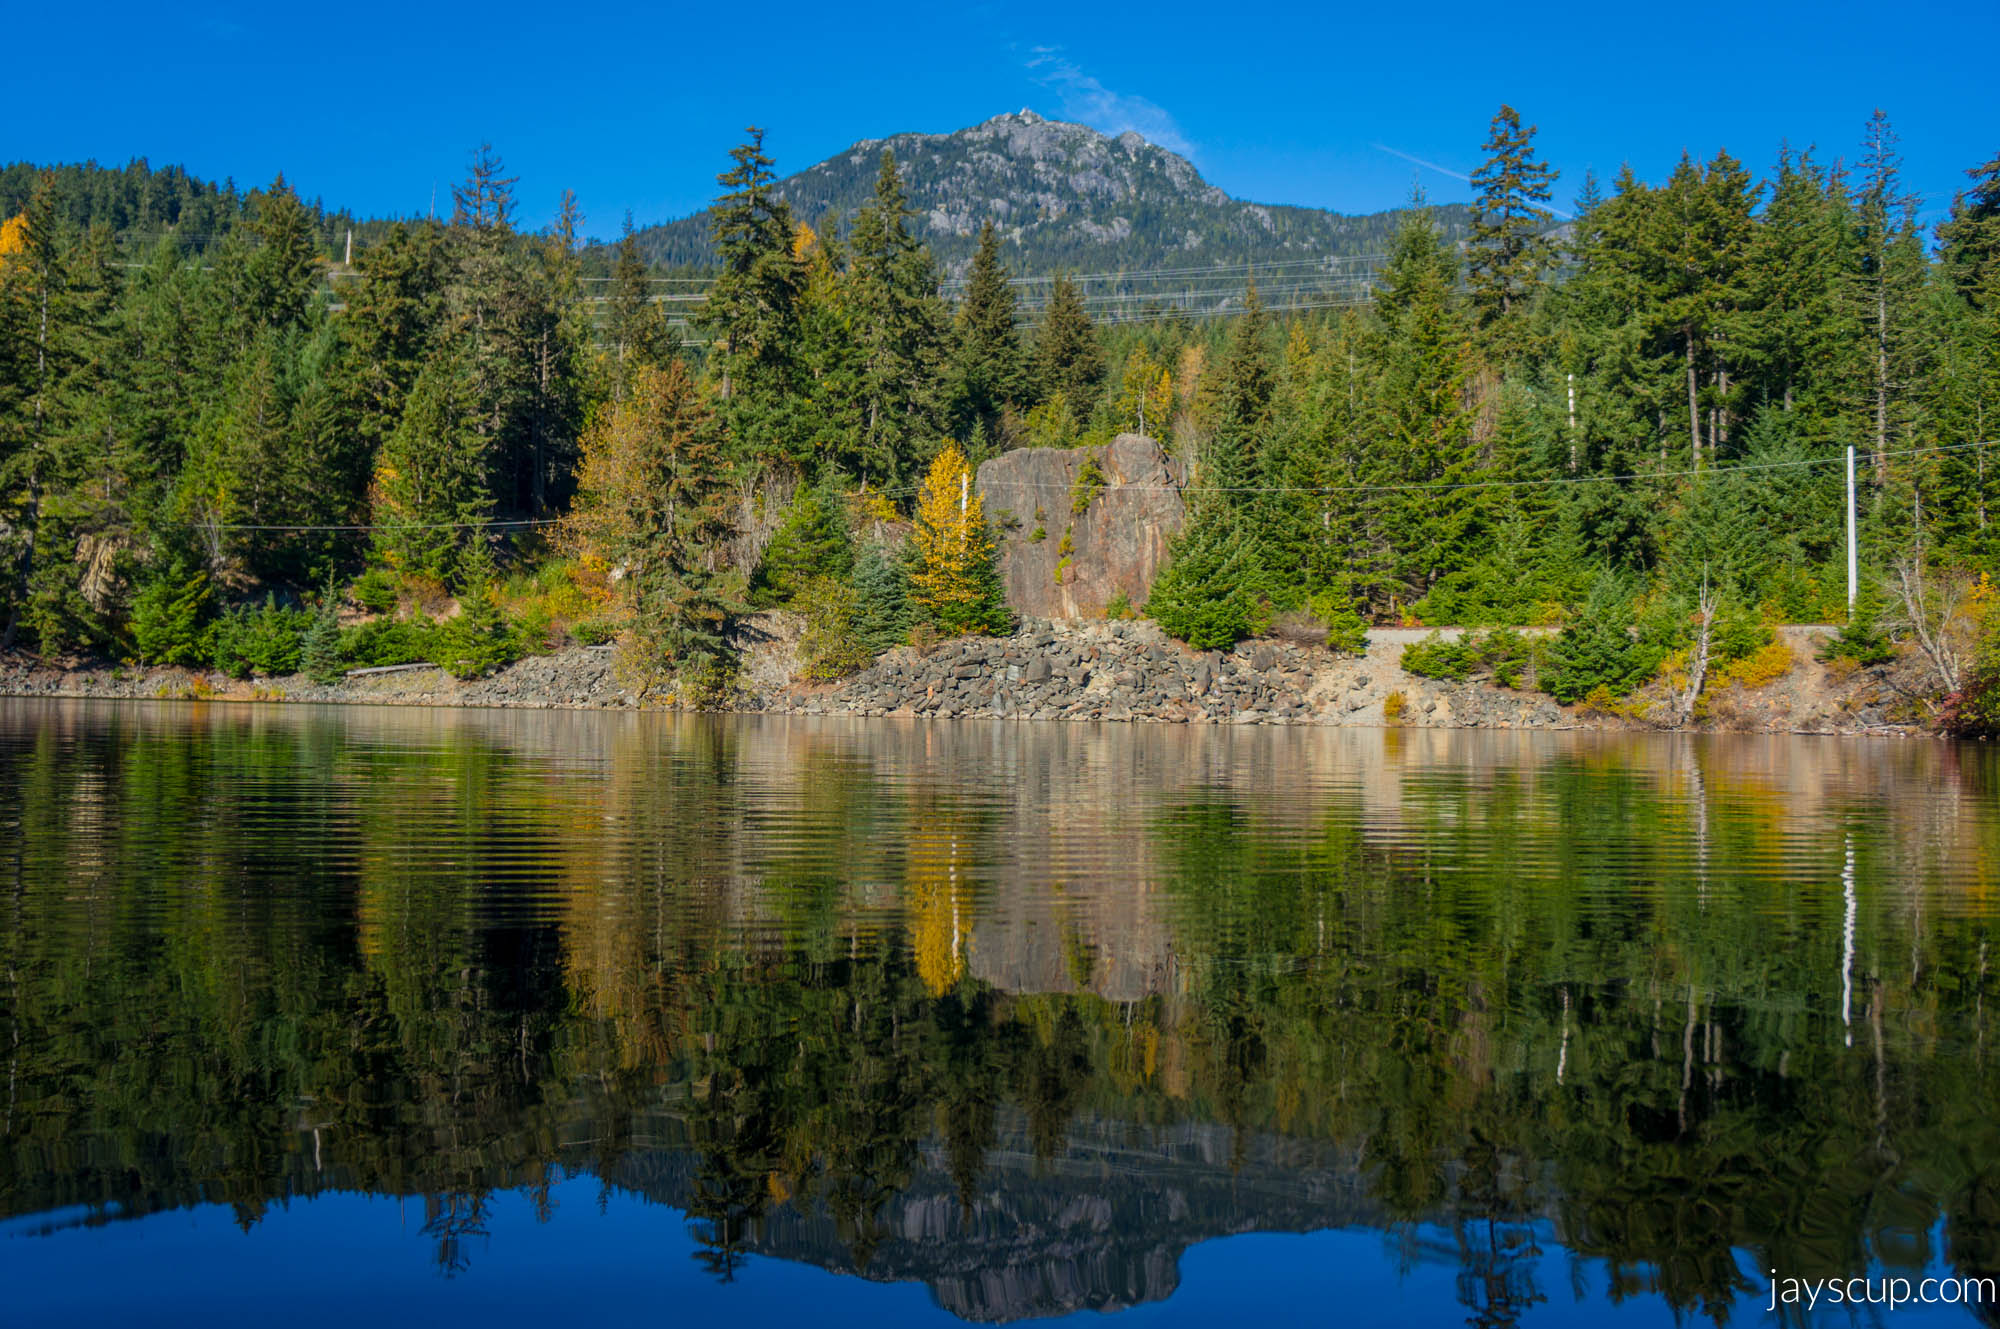
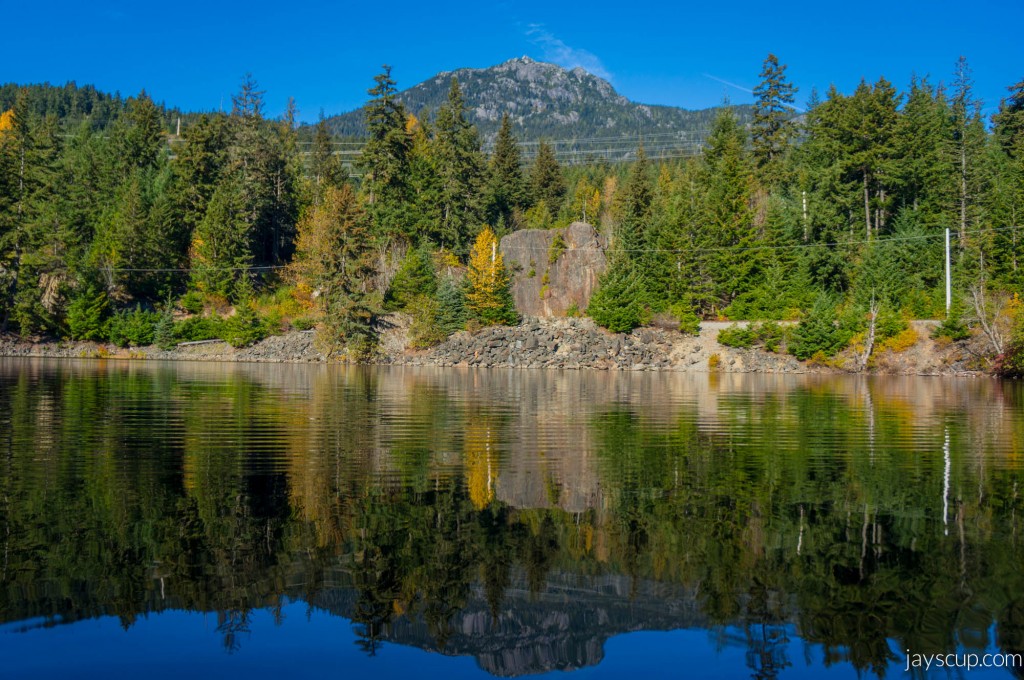 That view ^^^ That reflection ^^^
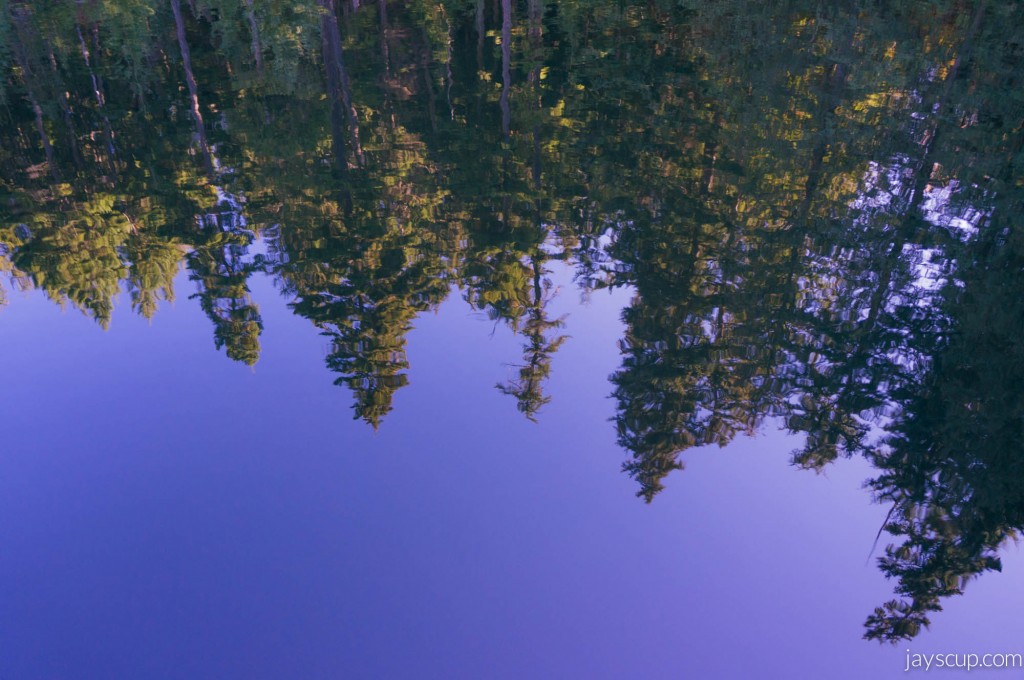 I find this picture to be so amazing – it’s the reflection of the nearby trees along the lake.
On our drive back from Whistler to Vancouver, we made stops along the way to look at the views. That’s part of the fun during a roadtrip right?
Our first stop – Shannon Falls.
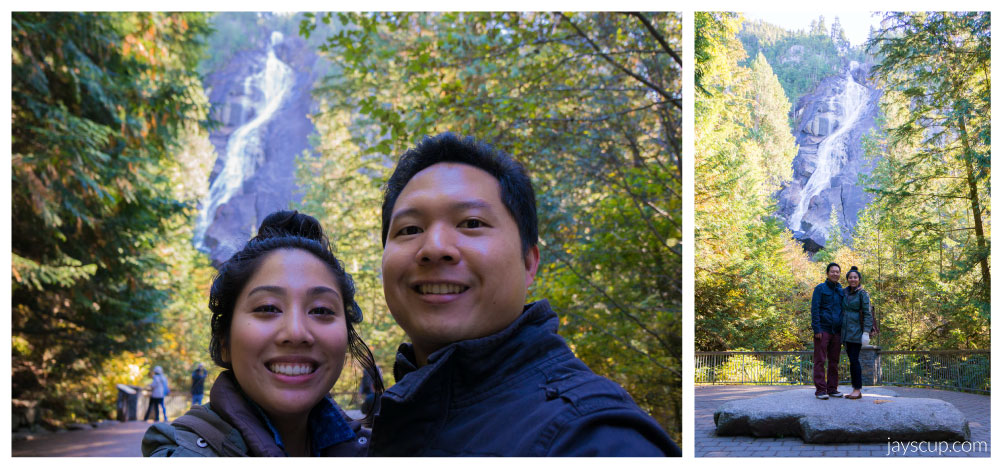
 Can you find me?
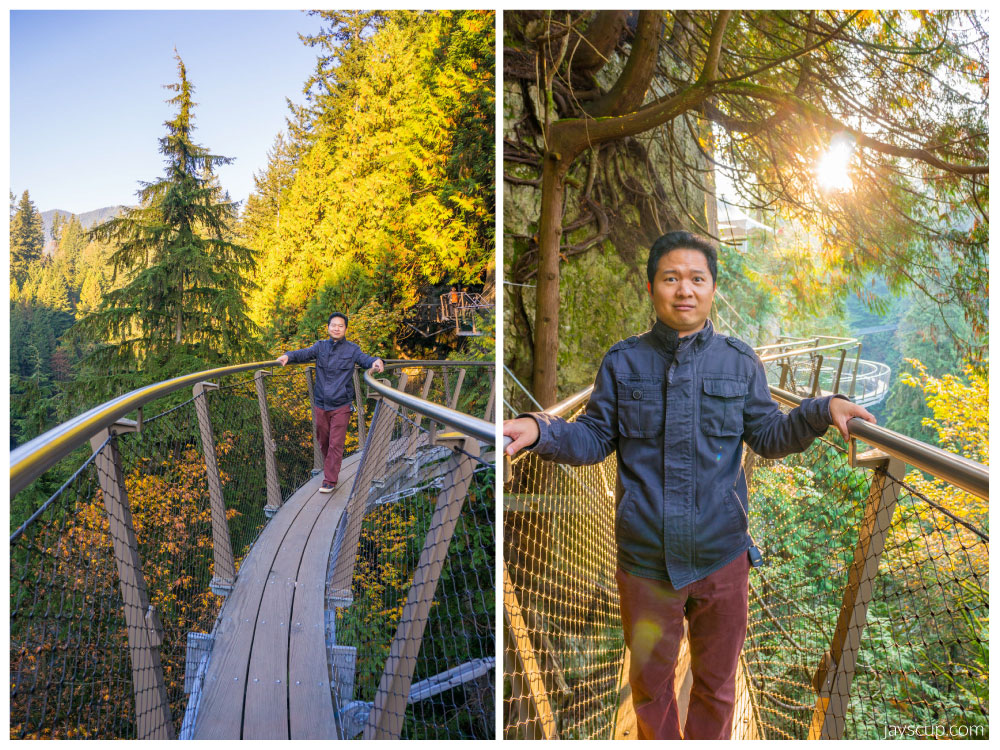
The next stop we made was the Capilano Suspension Bridge Park. At ~$32 per adult, it was a pretty hefty price, but the views were worth it!
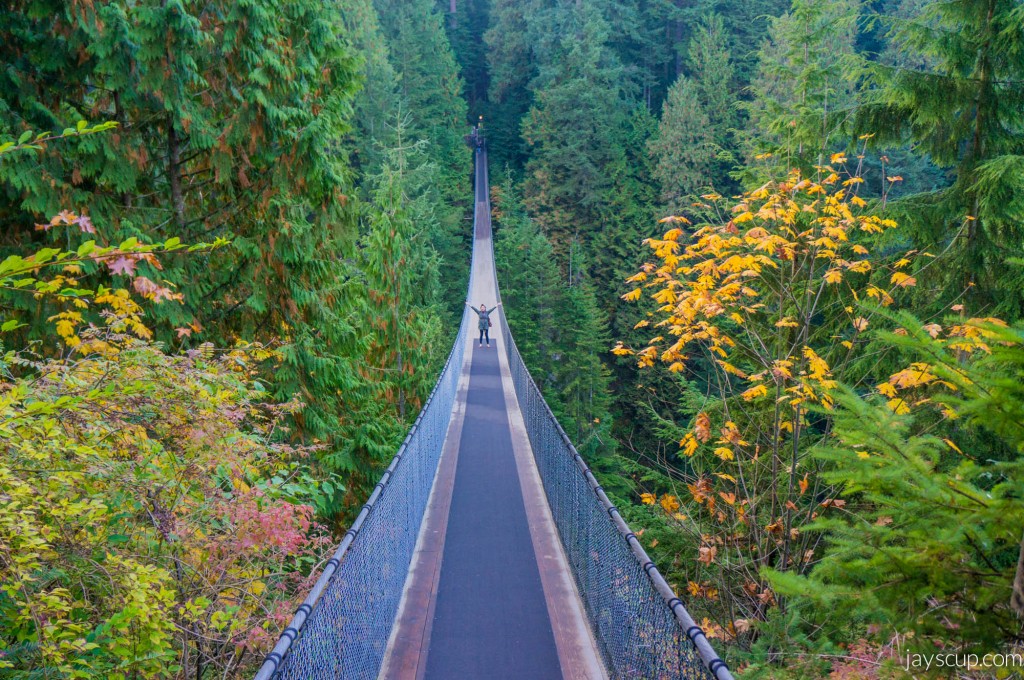 This was during a weekday, near closing time so it wasn’t packed with tourists. I was able to get a picture of me on the bridge by myself! The bridge is 450ft across and 230ft above the river.
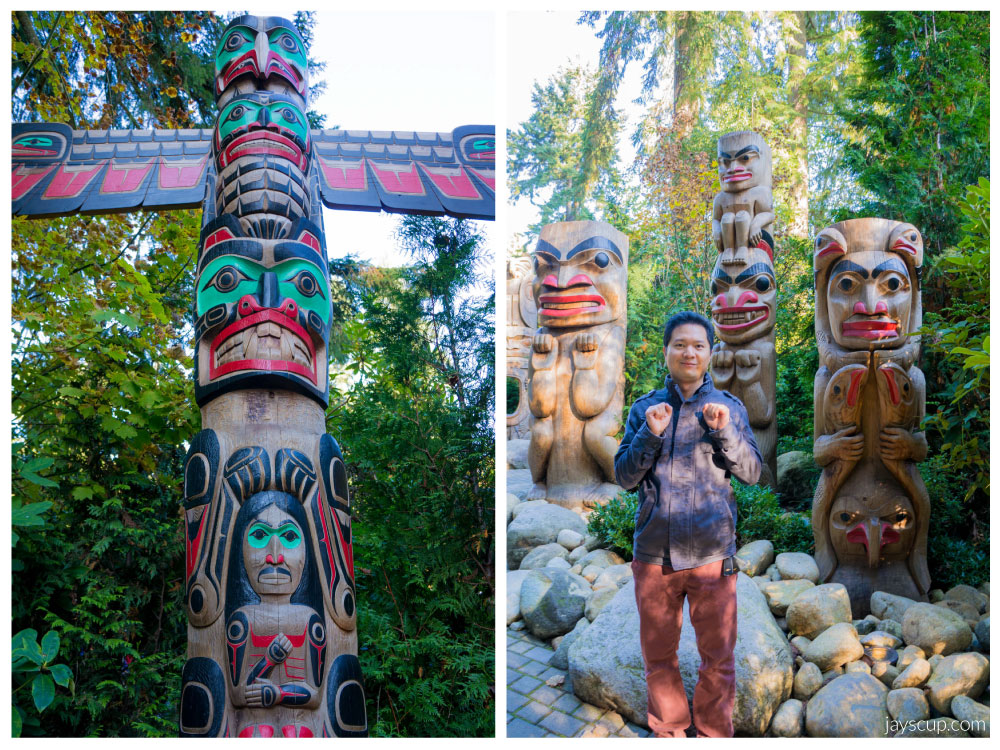 These totem poles look so cool! Can you find MG?
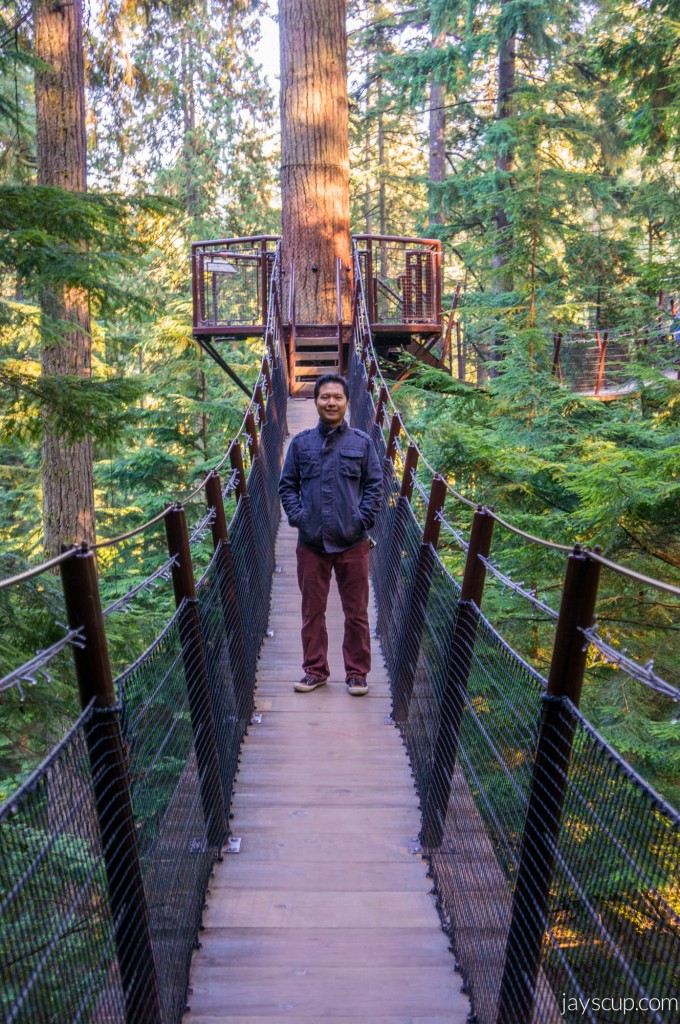
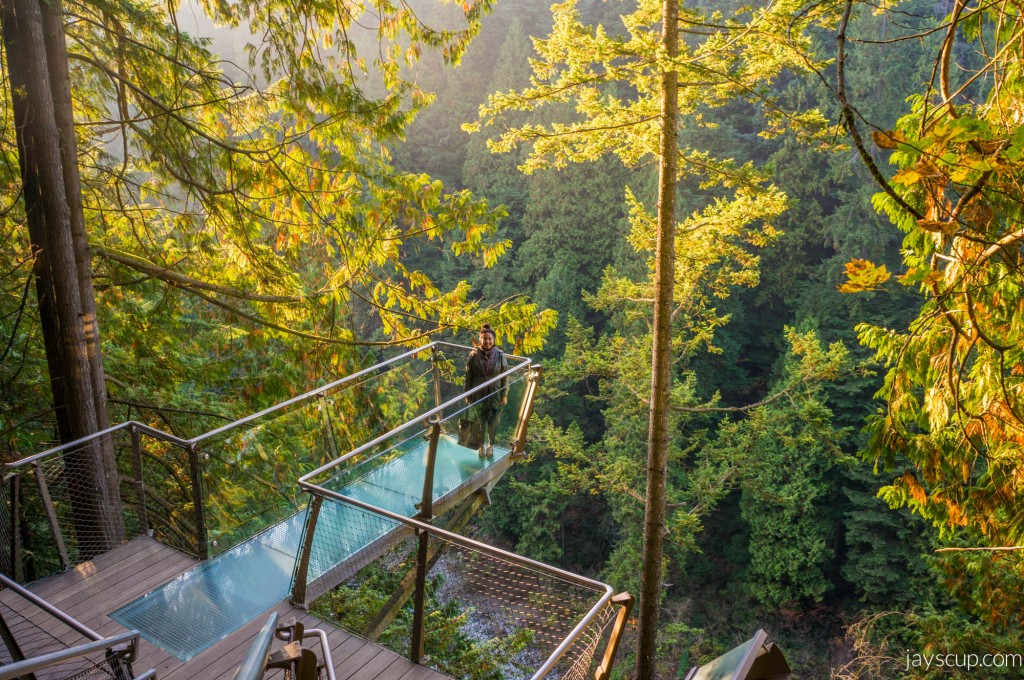
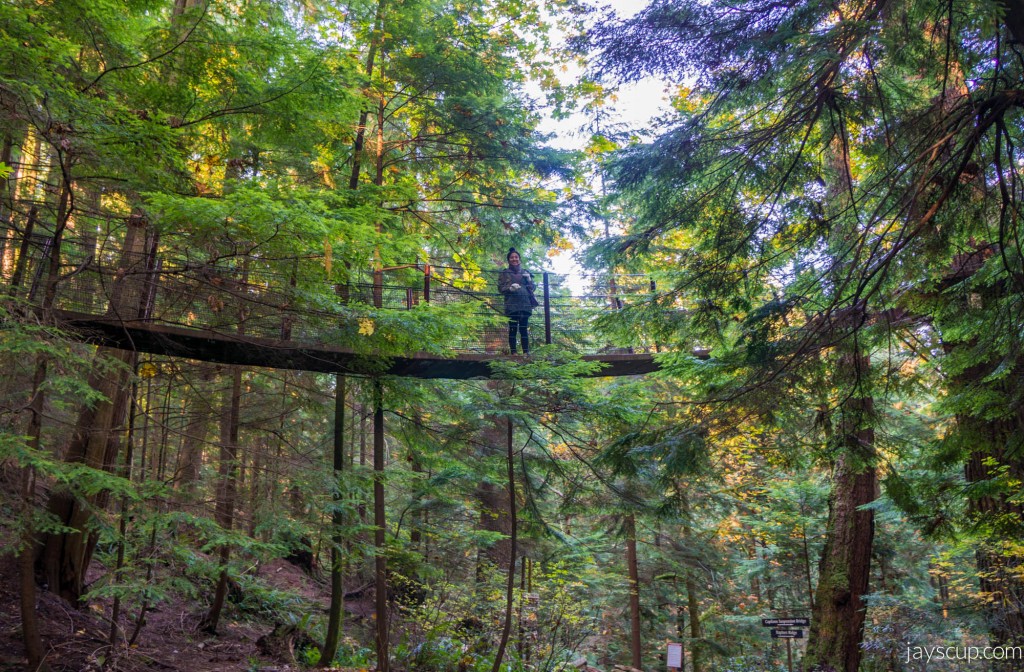 This walkway was called Treetop Adventures, and the bridge allows you to walk around the canopy of the forest.
The best part of the park was the Cliffwalk. You basically walk around the edge of, well, a cliff. MG has a height phobia, so this was the most intense part of the trip. He’s such a thrill seeker, that one!
For you foodies out there, here are some of the crazy things that we ate during the trip. It’s all Asian foods! When in Vancouver…
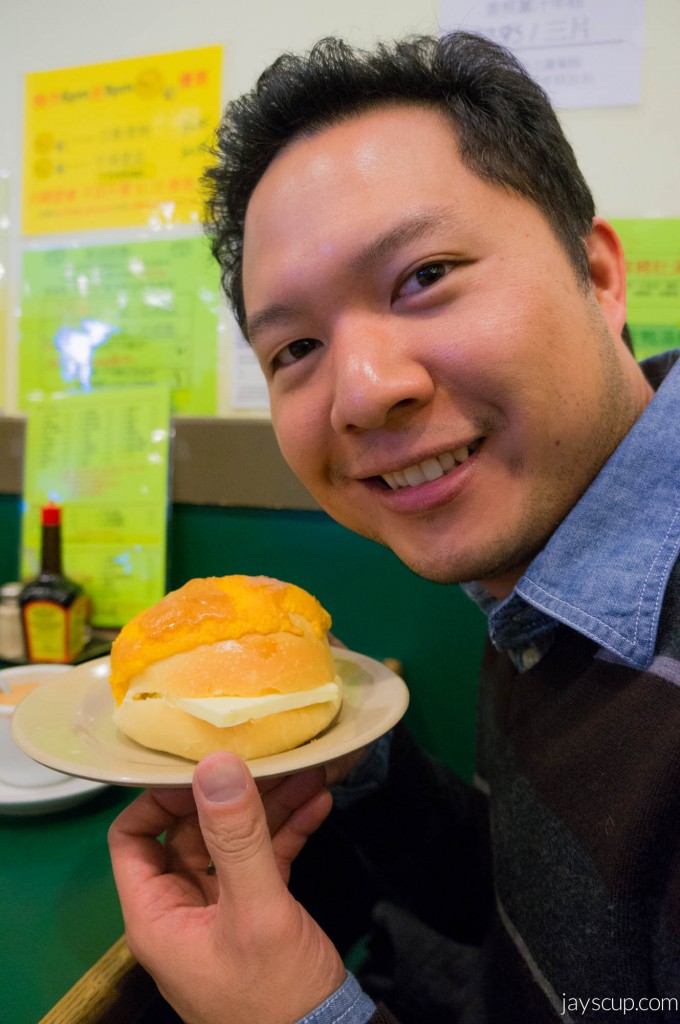
MG’s favorite – the buttered pineapple bun. Is that a stick of butter in the bread? Why, yes it is.
 Hot pot at home and squab
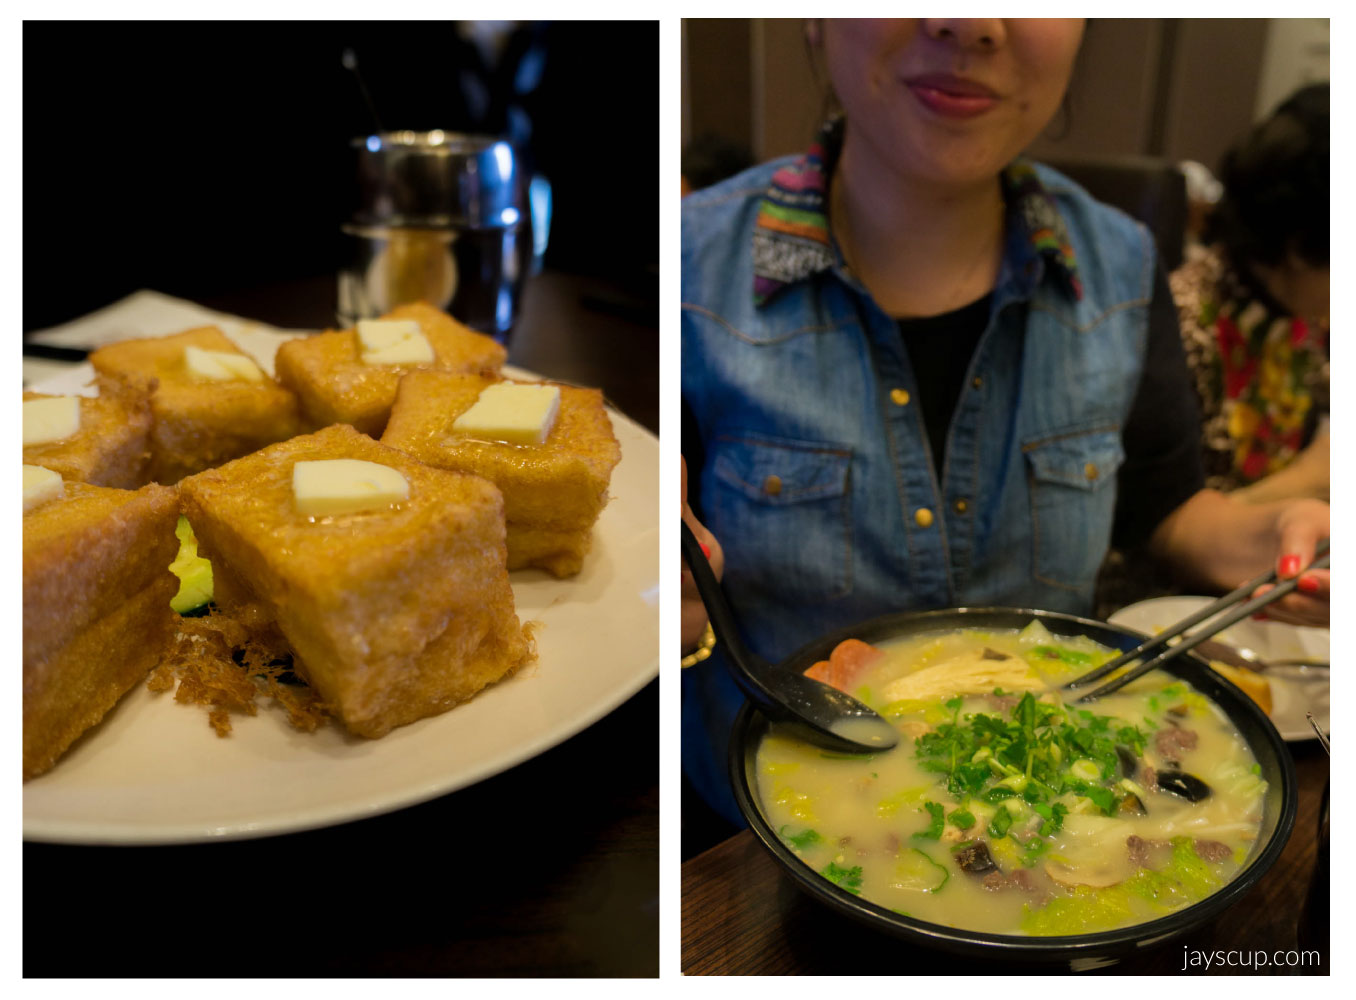
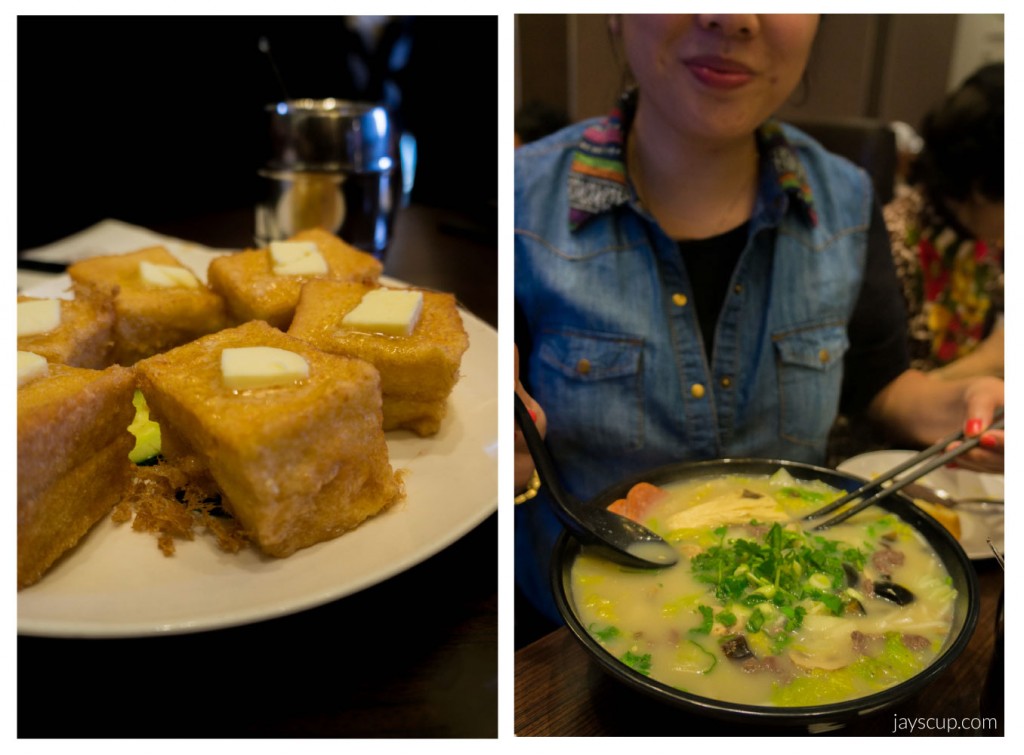 HK toast and a big bowl of rice noodles!
 Japanese style hot dogs – Nori, Japanese mayo, and teriyaki sauce
Duh…
It was such a fun vacation, but I’m glad to be back! If you’ve ever been to Vancouver, did you do any of the above? What other things are recommended for my next trip?
What did you do this weekend?
Jay


