One of my faves, Panda!

Don’t laugh. I love Panda Express!

Cookies

Okay, but let me first start out by saying, Americanized Chinese food is categorized differently than Chinese food. I don’t expect them to be the same. At Panda Express, I don’t expect to find hearty porridge, dim sum and/or Chinese bbq meats. I expect greasy chow mein, flavorful stir-frys, and fried foods. And who doesn’t crave that every once in a while?

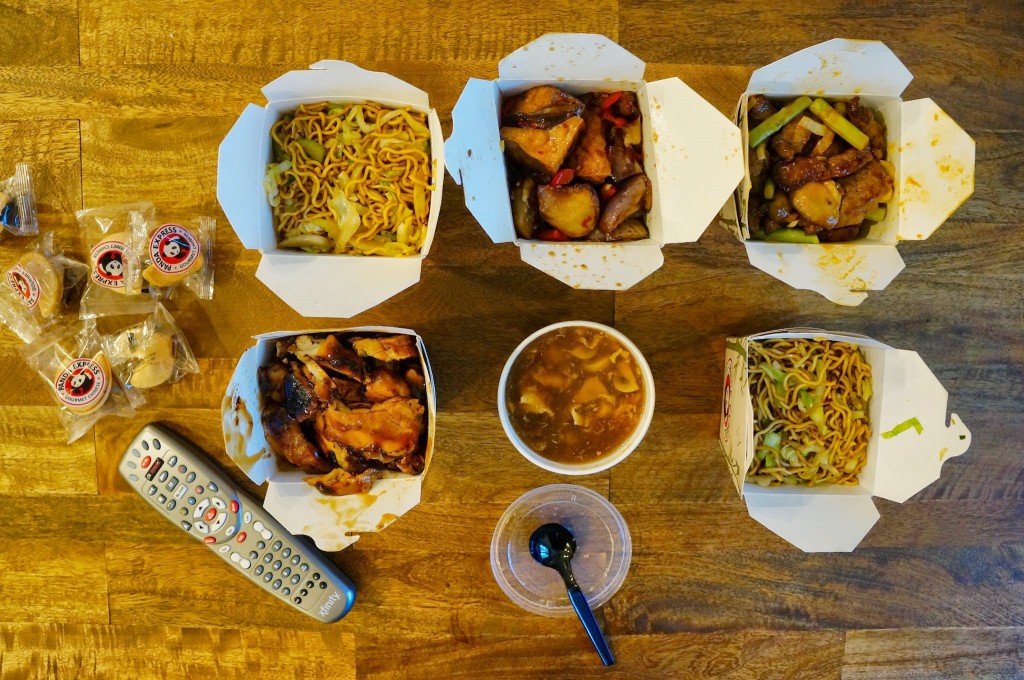
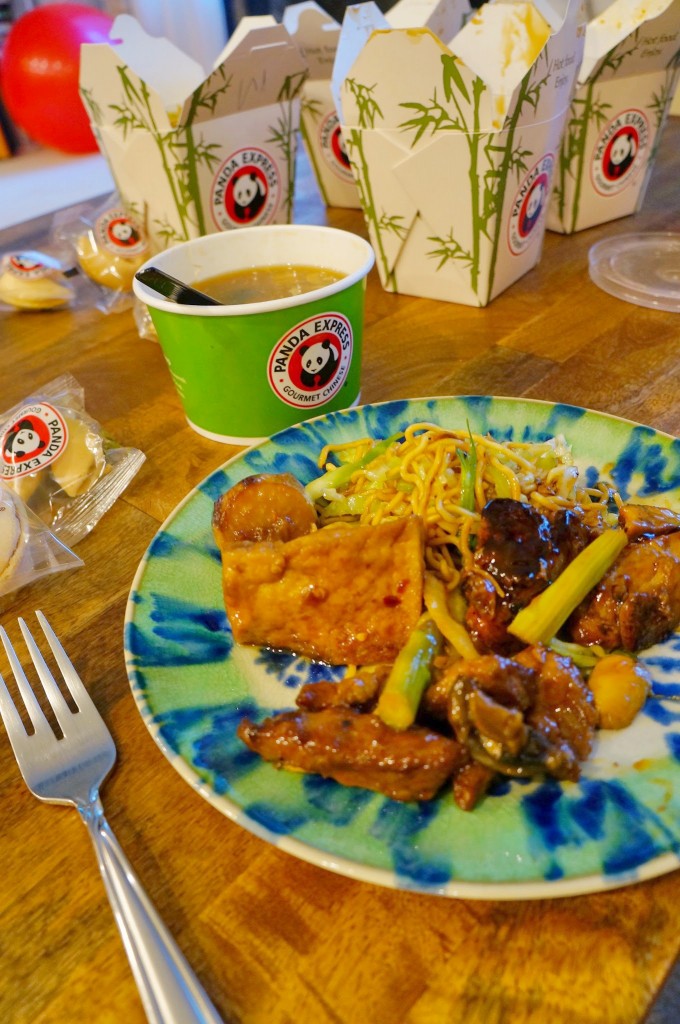
When MG and I feel lazy (like this week), and all we want to do is sit in front of the TV all night, we get Panda! We always get too much Panda. Yes, it’s possible to get the meals (2 entrees with a side) for each person, but we love leftovers. We can eat leftovers for weeks after (no judgement). When we walked through to doors, we’re both on the same wavelength that we’re going to purchase more than enough food.

Looking at the a la carte menu, each large entree is $9.50 (dang). We saw that there was a family meal for only $30, which includes 3 entrees and two sides. It’s suppose to feed 5-6 people so that’s what we opted-in for!!!

Dinner

What we always order: Eggplant Tofu, Madarin Chicken, and Shanghai Angus Steak, and chow mein. I also love the hot & sour soup. This stuff never disappoints! 

Dinner

Obviously we eat on real plates and not paper. We’re not savages! We sat in front of the TV from 7-11pm and ate Panda – one of the best nights this week so far. I’m easy to please!

What do you think about Panda Express? Love it or hate it? What do you order?

Have a great weekend,
Jay

Chorizo Mussels Recipe

Guess what everyone? I’m starting a freelancing job! It will be at an ad agency in the city, and I’ll be working part time, 3 days a week for now. It’s been a year and one month since I quit my last job (oh how time flies). Thankfully my time off hasn’t been wasted because I started this blog! If you’ve been following along, you know that I’ve been working on a bunch of house projects.

I am ready to go back to work though to stimulate my brain again! So grateful that it’s part time for now so I can slowly ease myself back to work. Excited for the opportunity! And don’t worry, I’ll still be posting on Mondays, Wednesdays, and Fridays.

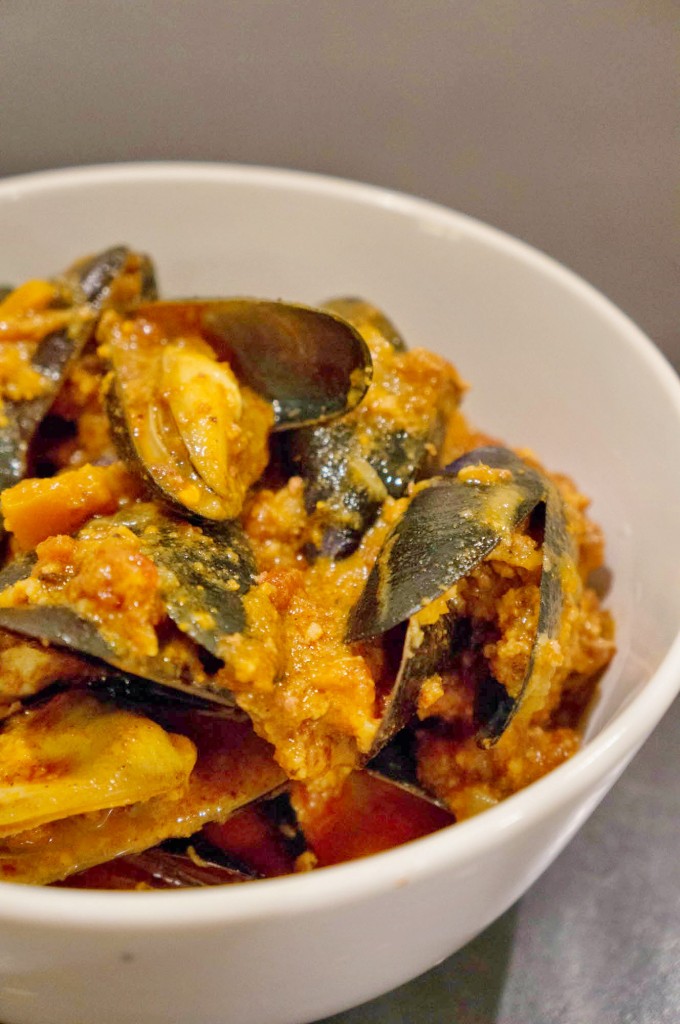
As promised, today’s post will be my chorizo mussels recipe. Remember that osso buco recipe? The leftover broth becomes so flavorful, and it’s perfect for this meal.

It takes less than 15 minutes to prep and 10 minutes to cook.

Chorizo Mussels

Ingredients:

  • 5-6 pounds of mussels (Costco to the rescue)
  • 2 packs of chorizo (10 ounce packages)
  • Bread for serving

Directions:

1. Clean mussels by running through cold water and debeard (pull out the little fuzzies/stringy bits that are stuck on the shell). Throw away any mussels that have open/broken shells.
2. Boil the osso buco leftover broth, then add the chorizo into the pot and boil for 5 minutes. Once you’re ready to eat, put the mussels unto the pot and cook until shells open (about 5-8 minutes).
3. Serve with bread and enjoy! 

Mussels

Pretty awesome that you can make two meals with one pot! Plus, this meal basically is prepped and cooked in less than 30 minutes. Can’t ask for an easier dinner!

Do you like mussels? How do you like them prepared? Is this something you can cook at home?

Have a great weekend,
Jay

Beef Osso Buco (Jay’s Way)

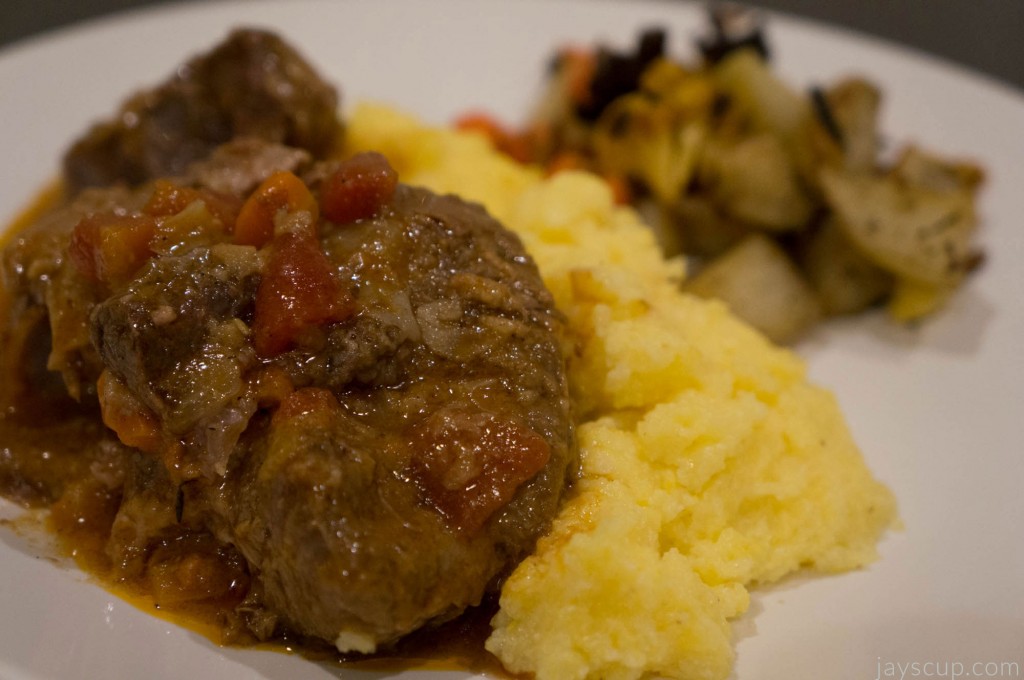
A friend came over once and made me osso buco. It was an amazing meal (though my kitchen was a disaster afterwards. Boys leave such crazy messes in the kitchen)! I couldn’t stop thinking about how yummy and tender the meat was, how creamy the polenta tasted, and how the amazing sauce tied it all together. Even better, the leftover pot of broth! I made chorizo mussels with it for dinner the next day. Two meals from one pot? Hell yes.

Both meals in one dinner? Double hell yes. I had a dinner party for 8 during Christmas time and this was the perfect meal! Get this, I had salad for the first course, osso buco for the second, mussels with bread for the third, and then dessert.

Osso buco is an Italian dish of braised veal shanks. Perhaps I’m in an Italian state of mind since I’ll be going to Italy in 2 weeks!

I’ll post my osso buco recipe today. On friday, come back for how to make chorizo mussels in the same broth!

This recipe is how I cook it, but others may prepare on a stove and then oven.

Done

Ingredients:

  • 4 – 6 pieces of veal shanks (about 3 pounds)
  • 1/2 cup diced carrot
  • 1 medium onion, diced
  • 4 cloves of garlic, chopped
  • 3-4 sprigs fresh thyme
  • 1 cup dry white wine
  • 1-2 cups beef stock
  • 1 (14.5 oz) can of diced tomatoes
  • Flour
  • Butter
  • Salt and pepper for tasting

Essential Cooking Tool: Pressure Cooker

Invest in a pressure cooker and I bet you’ll never use your crock pot again!

Directions:
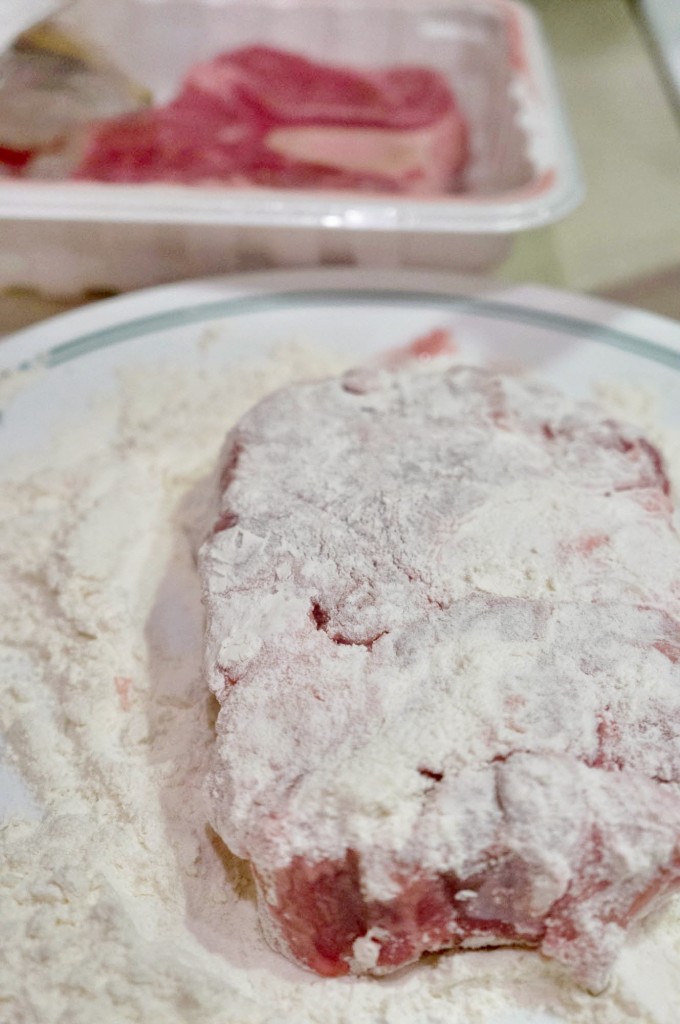
1. Dust the veal shanks lightly with flour. Heat up butter in your pressure cooker until melted, and brown the veal shanks on medium/medium-high heat. Set veal shanks aside.
2. Add chopped garlic, carrots, and onion to the pressure cooker, and stir until onion is tender. Add the wine and scrap up all the browned bits in the cooker. Simmer for 15 minutes.
3. Pour in the tomatoes and beef stock, and add thyme. Season with salt and pepper. Then add the veal back into the pressure cooker.
4. Cook the veal in the pressure cooker for 45 minutes (according to your manual’s instructions).
5. Once cooked, serve with mashed potatoes or polenta.

Polenta directions: Bring 6 cups of water to a boil, add 2 teaspoons of salt, and whisk in 1 and 3/4 cups of cornmeal. Reduce the heat to low and cook until the mixture thickens and the cornmeal is tender. Stir often. Turn off the heat, and add 3 tablespoons of butter until combined and melted.

Dusting

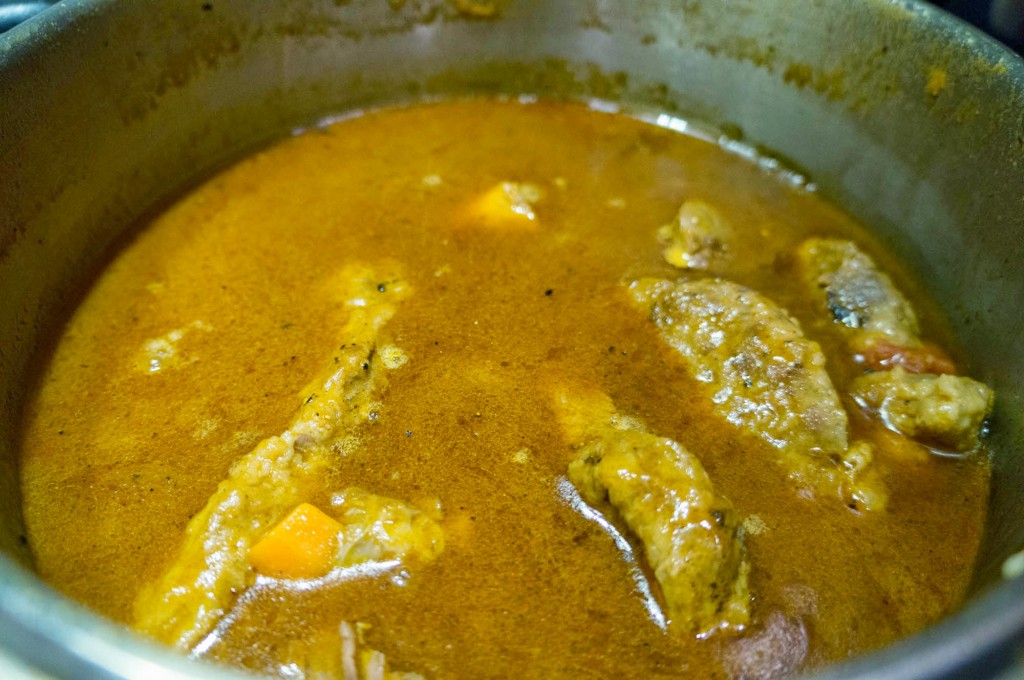
Broth

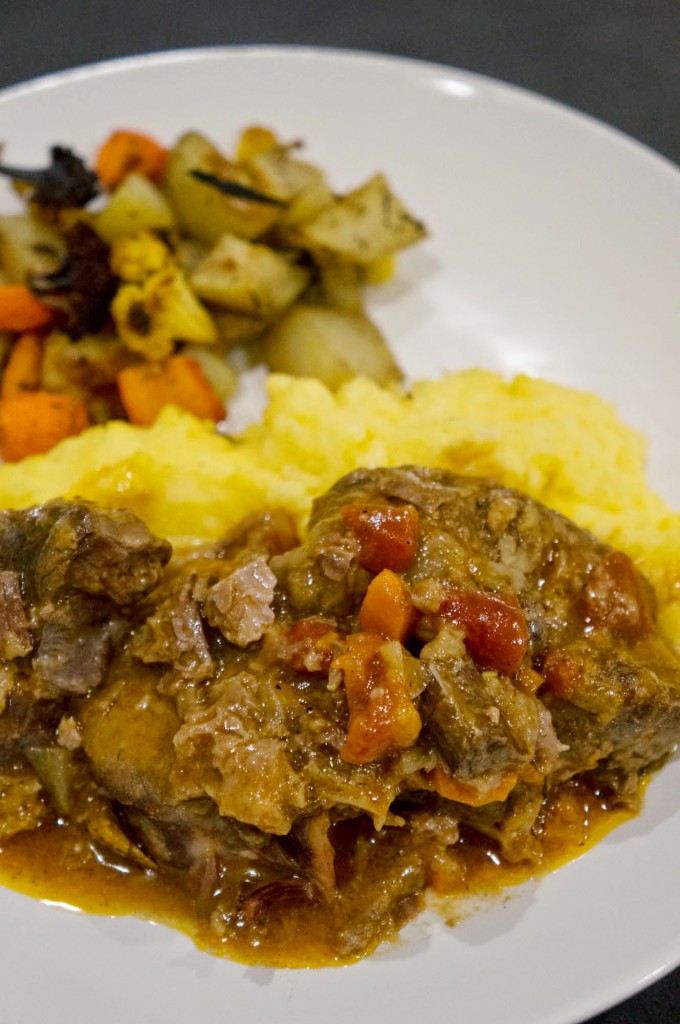
Dinner

It’s a great meal to make when you have guests since you can easily make a huge pot of food. It’s also a fancy meal that will leave your guests impressed.

Have you ever had osso buco before? Where and did you like it? Is this a recipe you can recreate?

Remember to come back on Friday for my chorizo mussels using leftover broth from the osso buco.

Love,
Jay

Chinese Steamed Ground Pork

Yay! It’s Friday!

and Yay! It’s a continuation of my Chinese dishes. There were many challenges growing up as a Chinese girl in Texas. I wanted the blond hair and blue eyes. I wanted to look like the dolls that I played with. As I grew older, I had to juggle Chinese traditions with American traditions. Try explaining why Chinese New Year isn’t the same as January 1 (I still can’t really tell you how that works, haha). But I’m so proud of my background now, and I wouldn’t change it for anything. I love being able to say I’m Chinese, I love having the inside knowledge of Chinese food, and I love that I have American and Chinese traditions all intermingled together.

For the longest time after I moved to the Bay Area, I missed my mom’s homecookin, specifically Chinese foods. I frequently called her for recipes so that I could satisfy some of my Chinese food cravings. One of the dishes we often had at home was this steamed pork recipe (now I know why because it’s so easy to make!). It’s also full of flavor because there are bits of seafood. Yummyyy!

The egg dish from Wednesday was a comfort food in many Chinese homes. This steamed pork recipe is same in that it’s another comfort food! It’s rare that my family and I would order it at the restaurants, but it’s definitely one of those things when you see on the menu, you want it. Another plus, it’s delicious with rice, which means it’s a dangerous dish. Eat with caution because when something pairs well with rice, I always overeat until my belly is bloated and screaming at me. My friends and I call this “miserably angry” because you’ve eaten to the point you’re feeling unwell… maybe it happens a lot and we needed a term for the feeling of a full belly but an angry digestive system!

Title

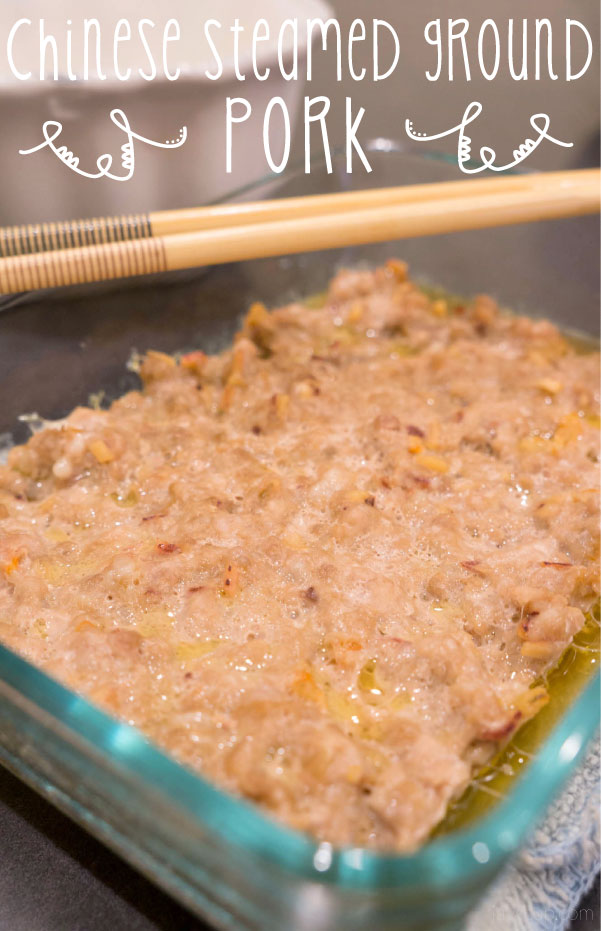
Chinese Steamed Ground Pork

Ingredients:

  • 8 pieces of dry shrimp
  • 2 pieces of dry cuttlefish
  • 8 oz ground pork
  • Soy sauce
  • Sesame oil

Directions:

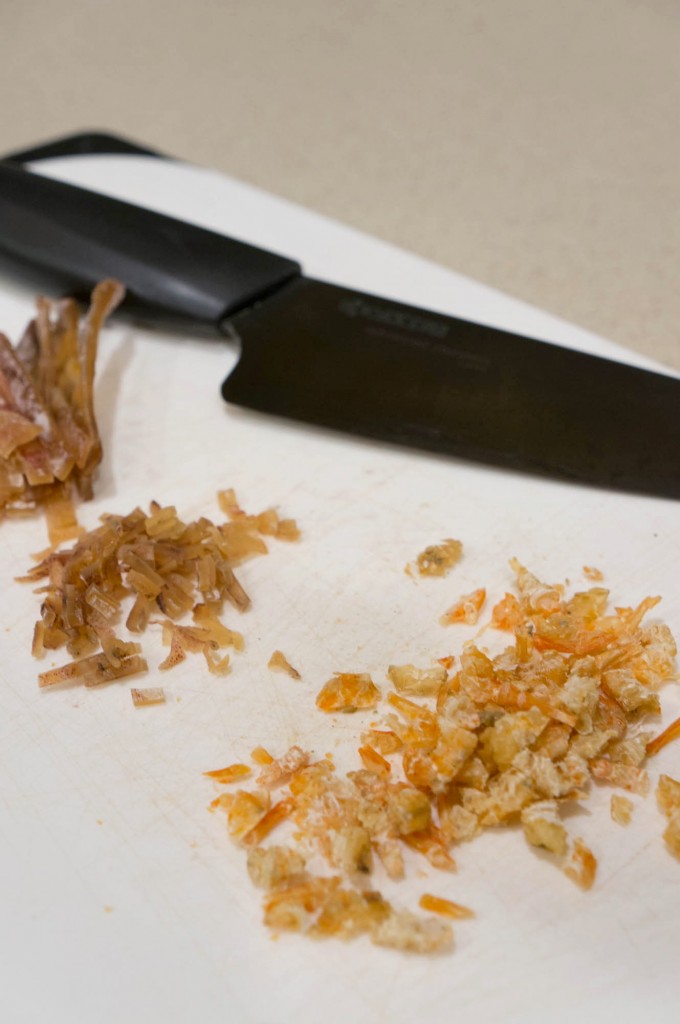
1. Dice up the dry shrimp into tiny pieces. Peel off the cartilage from the cuttlefish (easier to do under running water), and dice up the cuttle fish.
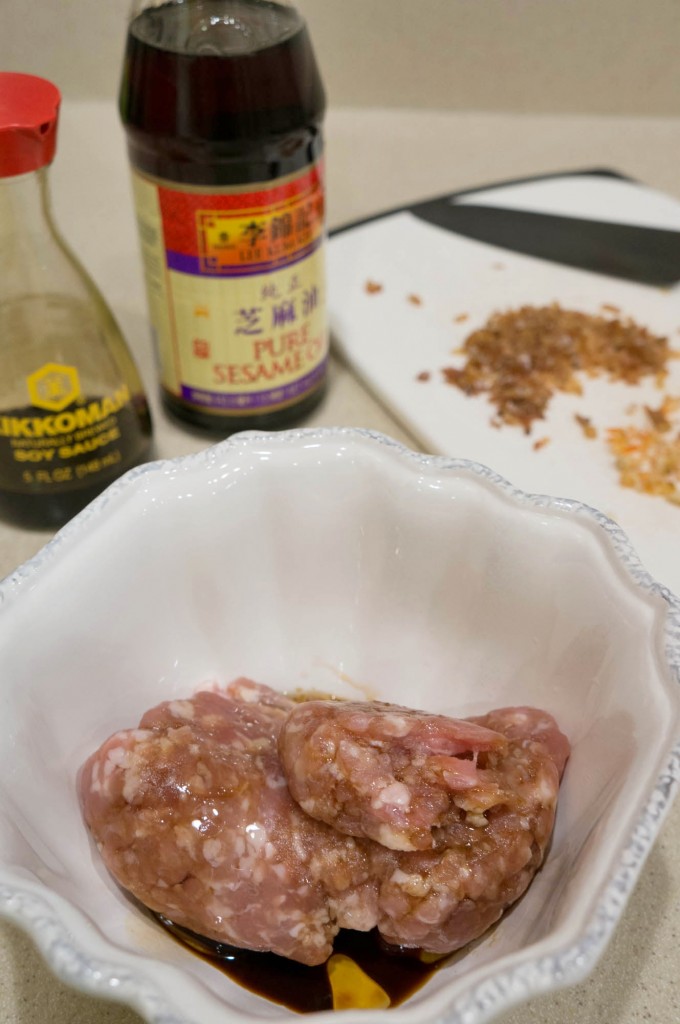
2. Mix the seafood into the ground pork (I like to use my fingers to mix). Then mix in 1.5 teaspoons of soy sauce and a teaspoon of sesame oil. Combine well.
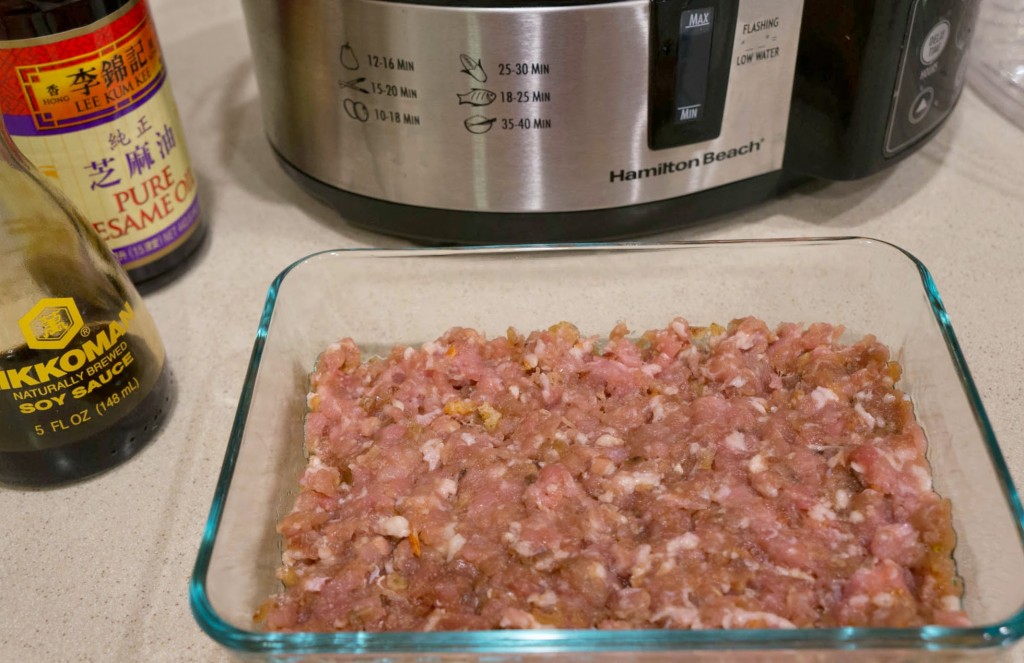
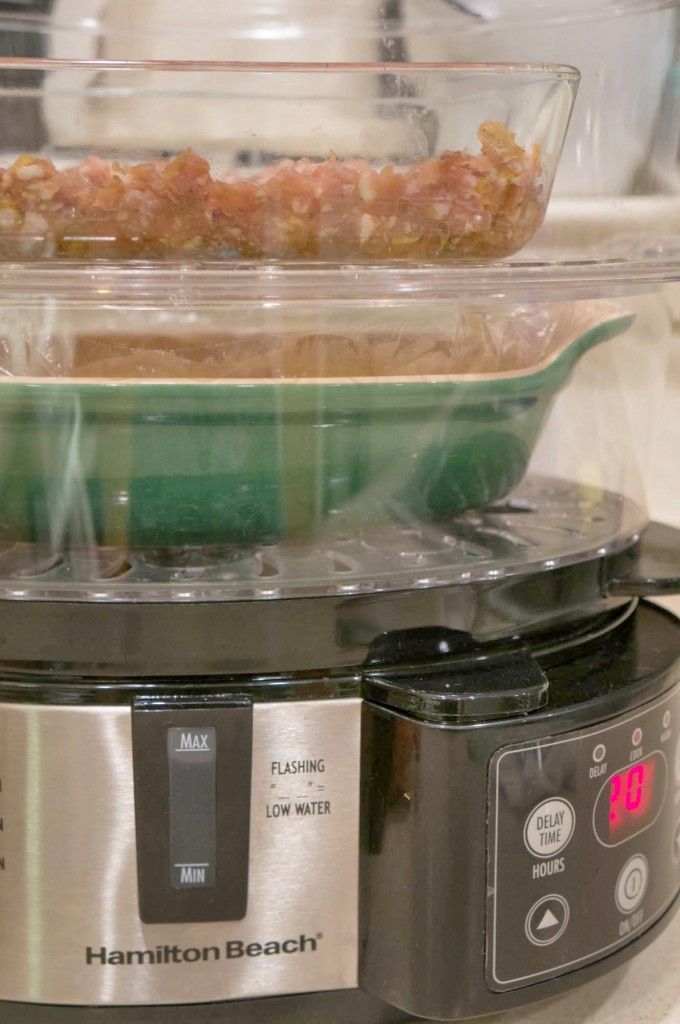
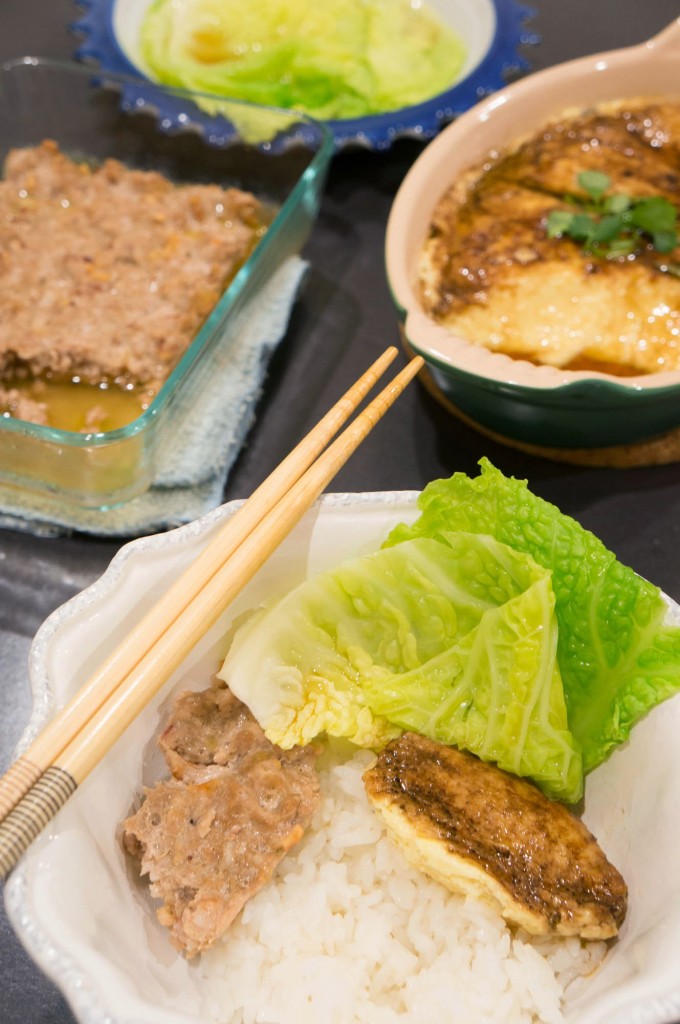
3. Now flatten the meat evenly onto a steaming plate, and steam for 20 minutes. Serve alongside rice for a delicious meal.

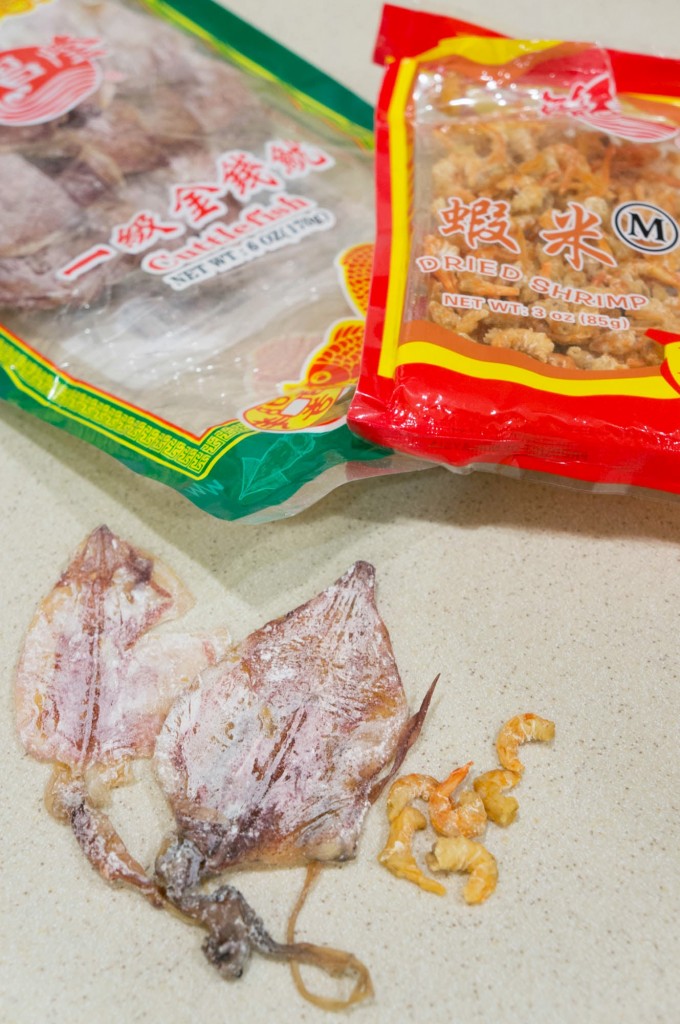
Seafood
You can find these items in any Chinese grocery store. I know, I know… it’s kinda weird but this adds so much flavor!

Diced

Mix
Mix well ^^^

Flattened
On the steaming plate!

Steaming
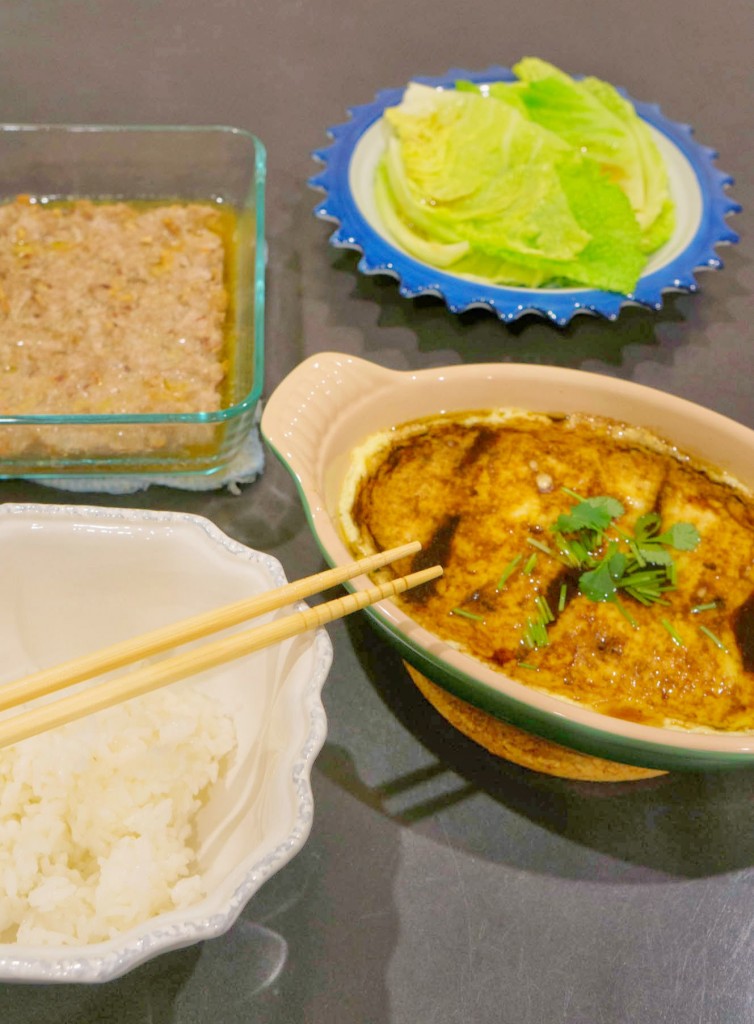
See how clever I am??? I’m steaming pork and egg, and that’s my meal right there!

Dinner
With a simple veggie side, dinner is served!

Have you had steamed ground pork before? What do you think of it?

What kind of Chinese comfort foods do you love and do you have a request for any simple Chinese recipes?

Have a great weekend,
Jay
—–
You can purchase my steamer from Amazon here

Chinese Steamed Egg

You’re in for a treat this week! I’ll be featuring Cantonese-styled Chinese dishes. These recipes are near and dear to me because I grew up eating this stuff. Today’s post will be a recipe for steamed egg, and Friday I’ll post a recipe for steamed pork. These are Chinese comfort foods, cheap to cook, and easy to make. It’s one of those dishes you order at authentic Chinese restaurants. Honestly, only someone that is well-versed in Chinese food would get it.

This dish is a staple steamed egg dish. If you didn’t grow up with it, it’s just egg to you. You don’t necessary think to order it at a restaurant, but when you see it on the menu, you want it! But it’s not just egg. To Chinese families, it’s beyond that. It’s childhood memories. It’s knowing that steamed egg goes great with rice. It’s also a craving. It’s like being able to bake french fries at home, but isn’t it so much better buying it from McDonald’s?

Anyhoo, I got this recipe off a friend who posted their dinner on Facebook. Once I saw his picture of the steamed egg dish, I private messaged him because I had to know how to make it for my husband. Egg is one of his favorite foods, and ice cream…  and steak… and pizza… and Snickers… I digress. Egg!

This recipe is super easy! Let’s do this!

Chinese Dinner

Chinese Steamed Egg Recipe

Ingredients:

  • 4 large eggs (straight from the fridge)
  • Half a can of chicken broth
  • Teaspoon of oil
  • 1/2 teaspoon of soy sauce
  • Chopped green scallions or cilantro for garnish (optional)

Cooking essentials: Steamer, steaming plate, whisk

You can makeshift a steamer by simply adding 1-2 inches of water in a large pan, something to raise your plate (a towel, a metal stand) and then place your steaming plate on top. Basically you do not want water in your steaming plate.

Directions:

1. Beat your eggs thoroughly in your steaming plate and add half the can of chicken broth. Whisk until combined well.
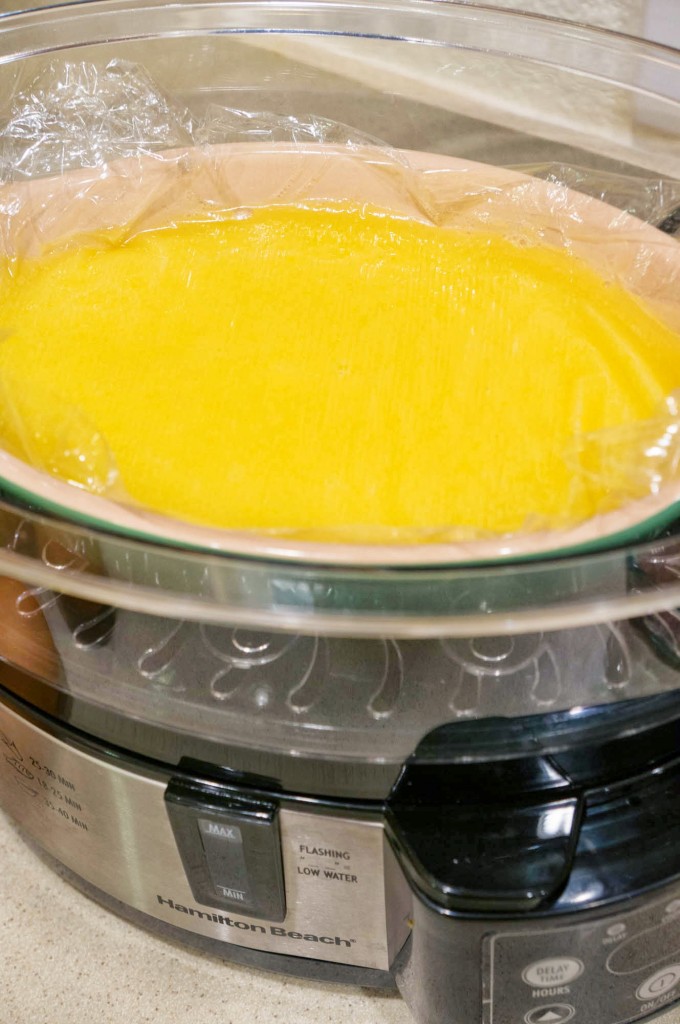
2. Cover the plate with plastic wrap to prevent bubbles from forming due to the condensation.
3. Steam the eggs on medium-high heat for 8-10 minutes, until mixture is not runny.
4. In a pan, heat up oil and soy sauce.
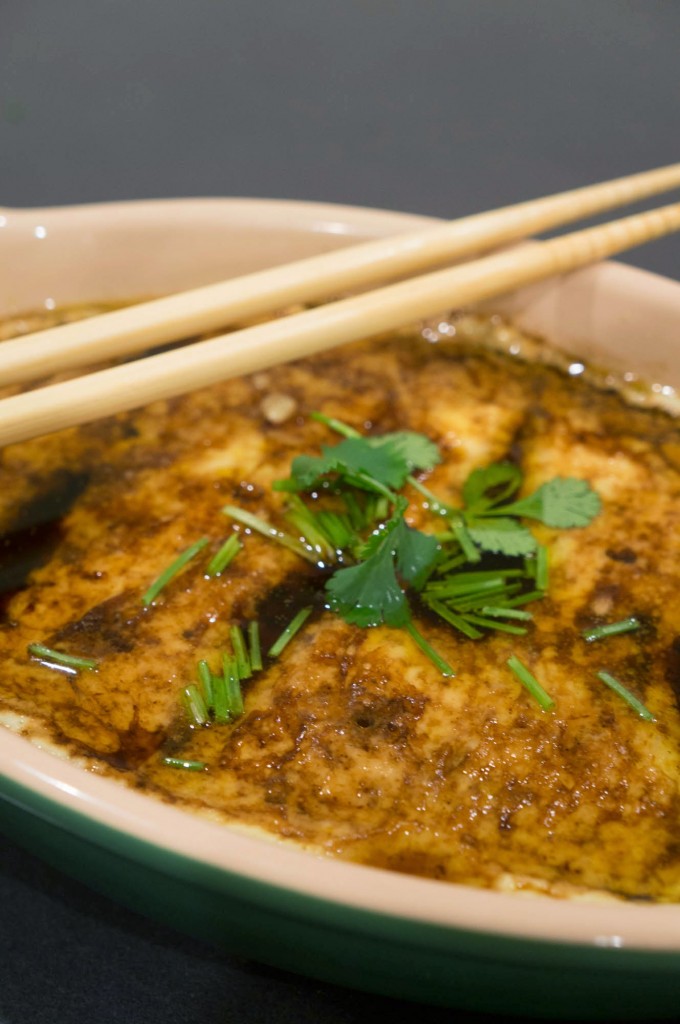
5. Once the eggs are cooked, remove the plastic wrap and sprinkle the chopped green scallions. Finally drizzle the oil and soy sauce onto the eggs.

Pro-status: If you loooove clams with this dish (a-to-the-men for whoever came up with this). Steam the clams first until they are half open. Then pour the chicken broth and egg mixture onto the clams and follow directions 2-5.

Plastic Wrap

Egg

Dinner

My father in law loves this dish. And MG, he is able to eat just this for dinner and he would be happy. It’s not just egg. It’s the joy you get from eating it, a happy belly! It’s the childhood memory of your mom letting you beat the eggs for this dish. It’s about the family dinners where everyone had time to sit around the table to enjoy dinner.

Have you had this dish before? What are your thoughts?

Stay tuned on Friday for my steamed pork recipe,
Jay
—–
Special thanks to Ernest for the recipe
You can purchase my steamer from Amazon here

Bacon Deviled Eggs

Two years ago, I was baptized on Easter Sunday. I was able to celebrate with my friends and family, and one of the highlights of the day (don’t laugh) were these rice krispie treats my friend made. They were sooo ooey and gooey and clearly very memorable.

I knew people made treats for Easter but I didn’t understand why. Growing up I didn’t celebrate Easter as a major holiday. We basically bought candy and hosted an egg hunt at our house for a few kids. I’ve probably taken pictures with the Easter bunny twice. That defined Easter for me.

But now I can see that Easter has a different meaning for those that follow Jesus. And people make treats to celebrate this occasion and to make memories, like ooey-gooey rice krispie treats! I’m not going to feature rice krispies today (you can find my chewy chocolatey recipe here), but I am going to showcase my bacon deviled eggs!

My mom never made deviled eggs… Hello! I grew up in a Chinese household. Soy sauce eggs can be found in the fridge constantly, but none of this mayo-mixed egg yolk. The first time I had a deviled egg that I could remember was at Park Tavern in San Francisco about 2 years ago (where have deviled eggs been all my life). At $2 for half an egg, I’d rather make my own version at home. Don’t get me wrong, the smoked deviled eggs are amazing, but I don’t know if it’s $2 amazing…

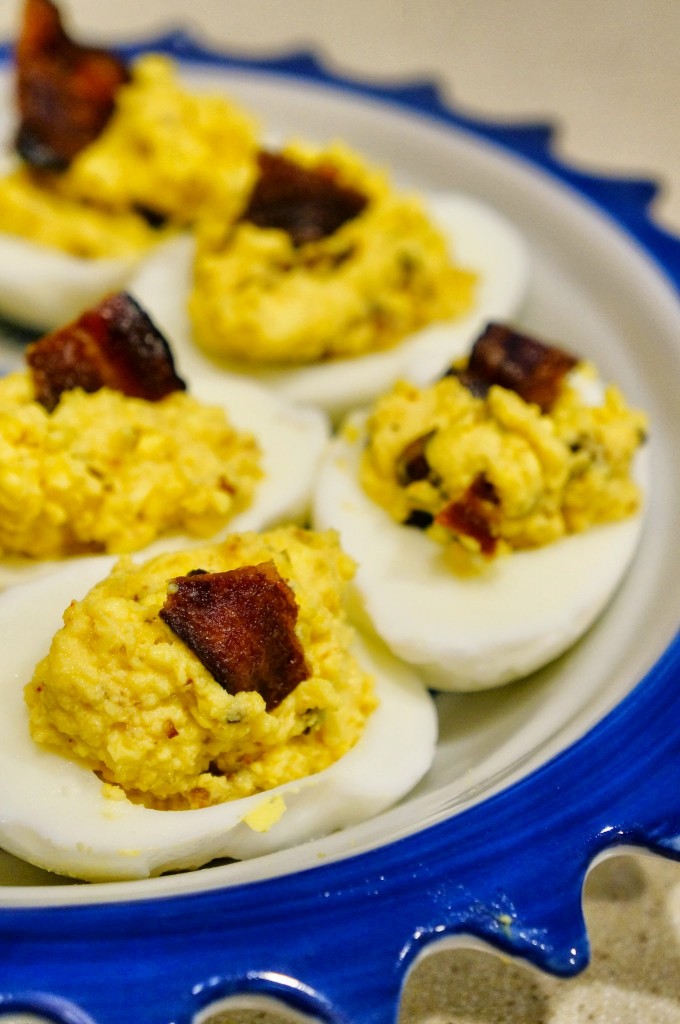
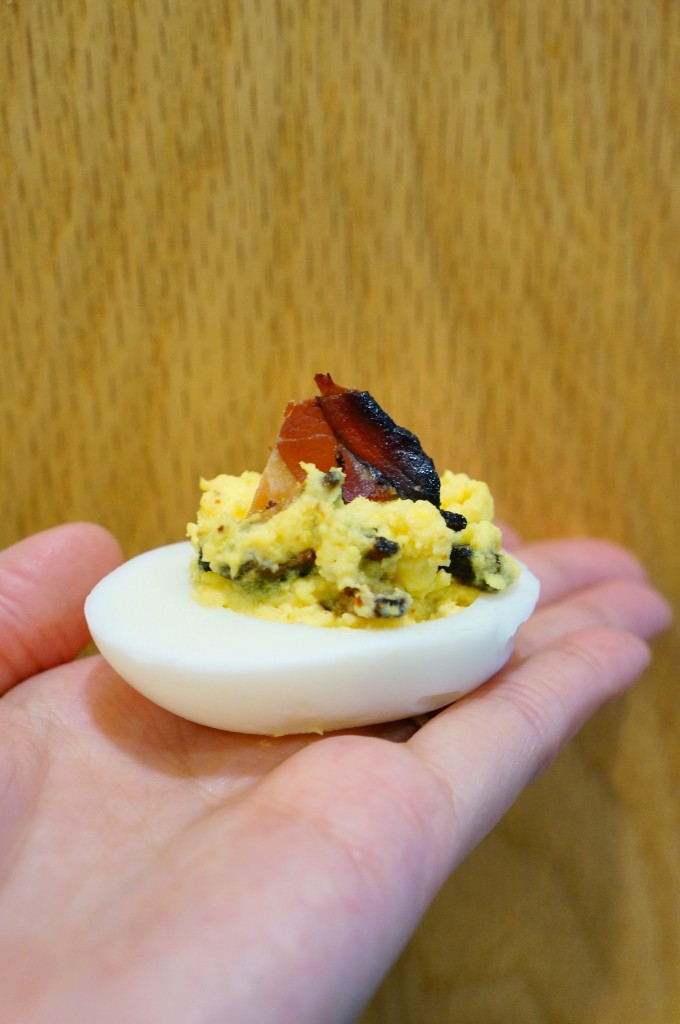
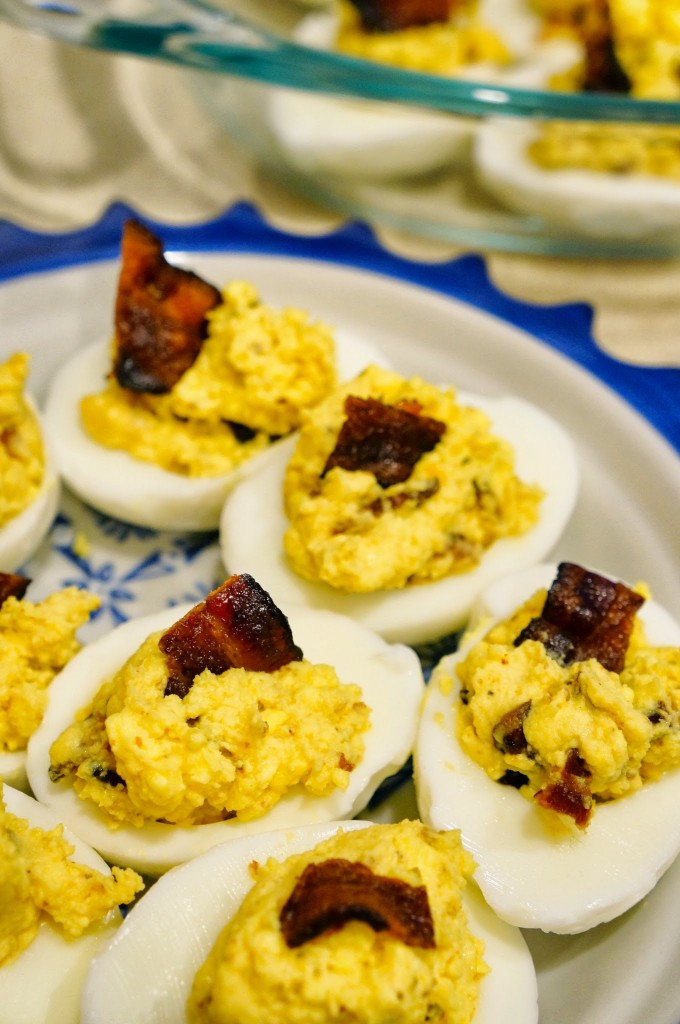
So challenge accepted, and I set out to make my own smoked deviled egg. The bacon deviled egg is my result! Not too much mayo, and lots of smoked flavor from the bacon, paprika, and hickory salt.

I made these for my last LAN party and they were a hit! I actually had to save two for a friend who was coming to the party late. This recipe calls for a dozen eggs, but I’m not even kidding when I say you should make more!

Finished

Bacon Deviled Eggs

Ingredients:

  • One dozen eggs
  • 6 strips of bacon*
  • 1/4 cup mayonnaise
  • 1 teaspoon of dijon mustard
  • 1 teaspoon of smoked paprika (normal paprika is good too)*
  • 1 teaspoon of hickory salt (can substitute salt)
  • 1 pinch of red pepper flakes

*Both from Trader Joe’s. The applewood smoked bacon is amazing and the smoked paprika has a great flavor

Directions:

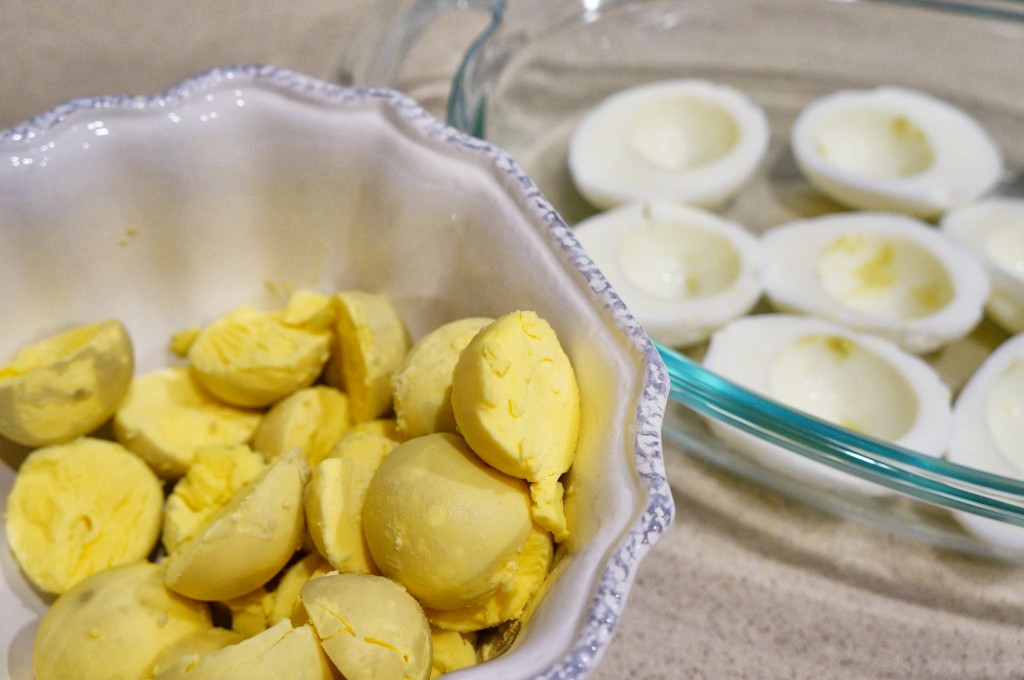
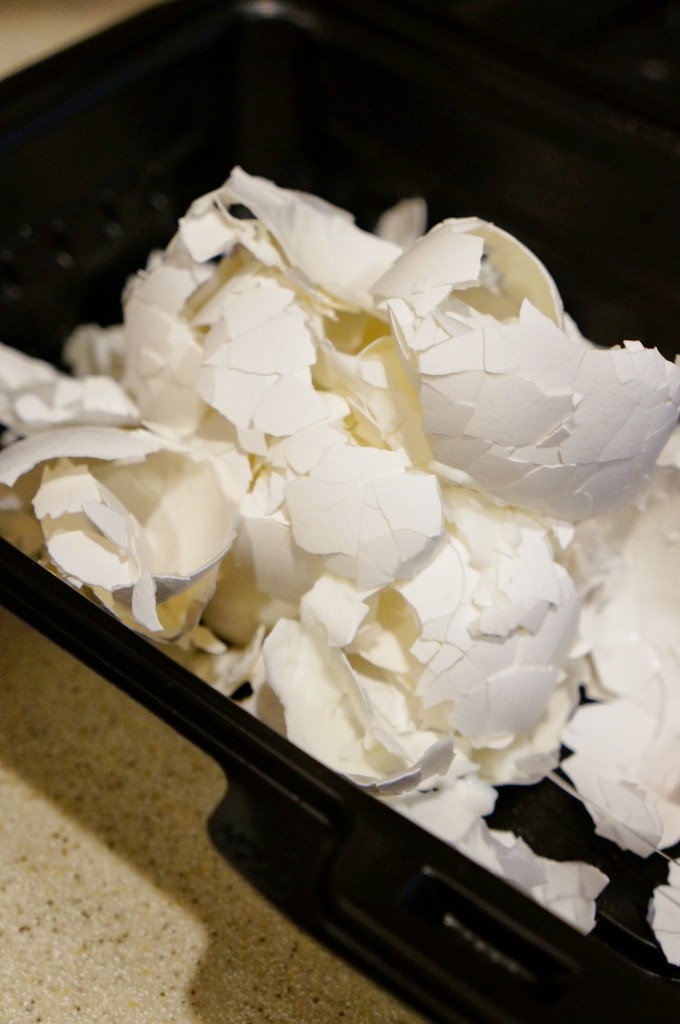
1. Boil the eggs. The best way to do this is to submerge your eggs in cold water and bring to a boil. Once the water is boiling, turn off the heat and leave the eggs in water for 15 minutes. Drain out the water and place the eggs in ice cold water for easy peeling. Peel all your eggs and cut them into halves, and take out the egg yolks into a separate bowl.
2. Cook 6 strips of bacon until crispy. Then set bacon aside and cut into small pieces.
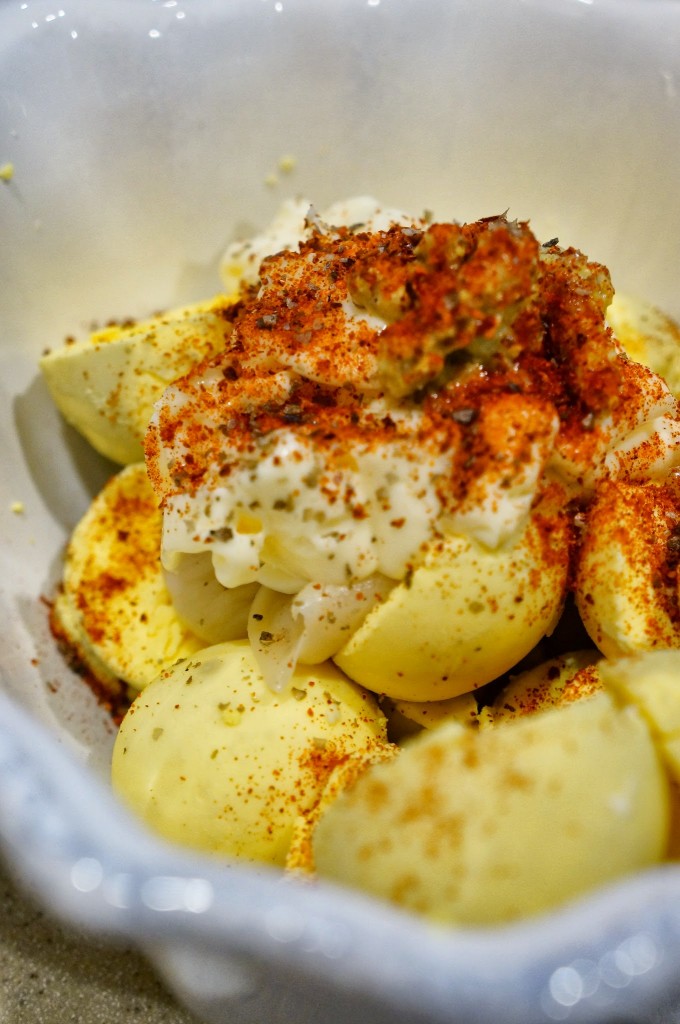
3. Add the remaining ingredients to the egg yolk (mayo, mustard, paprika, salt, and pepper flakes). Now this is the money right here – add a tablespoon of bacon oil to the egg yolks. Mash up the egg yolks and mix in the ingredients until combined.
4. Scoop the egg yolk mixture into each of the egg white halves and top with a piece of bacon.

Eggs

Peeled

Yolk

One

Done

Bacon makes everything better. Agreed?

What are some of your favorite Easter treats? Do you have a deviled egg recipe that you love? Please share!

Stay tuned for my Good Friday post,
Jay

Simple Strawberry Crumble Pie

It’s the Friday before Good Friday! Are you prepping for Easter yet?

In my household, we’re not big on Easter candy or baskets. If we’re going to use up calories on candy, let’s go ahead and go all out with dessert. Cookies. Cake. Pie. Now I’m down for that!

After dinner, I was craving something sweet but like I said, no candy. I just want dessert. I looked around my pantry and fridge to see what was going bad. I came across these things – super ripe strawberries, almost expiring heavy whipping cream, and graham crackers from when we went camping. Hmmm, I like the combination of ingredients.

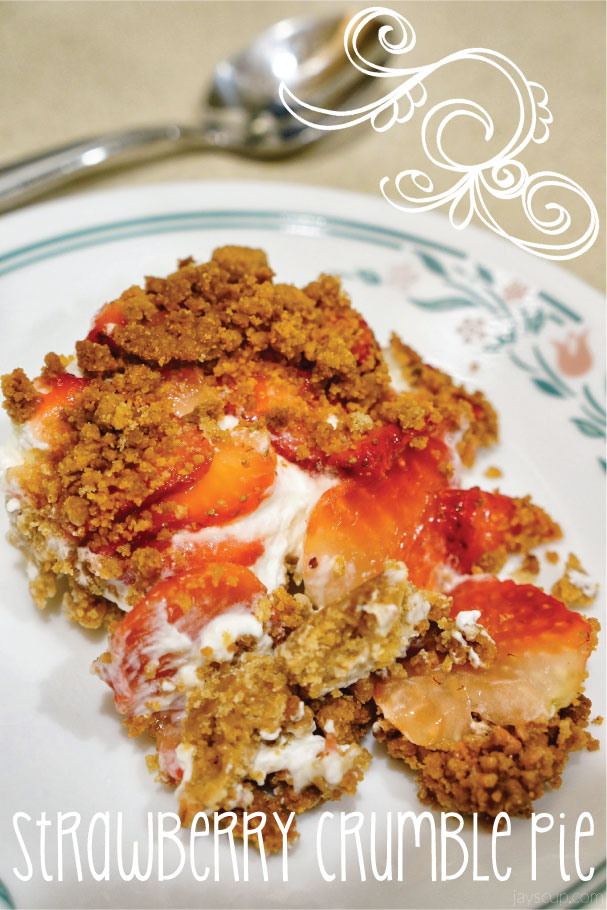
This resulted in a simple strawberry crumble pie! It takes 20 minutes to make and 1 hour to freeze and will result in an ear-to-ear smile!

Title

Simple Strawberry Crumble Pie
8-10 servings

Ingredients:

  • 1 pack of strawberries, sliced
  • 2 tablespoons of lemon juice
  • 2 tablespoons of sugar
  • Whip cream (Can be purchased, but I make my own whip cream by simply whisking heavy cream until it forms peaks)
  • 1.5 cups finely ground graham crackers
  • 6 tablespoons of butter, melted
  • Brown sugar

Directions:

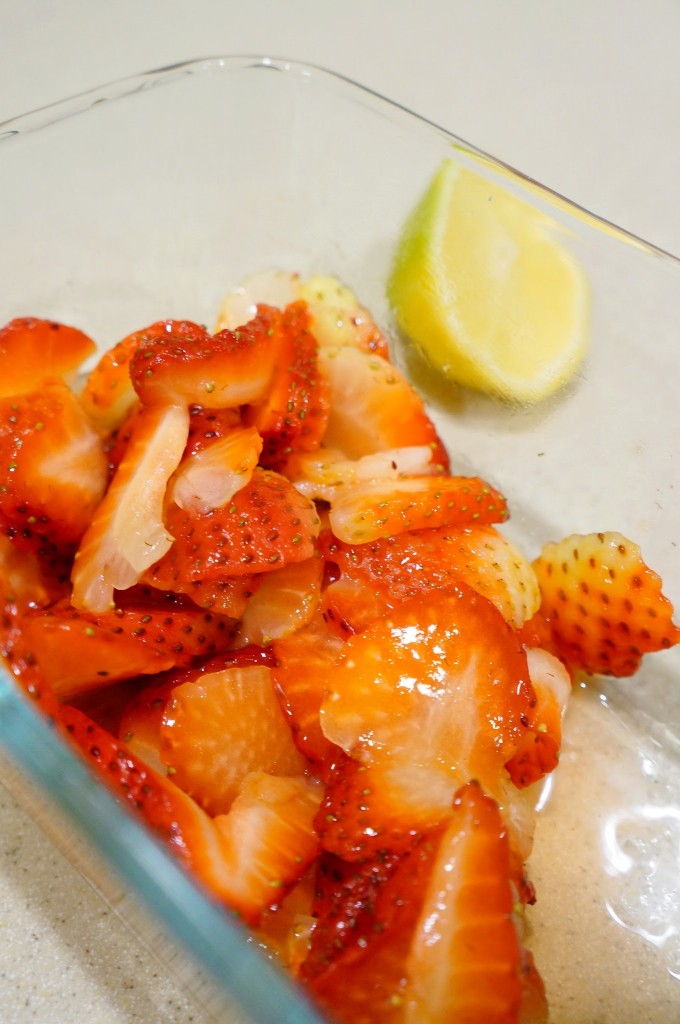
1. Combine the lemon juice, sugar, and sliced strawberries. Place into the fridge while you work on the other ingredients. This helps soften the strawberries and adds sweetness.
2. Combine the melted butter with the graham crackers. Press 1 cup of the graham cracker mixture onto the bottom of a baking pan. Put the other half cup into another baking pan, spread evenly, as this will be used to top the pie. Bake at 375° F for 7 minutes. Then let it cool.
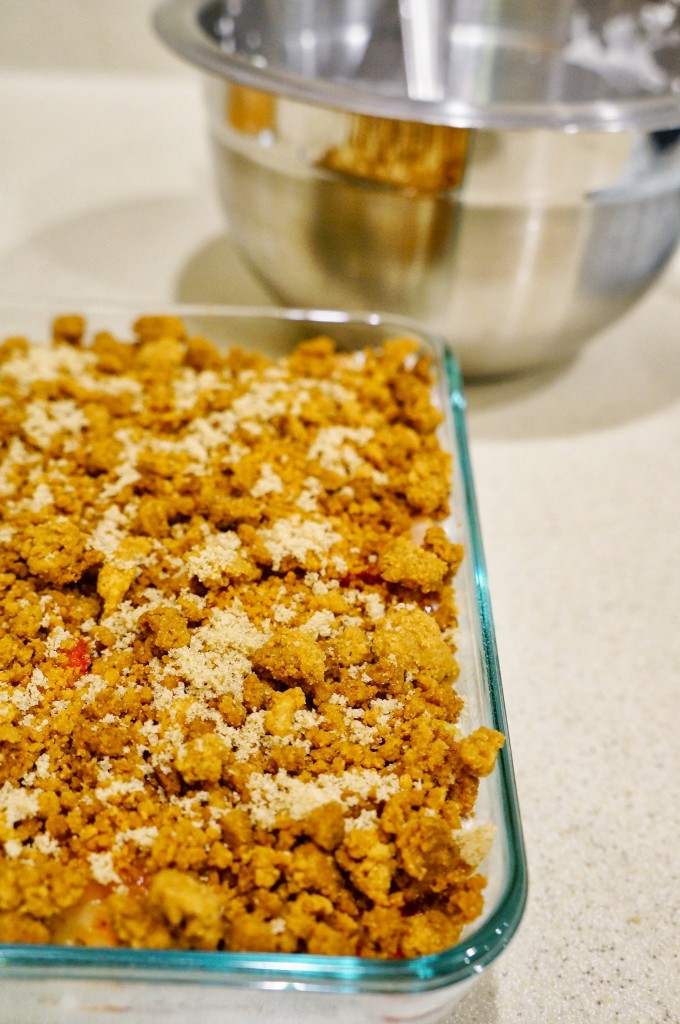
3. Spread whip cream onto the graham cracker crust, then layer on the sliced strawberries. Finally, sprinkle on the remaining graham cracker crumbles. To top it off, sprinkle a bit of brown sugar.
4. Freeze for 1 hour before serving.

Macerating
Macerate the fruit so that it’s juicy and sweet

Layering
Layering on the goods

Top
^^^ This is half the recipe

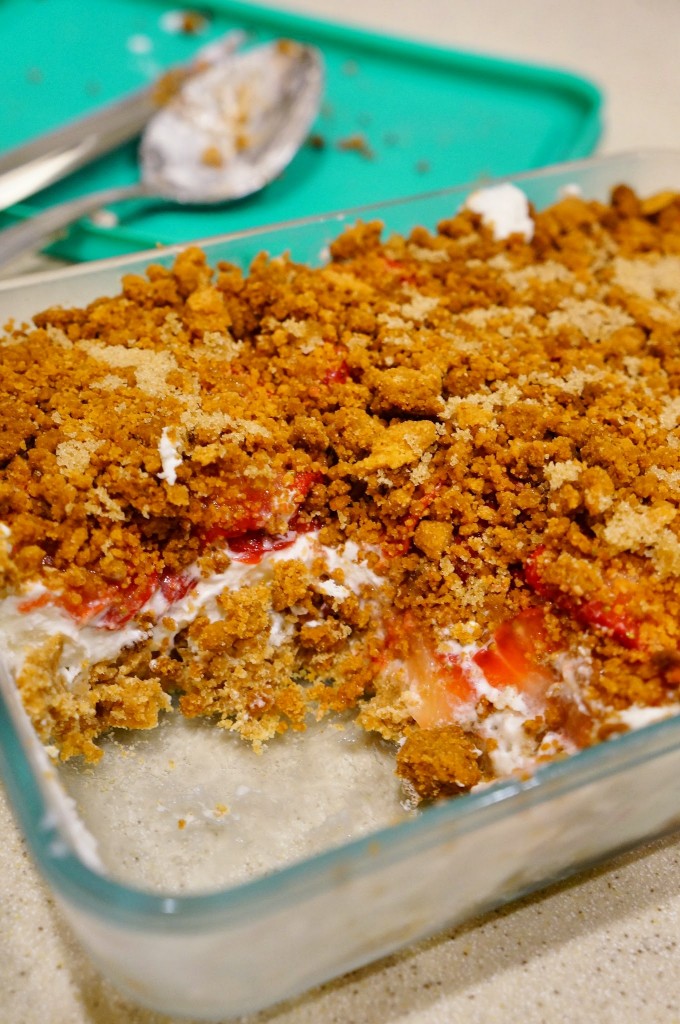
Cut
Yum!

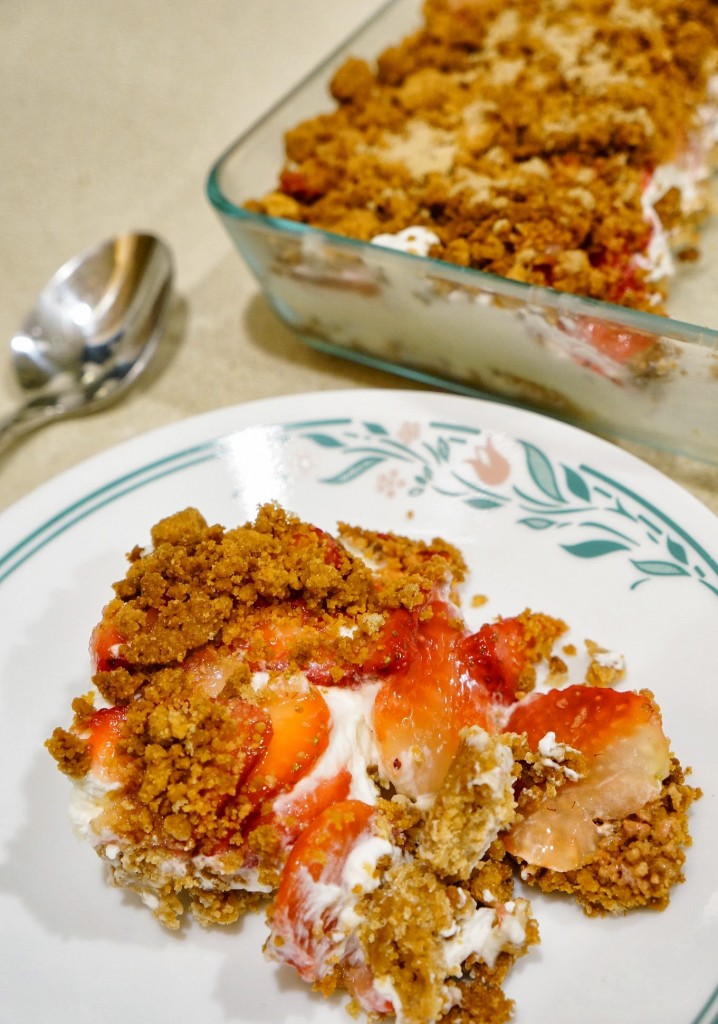
Done

It may not be the prettiest slice of pie, but it sure is delicious! It’s a nice treat for a warm day. Or a nice treat when all you want is dessert!

Is this something you can recreate? What are some good strawberry dessert recipes you love?

Have a great weekend!
Jay

Simple Broccoli Salad

Last week it was rainy and chilly. This week is a whole different story! It’s so warm out, reaching 80°F in the afternoon and low 70’s in the evening. We actually have our air conditioning on!

I’m still running and training for my half-marathon (happening in August). It’s such a love/hate relationship. During the first two miles I’m always questioning “Why!! Why do you do this to yourself? How am I going to continue?” Then the next two miles are usually pretty easy going. After the run, I love running and think to myself “Seriously a great work out. I can certainly do this again!”

Surely, the entire thing happens all over again, day after day! Now it’s so hot out that I can’t even run during lunch time. Evening running is great though! It’s a bit cooler, more people are out and about, and it’s right before dinner so I can be super hungry after running (yup, food is my motivation for running). No judgement.

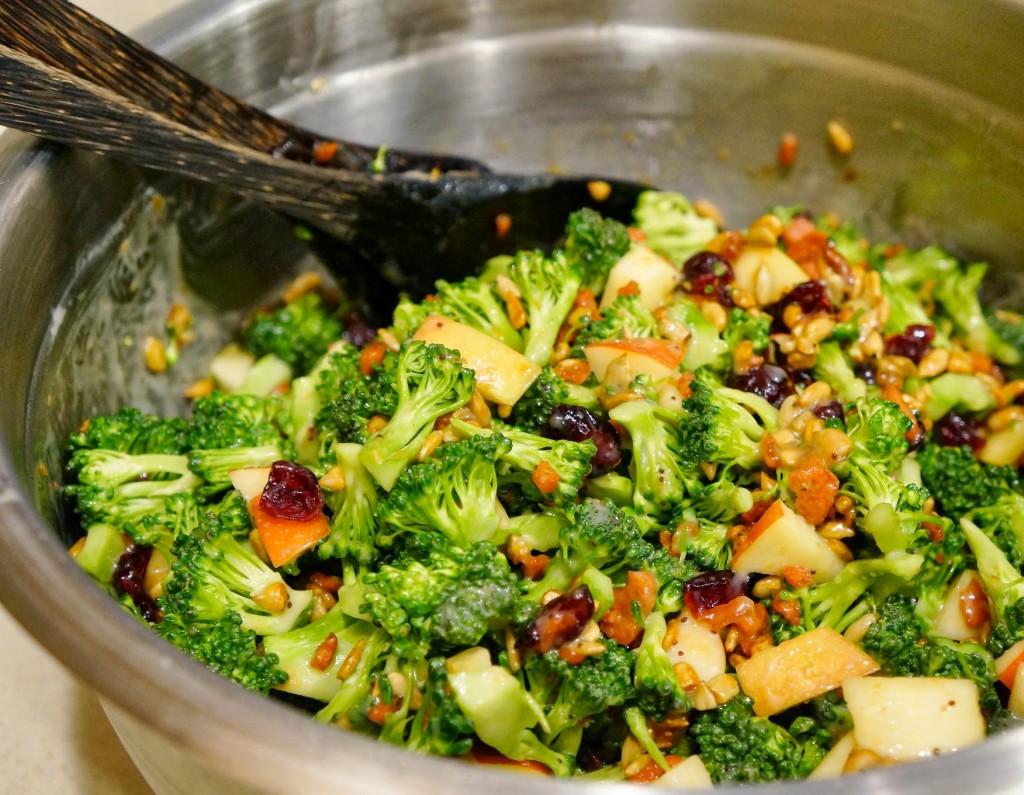
Since we’re running in the evenings now, it’s important to make a quick and easy dinner to end the night. I’ll grill/pan-fry meat, and we’ll also have a salad. Today I’ll share with you a delicious and scrumptious broccoli salad recipe. It’s so easy; simply get the ingredients and mix it all together!

Title

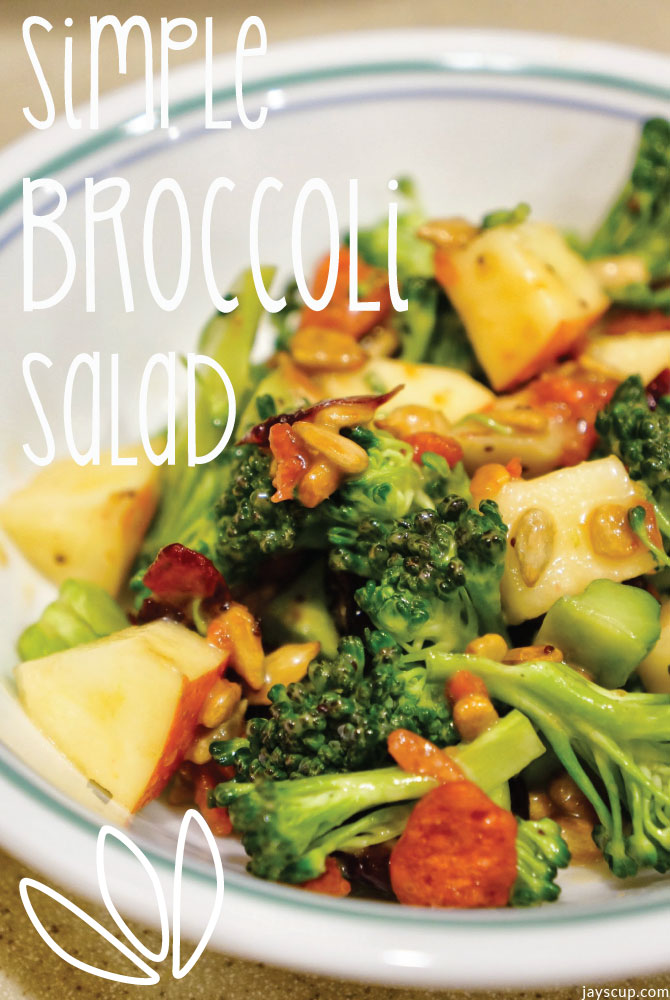
Simple Broccoli Salad

Ingredients:

  • 2 medium broccoli crowns
  • 1 apple, diced*
  • 1 cup dried cranberries
  • 1 cup sunflower seeds
  • 1 cup bacon bits
  • 1/4 cup poppy seed dressing

*Substitute candied walnuts for the sweet-tooth

Directions: Cut the broccoli crowns into bite-sized pieces. Toss in the remaining ingredients and combine well.

Tossed

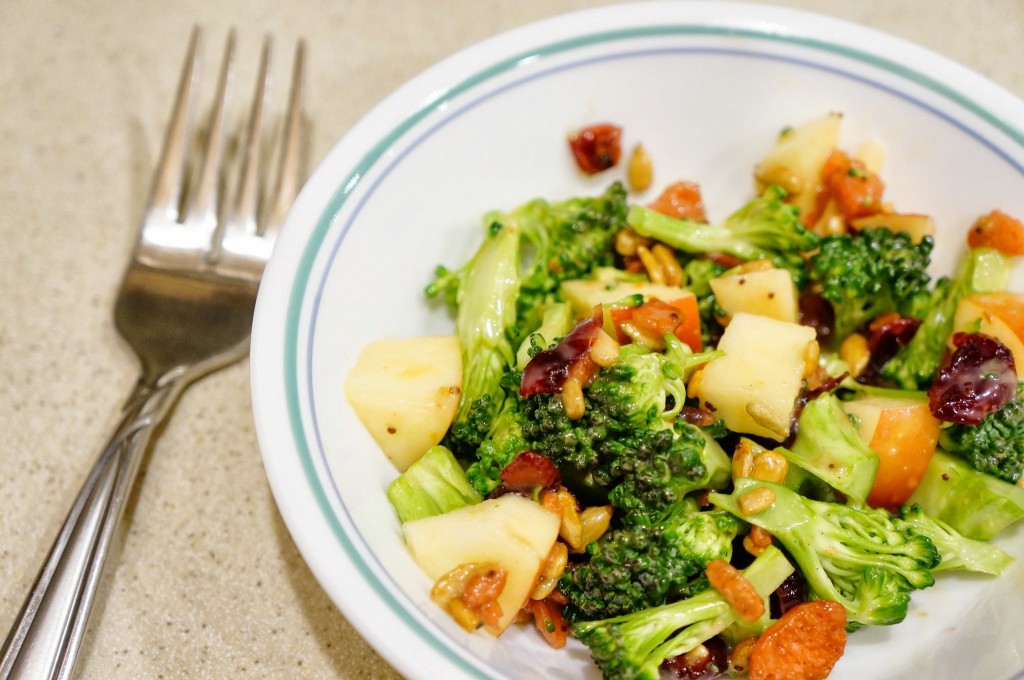
Served

Perfect bite^^^ The perfect bite

It’s extremely easy and extremely delicious! It’s also a great salad to make for potlucks because you can prepare in large quantities at a cheap cost. If you love crunch, then this is the perfect recipe for you!

Is this something you can make? What are some of your favorite salad recipes?

Crunch crunch,
Jay

Pets & Grilling (read title carefully)

Thankfully there’s an & sign in my title. Also it helps that I put pets first and then grilling second. The other way around could have cause quite some confusion!

It has been a pet filled weekend (to say the least!). My cousin brought her Siberian kitty over for a cat playdate! Can we all just be in awe at this amazing cat for a few moments? Silence please…

TobyIt’s so fllluuufffyyyy!!! Meet Toby!

I am also dog/cat sitting my friend’s pets while she’s on vacation. She has 2 cats and a Chi-weenie-pom named Tito. My house has 3 cats and a dog right now!!! I cannot be more excited! Though I love kitties, Tito has won over my heart. He follows me everywhere, sleeps with me in bed, and I wake up to his kisses the past few mornings. Chubs has befriended him, finally (took about a day to get adjusted since Tito barks at doorbells and when the cats get on the furniture). 

Having pets around may not always be sunshine and rainbows. That’s why it’s important that they’re trained. If they have caused any harm like biting another person, then that person can contact experts, like birmingham dog bite lawyer, in order to claim their compensation successfully.

Pets

Look at my bed – it’s a dream come true! My husband, a dog, and Chubalee. Can it be any better? Chubs sleeps by my pillow, while Tito starts at the foot of the bed and slowly inches his way upwards throughout the night. He’s usually at my face in the morning. MG likes to sleep in the middle of the bed. I have a sliver of room on the bed… We definitely need to upgrade from a Queen to a King if we get a dog.

The second pic is blurry but doesn’t mean it’s not cute! I can’t get over it!!! Watching these two and cuddling with them in bed – it’s the highlight of my weekend.

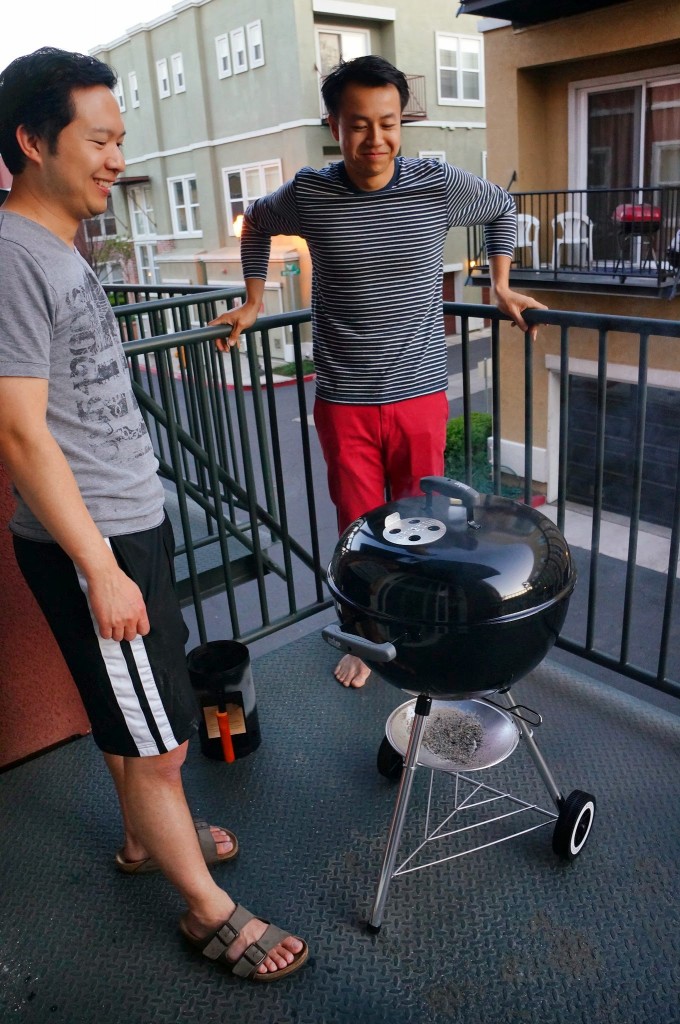
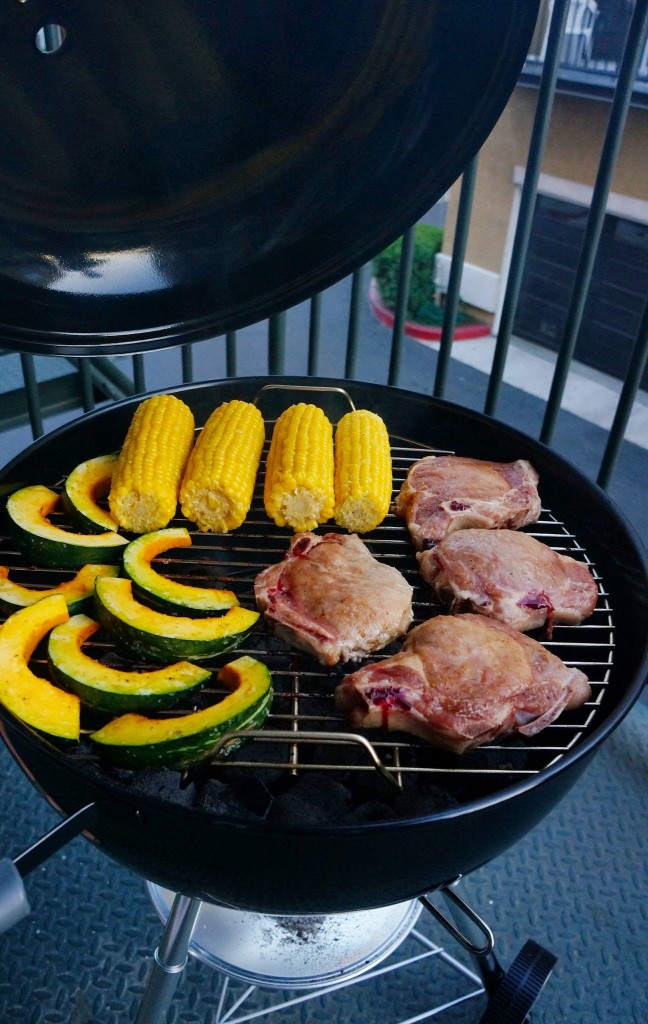
This next part of my blog post is a definite runner up as highlight of my weekend. MG finally put together his grill that he got for his birthday. T’was a warm evening, so we fired up the grill! We held a little mini grill party for our friends to toast the premier of Game of Thrones.

Grill
Oooo fire… shiny…

Boys
Grilling on our balcony!

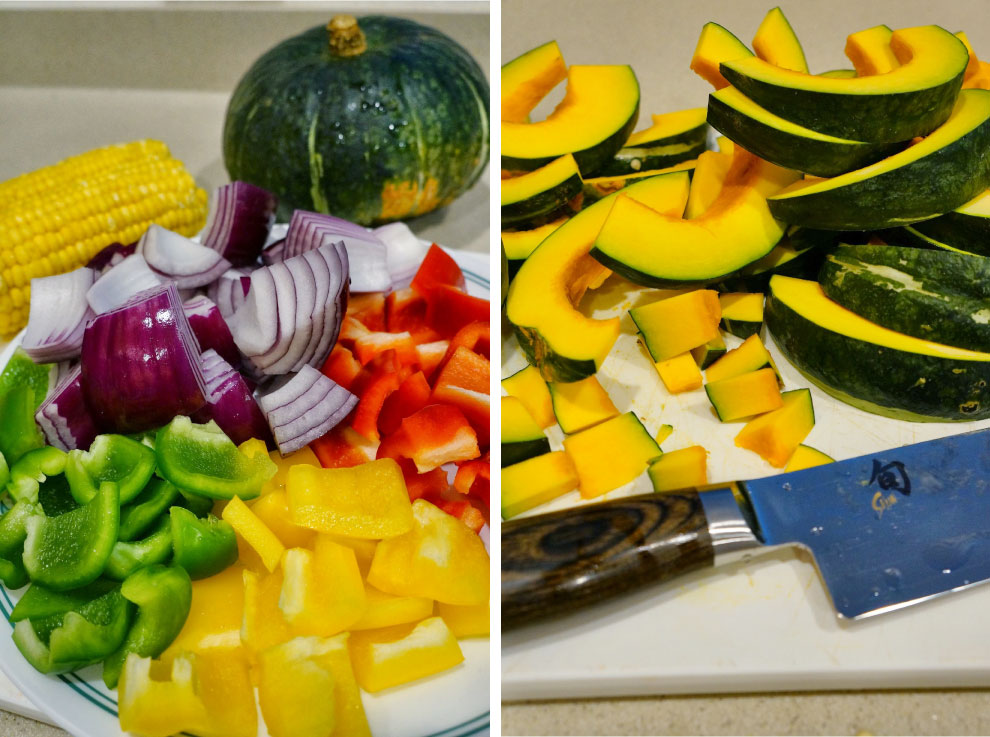
VeggiesYummy veggies! Kabocha squash is killer to cut… any tricks of the trade? 

Grilling
First course ^^^

Pork
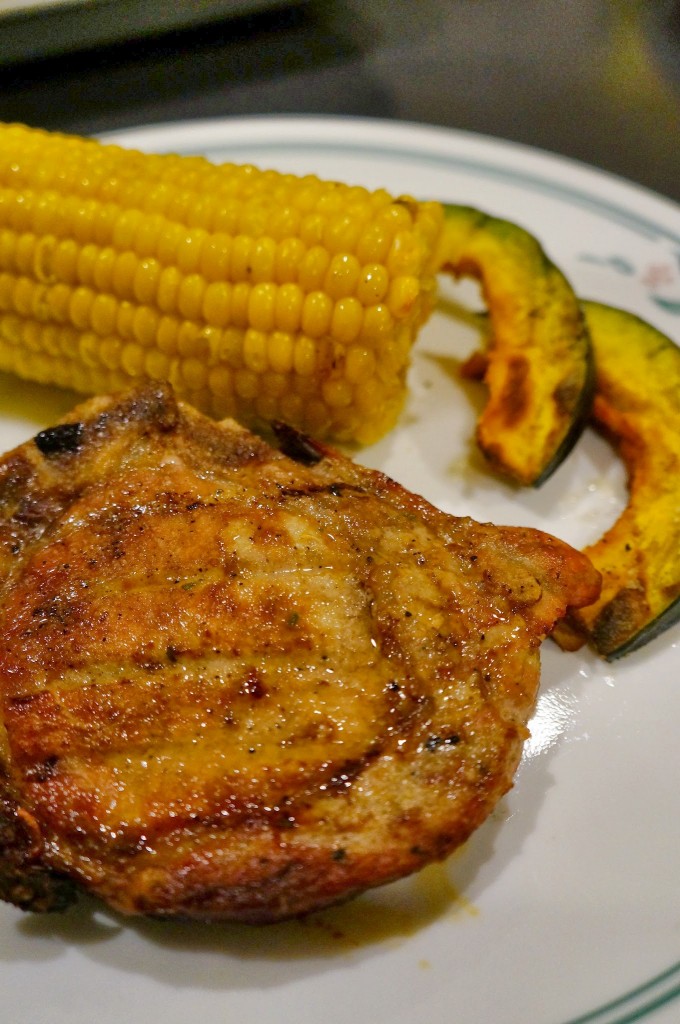
Grilled pork chops, corn, and kabocha squash

Raw
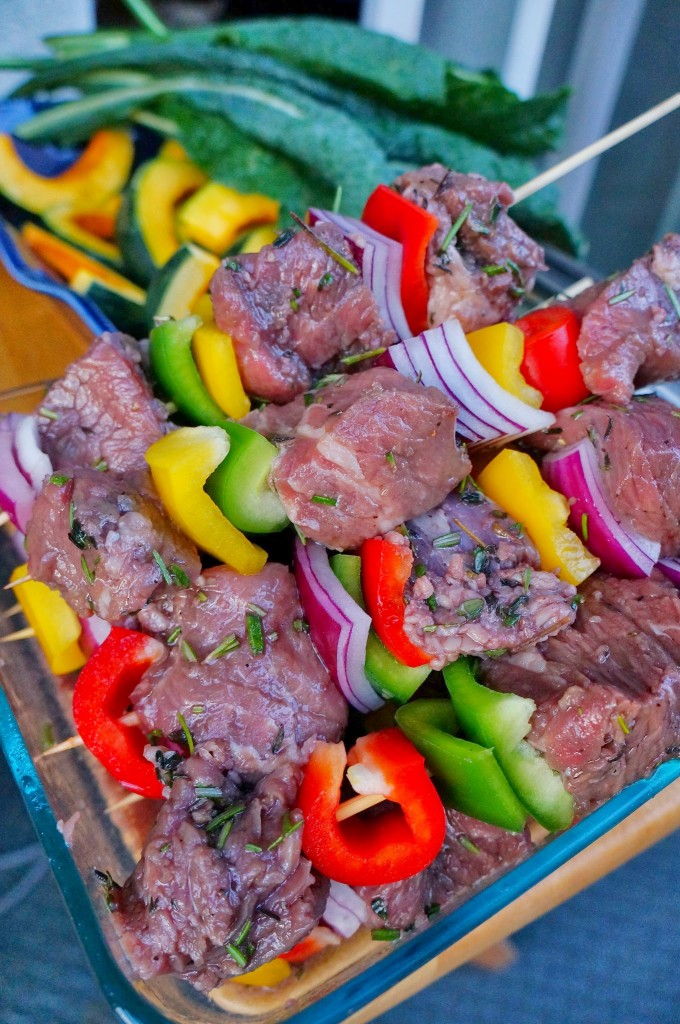
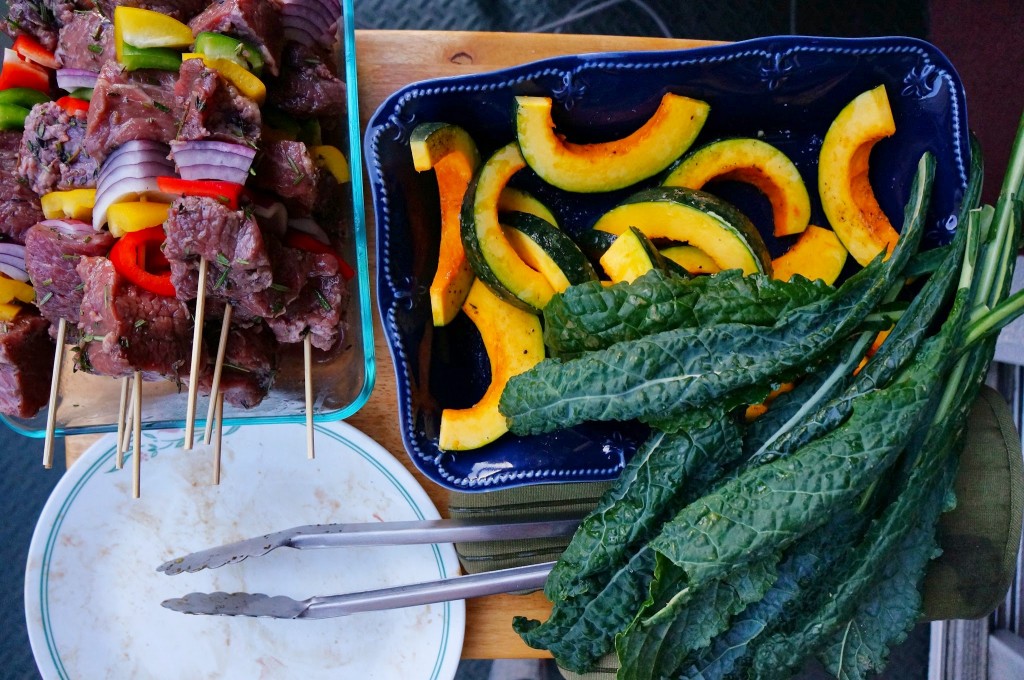
The beef kabobs!

Kebob

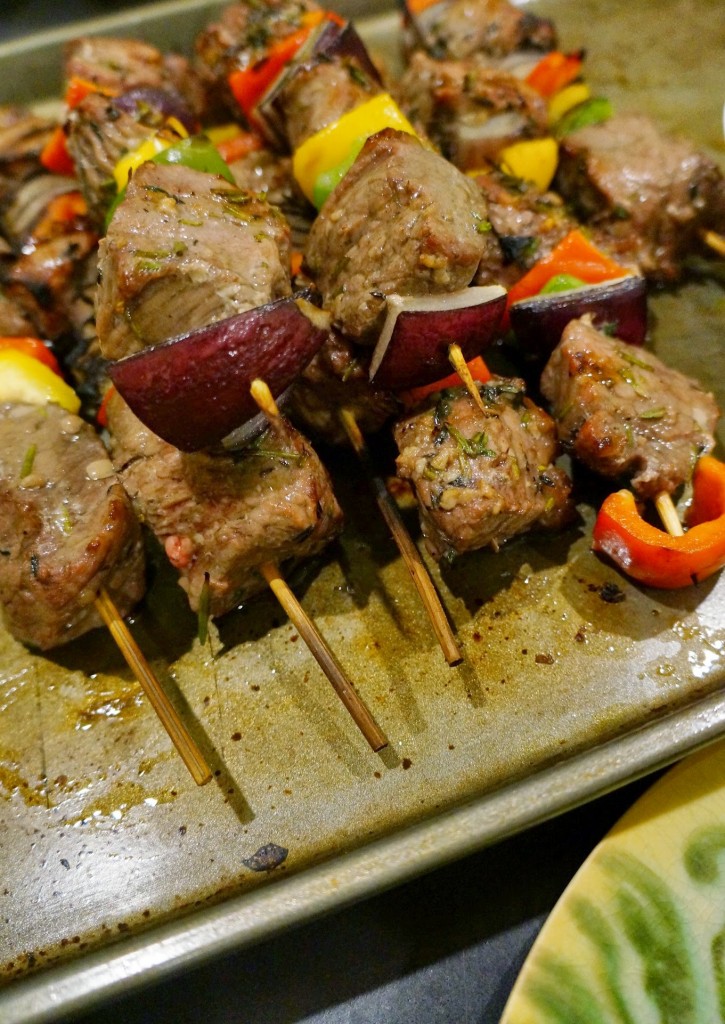
Kebobs
Enough to have dinner for the next two days – yay, no cooking!

Food
^^^ I love this image. It’s perfect

Oh yes, we grilled dino kale. If you’re wondering, it has a grill taste, but I still prefer baking my kale. Worth a try though if you love kale chips! Now for dessert:

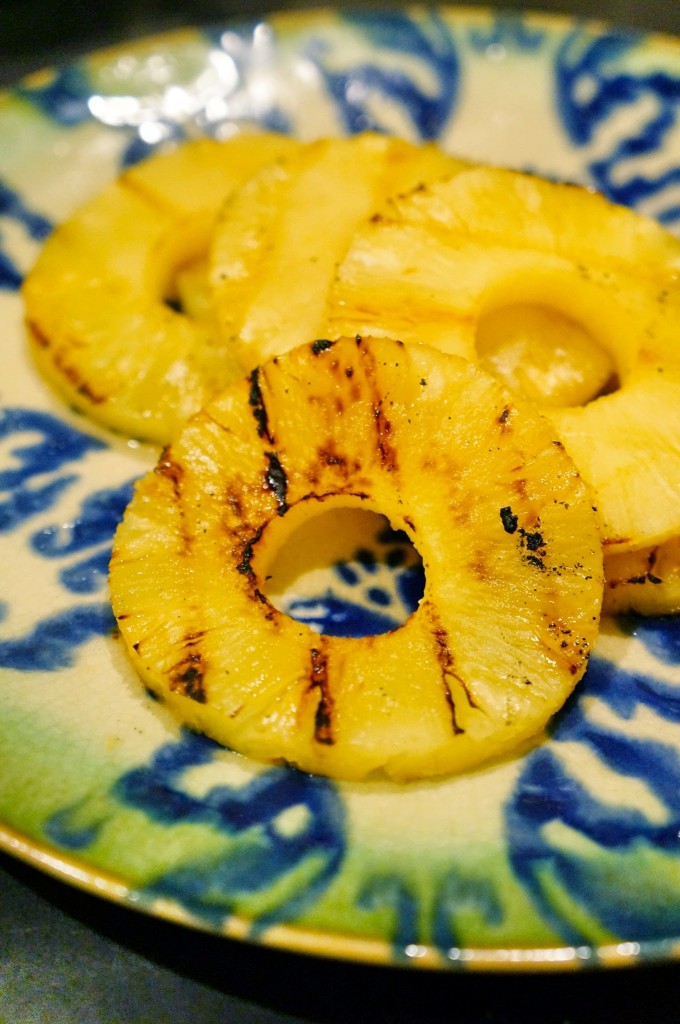
Pineapple
Grilled pineapple, because yum!

What kinds of things do you grill? Any recommendations for my next go-around?

What did you do this weekend?
Jay

Leftover Enchilada Casserole

It’s almost time for the weekend!

This week has been dragging along… The week started with a 5 mile run and 2 hot yoga classes, so I was proud of what I accomplished. Then MG and I got into a huge fight, he flew to Chicago for work, and I just ate a lot of carbs to make me feel better. And then surprise! MG sent a delivery of flowers while he was on his work trip. I’m spoiled by him, I really am. I’ll make him a scrumptious dinner tomorrow night, and we’re probably going somewhere fun this weekend.

Flowers

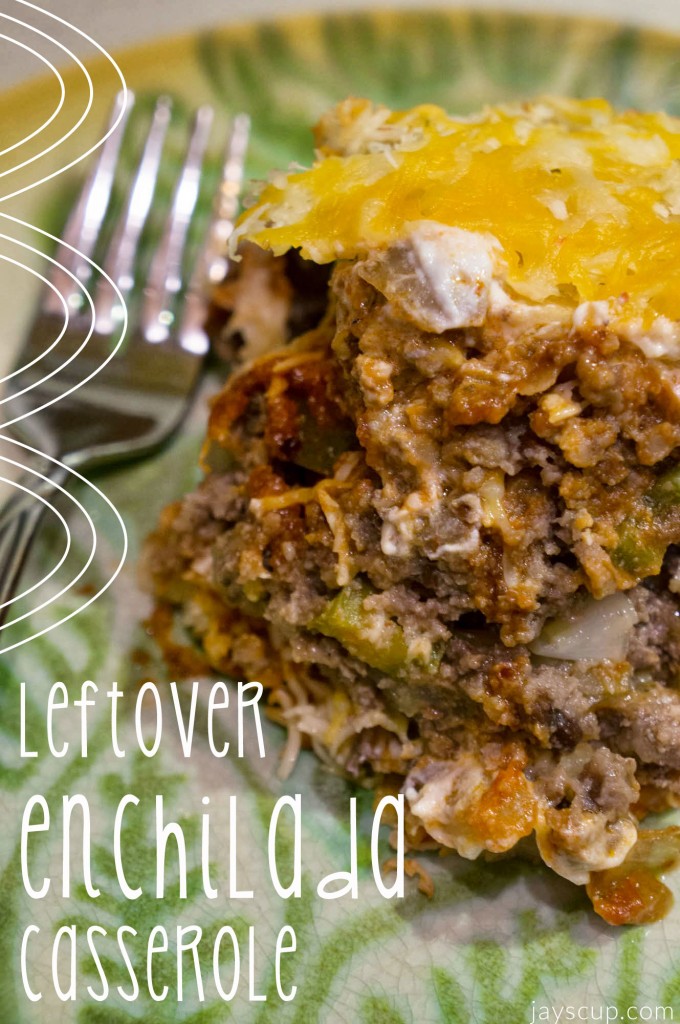
I have another delicious recipe for you today! It’s one of those recipes that are my clean-out-the-fridge dinners. I’ll whip up this enchilada casserole after we have “taco night” and an abundance of leftovers. During make your own taco night, there’s usually no more meat left, but lots of beans, tortillas, and a package of shredded cheese. Is that the same with you?

When my friend wouldn’t take the leftovers, I challenged myself to use the ingredients so it wouldn’t go to waste. With some enchilada sauce, ground beef, garlic, and onions, I created my leftover enchilada casserole. 
Title

Leftover Enchilada Casserole
servings: 8

Ingredients:

  • Olive oil
  • 6-8 medium tortillas, cut into stripes
  • 1.5 pounds of ground beef
  • 1 medium onion, diced
  • 2 cloves of garlic, minced
  • 2 cups of enchilada sauce
  • 1 cup of black beans
  • 1-2 cups of sour cream
  • 2 cups of grated cheese (I used cheddar and Monterrey Jack)
  • Salt for tasting

Directions:

1. Preheat oven to 350°F.
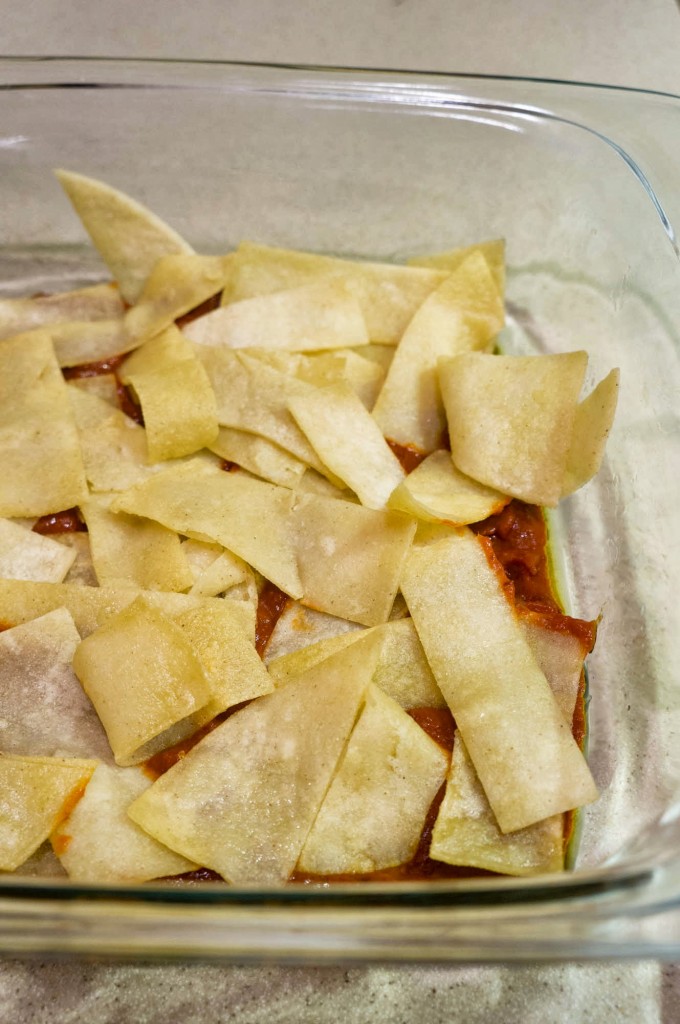
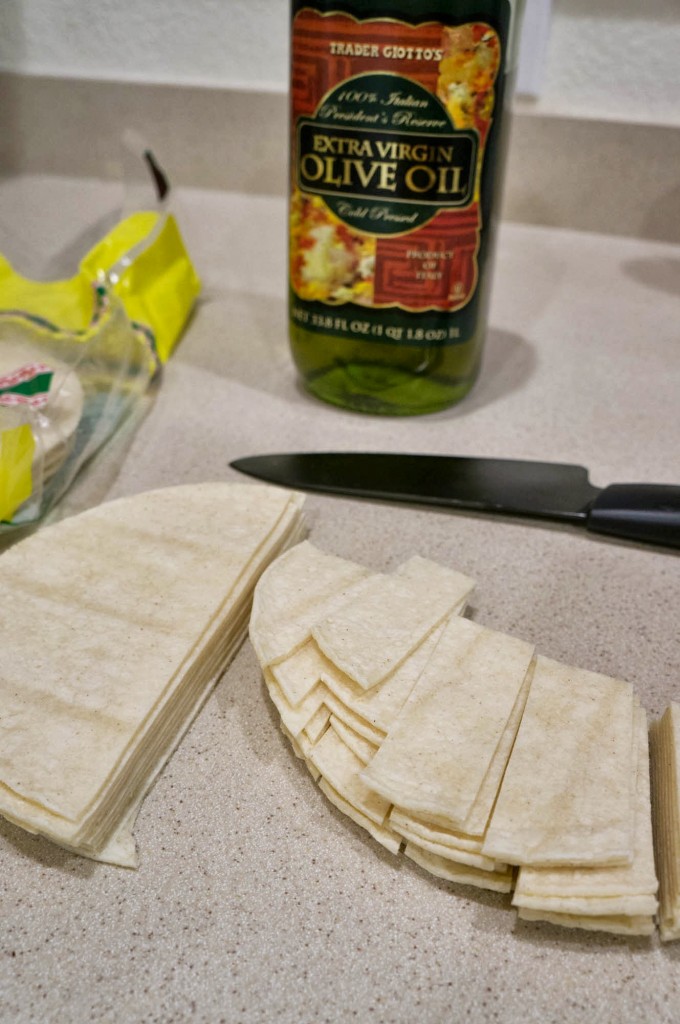
2. Cut the tortillas in a half and into strips. Drizzle olive oil on a skillet over medium heat, and cook a few of the tortilla strips until crisp on each side and set aside on a plate lined with a paper towel. You may need to do cook the tortilla strips in batches until all remaining tortillas are cooked.
3. In a large pan, add olive oil and fry the onion and garlic for 2 minutes. Then add the ground beef and stir fry for 8-10 minutes. Drain the stir fry to remove drippings.
4. Now take a 9×13 casserole dish, and spread 1/2 cup of enchilada sauce to coat the bottom of the dish.  Then add slices of crispy tortilla as the second layer, slightly overlapping. Layer on ground beef/garlic/onion mixture evenly, then another layer of enchilada sauce. Spread on sour cream and sprinkle cheese.
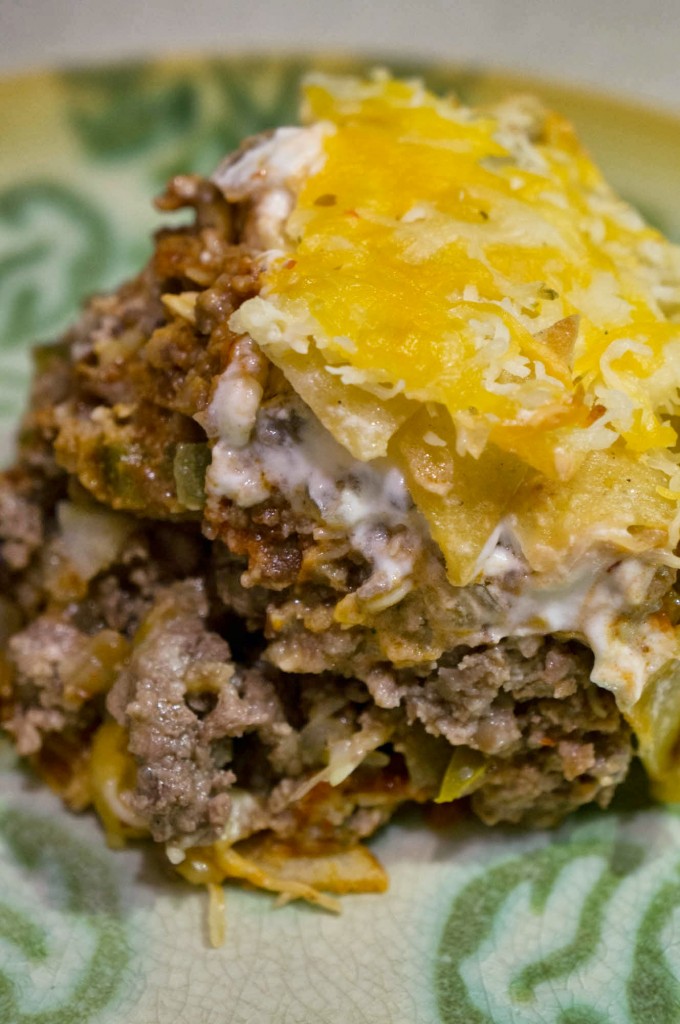
5. Repeat layers! Layer on the rest of the ingredients to your desire but end with cheese. Mine goes something like this: enchilada sauce, tortillas, beef, sauce, cheese & cream, tortillas, beef, beans, sauce, cheese & cream, sauce, beef, tortillas, cheese.
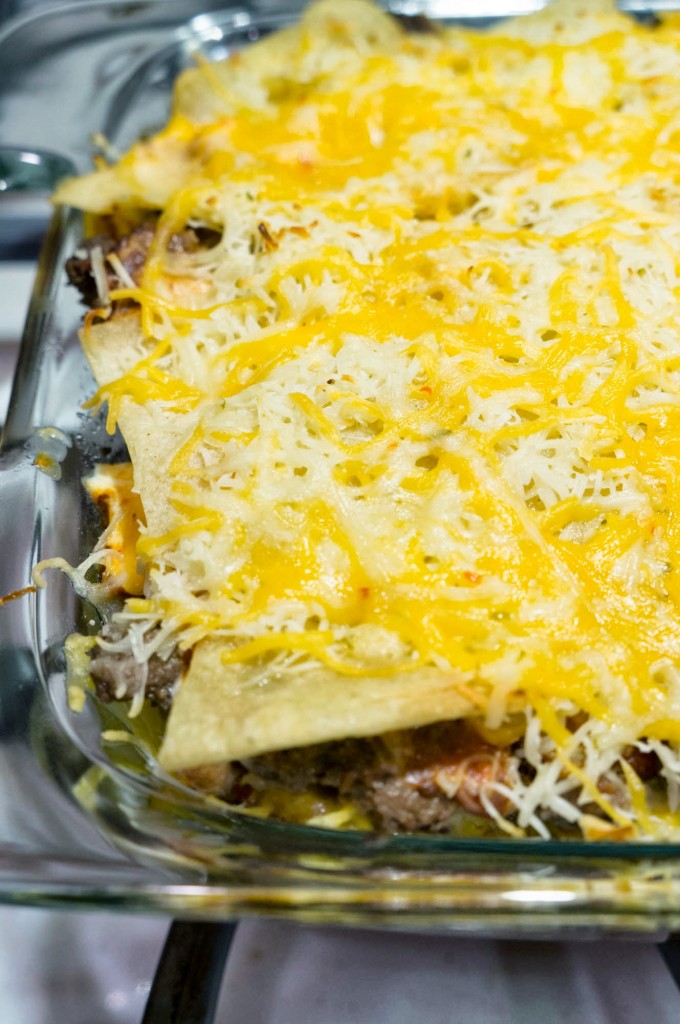
6. Bake in the oven until cheese has melted (about 20 minutes).
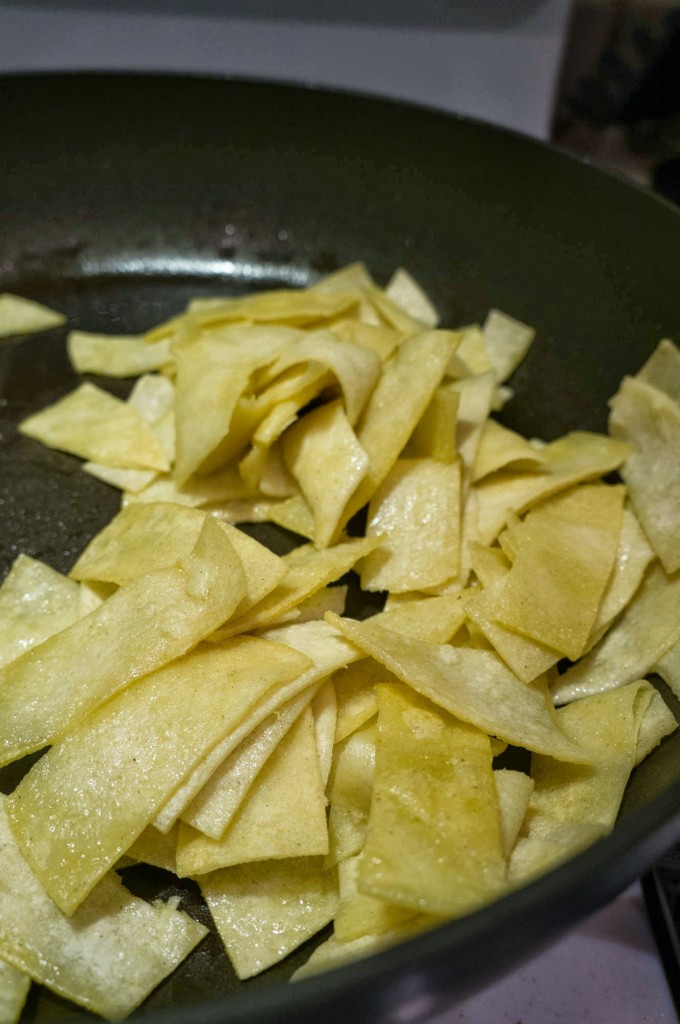
Cut

Torillas

Ingredients

Layers

Baked

Done

One great thing about this casserole is that you can make this recipe and freeze it so that the leftovers do not go bad. Once prepared, wrap it up in aluminum foil and stick it into the freezer. The night before you want to make the casserole, put it in the fridge to defrost, and simply bake before you eat it. Baking time may be a bit longer so that all layers are thoroughly heated (approximately 30-40 minutes). 

Another awesome thing, use whatever ingredients you like – beans, lettuce, tomatoes, whatever you’ve got! Like I said, use your leftovers and clean out your fridge.

Such a great way to finish up leftovers, and also a great dinner idea if you have friends/neighbors/family members come over on a whim. Who says you can’t serve a guest leftovers!

What are some of your favorite clean-out-the-fridge/leftover meals?

Have a great weekend!
Jay
—–
Pro-tip: I always keep ground beef and chicken breast in the freezer. These are very versatile ingredients with lots of dinner options. Just throw them into the freezer, defrost day-of, and use it for dinner!