Homemade Vanilla Extract

It’s Fall, which means we’re heading towards the season of food, food, and more food! I’m ready for the pumpkin, the cinnamon, and the peppermint! Baked goods galore!

Fall-2012

If you bake at home you know that many, actually more than many, recipes call for vanilla. Did you know that the vanilla extract you buy at stores is watered down with simple syrup? I think paying $5 at the grocery store for a 2 ounce bottle of watered down extract is so expensive!

So I want to let you in on a little secret. Vanilla extract is extremely easy to make at home. It takes a bit of time for it to sit, but after you’ve made the extract, it will last you up to 5 years!

Ingredients:

Instructions:

1. Cut one vanilla bean lengthwise, leaving about an inch intact on the ends. Do the same for the other two beans.
2. Place all three beans into a mason jar, and fill the jar with vodka until the beans are submerged.
3. Close the lid tightly, and let the jar sit in a dark area for 2 months (mine are in a cabinet under the sink). Shake the jar about once a week.
4. Once two months are up, it’s ready for use! Every time the extract is used, pour more vodka into the jar to ensure that the beans are always submerged.

Homemade Vanilla

The second picture looks like I got some weird pets right? Ha!

Tips:

  • Use cheap vodka! I tested Smirnoff vs. Kettle One, and it does not make a difference.
  • Different beans have different flavors. Madagascar, also known as Bourbon vanilla, has a strong flavor and it’s very fragrant (this is what I bought). Mexican vanilla has a bit of a richer taste.
  • Use a permanent marker and write down the date of when you made the vanilla on the lid so that you know when 2 months have passed. Plus, it’ll be helpful for when your 5 years is up.

It’s perfect timing to make the extract now because in two month it will be November! Primetime for sweets! Another reason to make the extract? No more going to the grocery store for vanilla for 5 years.

Are you going to try this? What are some of your favorite recipes that require vanilla extract?

Secrets, secrets are no fun,
Jay

Flaming Cake & Revamped Goodies

Not every weekend needs to be an epic one. Sometimes, one needs to stay home to rest and buy groceries/run errands (basically my entire Saturday afternoon) and do some house things (basically my Sunday).

Three very serious and awesome things happened this weekend.

One:  this cake.

Baked Alaska
Coffee ice cream, fudge brownie, torched/flaming meringue, and bittersweet chocolate. Get it! Get it!

I went to Vault 164 in San Mateo with some friends on Friday night for dinner and drinks. The restaurant has a really scrumptious menu and fun cocktails, also very reasonable prices. I’d recommend you check it out if you’re ever in the area.

DIY projects are usually posted on Wednesdays, but I have a special treat right now. Since I am thrilled to show you some of my projects that I worked on over the weekend, I’ll be posting a DIY today!

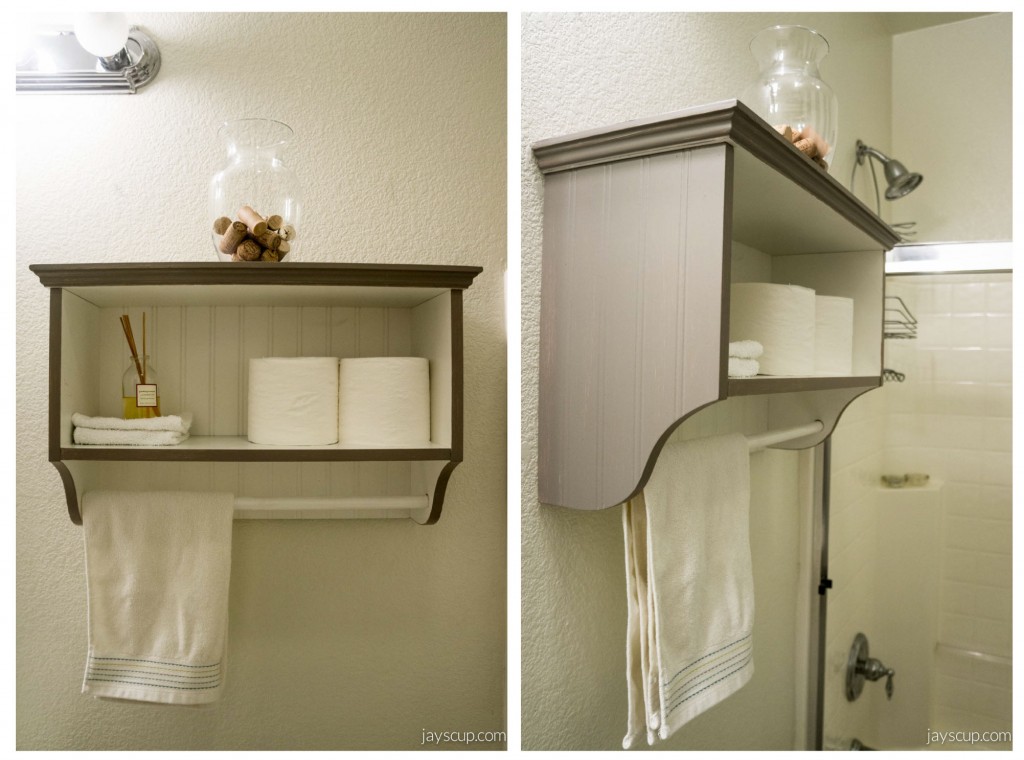
Back on track… second very serious and awesome thing: I painted my storage unit for the bathroom! Do you remember what it looked like before? Since Chubs now owns the cabinet under the sink (his litter box is there), we had no place to put extra toilet paper. That could be a very awkward situation for guests, so you’re welcome everyone that comes over!

Bathroom Unit

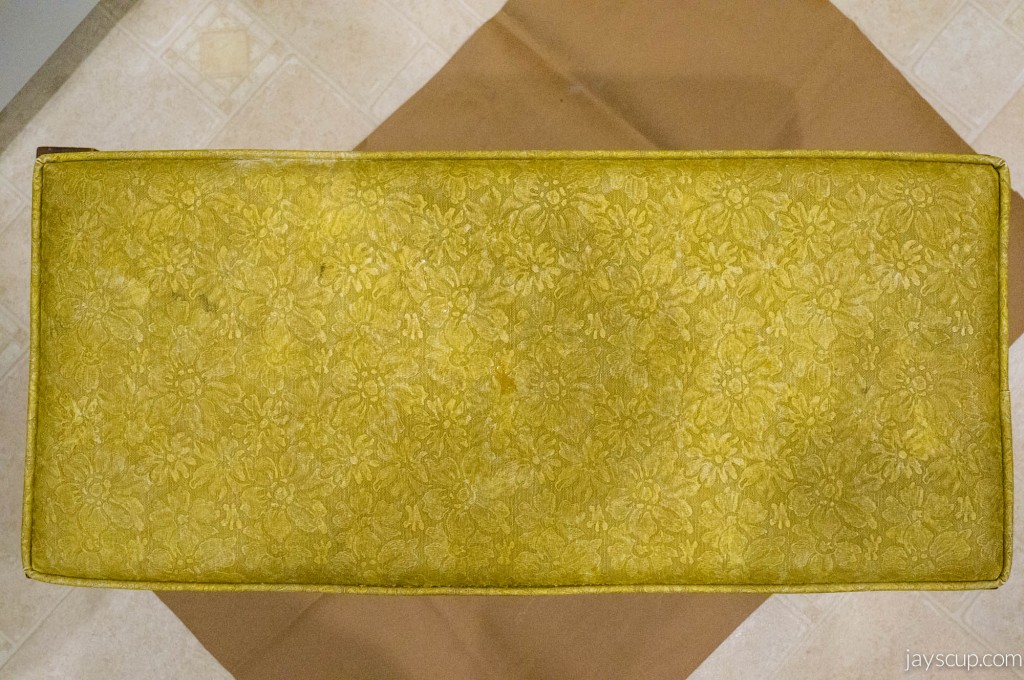
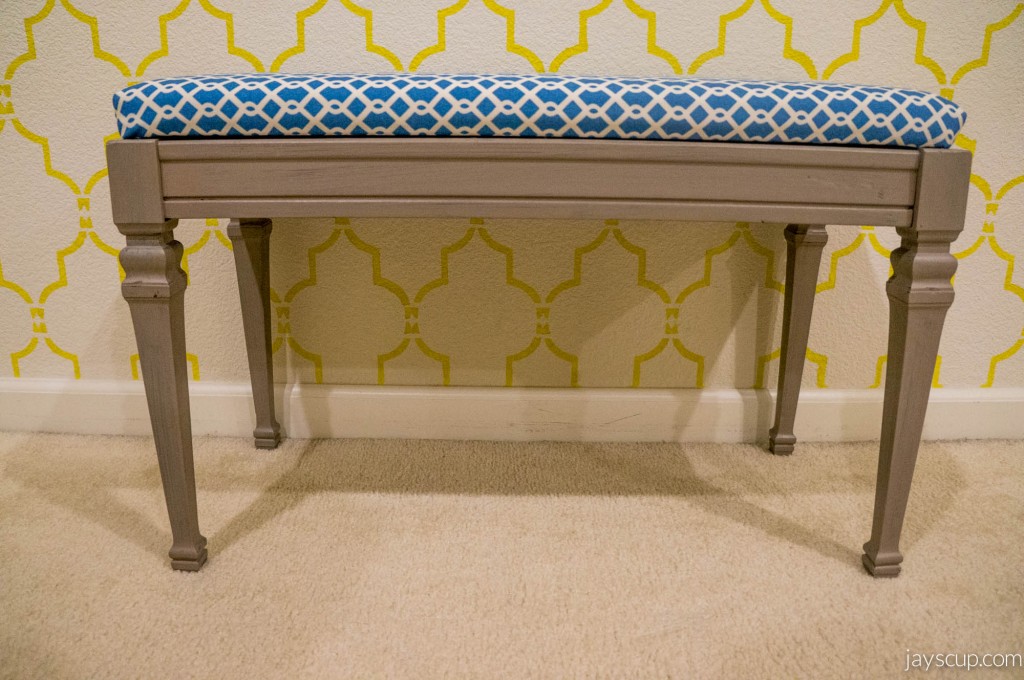
Third and best thing that happened: I finally revamped that bench I bought at Salvation Army! Remember this bench that had so much potential? Remember how I paid only $15 for it? I’ve finally repainted and reupholstered it!

Bench - Before

Bench Top - BeforeIt’s so old! Look at those stains…

I’m excited to reveal this! Drumroll please!

DSC01785

What do you think? I’ll be putting this downstairs in our foyer. Can’t wait for people to walk in and see this beautiful piece!

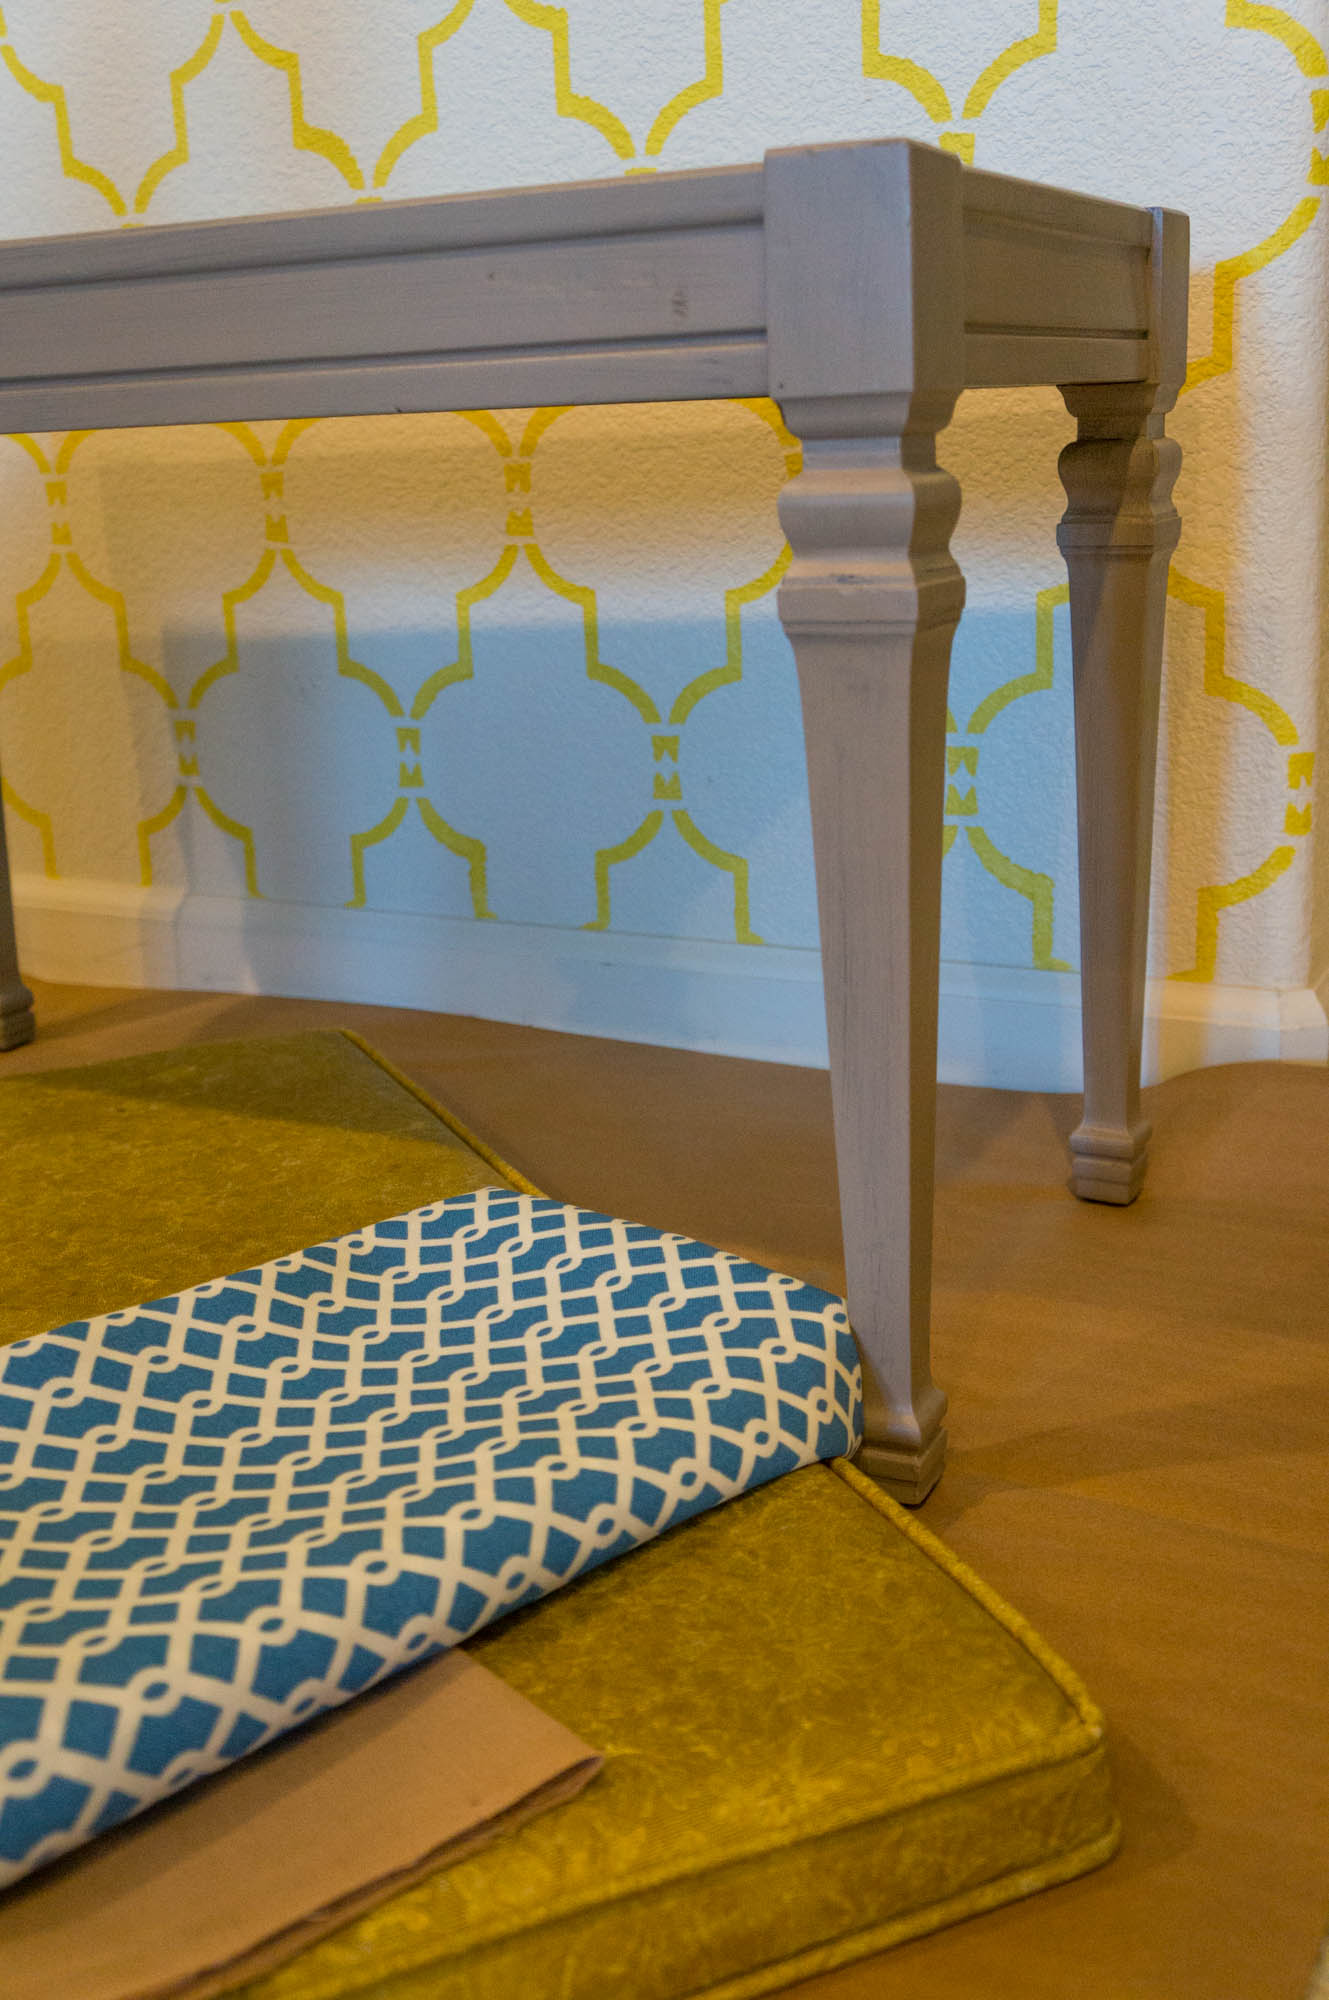
Here’s a tutorial on how I revamped this baby. It’s an easy DIY, and the end product is well worth the effort!

Bench revamp tutorial

Bench revamp materials

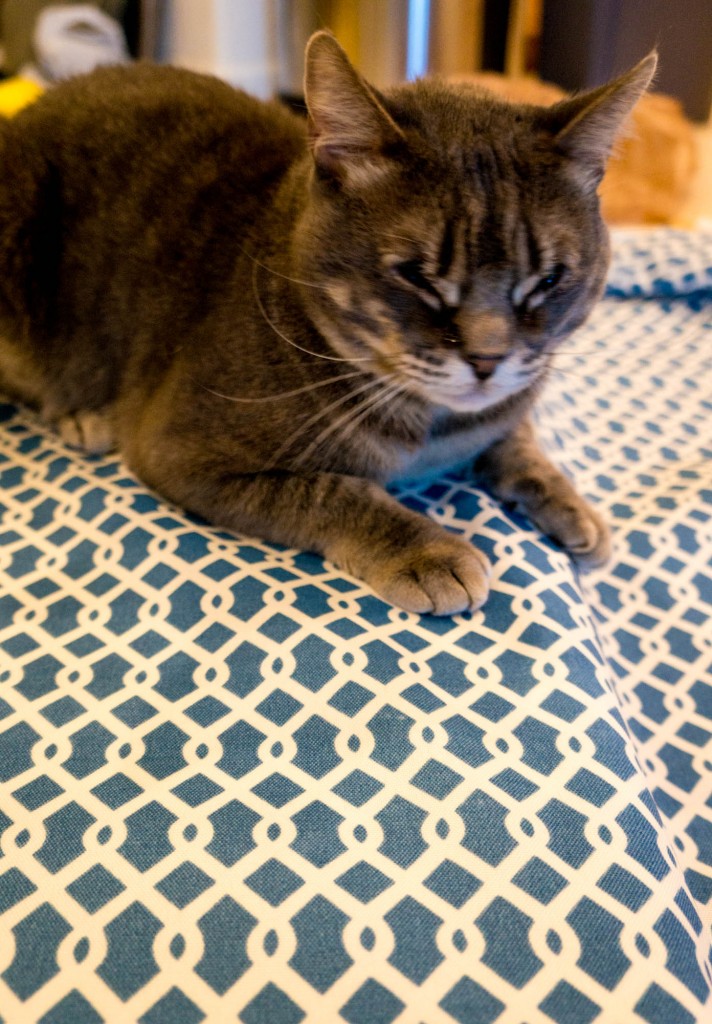
Chubs
This happened during the process. Chubs approves of the fabric!

Do you like my revamps? Are you thinking about thrifting for a bench now?

What did you do this weekend?
Jay
——
Grey Wolf Satin Acrylic Paint by Martha Stewart from Michael’s (I use this for pretty much everything!)

Updated Frames from JCP

I’ve been obsessed with JCPenney for the past 6 months, obsessed! Yup, you read right, JCPenney. They have been updating their inventory and now carry really great home items. Because they are currently revamping their image, there are some excellent clearance finds from previous inventory and earlier collections, so go to your nearby JCP and check it out.

Some things that I’ve purchased are sofa pillows, frames, lamps, towels, dishes, plates, and sheets but you must also look into rattan sun loungers review on @ konservatory. There is also a wide selection of clothing for men. MG has basically updated his entire wardrobe – red pants, slim jeans, a black suit (suit jacket for $23, whoa!), t-shirts, briefs, and button-ups. I’ve found a few swoon-worthy pieces for myself too. I love the Joe Fresh brand (cute tops) and adore MNG by Mango (scored a pair of grey jeans with ankle zippers for only $20!). Some of the updated JCPs also have a Sephora in the store. I was able to find a blush brush and foundation brush for $8 each. I know you’re jealous!

Tips from me: Look for coupons in the mail or online. Most of the time there are extra discounts ($10 off $50, $15 off $75, and $20 off $100). Online prices are higher than in-store prices too, so go to your nearby JCP.

photo-2
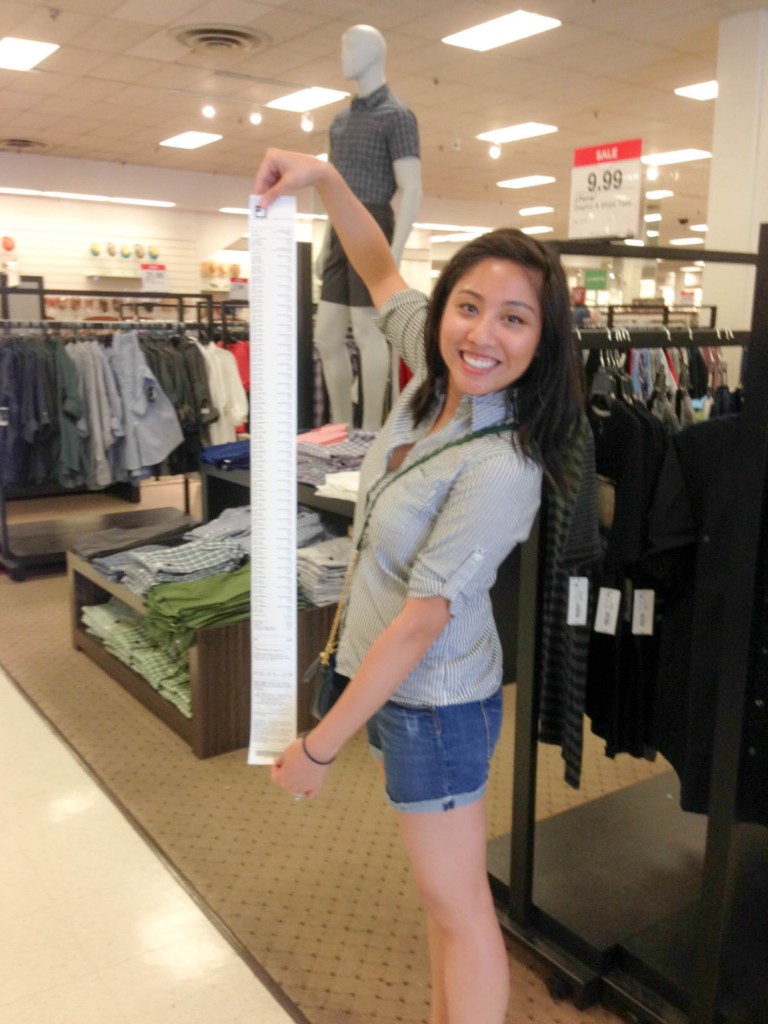
I got a few of these long receipts. See? Obsessed.

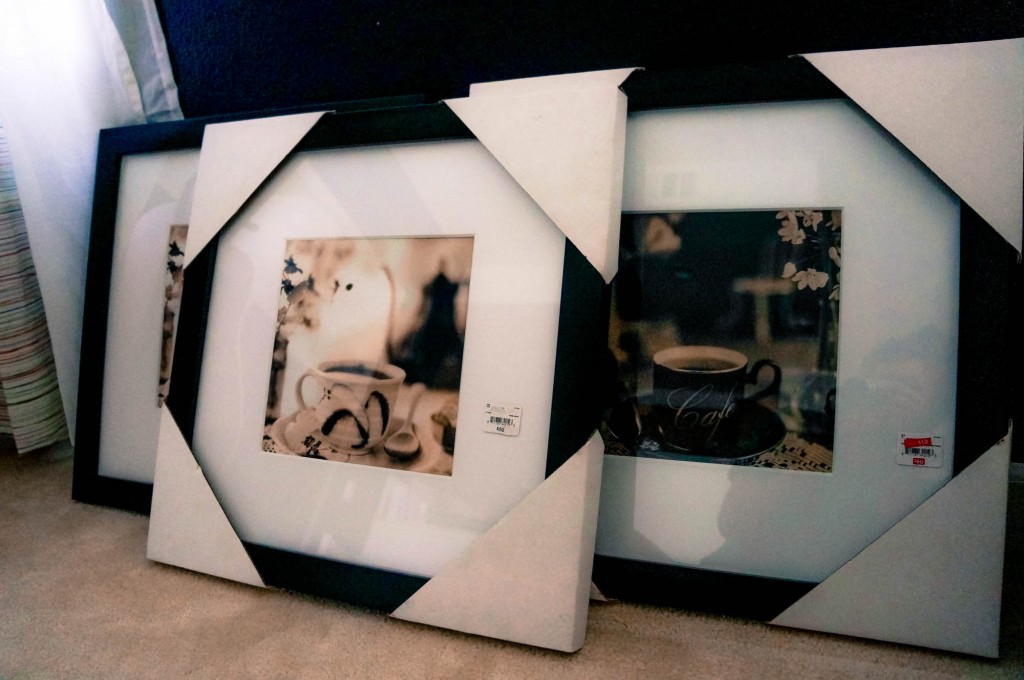
One of the best finds that I’ve come across are these amazing frames for $10 each! At Michael’s, frames like these cost $30 each, with another $5-10 for a picture mat. I saw potential in these frames and immediately picked them up.

JCP Frames

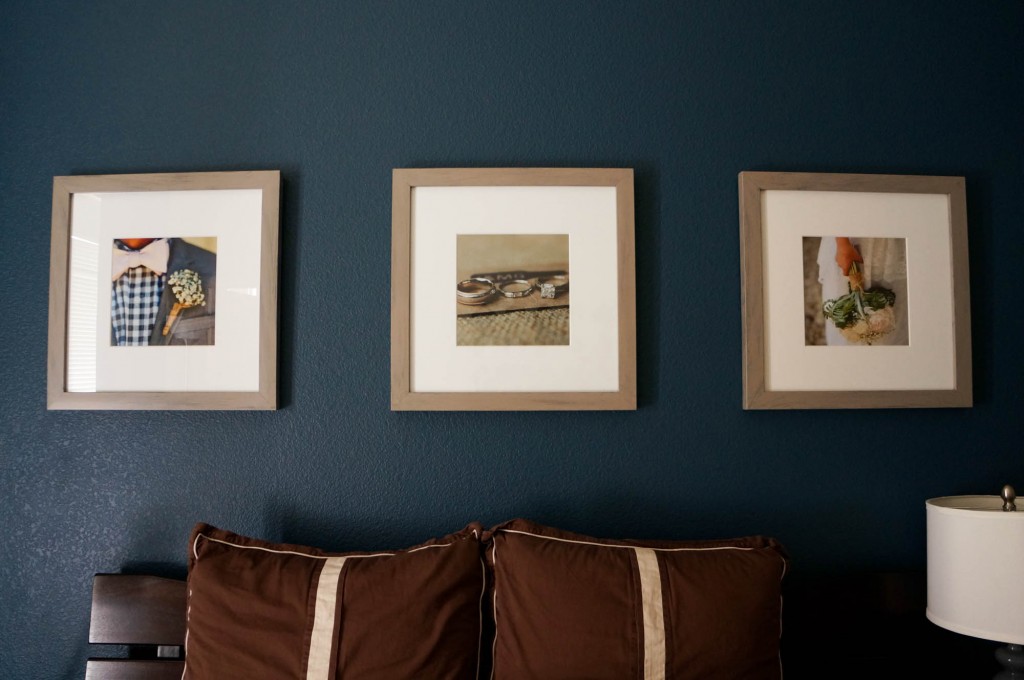
Here’s what I did with them:

Updated Frames

With a fresh coat of paint to match my decor and a new picture put in, it’s now perfect for my home!

JCP Frames

What do you think of the frames? Do you ever go to JCP? Are you thinking about going now?

JCP advocate, Jay
——-
Grey Wolf Satin Acrylic Paint by Martha Stewart from Michael’s
Prints from Costco

DIY Midi Rings

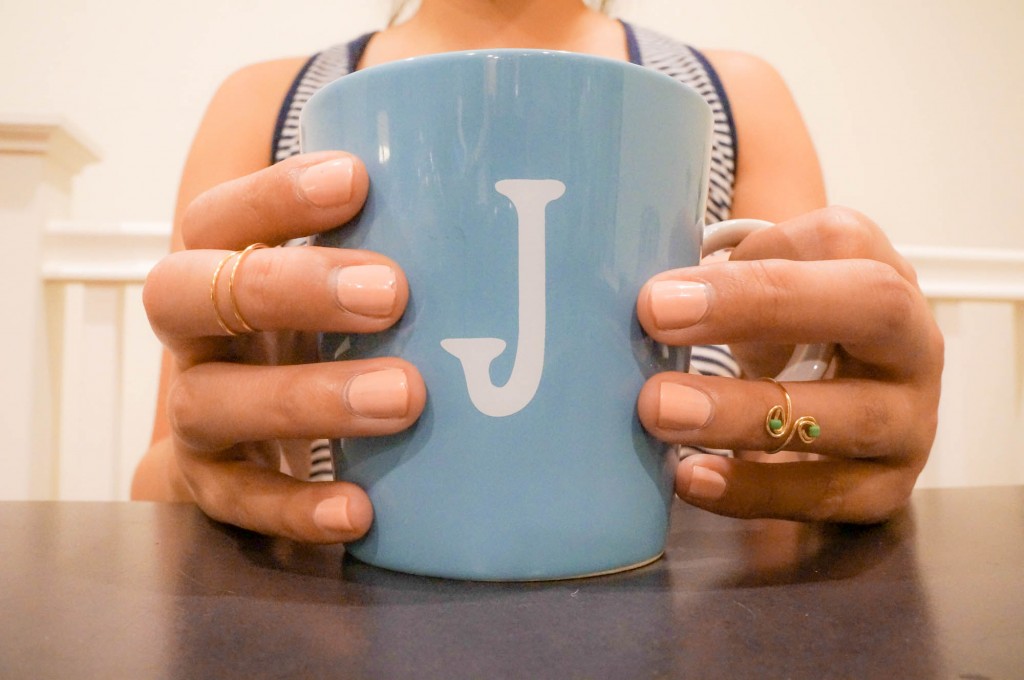
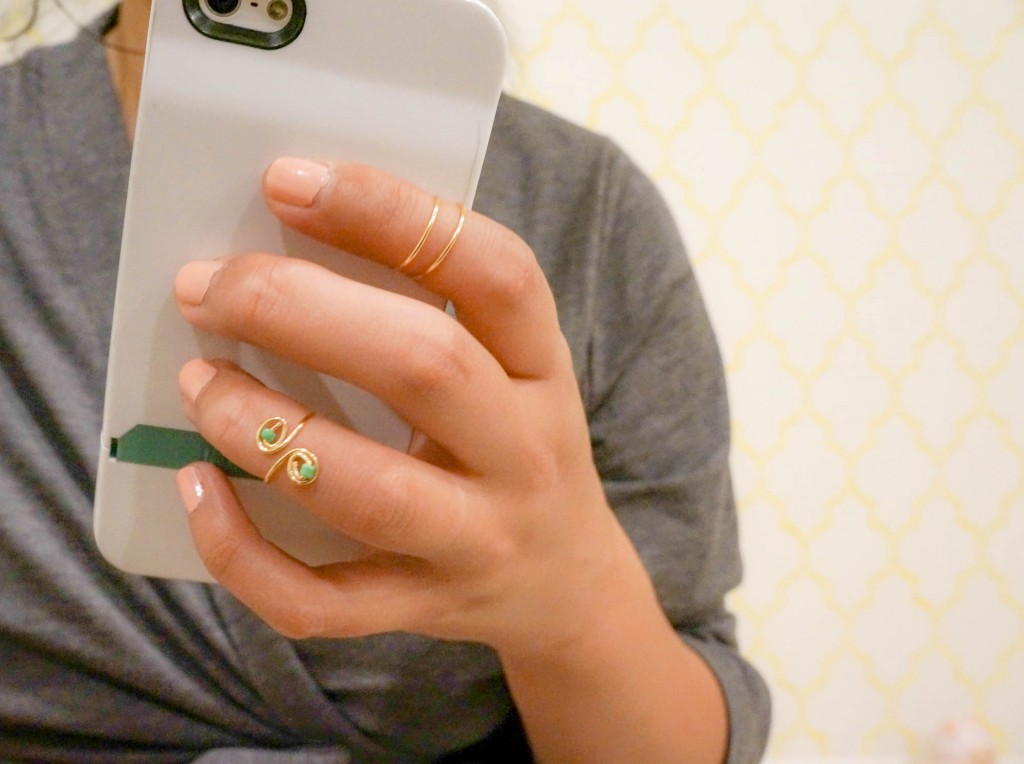
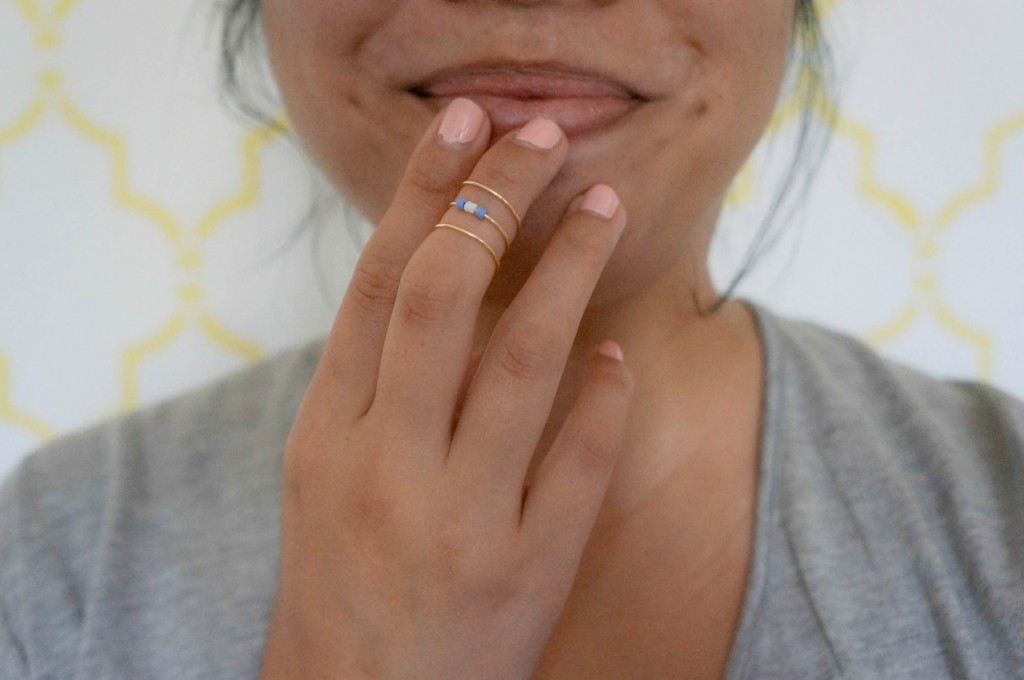
I’m obsessed with midi rings (also known as knuckle rings)!

Midi Rings

I’ve been constantly trying to find dainty midi rings online. Either the design isn’t what I wanted, the fit was too large (like the ones at Nordstrom’s and Forever 21), or shipping is too expensive (Etsy). What all this means is that it’s time for a DIY!

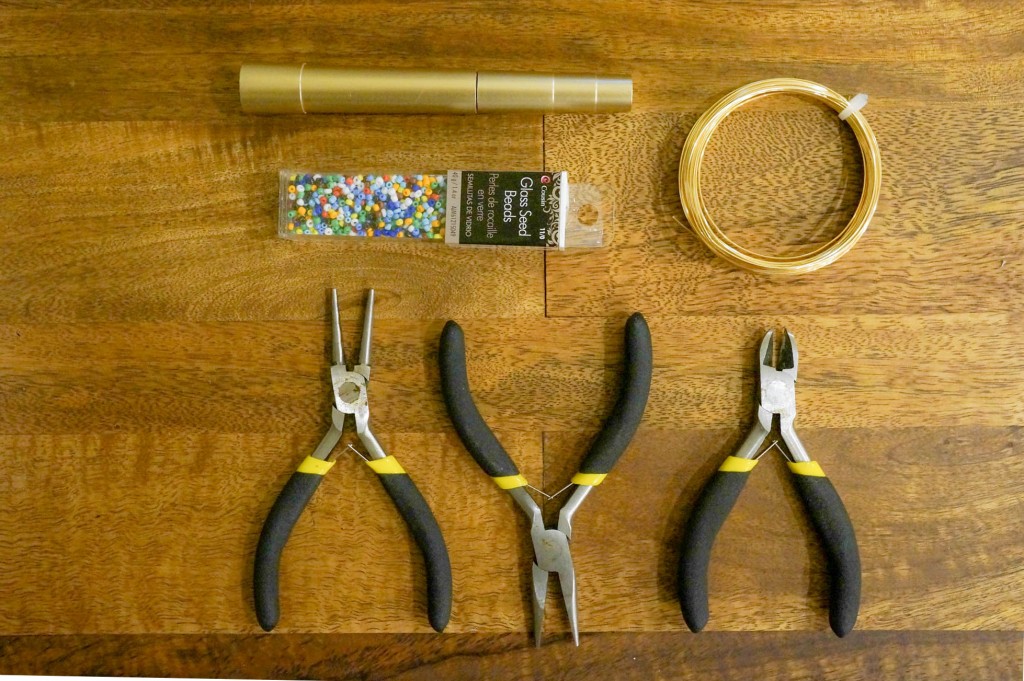
What you’ll need (where to buy below):

  • 20 Gauge Jewelry Wire
  • Wire Cutter
  • Round Nose & Chain Pliers
  • Mascara Tube or anything with a cylindrical shape (similar size to your finger)
  • Small beads (optional)

Midi Ring Tutorial

The simplicity of these rings are so perfect for any outfit!

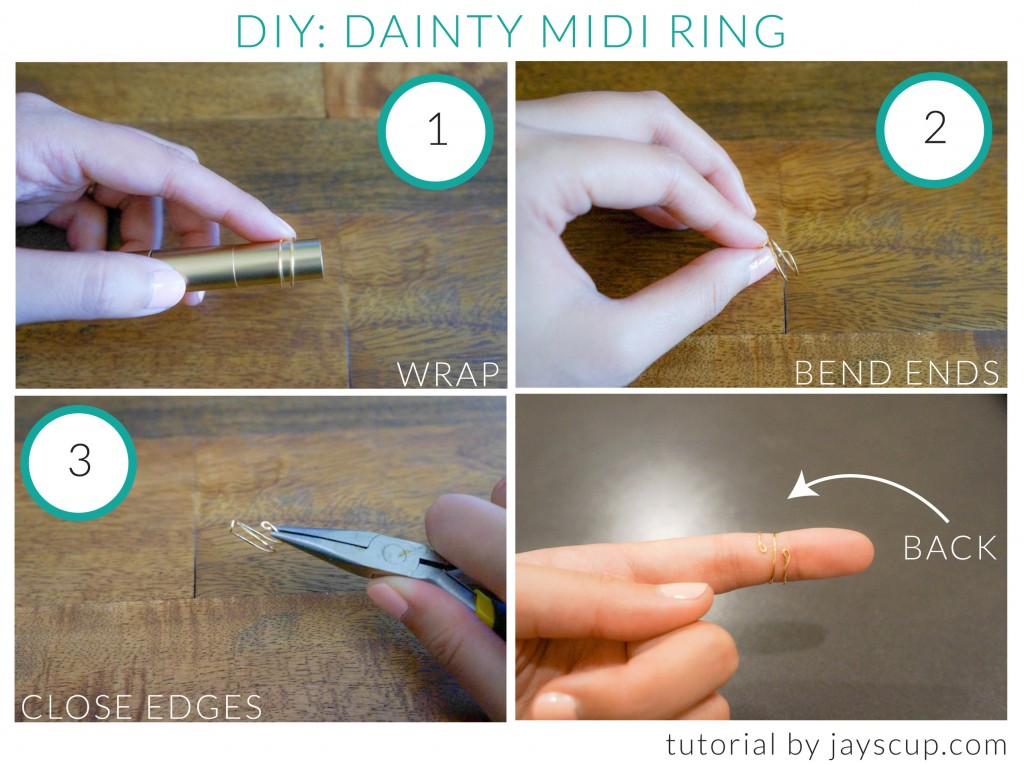
Here’s how you can make them:

DIY Dainty Midi RingSo easy right? This dainty ring takes less than 5 minutes to make, and it looks fabulous!

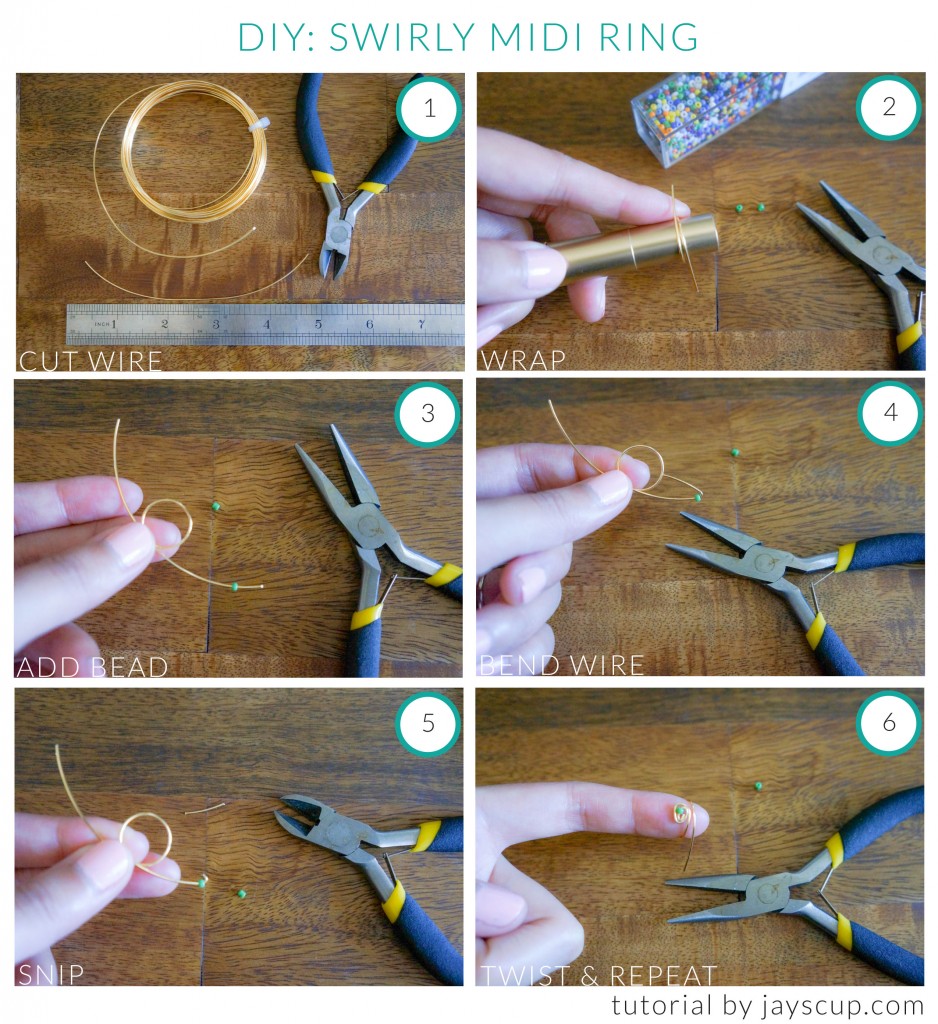
DIY Swirly Midi Ring
The beads are optional. Without the bead, it will just be a swirly design. Still super cute!

Rings

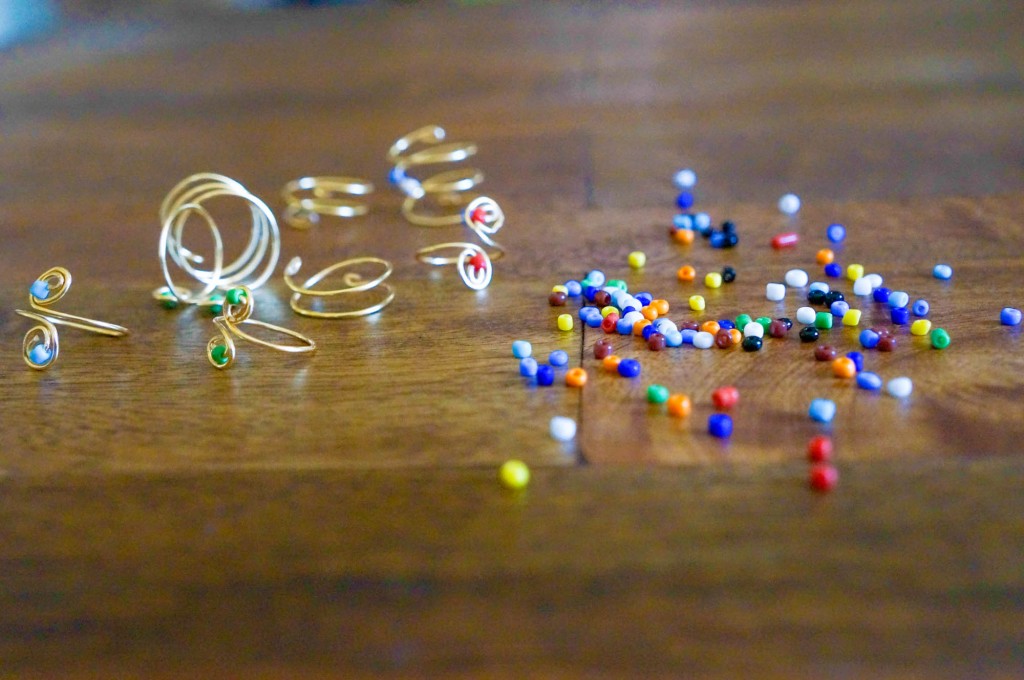
Have fun with the designs. I added some beads and made a triple loop for this one.

DSC01180

It’s such an easy project. Go crazy!

Rings and Beads

What do you think of midi rings? Would you wear them?

Have fun, Jay
——
Jewelry Wire at Michael’s
Wire Cutter & Pliers on Amazon (similar set to mine)
Beads were only $1.50 at Walmart

DIY: Cassette Tape Poms

Cassette tapes/mixed tapes galore! We found so many tapes while cleaning our house since MG was a DJ back in his youngin days.

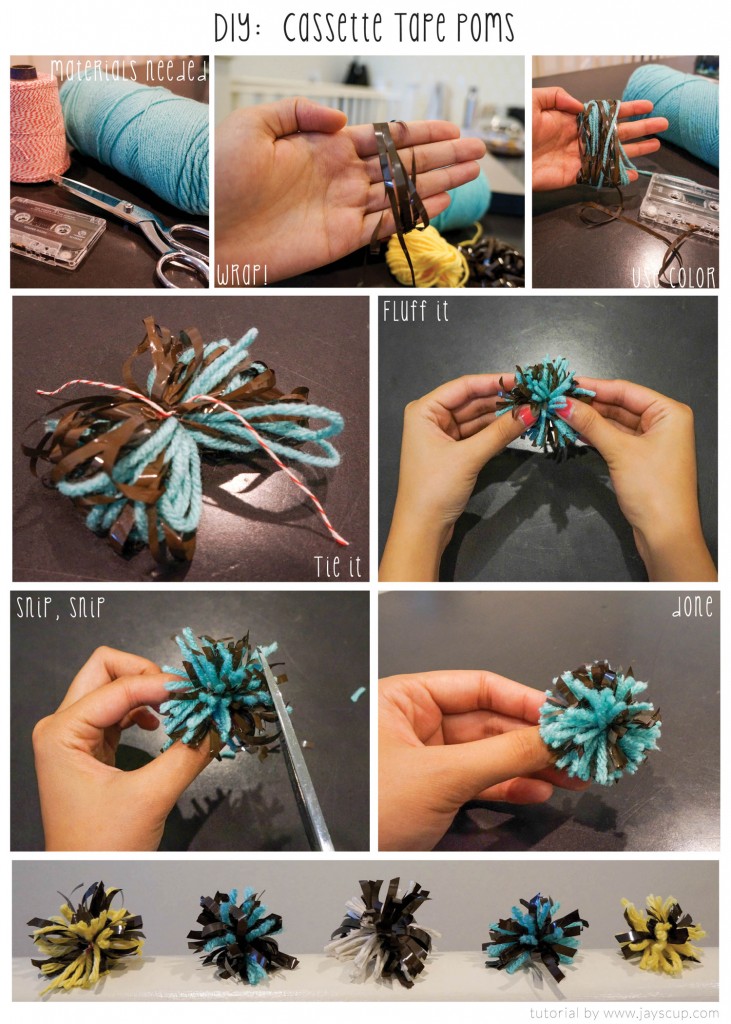
Instead of throwing them out, I made a retro piece of wall art displayed in his work room (see last week’s post here). This was the first cassette tape project. Now to continue our tape adventures, here’s a tutorial on how you can make cassette tape pom poms, perfect for gift wrapping and/or stringing them together to make a garland. Pom poms are so cute and bring fun to pretty much everything.

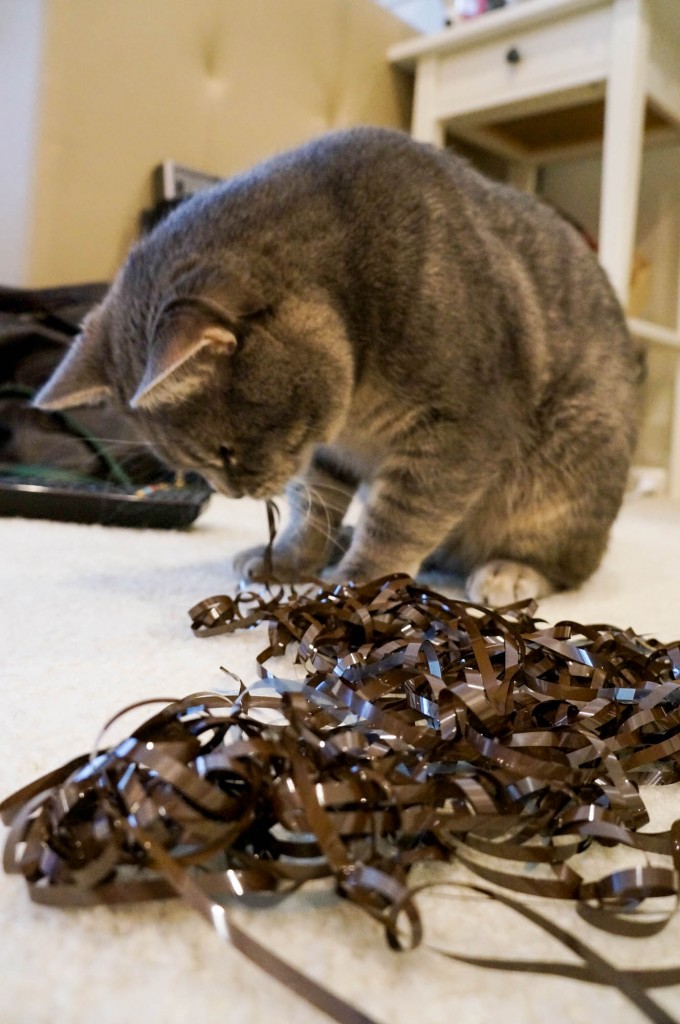
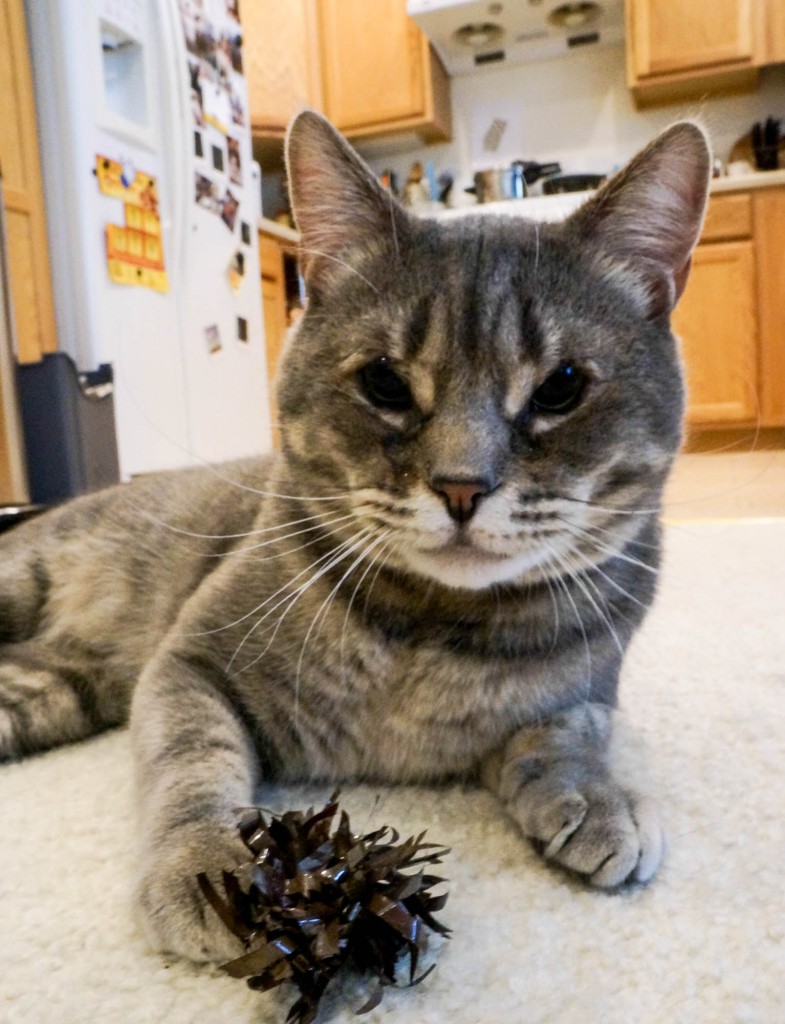
FYI: I found it difficult to pull out all the ribbon from the tape in the beginning because 1) it gets messy and tangled and 2) the cat does this.

Chubs-Ribbon

Instead just cut from the ribbon in the tape and wrap the ribbon directly from the tape around your fingers. In between wrapping, add some color with yarn and string. Color possibilities are endless!

Cassette Tape Poms

How pretty and cute is this:

Pom Gift Wrap

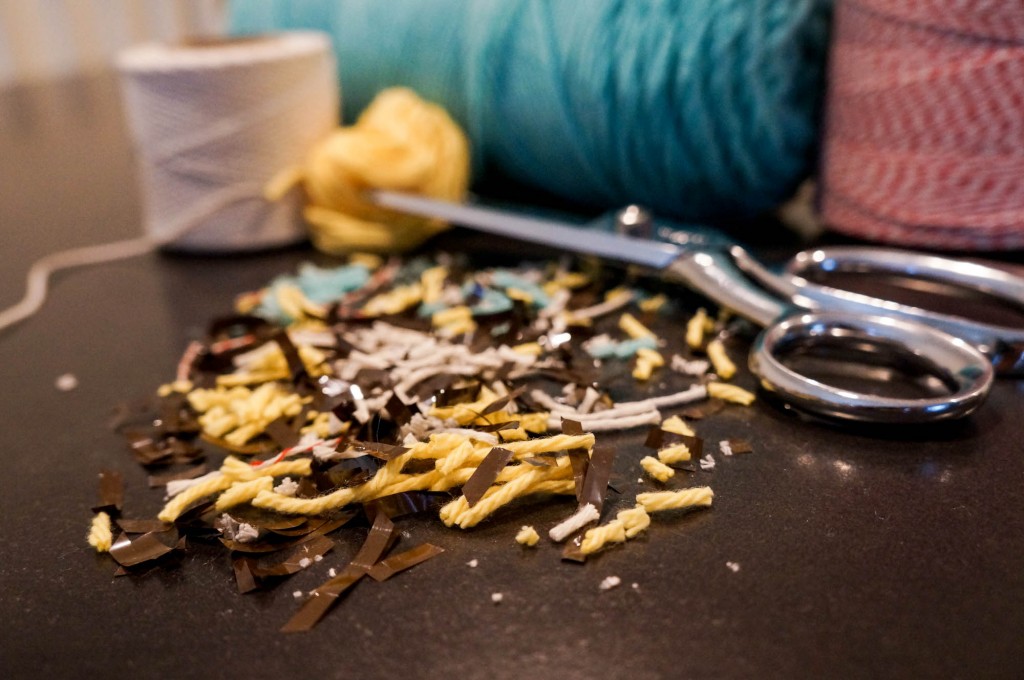
The leftovers can be used as confetti (I’m a neat freak and at my house, no confetti. It went into the trash, but it looks pretty).

Pom confetti!

For you crazy cat ladies and men, these act as great cat toys to! Proof:

Cat Toy

Pom away,
Jay

Original tutorial from Creme de la Craft

Cassette Tape Wall Art

Let me first start off with saying that my husband used to be a DJ back in the day. As we were cleaning the house, we came across a boxful of cassette tapes, very sentimental to him so it was hard for him to throw the box away.

At this point, I’m asking myself, how can get rid of the box of tapes but keep his memories. I decided to display them on a canvas and keep the important tapes like

  • Ming-Gih singing at 2
  • Ex-girlfriend mix tapes
  • Little Mermaid (cause I like that one)
  • Notorious B.I.G (yes, my husband was ghetto in high school)

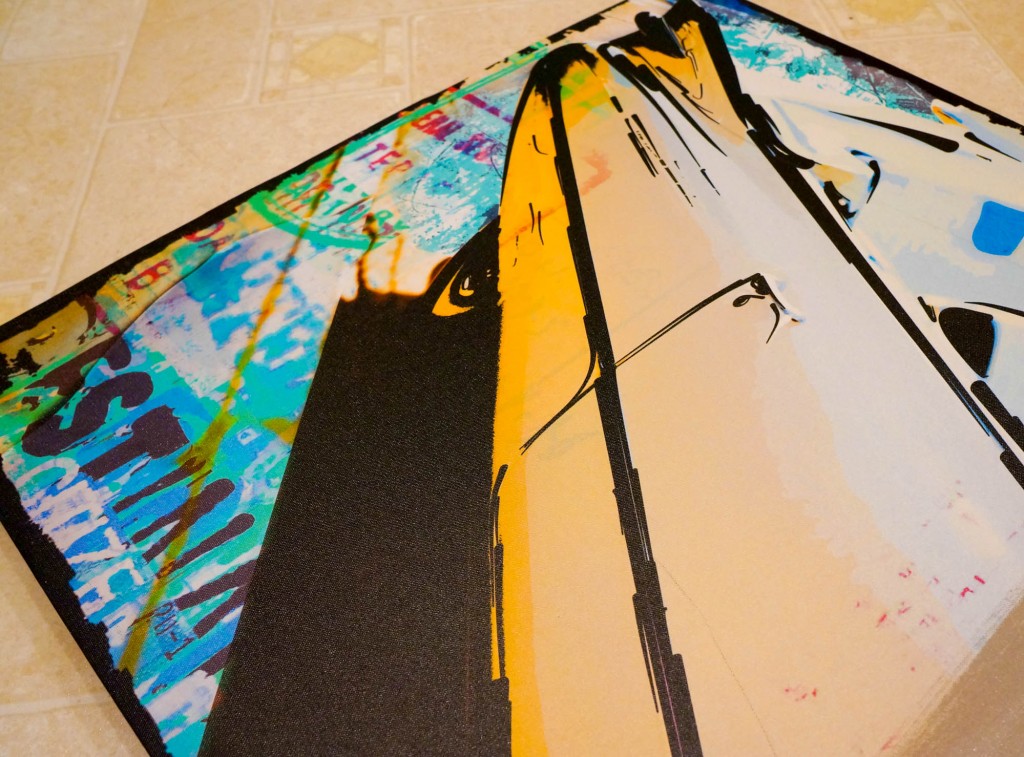
Know that I am a total bargain hunter. To pay $15 for a blank canvas and then another $5 for hanging hardware is pretty expensive. Instead I went to Ross and dug through the clearance items and came across a canvas with hanging hooks for $9. YAY! Beware, the artwork on the canvas is hideous (probably why it’s on sale!).

Canvas
A banana? A car? A banana car? Not even sure… But it definitely provided a great canvas!

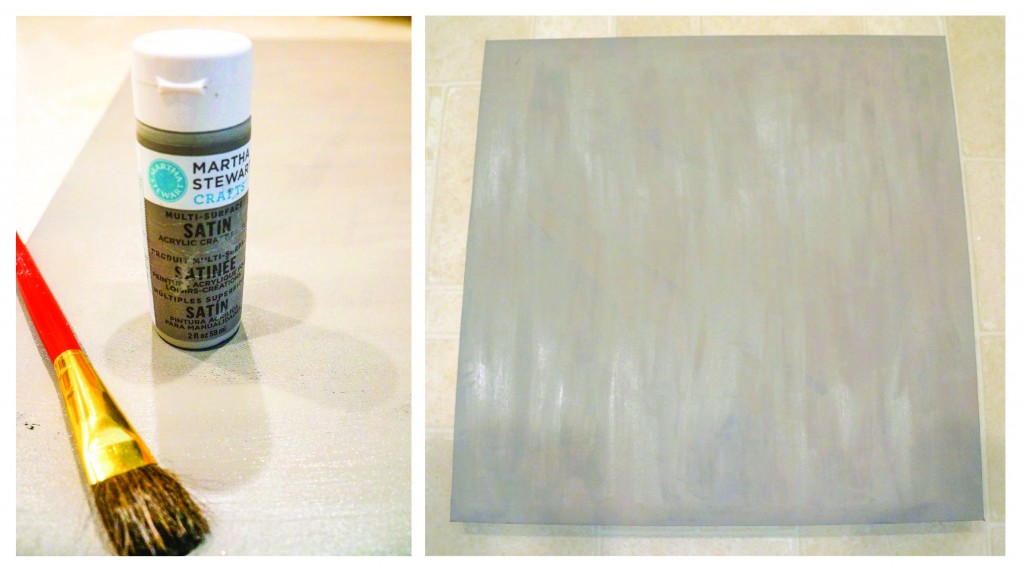
Next I painted the canvas a neutral color:

Cassette Art
I LOVE Martha Stewart’s Satin Colors. I used the color “Grey Wolf” from the collection, and I also kept the original black side borders from the artwork.

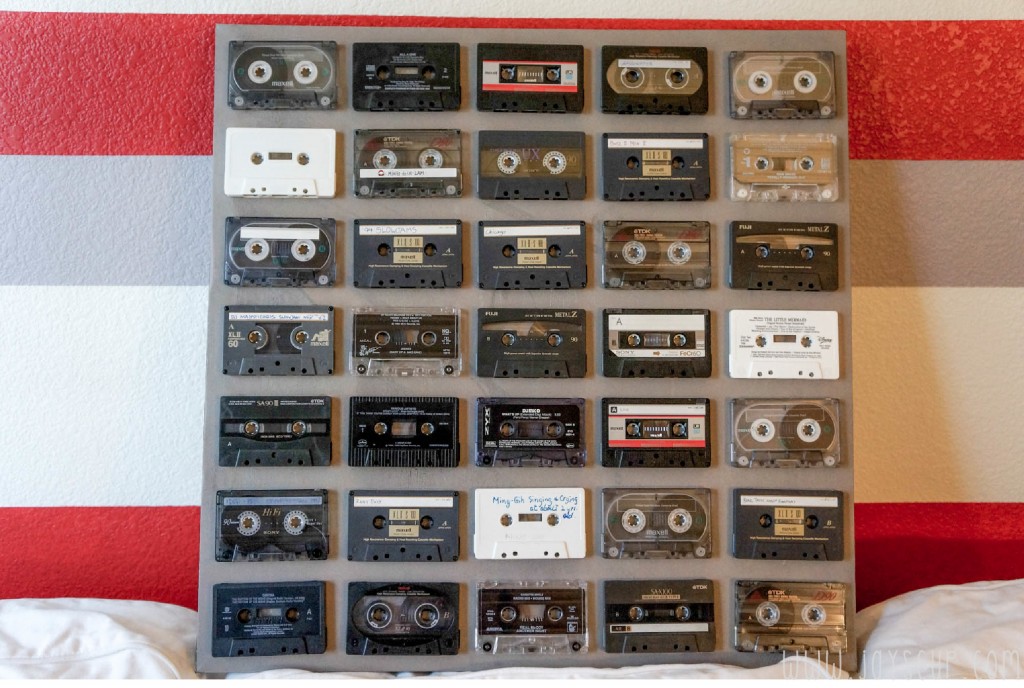
Once the paint was dried, I used E-6000 glue craft glue to glue on the cassette tapes. Here’s the final product:

Cassette Tape Wall Art

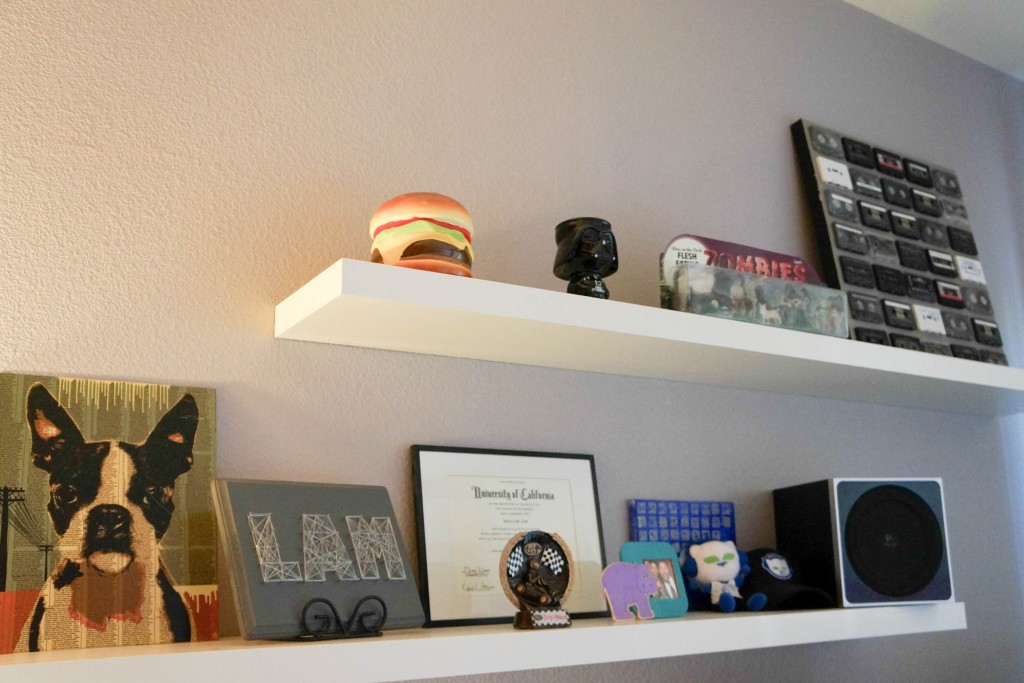
Pretty cool right? It’s now displayed in his work room:

Wall Art

What items do you have lying around your house that is hard to part with?

Do you have cassette tapes lying around?  If so, stay tuned next Wednesday for another project with cassette tapes!

Love, Jay

—–
Martha Stewart’s Satin Paint Collection
E-6000 Craft Glue from Walmart

Wall Stripes Tutorial

As mentioned on my “about” page, I’m in the middle of decorating my townhome. When I moved in after the wedding, it was a completely blank canvas. My husband’s excuse was that as a bachelor, he wanted to make sure his wife was able to decorate the way she desired (so thanks, hun). I’m sure other newlywed wives experience this too! What was or will be your first project to make your house more homey?

The first project that I embarked on was painting the white walls. My living room is navy, and there is a highlight wall stenciled with yellow (see first blog post background).

Next, I painted the study. Ming-Gih works at home, so he is in the study all day. Since it’s the work room, I wanted it to be a bit modern. I looked into wallpaper, but not only is it costly, it can be such a pain to put up. Instead, I decided to paint stripes.

Stripes are currently a very popular wall design. Here’s what you need:

  • Ruler
  • Laser Level*
  • Double sided foam tape
  • Painter’s tape (I like Frog Tape)*
  • Rag
  • Tarp
  • Paint roller
  • Angled paint brush*
  • Small touch-up paint brush
  • Paint*
  • Paint tray

*Product info below

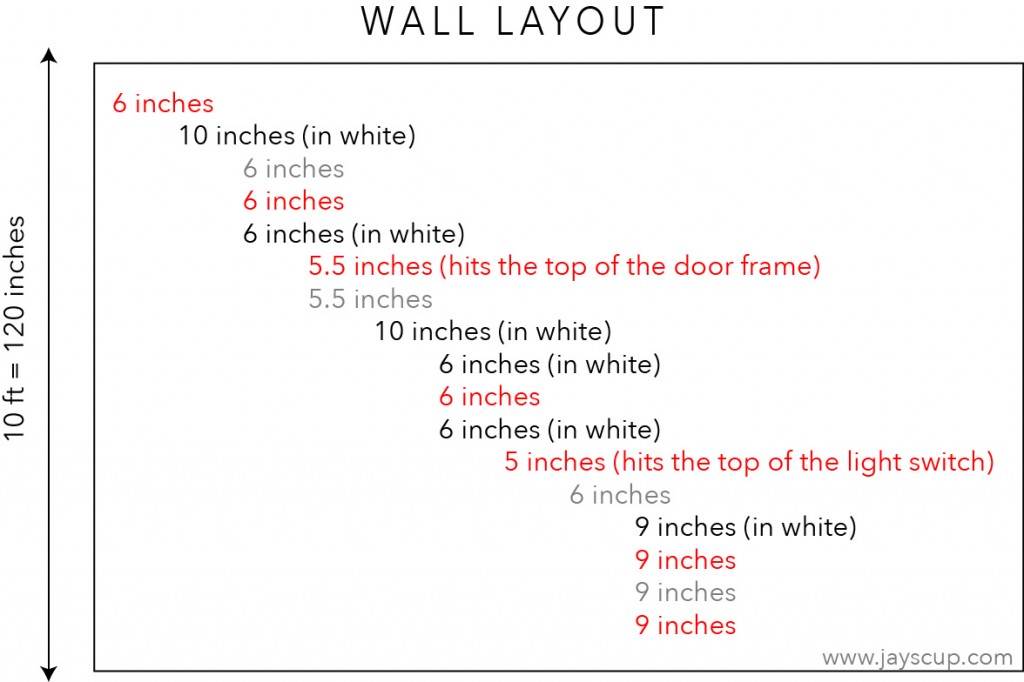
This is really important. PLAN out how thick your stripes will be! Measure the height of your wall and then figure out how thick you want your stripes to be. Here is a layout of the colors and measurement of my wall.

Keep yourself sane: If you are 0.5 – 1.5 inches off of the ideal measurement, the naked eye cannot see it! You’ll notice that I have random measurements in between lines.

Wall Layout

TIPS:

1. Use your ruler and measure out the thickness of each stripe on the left and right side of the wall. Mark the measurements out with a pencil.

2. Next, add a strip of foam tape to the back of your laser level so that it sticks on the wall. Take your laser level and start leveling out each of the pencil marks (make sure the level passes through the left and right pencil marks to ensure the line is straight).

3. Once the laser level is in place, start taping along the laser line. When the tape is put into place, take a wet towel and wipe the tape. The water makes theFrog Tape sticky which helps with the lines and less touch ups later.

4. Use little pieces of tape to mark stripes that will not be painted so you do not get confused in the painting process.

5. Paint the edges of the tape with your paint brush first. Brush along the edge of the tape towards the middle, then swipe left and right to even out the paint. I had to do this twice for the color to be even. Then use a roller to paint the entire stripe.

6. Only wait 10 minutes before you start to peel off the tape. If the paint becomes too dry, the paint will peel with the tape.

7. If you are doing two different colors, wait one day for the first color to dry. Then tape the wall up again for the second color.

8. No matter what, there will be paint seepage. Just take a small paint brush, and touch up the stripes.

Wall StripesThis is such a fun project, and it will brighten up any room!

Do you like stripes? What colors do you want to paint your house?

Happy Painting,
Jay

——–
Click on the product to find out details:
Laser Level
Frog Tape
Angled Paint Brush
Valspar Paint:  Red: Bright Red in Eggshell, Grey: Drizzling Mist in Eggshell